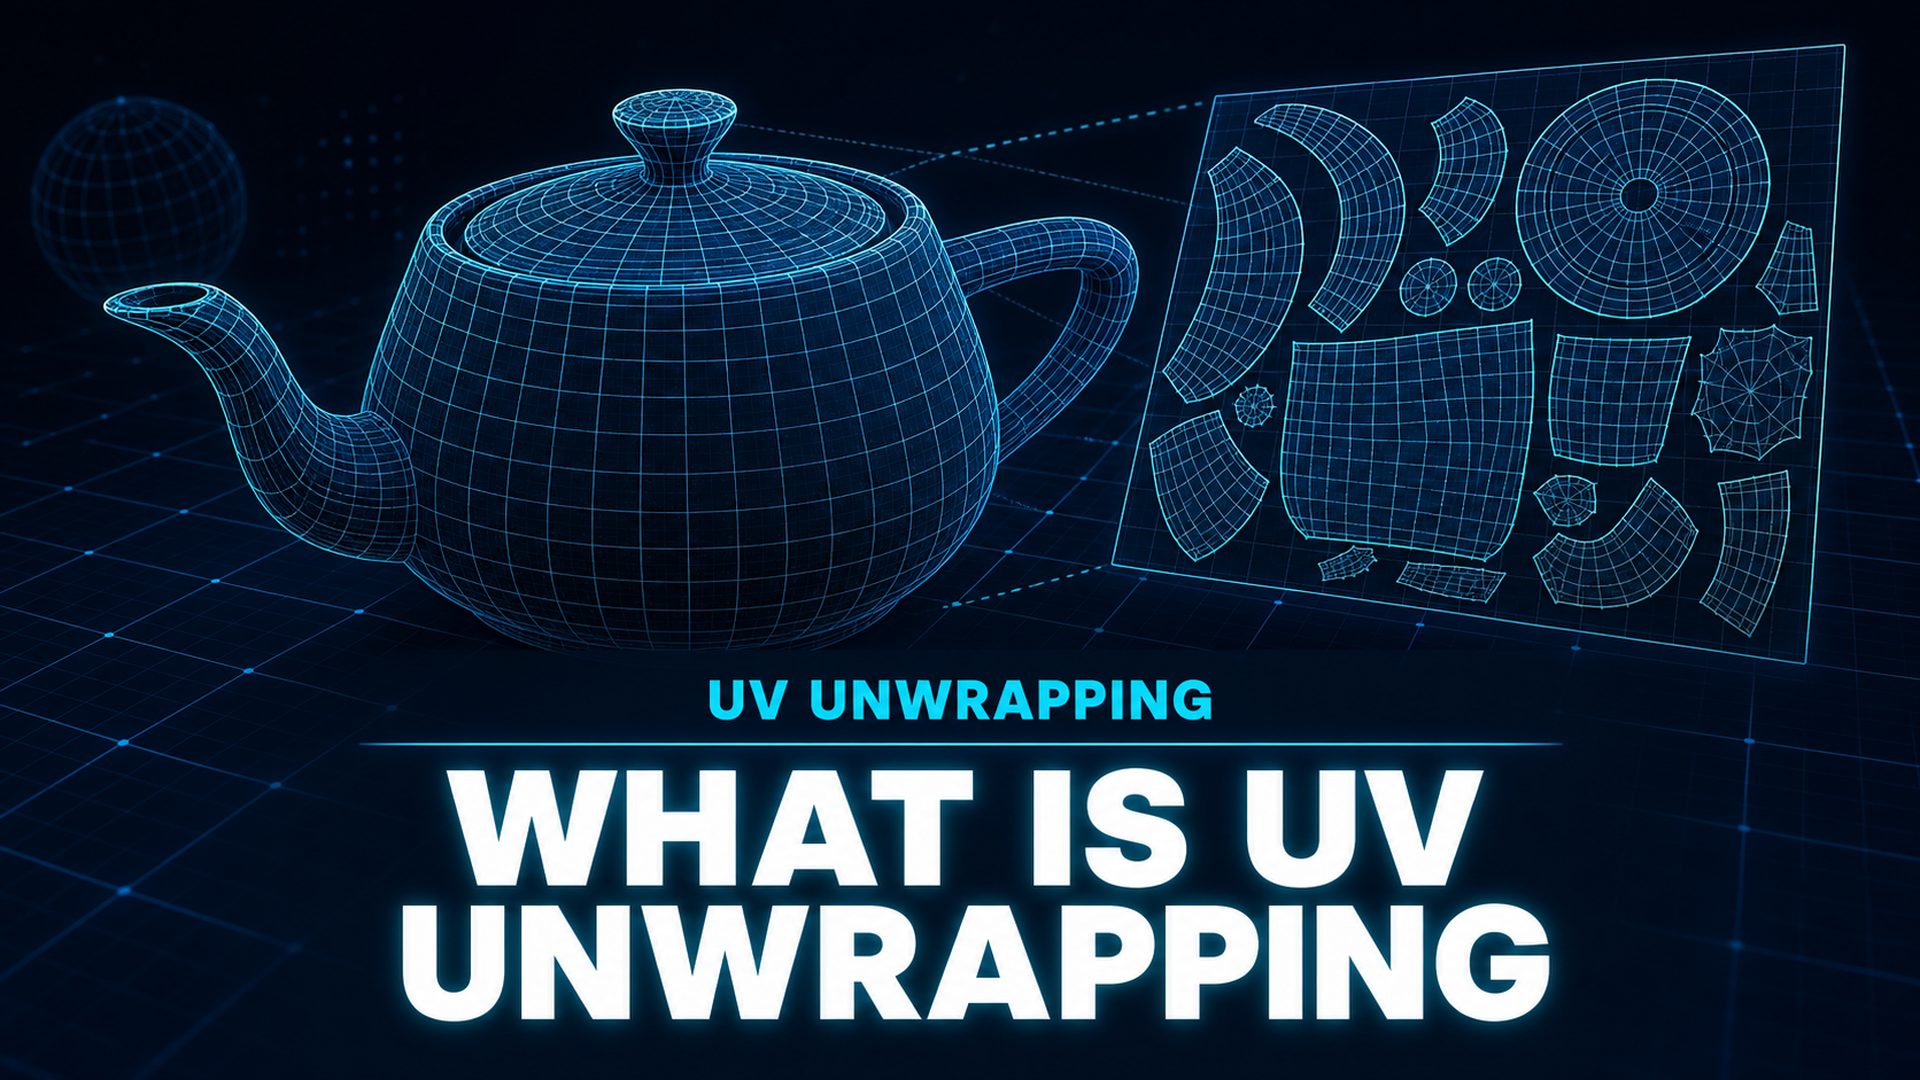
What Is UV Unwrapping? The Beginner’s Guide to 3D Texture Mapping
Quick Summary
- What is UV unwrapping? It is the process of flattening a 3D mesh into a 2D map so textures can be applied without distortion.
- Every polygon on a model maps to a specific region of a texture image through U and V coordinates.
- The process combines seam placement, UV island generation, and efficient packing inside UV space.
- Poor UV unwrapping causes stretched, blurry, or misaligned textures on finished 3D assets.
- Neural4D generates UV maps automatically alongside the mesh, so AI-generated models skip manual unwrapping entirely.
If you have ever asked what is UV unwrapping, the answer starts with a simple fact: it converts a 3D mesh into a flat 2D map so textures can be painted on without distortion. It is the step most new modelers find confusing, and it is the step AI now removes entirely. By the end you will know how the process works and when you can skip it.
Table of Contents
- Part 1: What Is UV Unwrapping?
- Part 2: Why UV Maps Matter for 3D Texturing
- Part 3: How UV Unwrapping Works: Seams, Islands, and Packing
- Part 4: Do You Need to UV Unwrap?
- Part 5: UV Unwrapping in AI-Generated 3D ModelsHOT
- Part 6: Common Questions on UV Unwrapping
- What UV Unwrapping Means for Your Next Project
Part 1: What Is UV Unwrapping?
What Is UV Unwrapping? is a question every new 3D modeler hits at the same moment: after the mesh looks right, but before the texture will sit correctly. UV unwrapping converts a 3D mesh into a flat 2D representation so a texture image can be applied to its surface accurately. Without this step, a renderer has no idea where any pixel of the texture belongs on the model.
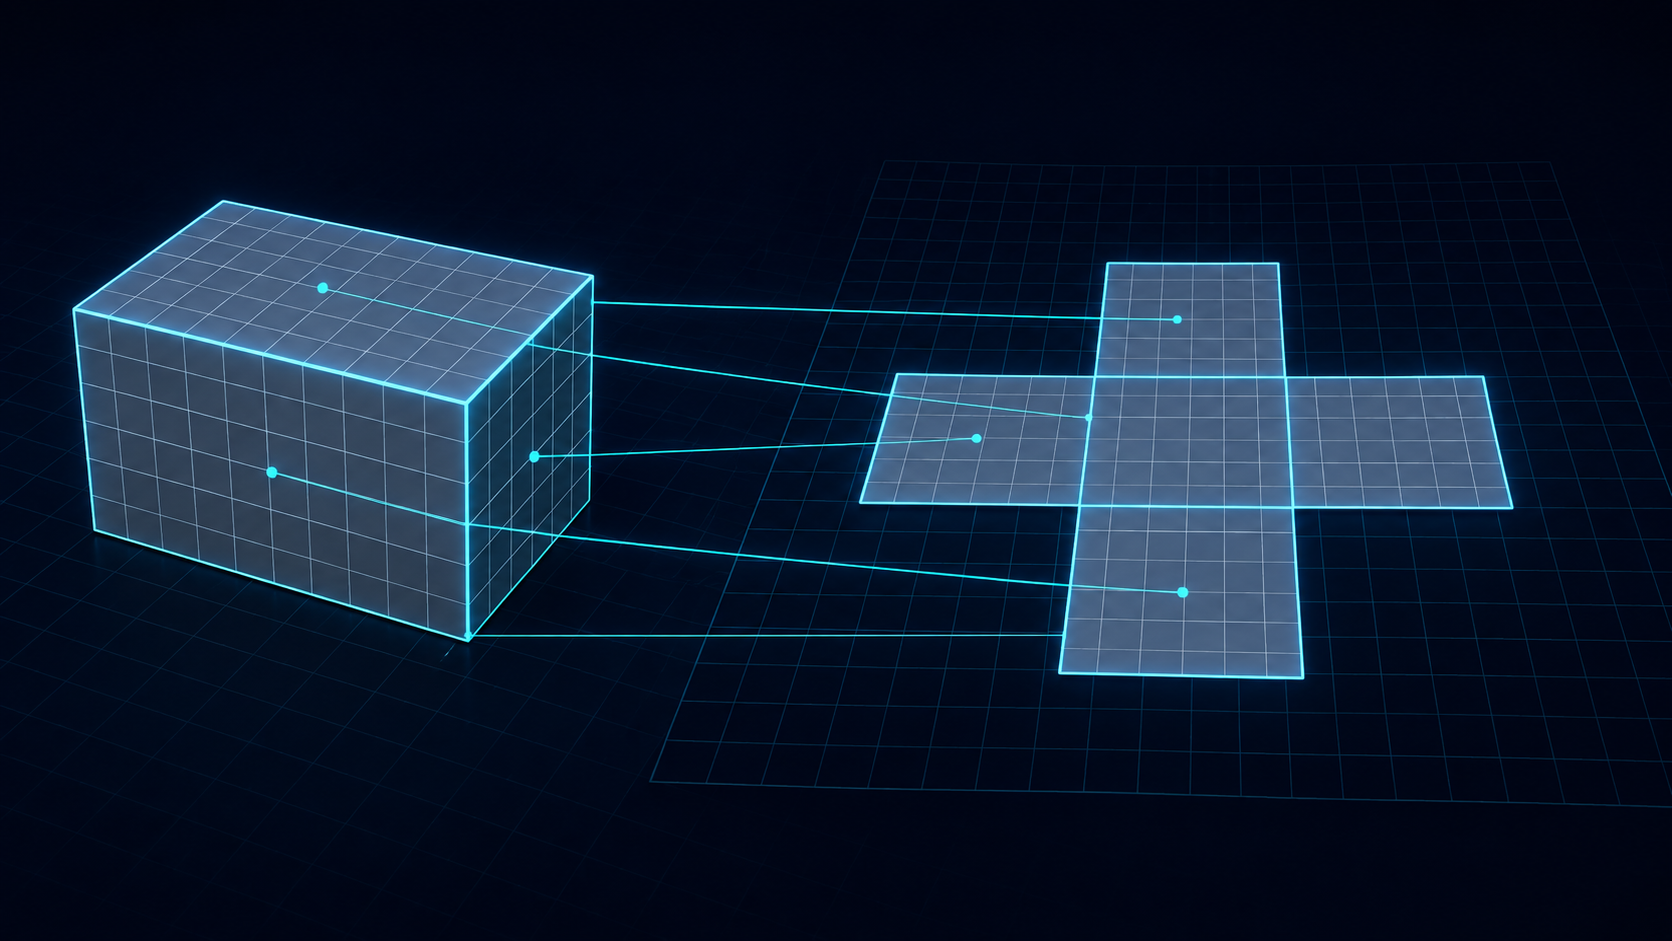
The name comes from the two axes of the 2D coordinate system used to read a texture. U runs horizontally and V runs vertically, together forming the “UV” space. Think of the process as cutting open a cardboard box and laying it flat. The 3D box becomes a 2D net, every point on that net maps back to a specific spot on the original surface, and the texture is painted on the flat net before the net folds back into shape.
Blender’s manual describes UV unwrapping as generating a UV map, a coordinate system that links each point on the 3D surface to a 2D image (Blender Manual: UV Unwrapping). The same concept also appears in Wikipedia’s entry on UV mapping, which covers how the technique is applied across modeling packages (Wikipedia: UV mapping). Every tool that supports texturing, from Blender and Maya to Unreal Engine and Substance Painter, relies on the same underlying idea: a UV map is the address system that tells a texture where each pixel belongs.
The fundamentals are simple. The hard part is unwrapping well enough that textures do not stretch, overlap, or blur. That quality bar is what the rest of this article covers.
Part 2: Why UV Maps Matter for 3D Texturing
A 3D mesh stores geometry only: vertices, edges, and faces. It has no built-in concept of where a texture image should land. Without a UV map, a texture has no address system, so the renderer has nothing to tell it how to wrap the image around the shape.
When a UV map is missing or poorly built, three visible problems appear. The first is stretching. When polygons are flattened with too much deformation, the pixels covering them stretch, and the texture looks smeared. The second is low texel density in the wrong places. A face that gets a tiny patch of UV space shows blurry, pixelated texture no matter how sharp the source image is. The third is seams, visible edges where the texture pattern stops lining up across the boundary between two UV islands.
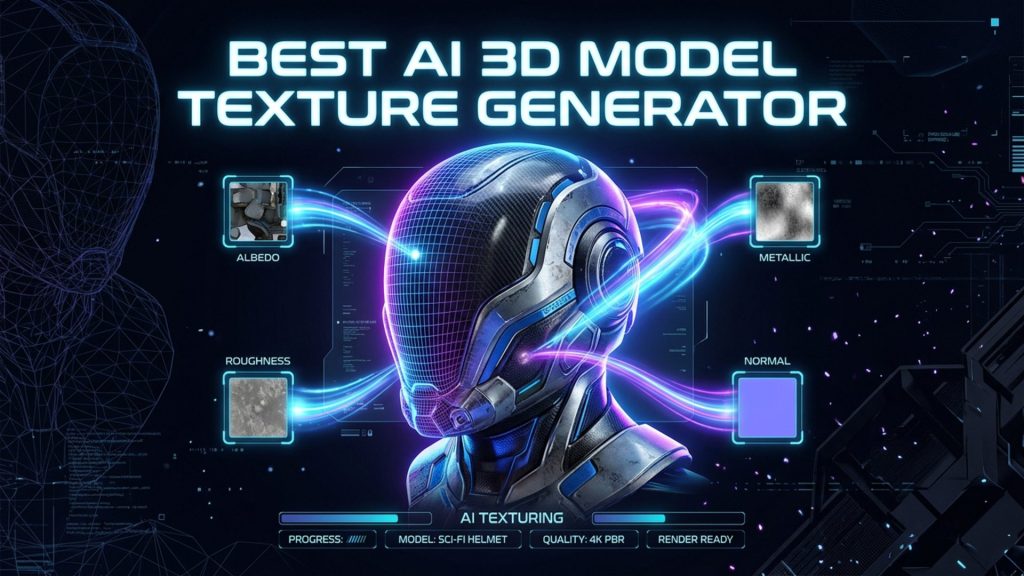
🔹 One unwrap drives every channel. The same UV layout serves the albedo, normal, roughness, and metallic maps. It is built once and reused across the whole material set, which is why clean UVs pay off repeatedly.
Texel Density: Why Consistent Resolution Matters
Texel density is the metric that decides texture quality. It measures how many texture pixels cover a unit of 3D surface. If one part of your model gets 10 texels per centimeter and another gets 200, the low-resolution part looks soft next to the rest. Production teams standardize texel density early so a single texture resolution serves the whole asset.
Once you know what is UV unwrapping at a basic level, the next realization is that a well-formed UV set is also a prerequisite for automated material work. AI texture generation tools produce better results when they receive a UV layout that is already clean and non-overlapping.
Part 3: How UV Unwrapping Works: Seams, Islands, and Packing
The mechanics of UV unwrapping break down into three steps: cutting the mesh into pieces that can lie flat, flattening those pieces, and arranging the results inside UV space.
Step 1: Place Seams
A seam is an edge that you cut to let a surface lie flat. No 3D shape folds perfectly flat without cuts, except a developable surface such as a cylinder. A cube needs several cuts before its faces open into a cross-shaped net. Where you place seams determines how much visible distortion remains. Good practice hides seams along natural edges: the inside of an arm, behind the head, or along the center of a symmetrical object. Seams placed on visible surfaces create obvious texture breaks.
Step 2: Unfold into UV Islands
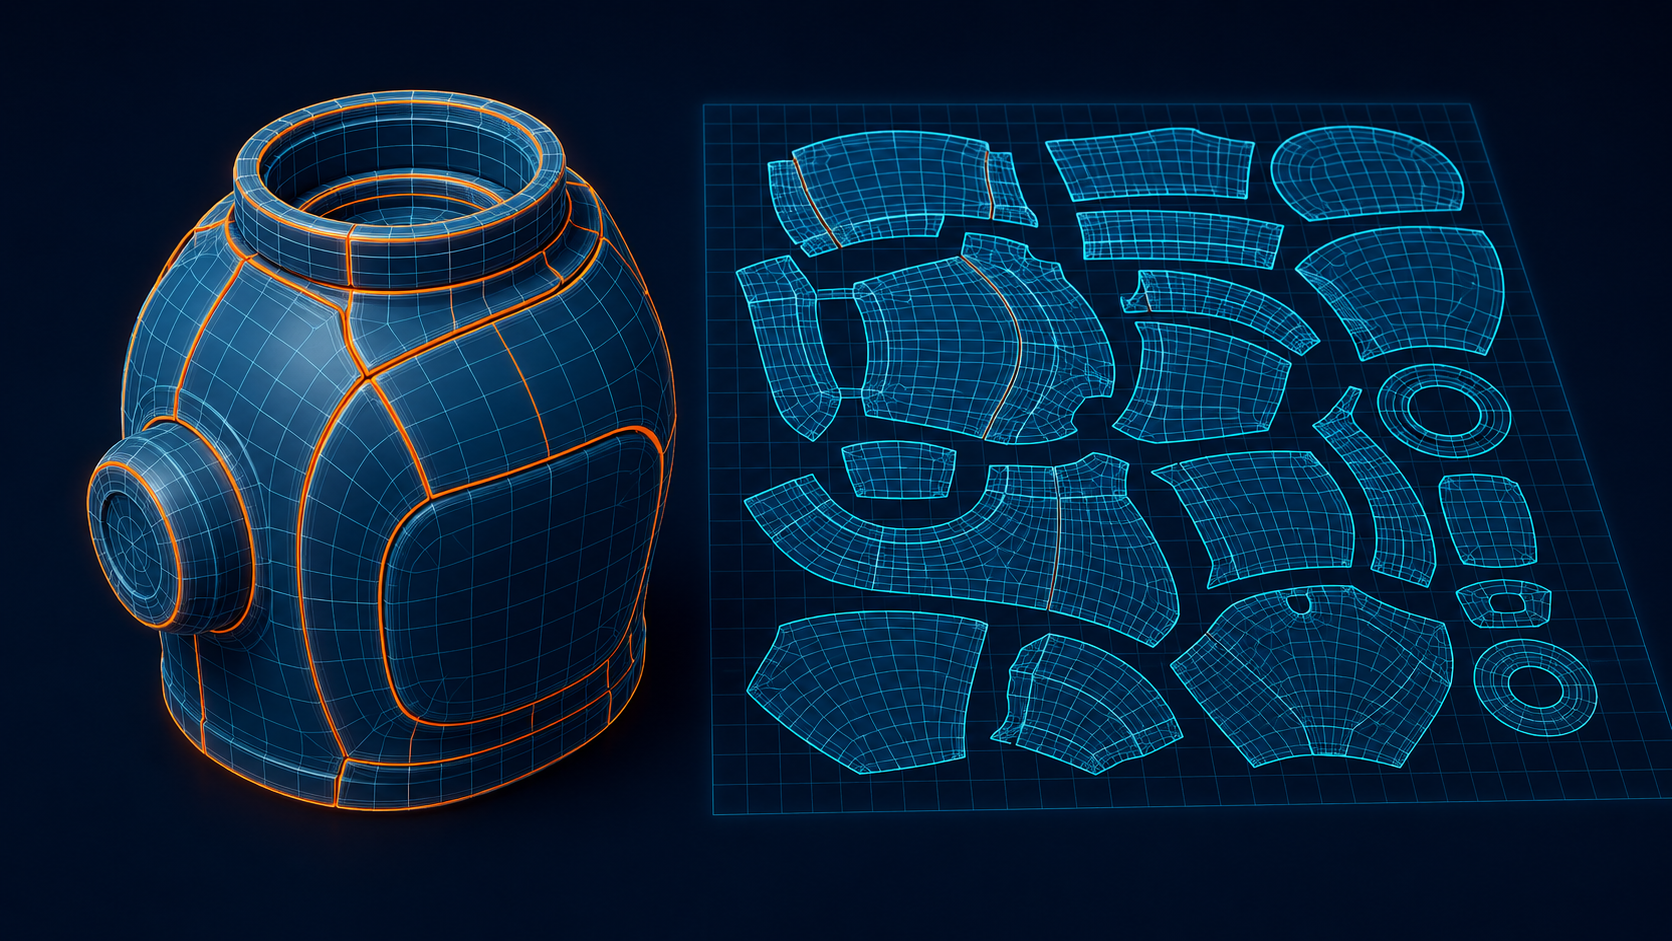
Once seams are in place, the software flattens each connected group of polygons into a UV island. An island is a cluster of polygons that shares one continuous region of UV space. The tool projects each island onto the 2D plane and then relaxes it to minimize distortion. The result is a collection of flat pieces that together cover the whole model.
Step 3: Pack the Islands
Packing arranges all the islands inside the 0 to 1 UV square, the coordinate space that a texture sampler reads. The goal is to use the texture area as efficiently as possible, which maximizes texel density and avoids wasted resolution. Packing also needs a margin between islands to prevent texture bleeding, where the color of one island leaks into its neighbor.
Modern UV editors automate packing, but the result still depends on how the islands were cut and relaxed in the previous steps. In manual UV work, seam placement is the single decision that controls everything downstream: distortion, packing efficiency, and final texture quality.
⚡ Checkerboard test: apply a checker pattern before painting. If the squares stay square and even in size, the unwrap is clean. If they smear or squish, revisit the seams.
Part 4: Do You Need to UV Unwrap?
After learning what is UV unwrapping, the practical question is whether you always need to do it by hand. The answer depends on where the model is going and how it was created. The decision framework below maps common workflows to their UV requirements.
| Workflow | Manual UV Unwrapping Needed? |
|---|---|
| Hand-modeled in Blender or Maya | Yes, always |
| 3D-scanned real object | Usually yes |
| Game asset for Unreal or Unity | Yes, required for lightmaps |
| Architectural baked lighting | Yes, a second UV set |
| AI-generated model (Neural4D) | No, included automatically |
| Quick viewport preview or prototype | Optional |
The pattern in the table is simple. Any asset that will be textured, lit, or shipped to a real-time engine needs a usable UV layout. The only workflows that skip it are pure previews and models that never leave the viewport. Everything else pays for an unwrap somewhere in the pipeline, either during modeling or during generation.
For teams still working in traditional tools, reviewing Blender alternatives for 3D modeling can surface options with friendlier texturing pipelines, but the UV fundamentals apply in every one of them.
Stop Unwrapping Every Model by Hand
Generate 3D models with clean UV maps already in place, ready for texturing in any engine.
Watertight meshes and PBR-ready UV layouts, no manual seams required.
Part 5: UV Unwrapping in AI-Generated 3D Models
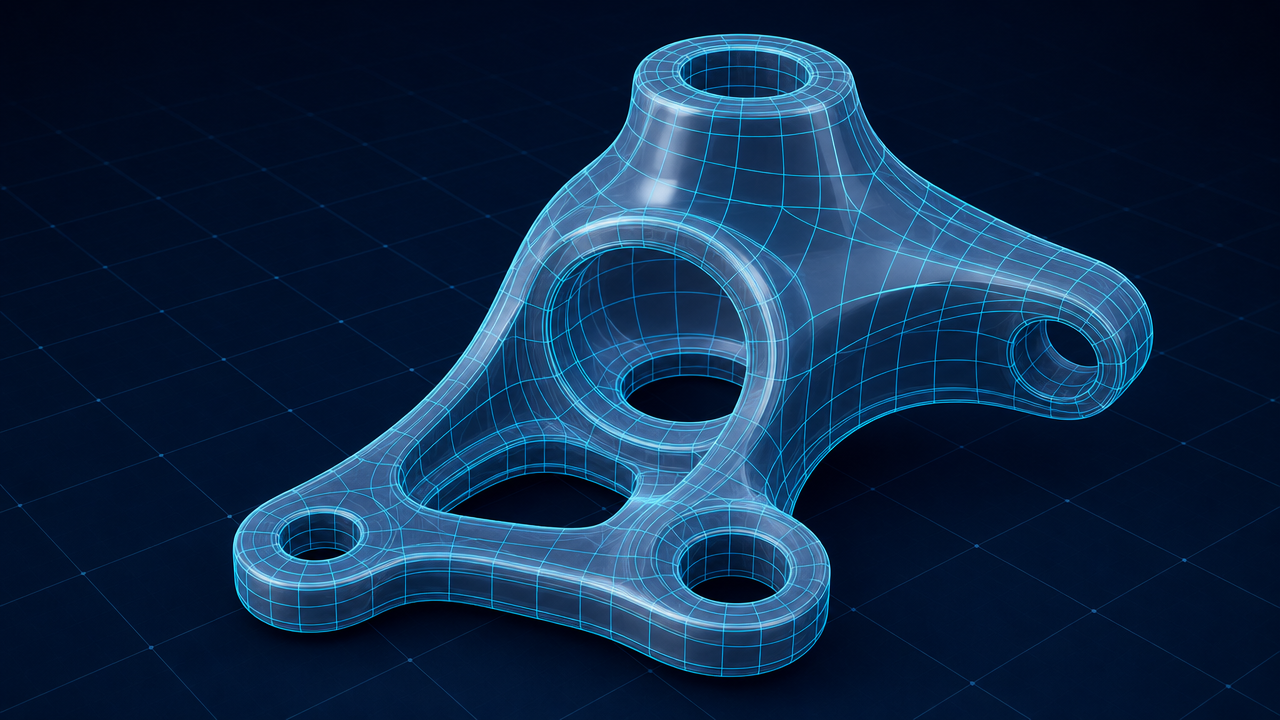
The manual steps in Part 3 are exactly what AI generation removes. When a model is generated with Neural4D, the UV map is not an afterthought bolted on during export. The Direct3D-S2 engine computes UV coordinates natively alongside the geometry, producing non-overlapping islands with uniform pixel density from the start.
That changes the workflow in a measurable way. In a traditional pipeline you model, then unwrap, then texture. With Neural4D’s AI UV mapping, the unwrap step happens during generation, so you go straight from prompt or image to a model whose UV layout is ready for AI texture generation. The export drops directly into Blender, Unreal, Unity, or Substance Painter with textures aligned. This is also why the best AI 3D texture generators pair well with Neural4D output: the texture tool gets a UV set it can actually work with.
Generation speed makes this practical at scale. An untextured base mesh returns in roughly 90 seconds, and adding standard or full PBR maps brings the total to 2 minutes or more. Either way, the UV work that would take an artist half an hour is already done. If the model still needs topology cleanup, AI retopology can refine the mesh without destroying the UV layout. And you can convert an image to a 3D model and get the same auto-unwrapped result in one pass.
The takeaway for artists is not that manual UV skills are obsolete. Professional texturing still benefits from knowing how seams and islands behave, especially when a generated model needs a custom layout for a specific shot. The change is that the default case, standard product texturing, no longer requires touching a UV editor. For anyone asking what is UV unwrapping before starting a project, the same question now has a faster route: generate the model with the UVs included.
Part 6: Common Questions on UV Unwrapping
Q: What is UV unwrapping used for?
Put simply, what is UV unwrapping used for? Giving any texture a stable home on a 3D surface, and that stability matters most when the model moves. On an animated mesh without UVs, the texture can drift and appear to slide across the geometry because the renderer keeps recomputing the projection. A fixed UV layout locks the texture to the surface, which is also why game assets reuse the same UV set across LOD levels so the skin does not shift when the detail level swaps.
Q: Is UV unwrapping necessary for every 3D model?
Not strictly. Models shaded with triplanar or object-space coordinates, point clouds, and some procedural materials never read a UV map. Those setups are the exception. The moment a model needs a painted texture, a decal, or a baked lightmap, a UV layout becomes mandatory, which is why it is standard practice in game and product pipelines.
Q: What is the difference between UV mapping and UV unwrapping?
UV mapping is the broader discipline of creating and managing the 2D coordinate system that binds a texture to a mesh. UV unwrapping is the specific act of cutting seams and flattening the surface into that coordinate system. Think of UV mapping as the whole system and UV unwrapping as the cutting and flattening step inside it.
Q: What causes texture stretching in UV unwrapping?
Stretching appears when polygons are deformed too much while being flattened, so the pixels covering them are forced to spread unevenly. The usual culprits are too few seams, seams placed across curved surfaces, and weak relaxation. UV editors expose this through a stretch heatmap, and a checkerboard test pattern reveals it instantly in the viewport.
Q: How do I fix bad UV seams?
Start by moving seams to hidden geometry, such as the inside of an arm, the back of a head, or the center line of a symmetric object. Then relax the islands again so distortion settles. If edges still show texture breaks, increase the margin between islands to stop bleeding, and match texel density across neighboring islands so the pattern continuity holds.
Q: Can AI do UV unwrapping automatically?
Yes, with a caveat. Traditional auto-unwrap tools, like Blender’s Smart UV Project, flatten the mesh without understanding what the surface is, so layouts often need manual cleanup. AI-driven generation changes that: Neural4D computes UVs during generation, so the layout arrives aligned with the geometry and the PBR maps from the start, and you can still open it in any standard editor to fine-tune.
What UV Unwrapping Means for Your Next Project
What is UV unwrapping, and when should you worry about it? It is the address system that tells a texture where to sit, and it decides whether your final asset looks clean or amateur. Manual unwrapping remains a core skill for hand-built models, but it no longer has to be a roadblock for everyone else. If the model is AI-generated, the UV layout comes with it.
Get 3D Models with UVs Already Done
Neural4D computes UV maps during generation, so you skip straight to texturing and shipping.
PBR textures and universal UV layouts compatible with Blender, Unreal, Unity, and Substance Painter.