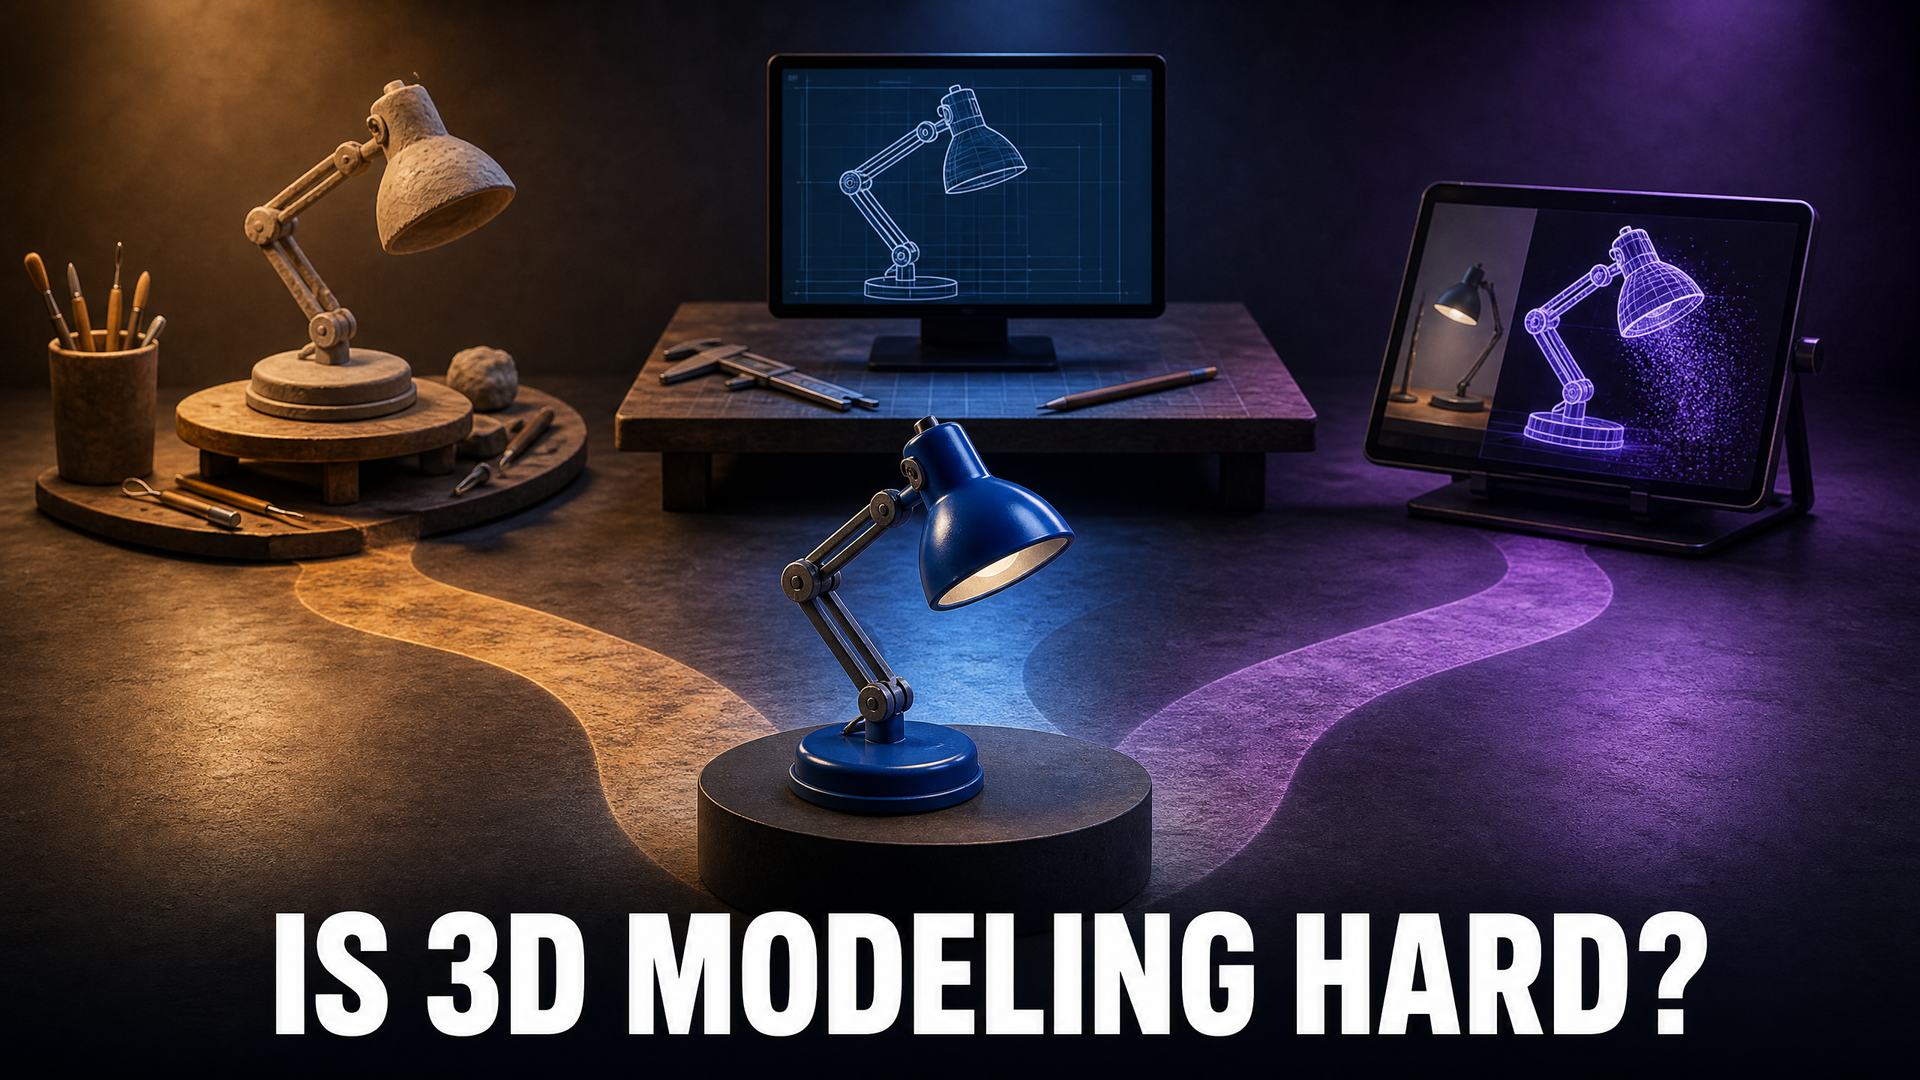
Is 3D Modeling Hard? Choose a Starting Path for Your Goal
Quick Summary
- Manual 3D modeling is a real skill with a long ramp. Producing a usable 3D asset does not have to be.
- The difficulty comes from four places: spatial thinking, tool breadth, the pipeline beyond modeling, and a mismatch between the tool and the output.
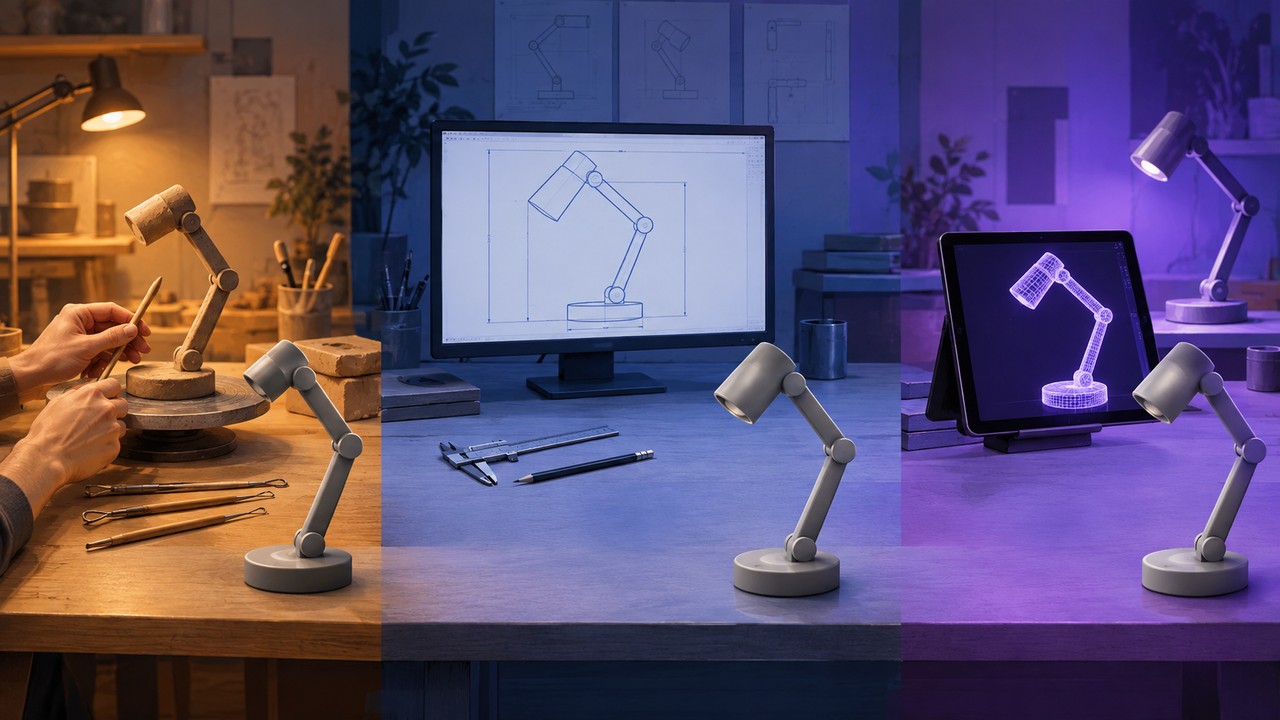
- Pick the path by deliverable: CAD for precise parts, a general 3D suite for animation and game assets, AI generation for an asset you can export and use now.
- AI removes manual mesh and first pass texture work. It does not remove the need to define the output, judge the result, or meet the next stage’s requirements.
3D modeling is hard in the way any craft is hard: the first usable result takes focus, and professional level work takes years. But that is not the only question worth asking. If you need a 3D asset rather than a career, the difficulty depends almost entirely on the path you choose. A dimensioned bracket, an animated character, and a product visual are different jobs. They use different tools, different feedback loops, and different definitions of done. This guide separates those paths, shows where beginners usually stall, and helps you pick the shortest route to the output you actually need.
Why Is 3D Modeling Hard?
The first step is to stop treating difficulty as one number. Four things make 3D modeling feel hard, and each one can be reduced or avoided. The underlying concepts, from polygon meshes to the standard production pipeline, are covered in this guide to what 3D modeling actually involves.
You have to think in three dimensions
A mesh is built from vertices, edges, and faces. You judge depth from a flat screen, rotate the view to check a silhouette, and make choices that may look correct from one angle and wrong from another. Drawing helps with proportion and shape, but it is not the entry fee. Spatial reasoning is, and it improves with contact. People who struggle most are often not short on talent; they are short on hours spent rotating an object in 3D space.
The software exposes the entire pipeline
A general 3D application is not one tool. It is a stack of tools that share one window. Blender’s own feature list covers sculpting, retopology, modeling, curves, rigging, animation, rendering, simulation, scripting, and pipeline integration. A beginner opens all of it on day one, sees dozens of panels, and assumes every panel matters. Most of them do not matter for the first project. The interface feels hard because it is comprehensive, not because every part is required.
The feedback loop is slow at first
Early mistakes do not announce themselves. A misplaced edge loop may only cause trouble when you rig the model. A texture may only stretch when the surface bends. A model may look fine in the viewport and fail in a slicer. The delay between action and consequence makes learning feel slower than it is, because you cannot see the result of a decision until several steps later.
The goal and the tool often do not match
Many people who call 3D modeling hard are fighting the wrong tool. A sculptor learning parametric CAD for a bracket and a designer learning sculpting for a dimensioned enclosure are both doing two jobs at once: learning a craft and learning a tool that does not fit the output. When the path matches the deliverable, the same person often finds the work manageable. That is why the choice of path matters more than the choice of brand.

How Hard Each Type of Modeling Is
Difficulty also changes with the kind of modeling. The table below compares the demand of each type, not the quality of any tool.
| Type | What you mainly learn | Where beginners stall | A sensible first project |
|---|---|---|---|
| Polygonal modeling | Topology, edge flow, and scale control | Keeping the mesh clean while adding detail | A mug, a crate, or a phone stand |
| Digital sculpting | Form, proportion, and surface detail | Controlling shape at high density, then retopology | An organic prop or a simple creature bust |
| Parametric CAD | Constraints, dimensions, and features | Thinking in parameters instead of direct shape | A bracket, an enclosure, or a printable part |
| AI generation | Describing the asset and judging the result | Steering with prompts and references, then checking downstream fit | A textured prop or a product visual |
The point is not that one type is better. It is that a task can be easy in one category and hard in another. Choosing a category you do not need is one of the most common ways beginners make the work harder.
Match the Path to What You Need to Make
The fastest way to decide is to start from the output, then work backward. If you already know which software to compare, the guide to 3D modeling software for beginners owns that comparison. This section only decides which kind of path fits the job.
For a precise or printable part, start with CAD
If the part has to fit another object, hold a load, or hit a dimension, learn parametric CAD. The work is built from sketches, constraints, and features, so changes are made by editing parameters instead of pushing vertices. Tinkercad is a common browser based first step; Fusion 360 and FreeCAD are common next steps. N4D’s Coala AI CAD Agent takes text, a reference image, or a technical drawing and returns an STL for industrial components such as gears, hinges, brackets, enclosures, and phone cases. The product page is explicit that Coala is for dimensioned industrial parts, not characters or organic shapes, and that STEP and IGS export are planned rather than available today.
For a game asset, character, or animation, use a general 3D suite
Animation, rigging, and engine integration need control over topology, UVs, and a skeleton. A general 3D suite is the right home for that work. Blender is free and open source and includes sculpting, retopology, modeling, curves, rigging, animation, rendering, simulation, and scripting. The cost is the learning surface described earlier. You can start from an AI generated base mesh, but the asset still has to meet the pipeline’s requirements. Cleanup, retopology, UVs, and rigging are the parts AI does not do for you. If you are comparing suites, this list of Blender alternatives is the next stop.
For a product visual or a single object, try AI generation first
If the deliverable is an image, a web viewer, a prototype, or one object, generating the asset can be the shortest path. N4D’s Image to 3D and Text to 3D tools produce a watertight mesh with PBR materials. Exports include GLB, OBJ, FBX, USDZ, STL, and BLEND, so the result can move into a viewer, a game engine, or a slicer. You steer with prompts and reference images instead of individual vertices, which is a different skill from modeling but still a skill.
For architecture and interiors, use a surface modeler
SketchUp Free runs the core modeler in a browser and exports STL, which makes it a practical starting point for rooms, furniture layouts, and simple architectural forms. It is not a sculpting tool and does not try to be. Its advantage is that the modeling approach matches the geometry most architectural work uses: flat surfaces, straight edges, and repeated components.
For learning the craft itself, finish projects in one suite
If the goal is to become a 3D artist, the path is not a tour of ten tools. Pick one suite, learn the operations your project needs, and finish work. Feedback from a finished model teaches more than another beginner tutorial. The software choice matters less than the habit of completing something and reviewing what failed.
Need a Usable Asset Without the Full Learning Curve?
What the AI Path Removes, and What It Does Not
AI generation is the newest path, and it is also the one most often described in extremes. It is neither a replacement for learning 3D modeling nor a trick that removes every hard part. It changes where the work starts.
N4D generates from text or a single image. The base mesh takes a few seconds. PBR texturing is a separate step, and a full textured result takes a few seconds. Models are generated at 2048³ resolution with watertight geometry, and the export list covers GLB, OBJ, FBX, USDZ, STL, and BLEND. Free accounts receive 50 credits per week for noncommercial use.
What it removes is the manual vertex placement, the first pass UV and texture work, and the software onboarding needed to produce a base asset. For a reader whose goal is a usable object, that is the bulk of the traditional entry cost.
What it does not remove:
- Defining what the asset must do. A game character and a printable bracket have different requirements.
- Writing and revising the prompt or reference. Iteration is still work, even when it is not vertex work.
- Judging the result. You still have to decide whether the silhouette, material, and proportions are right.
- Meeting the next stage. Topology for rigging, dimensional checks for printing, and composition for a product visual remain your responsibility.
There is also a scope line. N4D’s texture and remesh tools work on models generated in N4D, not on arbitrary meshes from other tools. If your job starts with an existing mesh that needs repair, this is not that tool. For precise industrial parts, the AI path splits again: Coala is built for dimensioned components, while text to 3D and image to 3D are better for organic or visual assets. Using the wrong one is a common reason the result disappoints.
The official N4D walkthrough below shows the image to 3D flow from input to export.

A Realistic Way to Start
A realistic start is less about finding the perfect tutorial and more about reducing the number of variables.
- Write down the deliverable. An STL for a bracket, a GLB for a game prop, and a PNG render for a product page are three different jobs. The format and the next stage decide more than the software does.
- Pick the path by your tolerance for control versus time. If dimensions are nonnegotiable, start with CAD. If the asset has to animate or enter an engine, start with a general 3D suite. If the job is to get a usable object now, start with generation.
- Learn the minimum tool surface. For Blender, that means navigation, transforms, extrude, loop cut, and bevel. For CAD, it means sketch, constraint, extrude, and fillet. For generation, it means reference selection, prompt structure, and iteration. Ignore the rest until a project needs it.
- Finish one small project end to end. Include the step after modeling: slicing, engine import, or rendering. A model that has never left the viewport has not been tested.
- Add a second tool only when a specific limit blocks you. Switching tools feels productive and rarely is. Let a real failure tell you what to learn next.
No fixed timeline is honest here. Published beginner guides vary. Shapelab describes months for the fundamentals and years for mastery. Zealous XR puts the basics at a couple of months, intermediate detail work at six months to a year, and professional work at a few years. The disagreement is the point. The range depends on your goal, your hours, and the feedback you get, not on a single number attached to a software name.
Frequently Asked Questions
Q: Is 3D modeling hard for beginners?
It is manageable when the path matches the output. Manual modeling has a real learning curve, CAD asks for precision and constraints, and AI generation gets you a usable asset sooner but gives you less direct control. The first project is the hardest part, not the whole field.
Q: How long does it take to learn 3D modeling?
There is no standard timeline. Beginner guides commonly describe a couple of months of regular practice to reach basic competence and years to reach professional level work. What matters more is how often you finish a project and get feedback. A fixed number from a tutorial is not a schedule.
Q: Do I need to know how to draw to learn 3D modeling?
No. Drawing helps with shape and proportion, but modeling is built from geometry and observation. Reference images and simple primitives can carry a beginner a long way. Sculpting and character work benefit more from drawing practice than CAD or prop modeling.
Q: Is Blender hard to learn?
Blender is powerful and free, and its scope is why it feels hard. One interface covers modeling, sculpting, retopology, rigging, animation, rendering, simulation, and scripting. A beginner can ignore most of it. Learn navigation, transforms, and a few modeling tools first, then add the rest when a project needs it.
Q: Is AI 3D modeling easier than manual modeling?
It is easier to get a first result, not necessarily easier to get a specific result. You trade vertex level control for speed and iteration. If the output has to meet exact dimensions, rigging requirements, or a particular topology, the manual or CAD path can still be faster overall.
Q: Can I learn 3D modeling for free?
Yes. Blender is free and open source, SketchUp Free runs in a browser, and N4D’s free plan includes 50 credits per week for noncommercial use. Free software still costs time, and hosted free tiers have limits. The question is whether the free path can produce your output, not whether it exists.
Conclusion: Pick the Output First
Pick the output first. A precise part points to CAD. An animated character points to a general 3D suite. A usable asset for a visual, a prototype, or a single object can start with generation. The craft is hard, but most beginners make it harder by choosing a tool before they know the job. Choose the job, learn the minimum, and finish one thing.
If you are still deciding between the two broad routes, this guide to choosing between AI and traditional 3D modeling goes deeper.
Make Your First 3D Asset
Describe the object or upload a photo, generate a textured mesh, and export it to the format your next step needs.
Free 50 credits every week, no credit card required.