How to Texture 3D Models with AI: A Step by Step Guide
Quick Summary
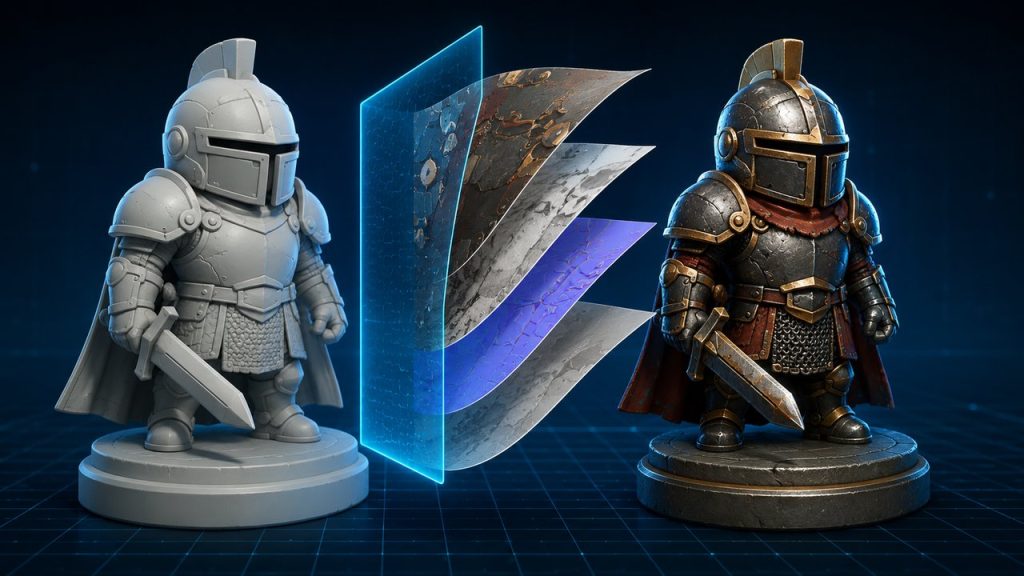
How to texture 3D models with AI means using a machine learning tool to generate and apply PBR materials to an existing 3D mesh, from a 2D reference image or a text prompt, instead of hand painting every map.
- The workflow is four steps: prepare the mesh, supply a reference (image or text), generate the PBR maps, and export.
- Meshy and 3D AI Studio generate textures quickly from prompts, but output control depends heavily on the source mesh.
- Neural4D textures a mesh generated in its 3D Studio from a 2D reference or text prompt and outputs relightable PBR maps on clean topology, with no baked lighting.
You do not need to paint albedo, roughness, and normal maps by hand anymore. This guide shows how to texture 3D models with AI end to end, what the AI needs from you, and which tool fits a production pipeline.
Part 1: What You Need to Texture 3D Models with AI
Before you generate your first material, gather three things: a 3D mesh to work on, a reference for the surface you want, and an AI texture tool that supports your target formats. The mesh is the object that receives the texture. The reference is the source of the material look, either a 2D image or a text description.
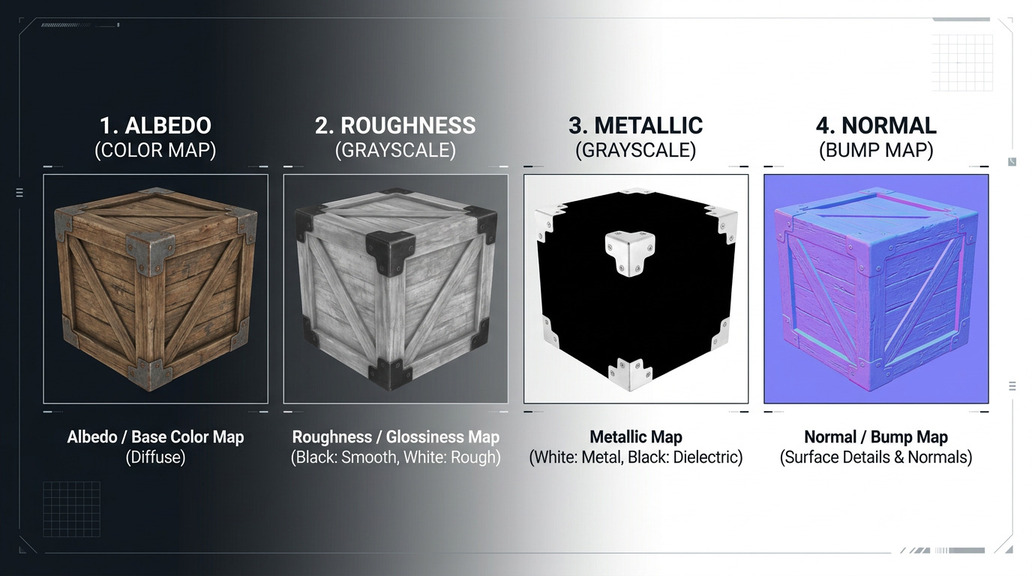
The PBR foundation. Production tools output a Physically Based Rendering map set: albedo (base color), roughness, metallic, and normal maps. These four channels define how the surface reacts to light in any modern engine. If you want to go deeper on each channel, this overview of PBR texturing walks through albedo, roughness, metallic, and normal in plain terms.
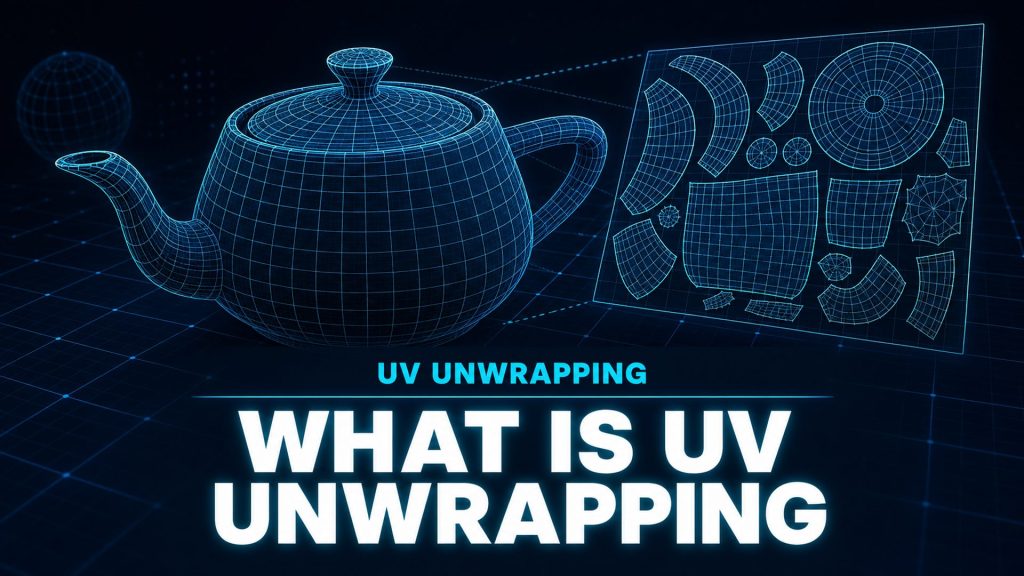
Why UVs matter. Textures wrap around a mesh through UV coordinates. If the mesh has clean, non-overlapping UV islands, the generated maps sit cleanly on the surface. If the UVs are tangled, you see seams and stretching no matter how good the AI output is. AI tools that generate the model also compute UVs automatically, which removes this whole failure class. Before you learn how to texture 3D models with AI, make sure the mesh you feed in has usable UVs. For a full breakdown of the concept, read what is UV unwrapping first.
Part 2: How to Texture 3D Models with AI, Step by Step
Here is how to texture 3D models with AI end to end, using Neural4D AI Texture as the example. The same four stages apply to most tools, and the important part is the direction of the workflow: the 3D mesh is the object that receives the material, while the 2D image or text prompt is only the reference that guides the look.
Step 1. Upload or prepare the 3D mesh
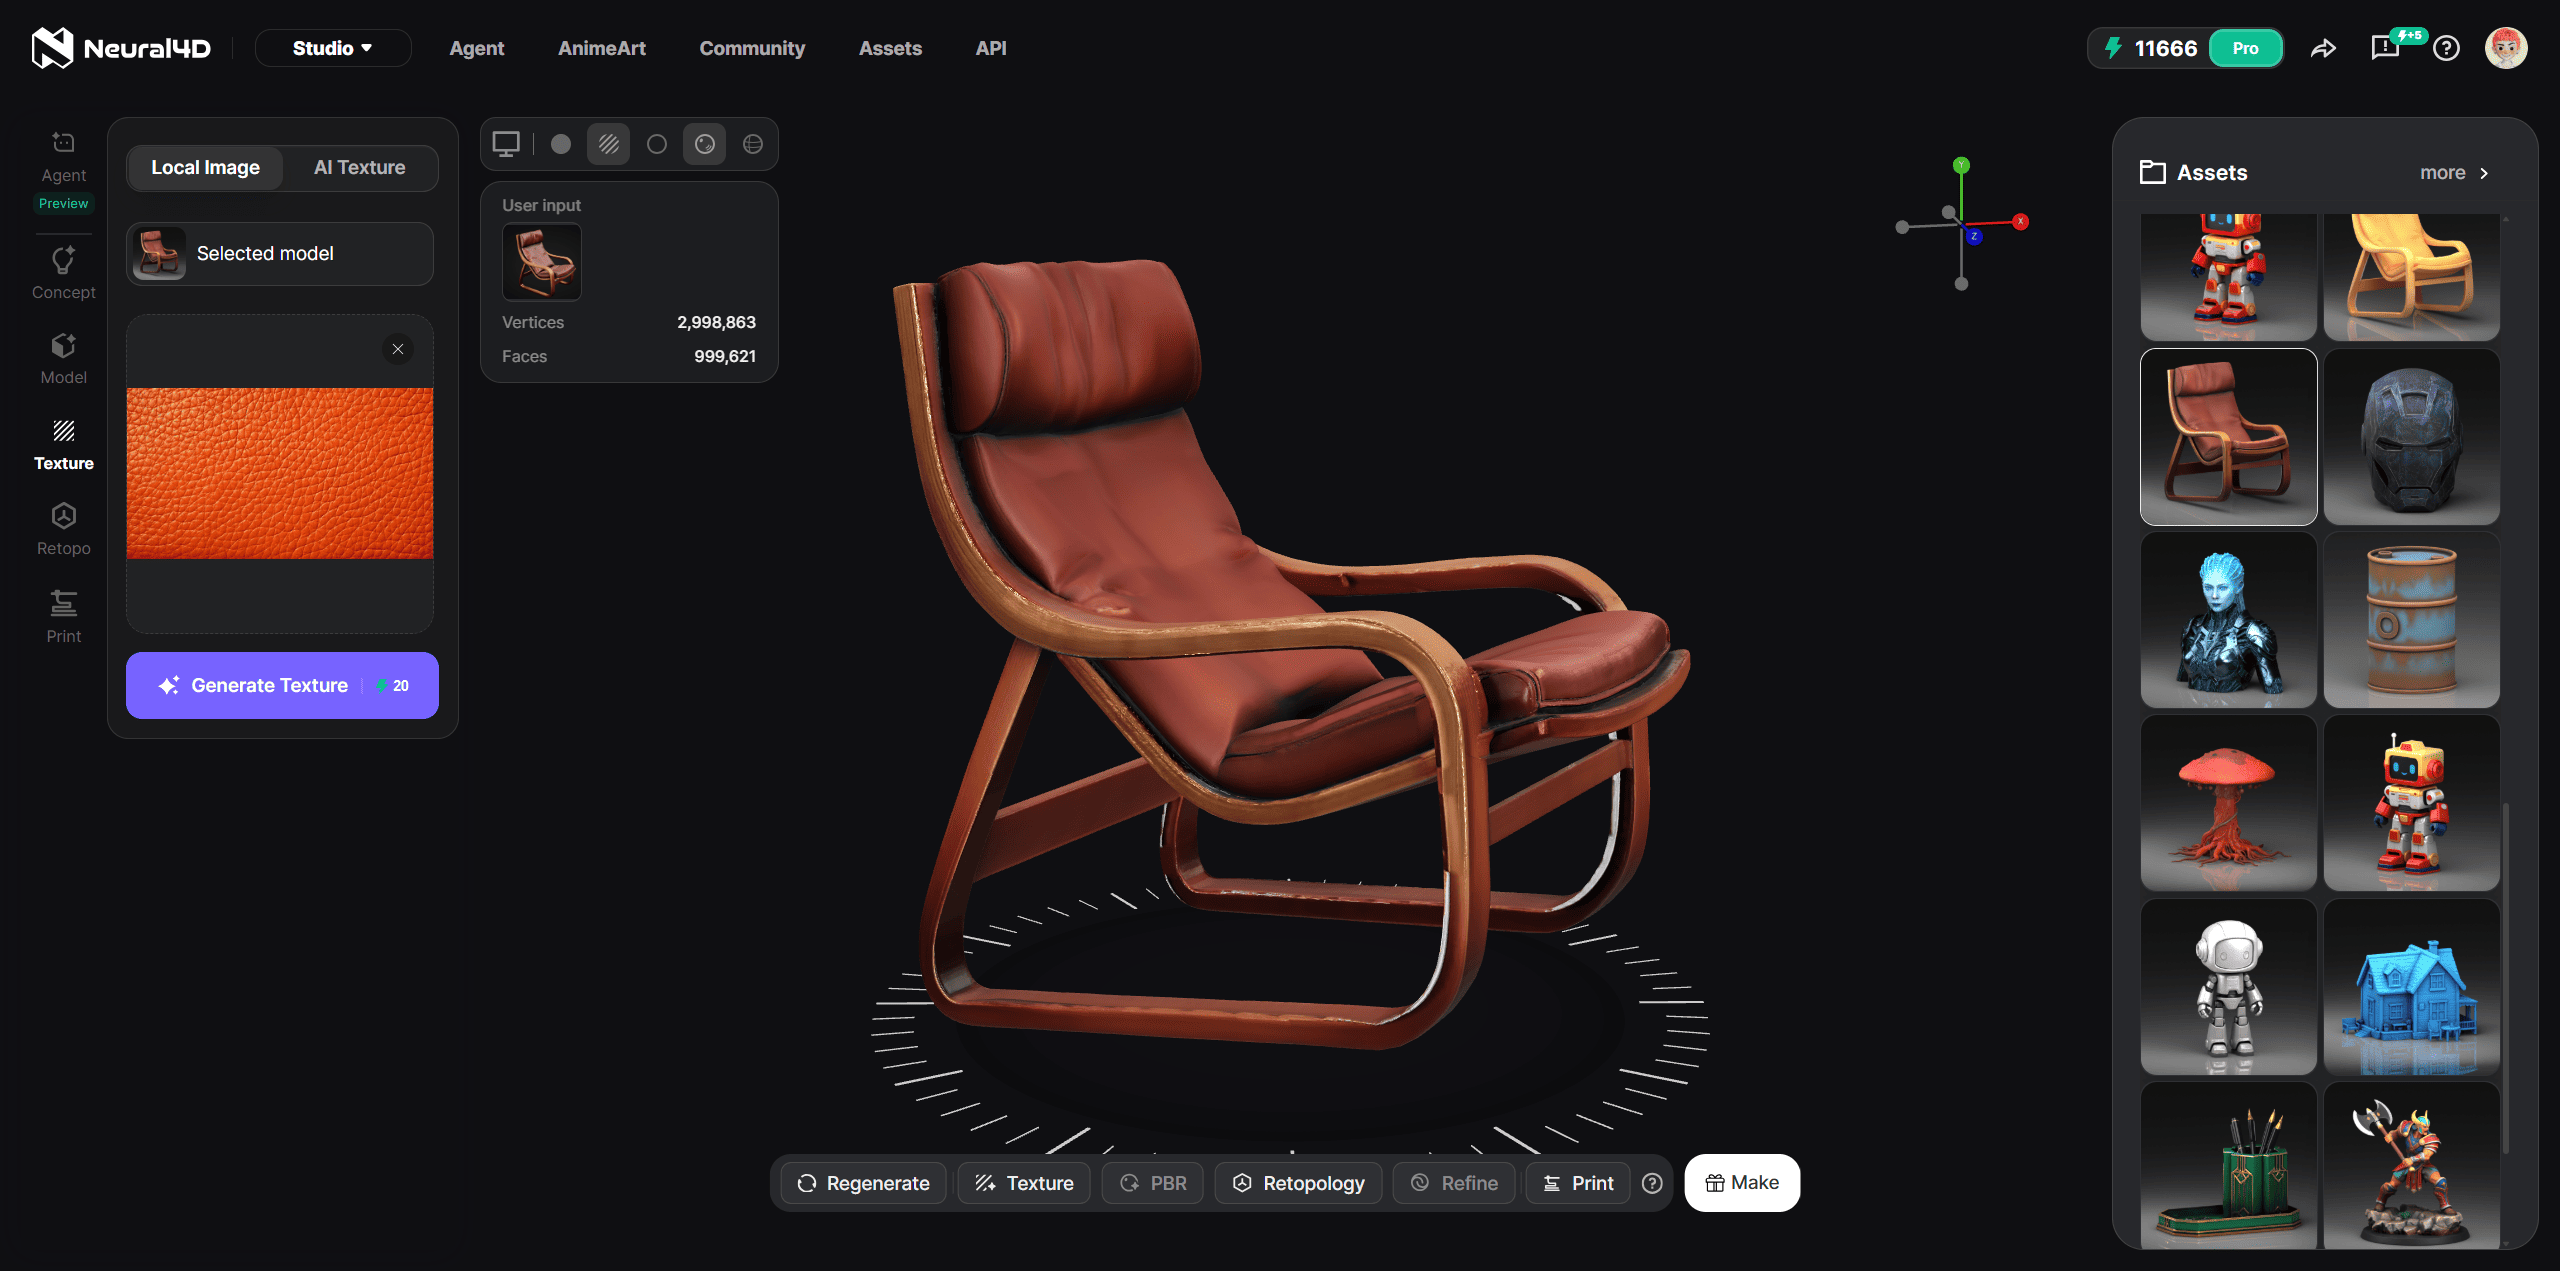
Start with the mesh you want to texture. Neural4D AI Texture currently works on models generated inside the Neural4D 3D Studio, so the mesh arrives with clean topology and automatic UV generation already done, which gives the texturing step the best possible surface to work with. Fix any non-manifold faces or overlapping UV islands in the Studio before you generate, because those defects will show up as artifacts in the output maps. For a full walkthrough of the interface and every option, the how to use AI Texture guide steps through the workflow in the Studio.
Step 2. Provide a reference: a 2D image or a text prompt
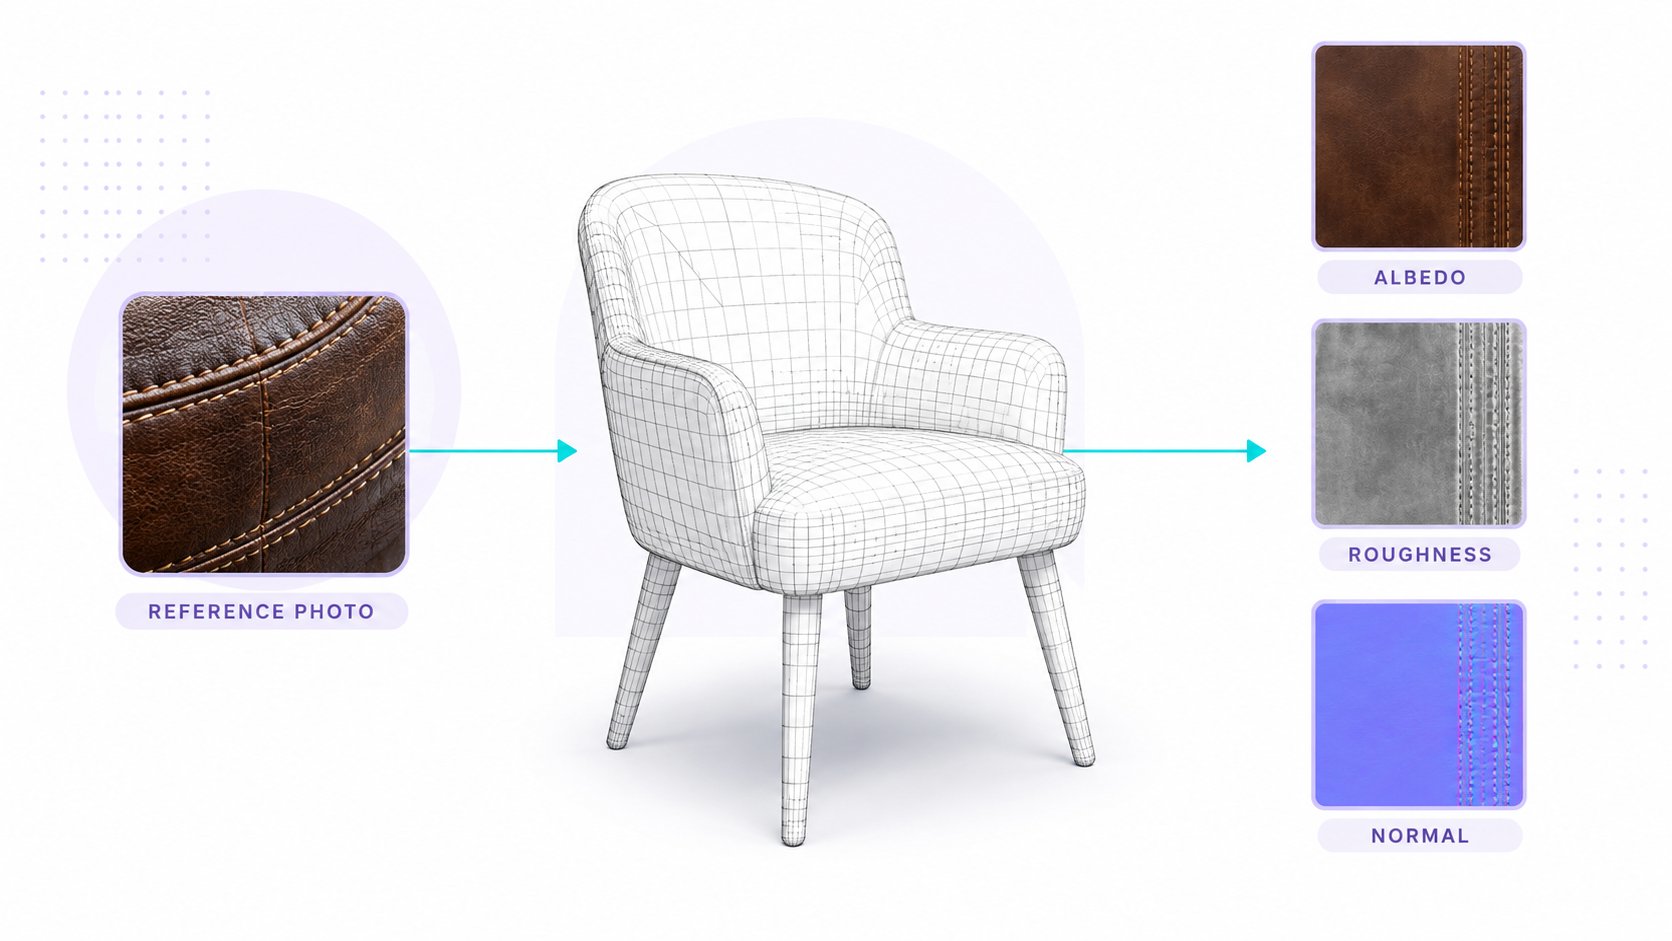
This is where the direction matters. The 2D image you upload is the reference, and the 3D mesh is the object that receives the material. Neural4D extracts material features from that reference, including glossiness, roughness, metalness, and reflection, then transfers them onto the mesh geometry. Upload a photo of brushed metal, and the mesh comes back reading as brushed metal.
You can also skip the image entirely and describe the material with text. A prompt such as “dark leather with stitched seams” or “brushed steel, matte finish” works because AI Texture accepts text descriptions of the material you want. This text-first path is useful when you do not have a usable photo, or when you want to explore several material directions quickly without sourcing reference images.
Step 3. Generate the PBR maps
On generate, the AI produces the map set: albedo, roughness, metallic, and normal. Each generation consumes 20 credits. Because Neural4D is built on the Direct3D-S2 architecture with Spatial Sparse Attention, it keeps spatial consistency across back-facing geometry, undercuts, and interior-facing surfaces, which is where simpler tools tend to break. The albedo channel is relightable, meaning no environmental lighting is baked into it, so the texture behaves correctly under dynamic in-engine lights.
Step 4. Export
The textured result exports as a model file with the maps attached: .glb, .fbx, .obj, .usdz, .stl, or .blend. A complete production-ready textured asset typically takes about 2 to 3 minutes end to end. The exported package is engine-ready, with no additional baking or painting steps before import.
The main quality problem to watch for in the category is baked lighting in the albedo channel. Some tools are trained on photographic data without separating illumination from surface color, so the output looks fine in a screenshot but breaks under real-time relighting. Look for tools that explicitly document relightable or pure albedo output, and test the result in your engine before committing to a pipeline.
Texture your first 3D model in minutes
Create a mesh in 3D Studio, add a 2D reference or a text prompt, and get relightable PBR maps with no manual UV work.
Free users get 50 credits per week. No credit card required.
Part 3: Choosing the Best AI Texture Generator
Not every tool that calls itself an AI texture generator delivers production-usable output. When you texture 3D models with AI at scale, the tool choice decides whether your assets survive engine import. Compare the main options on texture quality, speed, and pricing.
| Tool | Best For | Texture Quality | Speed | Pricing | Key Limitation |
|---|---|---|---|---|---|
| Neural4D | Production pipelines, game-ready assets | Relightable PBR, no baked lighting | ~2-3 minutes textured | Free (50 credits/wk), Pro $18/mo | Newer platform with smaller community |
| Meshy | Fast prompt-driven texturing | Good PBR maps from prompts | Fast | $20+/mo | Less control over UV layout |
| 3D AI Studio | All-in-one generation and texturing | Reliable map sets | Fast | $19+/mo | Fixed output resolution tiers |
| Rodin AI | Character and organic models | Strong on organic surfaces | Fast | $24+/mo | Higher entry price |
Each tool fills a specific niche. The right choice depends on whether your priority is mesh integrity, rendering photorealism, iteration speed, or pipeline flexibility. For most production work that demands animation-ready assets, clean UVs, and relightable materials should be the deciding factors.
Part 4: Practical AI Texturing Workflows
Game asset pipeline for Unreal and Unity
For indie developers and small studios, the typical flow is: generate or import the base mesh, run AI texturing with a reference that matches the game visual language, export as .glb or .fbx, and import into Unreal or Unity. The PBR maps arrive engine-ready with no extra baking step. Topology around deformation zones still deserves a check before rigging, because AI output can hide edge-flow issues that show up during animation. Building 3D characters for games covers the edge-flow checks that matter here.
Blender round trip
Blender users can texture with AI and bring the result back for layout, rendering, or further modeling. Export from the AI tool as .obj, .fbx, or .glb with the PBR maps, import into Blender, and attach the maps to a Principled BSDF material. The relightable albedo keeps EEVEE and Cycles renders consistent, since no lighting is baked into the color channel. If the model came from a scan or a marketplace and has messy UVs, an AI UV mapping pass before texturing prevents most seam problems.
Product visualization and e-commerce
Product teams often need believable materials such as brushed metal, matte plastic, or woven fabric. A photo reference of the actual material produces PBR maps that hold up under studio lighting, and the pure albedo output is especially important here because product renderers use physically accurate lighting models. When you need to start from a product photo and build the mesh first, converting an image to a 3D model gives you a clean base to texture afterward.
Part 5: Tips for Better AI Texture Results
A few habits separate preview-grade output from asset-library quality when you texture 3D models with AI. The same rules apply whether you work in Blender, Unreal, or Unity, and they mostly come down to what you feed the tool.
- Use clean geometry. Non-manifold faces and overlapping UV islands cause visible artifacts in the output maps. Fix topology before you generate.
- Give the reference image detail. The AI reads material features from the reference, so a blurry or low-contrast photo produces flat, detail-poor output. Use a well-lit, close-up shot of the surface.
- Ask for seamless and tiling maps when you need them. For floors, walls, and large surfaces, request seamless or tiling textures so the pattern repeats without visible borders. Check the repeat at UV boundaries before delivery.
- Separate material zones. For multi-material assets such as a cloth body with metal accessories, run separate texture passes per zone instead of one reference for the whole model. Each material gets its own roughness and metallic values.
- Test under multiple lighting environments. A pure albedo should look neutral under white light. If it looks pre-lit, the tool baked environmental lighting into the color channel, and the asset will break under dynamic lights.
For teams exploring what the platform can produce across different asset types and prompt styles, these 10 Neural4D prompts to try for 3D assets are a useful starting reference. If you need to texture at volume or integrate into a pipeline, the AI texture feature is also available through the Neural4D API, and the pricing page covers plan limits.
Ready to texture 3D models with AI?
Neural4D AI Texture generates relightable PBR maps on your existing mesh, from a 2D reference or a text prompt.
Free users get 50 credits per week. No credit card required.
Part 6: FAQ on Texturing 3D Models with AI
Q: Can AI texture 3D models?
Yes. AI texture generators take an existing 3D mesh, read a 2D reference image or a text description of the material, and produce a PBR map set (albedo, roughness, metallic, normal) that is applied to the mesh automatically. The mesh is the object that receives the texture, and the image or prompt is only the reference.
Q: How to texture 3D models with AI in Blender?
Texture the model in an AI tool first, export it as .obj, .fbx, or .glb with the PBR maps attached, then import it into Blender. In Blender, connect the exported maps to a Principled BSDF material (base color to albedo, roughness to Roughness, metallic to Metallic, and the normal map to Normal). Because the albedo has no baked lighting, Cycles and EEVEE renders stay consistent.
Q: Can I use a text prompt instead of a reference image?
Yes. Neural4D AI Texture accepts text descriptions of the material, such as “brushed steel, matte finish” or “dark leather with stitched seams.” Text prompts are a fast way to explore material directions when you do not have a usable reference photo. Each generation consumes 20 credits.
Q: How long does AI texture generation take?
Texture generation time varies by tool and mesh complexity. A complete production-ready textured asset in Neural4D typically takes around 3 minutes end to end, because the platform prioritizes high-quality, high-face-count output over speed.
Q: Do AI texture generators work with any 3D mesh?
Most work best with standard formats such as .obj, .fbx, and .glb, but results depend on mesh quality, UV quality, and topology cleanliness. Non-manifold faces and overlapping UV islands cause artifacts in the output maps regardless of the tool. Neural4D AI Texture currently works on models generated inside the Neural4D 3D Studio, so the supported input is a mesh built in the Studio.
Q: Can I use AI-generated textures in commercial projects?
Yes, if the tool license allows commercial use. For Neural4D, paid plans include commercial rights, while free outputs are marked as trial and intended for evaluation only.
Q: What file formats does Neural4D export?
Neural4D exports textured models in .glb, .fbx, .obj, .usdz, .stl, and .blend formats, which covers game engines, web workflows, and AR delivery.
Knowing how to texture 3D models with AI properly comes down to three things: a clean mesh, a clear reference (image or text), and a tool that outputs relightable PBR maps on formats your pipeline accepts. Neural4D covers all three in one workflow, with automatic UVs on generated models, and the AI texture feature accepts both 2D references and text prompts. Test it against your own asset types to see where the time savings land for your workflow.