How to Use OpenClaw to Generate 3D Models with Neural4D API
Quick Summary: OpenClaw is a conversational AI workflow layer that can connect to the Neural4D API for high-quality 3D model generation. By installing a community skill, providing your API key, and typing a prompt or uploading an image, you can generate high-quality 3D models in formats like .glb, .fbx, .obj, .usdz, .stl, and .blend from a chat interface. This guide walks through every step, from getting your API key to exporting your first model.
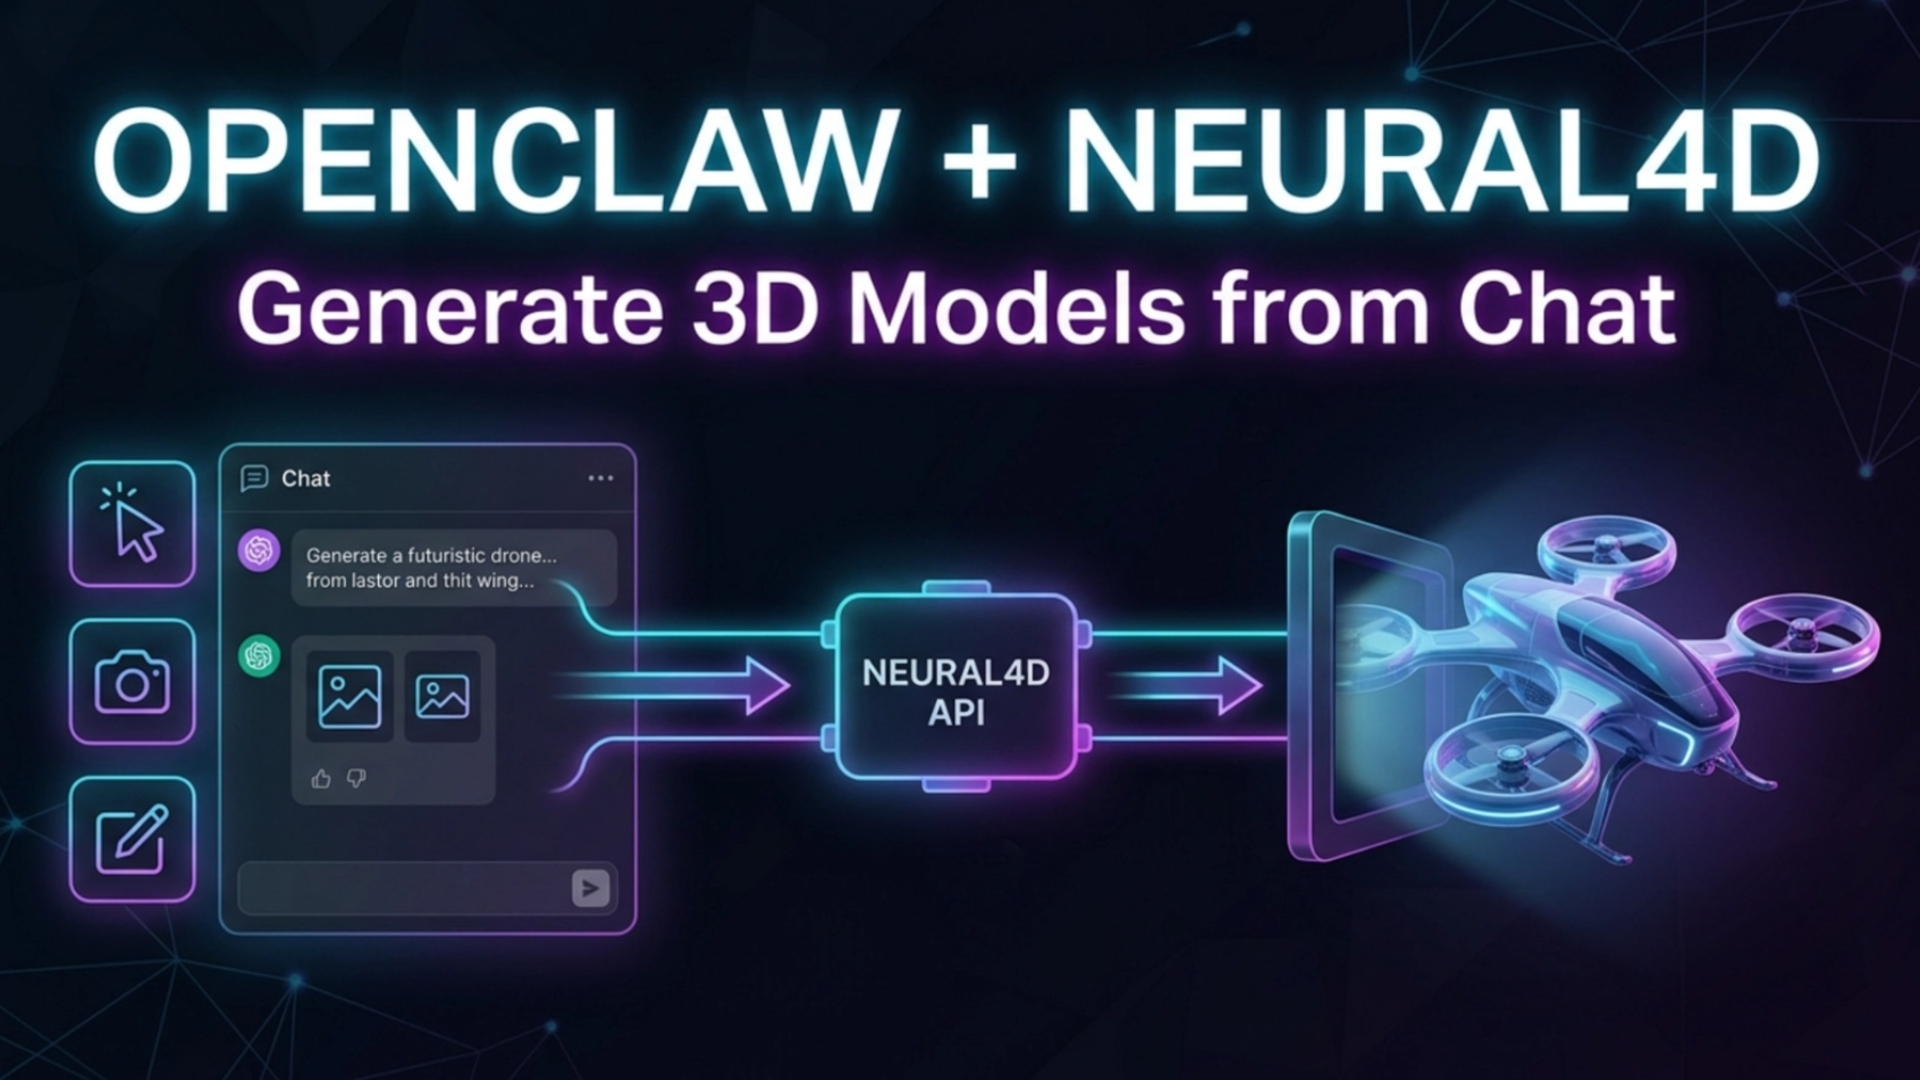
Using OpenClaw to generate 3D models with Neural4D API is a practical workflow: install the right 3D skill, let OpenClaw configure the required parsing tools, provide your Neural4D API key in chat, and then send a text prompt or upload an image or sketch. OpenClaw works as the conversational and orchestration layer. Neural4D is the 3D generation engine behind the scenes. Once connected, you can use a simple chat interface to generate previewable 3D models and save them locally in formats such as .obj, .fbx, .glb, .usdz, .stl, and .blend.
Part 1: What OpenClaw and Neural4D Each Do
OpenClaw is the conversational interface and workflow layer in this setup. It receives user requests in chat, loads the required skill, coordinates supporting tools, and passes structured requests to the correct backend. On its own, OpenClaw is not the 3D generation engine.
Neural4D is the system that actually generates the 3D model. In this workflow, Neural4D provides the API key, the model generation capability, and the final exportable output. That division matters. If you explain the workflow clearly, users understand that OpenClaw makes the process easier to use, while Neural4D provides the high-quality 3D generation itself.
This combination is useful because it lowers the barrier to creating 3D assets. Instead of juggling separate tools, users can work through a single conversation. They can describe an object, upload a reference image, or send a sketch or blueprint, and OpenClaw can route that request to Neural4D through the configured skill.
🎯 In one sentence: OpenClaw is the chat-based workflow layer, and Neural4D is the 3D model generation engine connected through API.
Part 2: How to Set Up the Workflow
The setup is straightforward. You first get access to the Neural4D API, then add the 3D generation skill to OpenClaw, let OpenClaw prepare the required parsing tools, provide the API key, and finally start generating models in chat.
Step 1: Get a Neural4D API Key
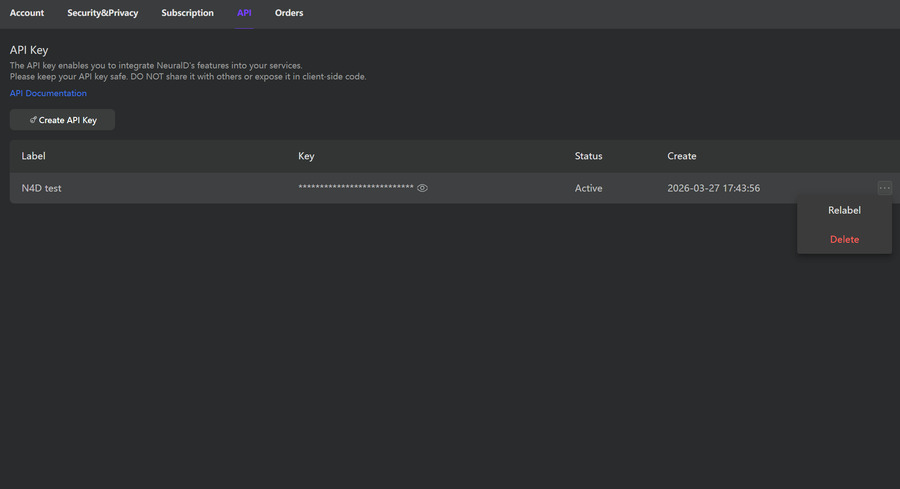
Go to https://www.neural4d.com/api and click “Free to Get API Key →”. After registering, you will enter to the https://www.neural4d.com/account?api=. Click “Create API Key”, add a label for the key, and click “Confirm”.
This gives you the credential OpenClaw needs to send generation requests to Neural4D. Keep the key private and treat it like a password.
Step 2: Add the 3D Skill to OpenClaw and Let It Configure the Required Tools
Download the skill called AI 3D generation from ClawHub. The download is a zip file. After unzipping it, place the extracted files into your local OpenClaw skills/ folder.
Then go to the OpenClaw chat window and type this instruction:
OpenClaw will then begin installing and configuring the required parsing tools. Wait until it shows the completion prompt. If the skill does not run correctly the first time, restart OpenClaw and try again.
Need the API access first?
Step 3: Provide Your Neural4D API Key in Chat
Once the skill and parsing tools are ready, send your API key to OpenClaw in chat using this format:
Replace the placeholder with your real API key. This step connects the local OpenClaw workflow to your Neural4D account so the skill can submit actual 3D generation requests.
📢 Note: Do not share your key in a group chat or any public environment. If you are testing in a shared workspace, use a private conversation.
Step 4: Start Generating 3D Models in Chat
After setup, you can generate 3D models directly from the OpenClaw chat box. This workflow supports text prompts, image uploads, and sketch or blueprint uploads. OpenClaw passes the request to Neural4D, and the final 3D model is returned as a previewable file that can be saved locally.
You can also request a target export format if you already know how you want to use the model. Neural4D supports .obj, .fbx, .glb, .usdz, .stl, and .blend.
Part 3: What Types of 3D Inputs This Workflow Supports
One of the strongest parts of this setup is that you are not limited to prompt-only generation. The same OpenClaw to Neural4D workflow can support several different input types depending on what you have available.
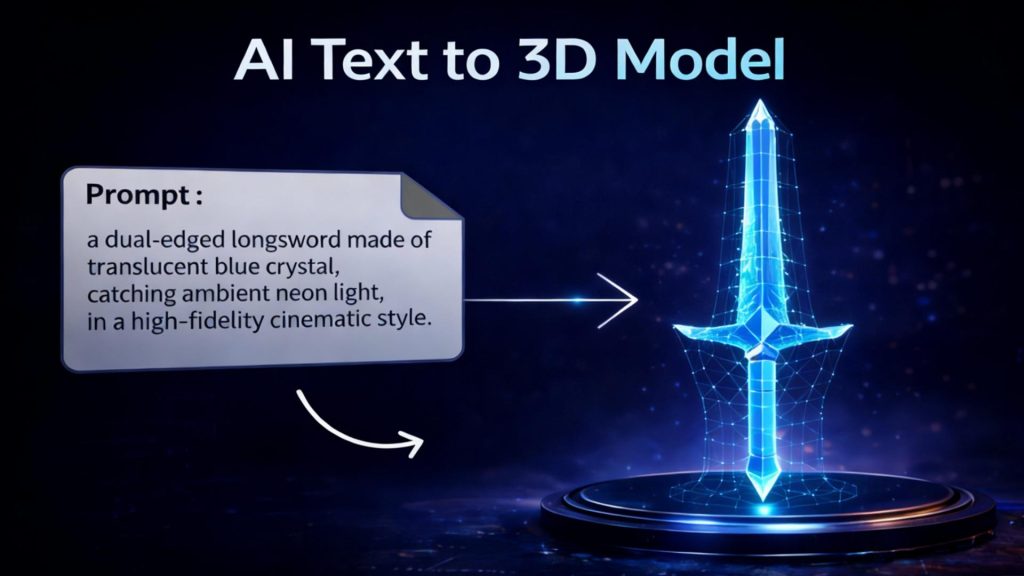
Text to 3D
If you already know what you want to build, you can describe it directly in chat. For example:
This is useful for concept objects, product ideas, or early-stage visualization. The more specific the description, the better the output tends to align with your intent.
Read also: 10 Neural4D Prompts You Should Try for Production-Ready 3D Assets
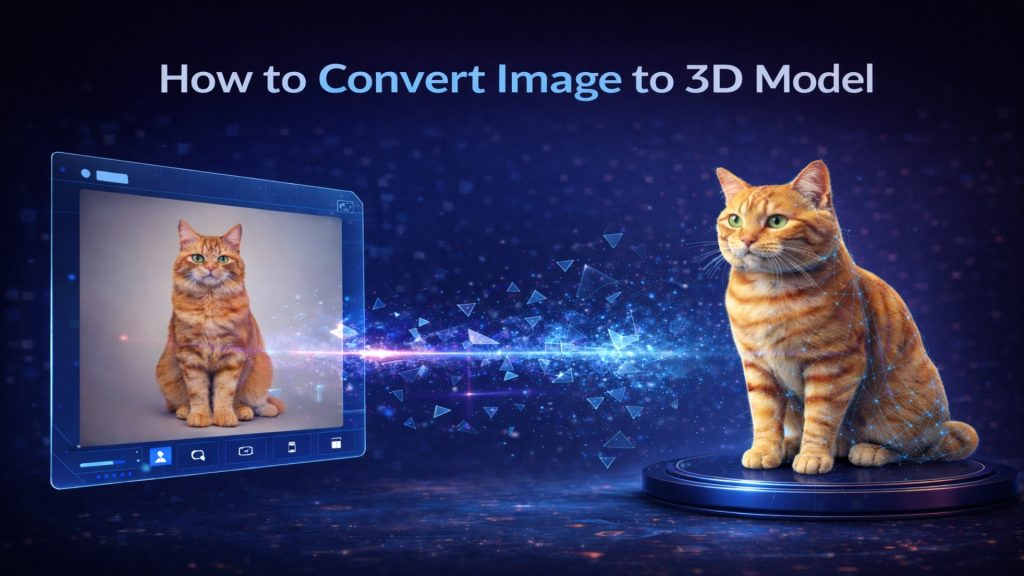
Image to 3D
Upload an image directly into the chat and type:
This is useful when you already have a product photo, reference image, or visual concept. For better reconstruction quality, the main subject should be clear and the background should be simple.
Read also: How to Convert Image to 3D Model Using AI
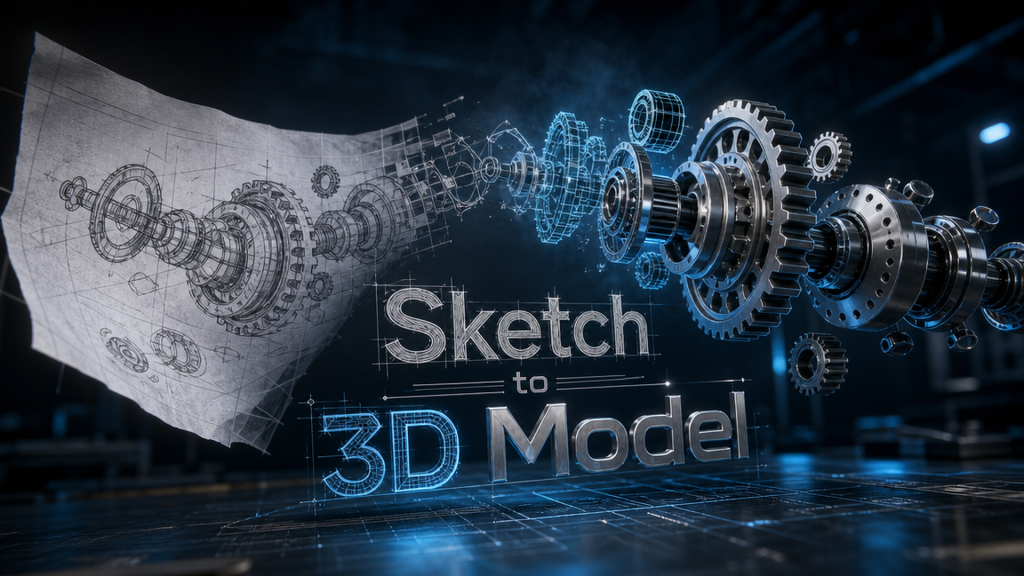
Sketch to 3D
The same upload workflow can be used for hand-drawn sketches or technical drawings. This can be especially helpful for ideation, industrial concepts, early product structures, or turning a 2D reference into a more tangible 3D asset.
To improve the output, make sure the lines are clear and readable. Clean line work usually performs better than messy or low-contrast drawings.
✅ Supported export formats: .obj, .fbx, .glb, .usdz, .stl, .blend
Read also: How to Convert Sketch to 3D Model
Part 4: Where Neural4D Fits in the Workflow
It is worth making the system boundary explicit. OpenClaw helps users operate the workflow through natural language. It manages the chat interaction, skill invocation, and tool setup. Neural4D is the backend that generates the 3D model itself.
That means Neural4D is where the actual 3D capability lives: text-to-3D, image-to-3D, sketch-based generation, previewable output, and exportable model formats. OpenClaw makes these capabilities easier to access by turning them into a conversational workflow instead of a manual API-only process.
For teams or solo creators, that matters because it reduces friction. Instead of building an integration from scratch, users can work through a chat interface that feels closer to how they already describe creative tasks.
Part 5: Limitations and Setup Tips
This workflow is practical, but it is not magic. Output quality still depends heavily on input quality and clear setup.
For image-based generation, simple backgrounds and a clearly separated subject usually work better than cluttered scenes. For sketch or blueprint conversion, line clarity matters. Fuzzy, incomplete, or low-contrast drawings can reduce the reliability of the final model.
Users should also expect generation to take several minutes in some cases. Neural4D prioritizes high-quality output rather than returning the fastest possible result. That tradeoff is usually worth it when the goal is a more usable model instead of a rough preview.
Finally, if the skill appears installed but does not work correctly, restarting OpenClaw and trying again is a sensible first troubleshooting step.
FAQs about OpenClaw and 3D Model
Does OpenClaw generate the 3D model by itself?
No. OpenClaw is the conversational and workflow layer. Neural4D is the system that actually generates the 3D model through API.
What kinds of input can I use?
You can use text prompts, uploaded images, and sketches or blueprints uploaded through the chat interface.
What file formats can I export?
This workflow supports .obj, .fbx, .glb, .usdz, .stl, and .blend, depending on what you request for the final output.
How long does generation take?
It may take several minutes. Neural4D is designed to prioritize output quality, so it may respond more slowly than lower-quality instant generators.
What should I do if the skill fails?
A practical first step is to restart OpenClaw and try again. If needed, confirm that the skill files were correctly placed in the local skills folder.
Connecting OpenClaw to generate 3D models with Neural4D API is ultimately a clean integration story: OpenClaw gives users a natural chat interface, and Neural4D supplies the model generation engine. Once the API key and skill are in place, the workflow becomes simple to repeat for text prompts, image references, and sketch-based 3D generation.