How to Build an Interactive 3D Website with Neural4D + Gemini (2026 Tutorial)
Quick Summary
- No reference photo? Use Neural4D Image Generator to create one from a text prompt before starting
- Generate a production-ready 3D model in Neural4D Image to 3D, export as GLB with PBR textures in 2 minutes or more
- Paste the full Gemini prompt from this article to get a complete working HTML + JS file in one shot
- Put all files in one folder and run
python3 -m http.server 8080to preview locally; GLB requires HTTP, not file:// - If the model fails to load, screenshot the browser console error and send it back to Gemini to fix
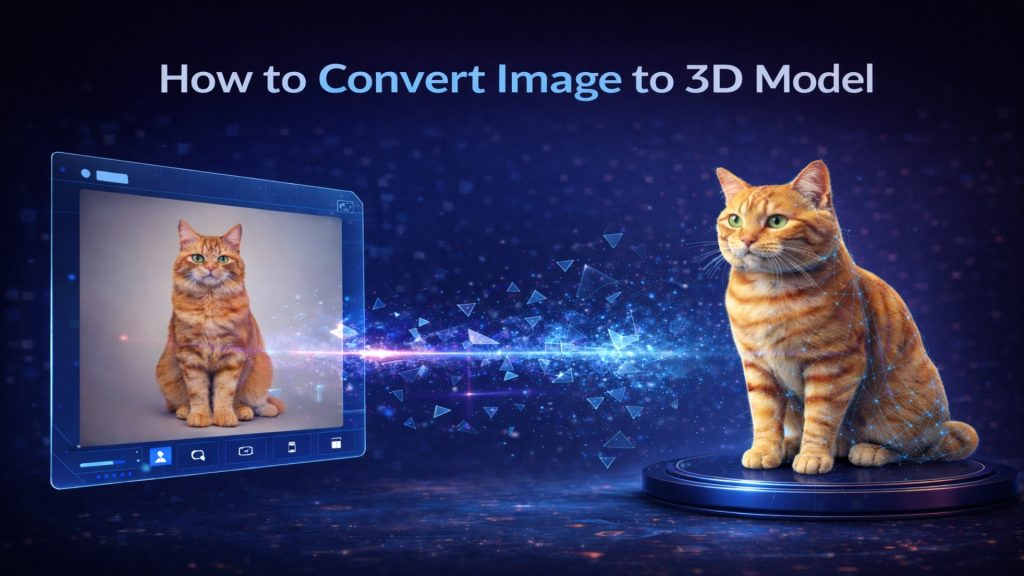
Building an interactive 3D website used to require a professional WebGL developer, a 3D artist, and several days of integration work. Neural4D generates a textured GLB model in minutes; Gemini writes the Three.js rendering code on demand. The two tools together close the gap between having a 3D asset and having a working webpage that lets visitors rotate, zoom, and interact with it.
Table of Contents
- Part 1: Why Neural4D GLB Output Is Directly Web-Ready
- Part 2: Generate Your 3D Model in Neural4D
- Part 3: Set Up the Three.js Scene with Gemini
- Part 4: Add Orbit Controls and Interactive Animations
- Part 5: Optimize Your GLB for Fast Web Loading
- Part 6: Common Questions on Building Interactive 3D Websites
- Start Building Your Interactive 3D Website
Part 1: Why Neural4D GLB Output Is Directly Web-Ready
Most AI 3D generators produce a GLB that technically loads in Three.js but looks wrong at runtime: flat normals, missing roughness data, or textures baked under a fixed light that cannot respond to a dynamic scene. The root cause is that those generators optimize for visual preview, not for PBR rendering pipelines.
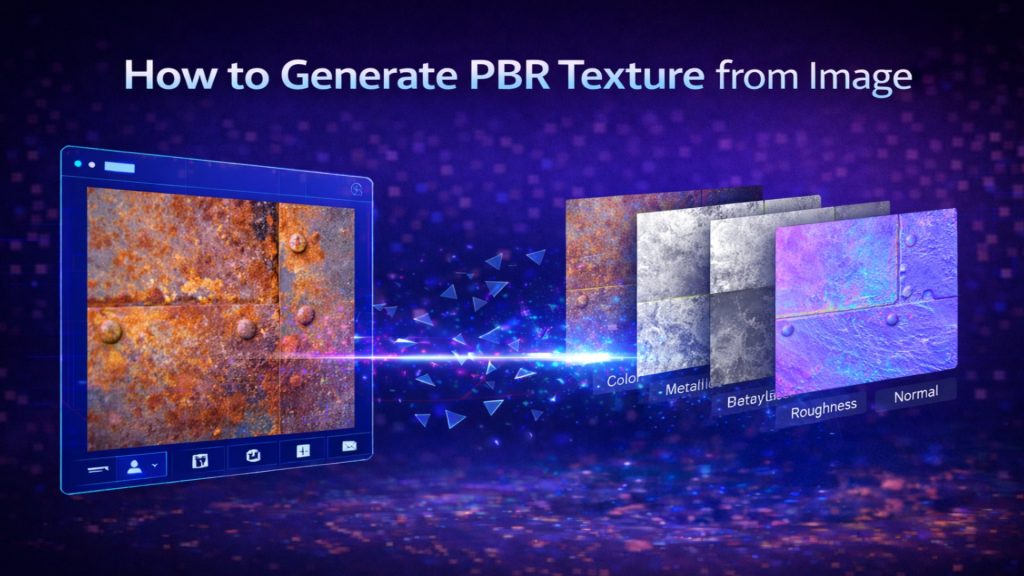
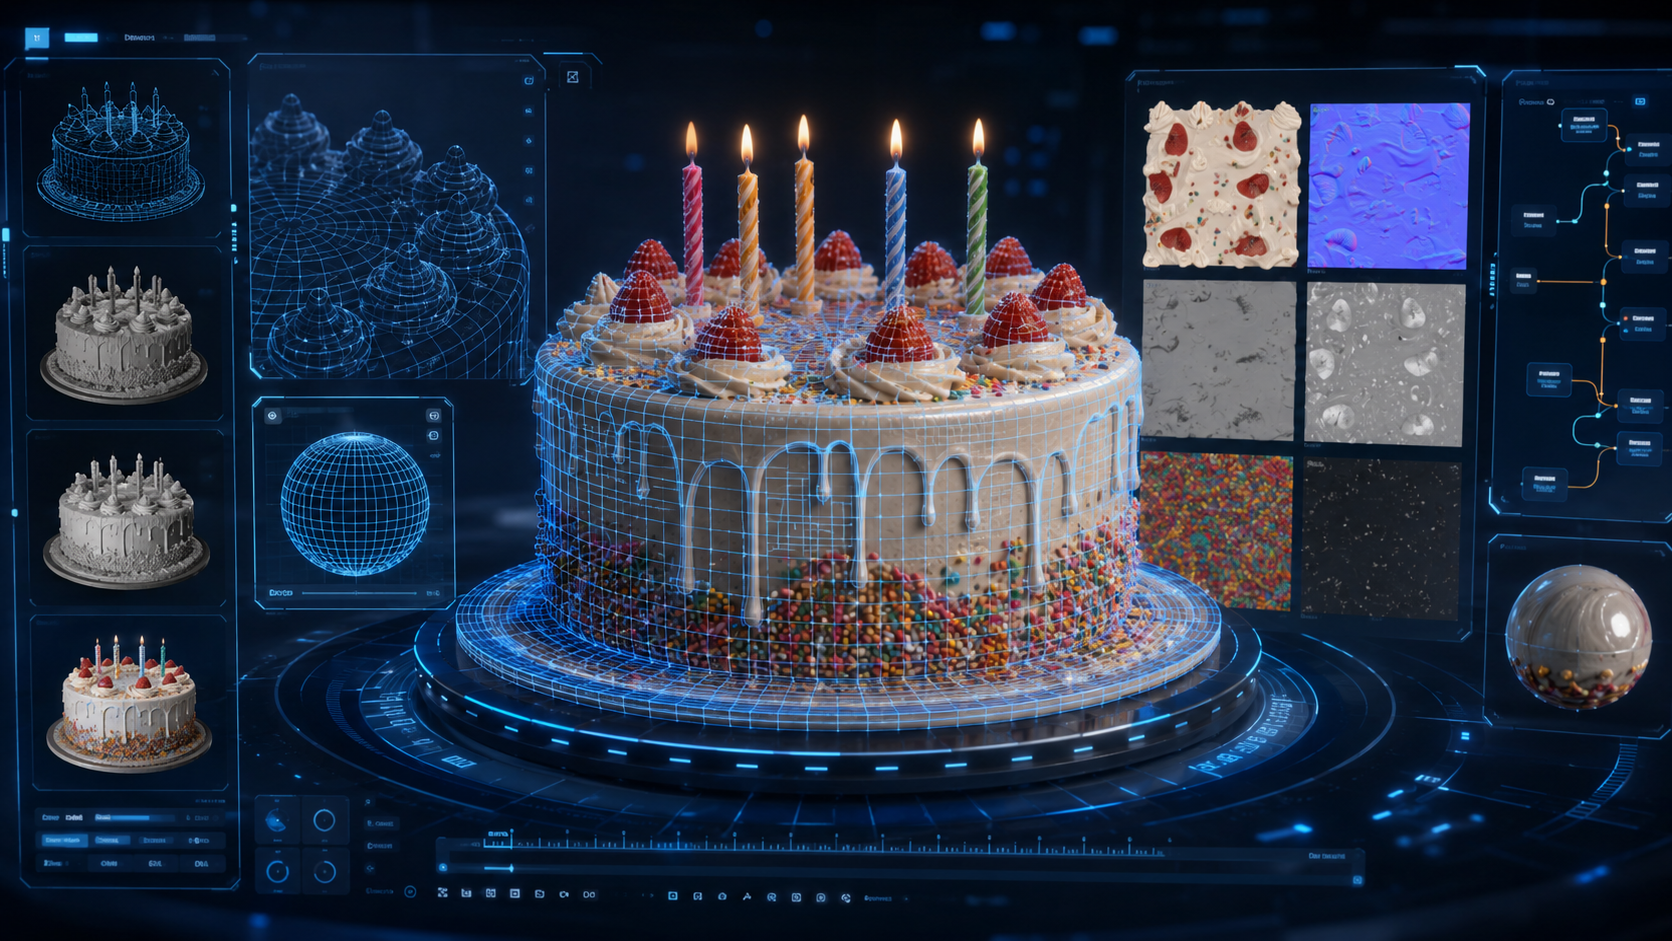
Neural4D’s Direct3D-S2 engine outputs a different kind of GLB. When you select “Generate PBR Textures” before generation, the exported file carries separate Normal, Roughness, and Metallic maps packed inside the binary bundle. Three.js’s GLTFLoader reads these maps automatically and assigns them to a MeshStandardMaterial, which means the model responds correctly to your scene’s ambient and directional lights without any shader work on your end. The model looks different at different camera angles and under different lighting conditions, which is the behavior you need for an interactive viewer.
The practical difference: a GLB from a generator that only bakes diffuse textures will look flat when you orbit the camera. A Neural4D GLB with PBR maps will show specular highlights on the cake frosting, subtle shadows in the candle wax creases, and correct reflectivity on any metallic decoration. That is the visual quality gap between a web toy and a web experience worth sharing.
⚡ Format note: GLTF is the JSON version that references external texture files. GLB is the self-contained binary bundle. Neural4D exports GLB with all PBR maps embedded, so there are no external texture paths to break and no manual re-packing step before upload.
Part 2: Generate Your 3D Model in Neural4D
The birthday cake example from the Neural4D + Gemini video uses the Neural4D Image to 3D studio. You upload a photo or render reference, configure the generation options, and export the GLB. Here is the exact sequence.
Step 1: Generate a Reference Image (if you don’t have one)
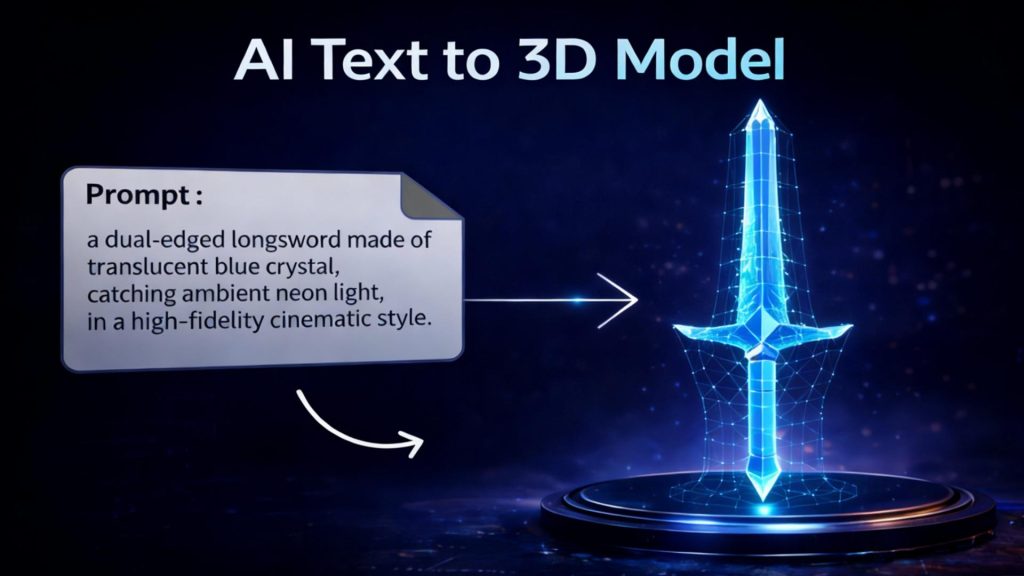
You need a 2D image of your object before Image to 3D can reconstruct the geometry. If you don’t have a photo, Neural4D’s Image Generator lets you create one directly: describe the object in a text prompt (“a three-tier birthday cake with pink frosting and lit candles, top-down view, white background”) and generate a clean reference image in seconds. This keeps the entire workflow inside Neural4D without switching to another tool.
💡 Angle matters: A top-down or 3/4 view gives the Direct3D-S2 engine reference points to calculate accurate depth on all sides. A flat front-facing photo tends to produce a correct front but a guessed, flatter back.
Step 2: Upload Your Reference Image to Image to 3D
Go to the Neural4D Image to 3D studio and upload the reference image you just generated (or your own photo). The Direct3D-S2 engine processes the full volume from the 2D input.
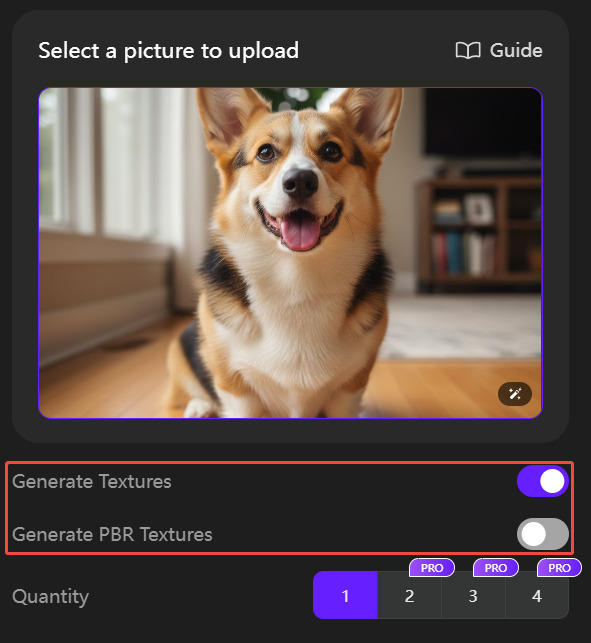
Step 3: Configure Generation Options
Before clicking Generate, decide on textures upfront. The two relevant options:
- Generate Textures: includes a standard diffuse texture with the generation pass. The base mesh takes roughly 90 seconds; with textures, allow 2 minutes or more total.
- Generate PBR Textures: adds Normal, Roughness, and Metallic maps to the same pass. This is what makes the model look physically accurate under any lighting. Select this option if the model will be displayed under dynamic scene lighting.
Note that texture generation is configured before you click Generate, not triggered as a separate step afterward. The base mesh and PBR maps are produced in a single pass.
Step 4: Refine with Neural4D-2.5 (Optional)
If the first result has a proportion issue or a surface detail you want adjusted, use the Neural4D-2.5 conversational interface. Type a plain-language instruction (“add more candles on top”, “round out the base layer”) and the model is refined without starting a new generation from scratch. This step is optional but saves iteration time when you need a specific detail right.
Step 5: Export as GLB
Once the model looks correct, click Export and select GLB. The file includes geometry and all generated texture maps in a single bundle. This is the file you will load in Three.js. If you want to learn more about the GLB export workflow, Neural4D’s documentation covers format options and texture packing in detail.
For a mid-build reality check: the GLB file you export from Neural4D is production-ready for web embedding. You do not need Blender or any intermediate conversion. Three.js’s GLTFLoader reads it directly.
GLB is the right choice for this project, but the same model is not locked to the web. From the same Neural4D export panel you can also download .fbx to drop directly into Unity or Unreal Engine, or .usdz for native iOS AR Quick Look, which lets iPhone users point their camera at a surface and place the object in their room without installing an app. If you plan to take the model beyond the browser later, export the formats you need now while the generation is fresh. See the full list of 3D file formats Neural4D supports for format-specific compatibility notes.
Generate Your 3D Asset in Minutes
Upload a photo, configure textures, export a web-ready GLB. No 3D modeling experience required.
Free plan includes 50 credits per week. No credit card required.
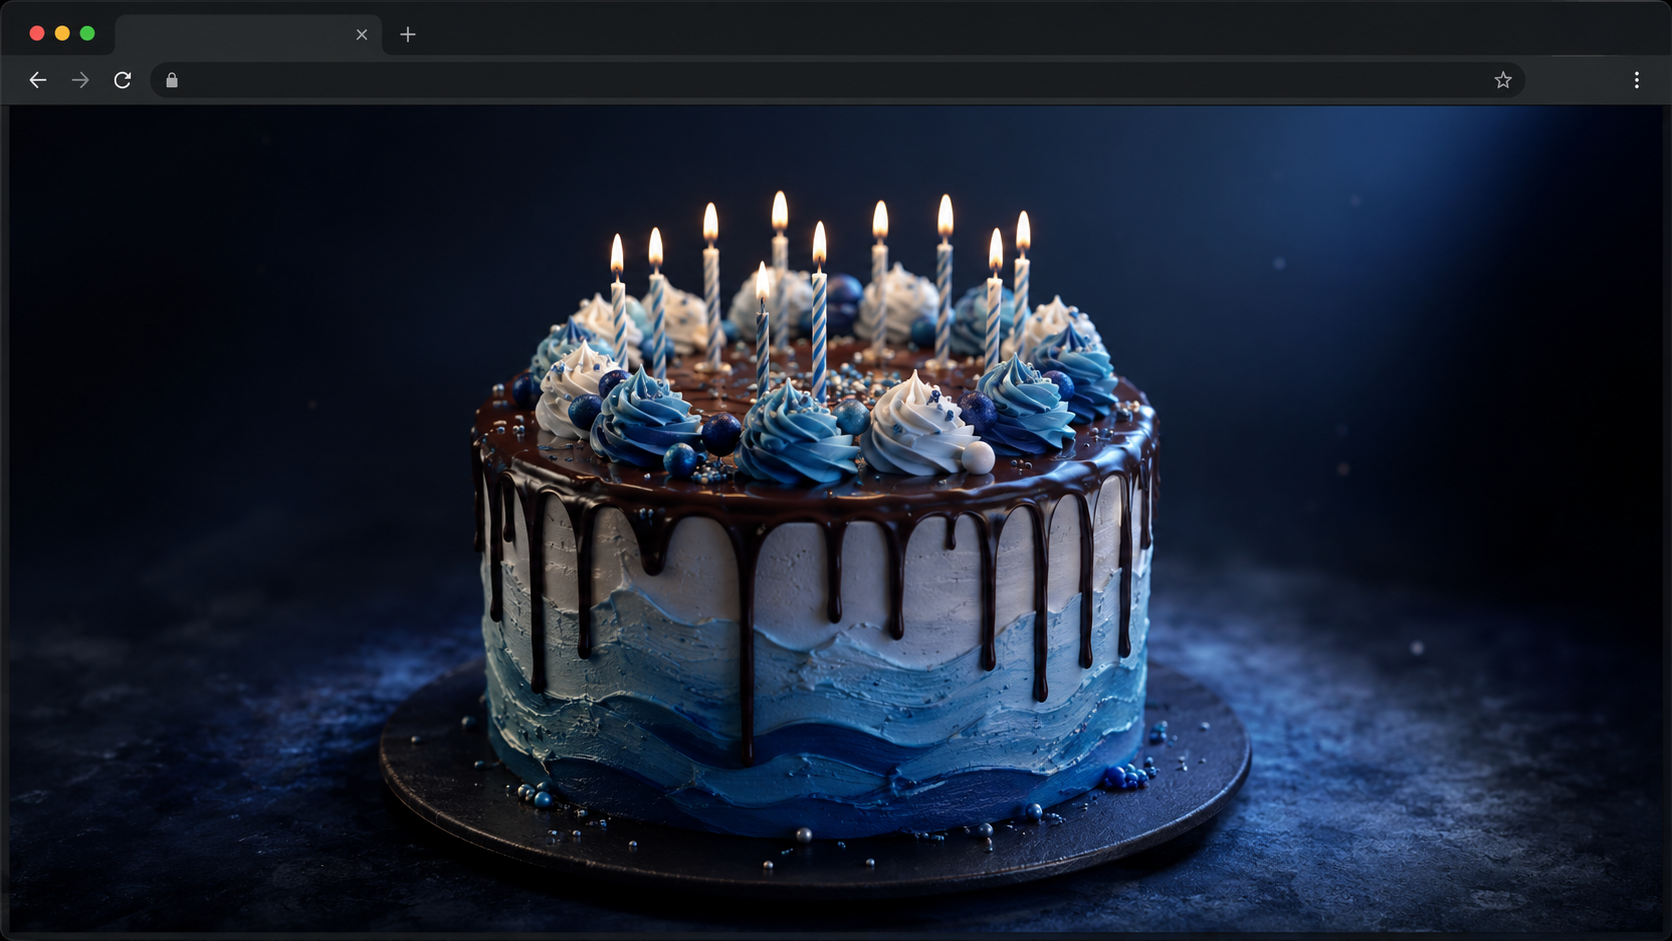
Part 3: Set Up the Three.js Scene with Gemini
You have a GLB file. Now you need a webpage that loads it. The Three.js library is the standard tool for building an interactive 3D website in a browser, and Gemini handles the code generation step so you do not need to write boilerplate setup from memory.
The Full Prompt from the Neural4D + Gemini Tutorial
Open Gemini and give it a concrete, fully-specified prompt. The prompt used in the Neural4D video covers every interaction layer in one shot so Gemini produces a complete, working file rather than a skeleton that requires multiple follow-ups. Copy and adapt the prompt below, replacing the bracketed sections with your own details:
Gemini prompt (from the Neural4D tutorial):
You are a senior front-end development engineer and WebGL (Three.js) expert. Please help me create a single-page interactive 3D birthday cake webpage (or include a standalone main.js). Users can blow out the 3D candles on the screen using the microphone on their computer or mobile device, triggering a celebration effect.
Tech Stack: HTML5, CSS3, vanilla JavaScript (ESM modules), Three.js (imported via CDN), canvas-confetti (for confetti effects).
3D Scene Setup: Initialize the scene, camera, and renderer using Three.js. Load the cake model using GLTFLoader from the cake.glb file in the same directory. Add OrbitControls to allow users to rotate and view the model.
Candles and Flames: Simulate candle flames in the 3D scene (can use emissive sprite or particle system). Position the candles directly on top of the cake model so that the bottom of each candle aligns with the top of the cake.
Microphone Listening: Request microphone permission using navigator.mediaDevices.getUserMedia. Use the Web Audio API (AnalyserNode) to monitor audio input. When the audio frequency exceeds a defined threshold for several consecutive frames (simulating a blowing action), determine that the candles have been successfully blown out.
Success Feedback: Extinguish the 3D candle flames. Trigger full-screen confetti using canvas-confetti. Fade in a birthday greeting card in the center of the screen. Fade in a “Make a Wish Again” button in the bottom-right corner.
Make a Wish Again: Clicking the button resets the greeting card state, relights the 3D candles, and prepares for the next blowing detection.
Visual Design: Overall style: medieval dark retro color scheme (background #2c2520), with #d4bc96 as the primary text color. Import Google Fonts: Great Vibes (elegant script) for English and Noto Serif SC for Chinese. Interface elements use a premium frosted glass Glassmorphism effect with subtle glow and shadows. Top-left: prompt text “Make a wish, blow out the candles”. Bottom-left: full-screen button. Bottom-right: “Make a Wish Again” button (initially hidden). Bottom center: floating toast notification. Center of screen: birthday greeting card (initial opacity 0) containing large stylized English text “happy birthday”, subtitle “Wishing you a wonderful new year”, and right-aligned signature “cc”. Please directly output the complete HTML and JavaScript (main.js) code with good comments. Instruct it to load the .glb model file from the same directory. [Customize greeting text and UI style as needed. To add background music, specify the audio file name and behavior in the prompt.]
Gemini returns a complete, multi-file output: an HTML skeleton and a main.js with all Three.js logic. The key instruction is “same directory” for the GLB path: this means the code uses a relative path, so everything runs correctly once all files are in the same folder without any path changes.
What the Generated Code Contains
The Three.js scaffold Gemini produces for a GLB viewer includes these components:
- A
<canvas>element that fills the viewport - Scene, PerspectiveCamera, and WebGLRenderer initialization
- GLTFLoader imported via import map (no npm required)
- Model loading callback that auto-centers the mesh using a bounding box calculation
- OrbitControls for mouse drag rotation and scroll zoom
- A resize handler so the canvas stays correct on window resize
- The
requestAnimationFramerender loop
If Gemini’s first output uses a slightly outdated Three.js import path or misses a detail, prompt it with the specific fix: “The OrbitControls import is throwing a 404. Update the import map to use the r168 CDN path.” Gemini corrects the single line without rewriting the whole file.
Part 4: Add Orbit Controls and Interactive Animations
A static GLB viewer is functional but not engaging. The birthday cake example in the Neural4D + Gemini video goes further: the candles respond to a voice command that triggers a blow-out animation. Here is how to prompt Gemini for each interactive layer.
Adding a Click-to-Spin Animation
Once the base scene works, ask Gemini to add a click handler:
Prompt: “Add a click event listener to the canvas. When clicked, animate the loaded model to spin 360 degrees around the Y axis over 1.5 seconds using a linear easing. After the animation completes, return the model to its original rotation.”
Gemini writes a GSAP-style tween or a manual delta-time rotation in the render loop depending on what you have in scope. If GSAP is not imported, it falls back to a frame-count approach. Specify your constraint upfront (“no additional libraries”) and Gemini stays within the single-file pattern.
Adding Voice-Triggered Interactions
The candle-blowing effect uses the Web Speech API, which is built into Chrome and Edge. You do not need an external service. The prompt structure:
Prompt: “Add a button labeled ‘Blow Out Candles’. When clicked, start the browser’s SpeechRecognition API. If the user says ‘blow’ or blows into the microphone (detect audio level above 0.4 using AudioContext and AnalyserNode), trigger an animation that fades the candle flame objects from visible to invisible over 0.8 seconds.”
This introduces AudioContext for microphone amplitude detection alongside the SpeechRecognition API for keyword detection. Gemini handles both APIs in the same file. The AudioContext amplitude threshold (0.4 in the example) is the variable to tune if the trigger is too sensitive or too slow to respond.
Adjusting Camera and Lighting Interactively
OrbitControls handles rotation and zoom automatically, but if you want preset camera positions (top view, side view, front view buttons), ask Gemini to add camera tween targets. This pattern is useful for product showcase pages where you want to guide the viewer to specific angles rather than letting them navigate freely.
Organize Files and Run a Local Server
Gemini outputs multiple files: typically an index.html and a main.js, plus any audio files if you requested background music. Save each file with its exact original filename. Then put everything in one folder:
cake.glb(exported from Neural4D)index.htmlmain.js- Audio files (if any)
GLB files cannot load over a file:// URL due to browser CORS restrictions. You need a local HTTP server. Open the folder in VS Code, open the terminal, and run:
Command: python3 -m http.server 8080
Then open http://localhost:8080 in your browser. The model loads because the request goes over HTTP, not a blocked local file path.
Debugging with Gemini
If the model fails to appear or the page behaves unexpectedly, open the browser’s developer tools (F12), go to the Console tab, and read the error message. Take a screenshot of the error and paste it back to Gemini. Gemini reads the stack trace and corrects the specific line, which is faster than trying to interpret WebGL or module import errors manually. Most first-run issues are either a mismatched filename (cake.glb vs. Cake.glb) or an outdated CDN import path for Three.js addons.
Part 5: Optimize Your GLB for Fast Web Loading
A textured GLB from Neural4D is production-quality geometry, but file size matters when the model loads in a browser. A 15 MB GLB stalls the page on mobile networks. The target range for a single web-embedded model is 1 to 5 MB for smooth loading without a progress indicator.
Draco Compression
Draco is a geometry compression library that Three.js supports natively. It typically reduces mesh data by 60 to 90 percent without visible quality loss. According to the Khronos Group’s glTF delivery guidelines, combining Draco geometry compression with KTX2 texture compression is the current recommended baseline for production 3D web assets. To apply Draco, run the gltf-pipeline Node.js tool on your exported GLB:
Command: gltf-pipeline -i model.glb -o model-compressed.glb --draco.compressionLevel 7
Then in Three.js, initialize DRACOLoader and set it on your GLTFLoader before loading the compressed file. Gemini can write this setup if you paste the compressed file name and ask for it.
For a deeper look at polygon budgets and compression strategies for web environments, see the guide on optimizing 3D models for WebGL.
Texture Resolution
PBR textures generated by Neural4D default to a resolution appropriate for production use. For web embedding, 1024×1024 is sufficient for most hero objects. If you need to resize, tools like basisu convert PNG textures to KTX2 format, which the browser decompresses on the GPU rather than the CPU, improving load performance on mobile.
Progressive Loading Pattern
For pages where the 3D model is a secondary element rather than the hero, load it after the critical content renders. The GLTFLoader callback pattern Gemini generates already supports this: add the canvas element to a container that is initially hidden, and reveal it after the onLoad callback fires. The user sees the page content immediately; the model appears when ready.
ℹ️ File size reference: Neural4D base mesh only (no textures): typically under 2 MB. With PBR textures: 4 to 12 MB before compression. After Draco + KTX2: 1 to 3 MB depending on geometry complexity and texture resolution.
Part 6: Common Questions on Building Interactive 3D Websites
The Neural4D GLB loads fine in gltf.report but the model appears completely black in Three.js. What is wrong?
This is almost always a missing light in the Three.js scene. GLB viewers like gltf.report add default scene lighting automatically; Three.js does not. The fix is two lines: add an AmbientLight at intensity 0.5 and a DirectionalLight positioned above and to the right of the model. If the model still looks dark after adding lights, check that the GLB was exported with PBR textures enabled in Neural4D, not just the base mesh. A base-mesh-only GLB has no material data for Three.js to work with and renders as a flat dark surface regardless of lighting.
Can I embed a Neural4D model in a WordPress page or Shopify product page?
Yes, but with a constraint. WordPress and Shopify block inline <script> tags in standard page editors. The recommended approach is to host the Three.js HTML file on a CDN or static hosting service (Netlify, Vercel, or GitHub Pages are free options), then embed it in your CMS page via an <iframe>. Set the iframe dimensions to match your canvas size and add allow="microphone" if you are using the voice interaction features.
What happens if the GLB file has a missing texture after export?
If a texture fails to pack into the GLB, Three.js renders the affected mesh with a default gray material. To diagnose it, open the exported GLB in an online viewer such as gltf.report or Don McCurdy’s GLTF Viewer before deploying. These tools show which materials are present and whether texture references are embedded or broken. If textures are missing, re-export from Neural4D with “Generate PBR Textures” confirmed active, or use gltf-pipeline to re-pack external texture files into the binary bundle.
Is the Web Speech API reliable across all browsers?
SpeechRecognition is supported in Chrome and Edge as of 2026 but is not part of the standard Safari or Firefox feature set. For cross-browser voice interaction, the fallback is a click button that triggers the same animation without microphone input, which is the pattern shown in the Neural4D + Gemini video. Always implement the click-based fallback before adding voice, so the experience degrades gracefully.
Can I use the same workflow to embed multiple 3D models on one page?
Yes, but each model creates its own WebGL rendering context, and browsers cap the number of active WebGL contexts per page (typically 8 to 16). If you need more than 3 or 4 models on a single page, the recommended pattern is a shared Three.js scene with multiple models loaded into it rather than separate renderer instances per model. Ask Gemini to generate a single scene that loads an array of GLB filenames, positions each model at a specified offset, and switches camera focus on click. This keeps context count at 1 regardless of how many models are loaded.
The mobile browser denied microphone permission. How should the code handle that gracefully?
Wrap the getUserMedia call in a try/catch and handle two distinct failure cases separately. A NotAllowedError means the user explicitly denied permission or the browser’s site settings block the microphone; show a UI message explaining that microphone access is required and provide a fallback button that triggers the blow-out animation manually. A NotFoundError means no microphone hardware was detected, which is common on some tablets; in this case, skip the audio path entirely and default to the tap-to-extinguish interaction. On iOS Safari, getUserMedia additionally requires the page to be served over HTTPS, not HTTP. If you are testing on a local network, use a tunneling tool like ngrok to expose your local server over a secure URL, otherwise the permission prompt will never appear and the call silently fails.
The candle flame meshes are flickering against the cake surface. How do I fix Z-fighting?
Z-fighting happens when two surfaces occupy nearly identical depth values and the GPU alternates between rendering one or the other frame by frame. For candle flames positioned just above the cake top, the fix is to push the flame geometry slightly further from the surface: increase the Y offset by 0.01 to 0.05 units until the flickering stops. If the flame uses a sprite or a plane geometry, also set depthWrite: false on its material, which tells Three.js not to write the sprite’s depth to the depth buffer, eliminating the conflict with the solid cake mesh underneath. A third option is to increase the renderer’s logarithmicDepthBuffer to true at initialization, which improves depth precision across the whole scene but carries a small performance cost on low-end mobile devices.
Start Building Your Interactive 3D Website
The stack for an interactive 3D website has narrowed to two tools and a single export step. Neural4D handles the geometry and PBR textures; Gemini writes the rendering and interaction code. The output is a self-contained HTML file with a real-time 3D viewer that runs in any modern browser without plugins or build tools. If you want to take the workflow further, Neural4D’s Image to 3D feature page covers the full range of export formats and quality settings for different deployment targets.
The birthday cake project in the video is a functional proof of concept, but the same workflow applies to product showcases, portfolio pieces, educational models, and any object you want visitors to explore in three dimensions. Generate your model in Neural4D, export GLB, give Gemini a concrete prompt, and you have a working page in the same session. For ideas on what types of objects work best as starting references, see how to convert an image to a 3D model using AI.
Build Your First Interactive 3D Website Today
Generate a web-ready GLB from any photo. No 3D software, no WebGL expertise required.
50 free credits per week. Export GLB on the free plan.