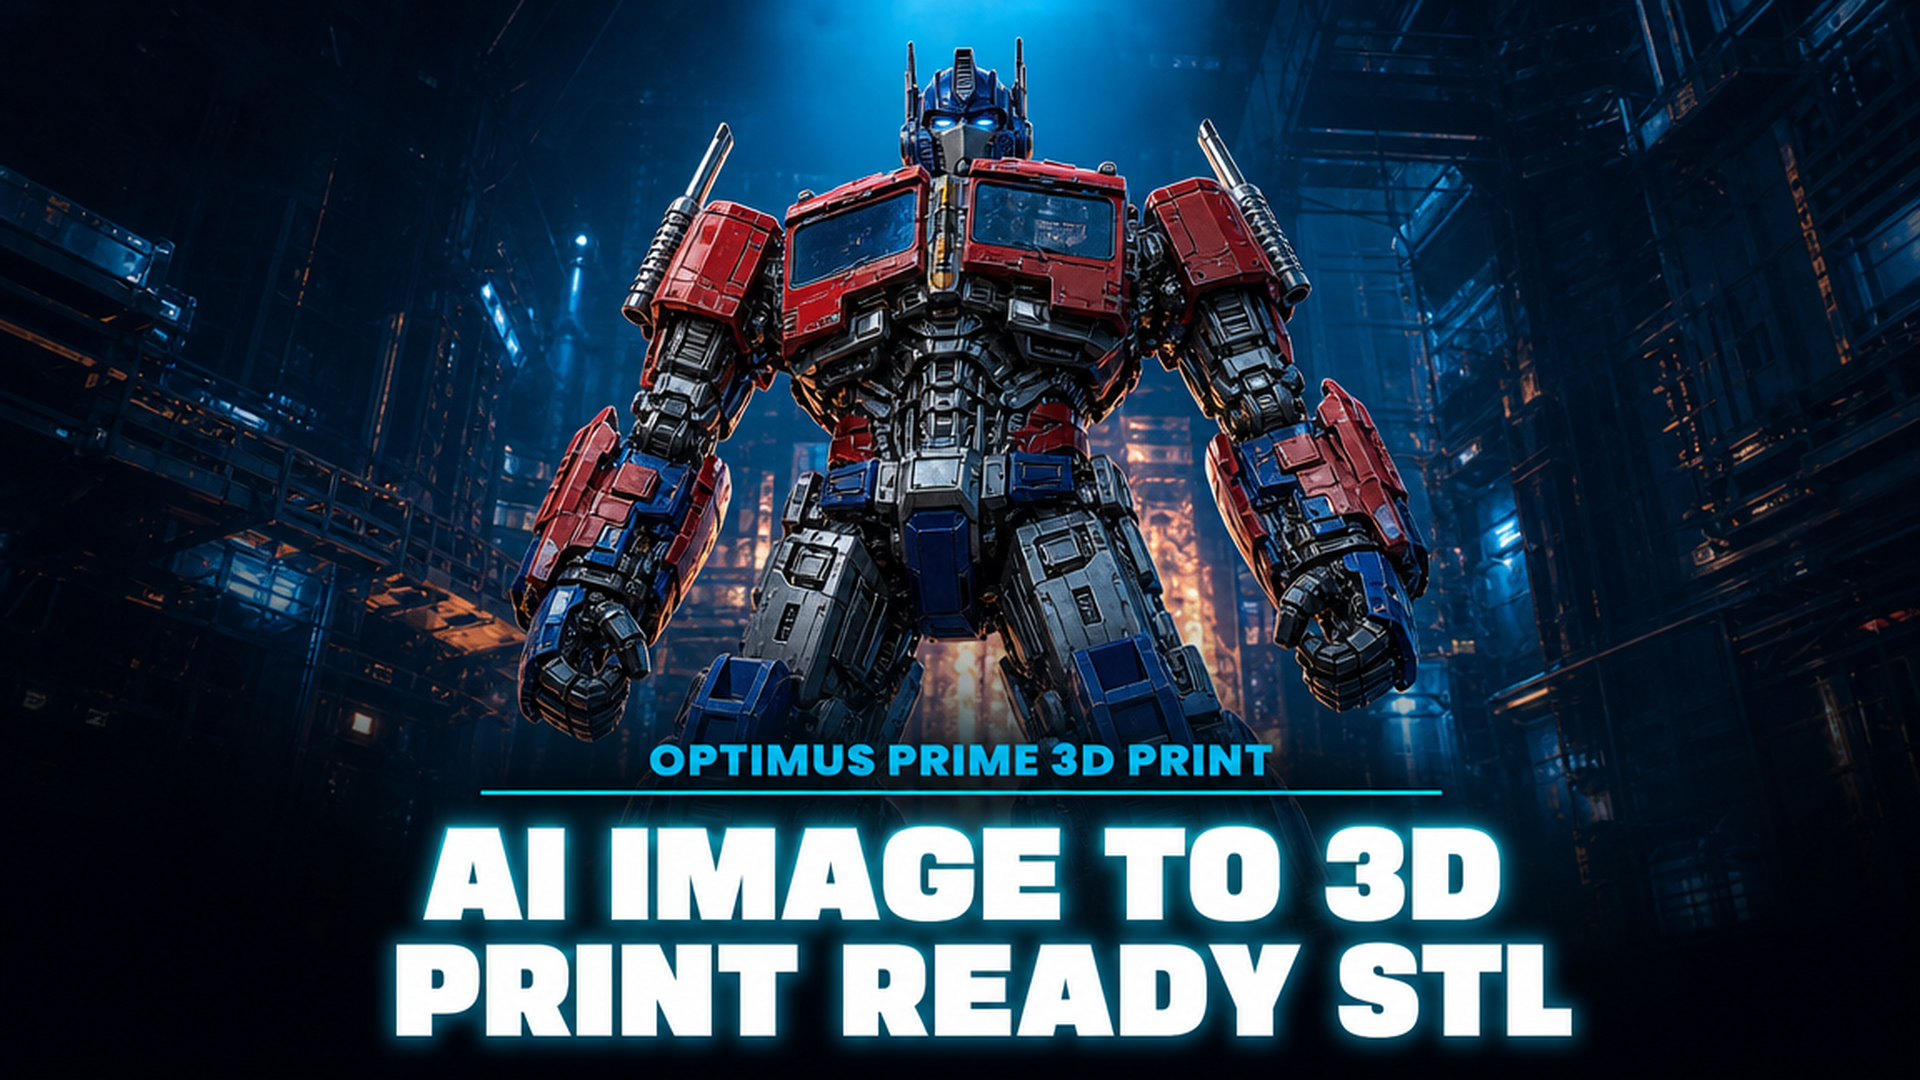
Optimus Prime 3D Print: Use AI to Turn a Photo into a Custom Printable STL
Quick Summary
- You can generate a custom Optimus Prime 3D print STL from a single reference photo using AI, rather than relying on shared community files
- Neural4D’s Direct3D-S2 engine outputs mathematically watertight geometry, meaning the STL loads clean in any slicer with no mesh repair needed
- Base mesh generation takes roughly 90 seconds; selecting full PBR textures requires additional computation for a total of 2 minutes or more
- Neural4D-2.5 lets you refine proportions and armor detail through conversational prompts after generation
- The workflow applies to any robot or mech figure reference, not just this character
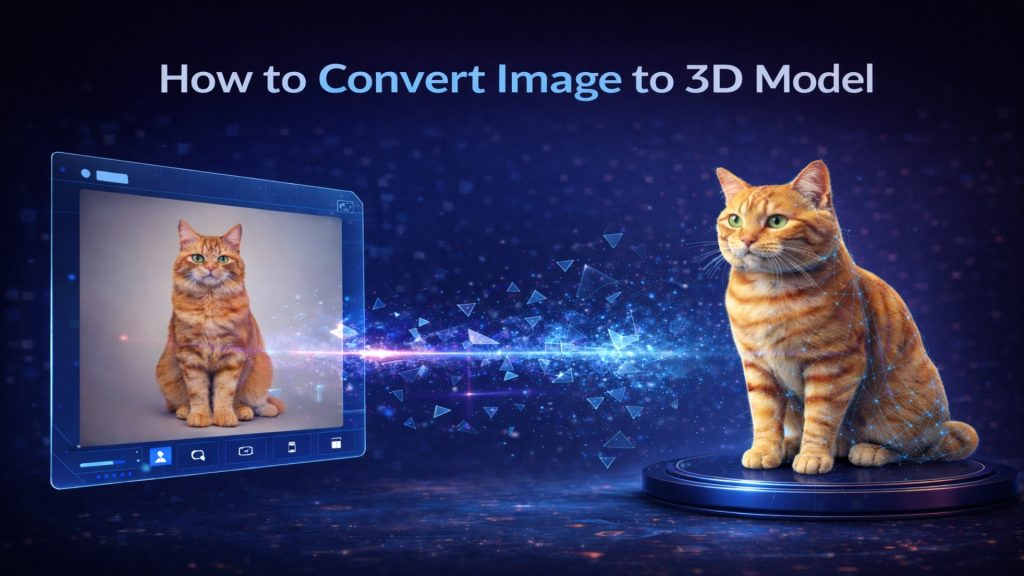
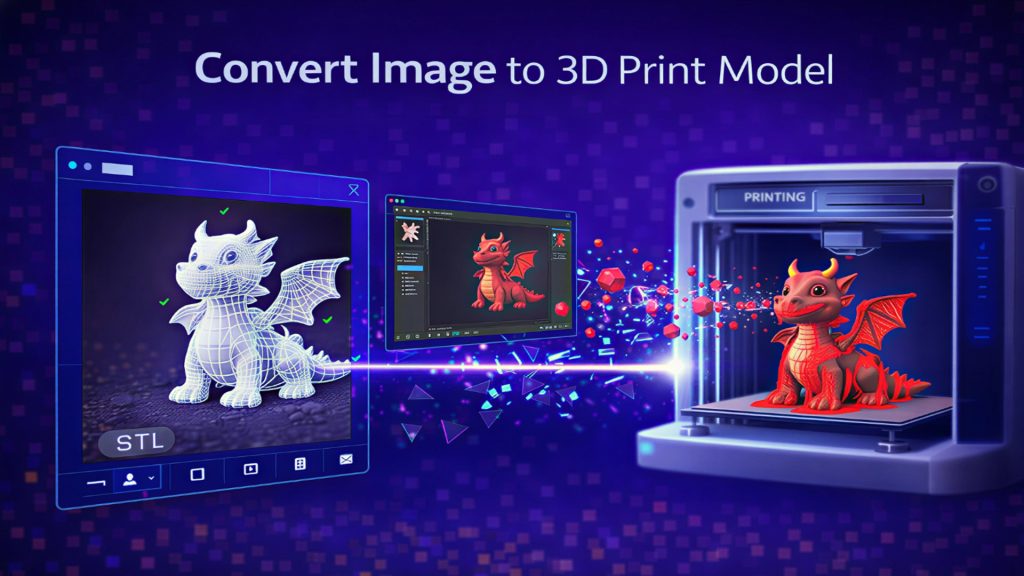
Downloading a premade STL gets you someone else’s interpretation of the character. Optimus Prime 3D print results from community files range from outdated G1 statues to articulated kits with 200+ parts, and none of them match your exact scale, pose, or printer setup. Neural4D’s Image to 3D feature changes the starting point: photograph a toy, a comic panel scan, or a printed reference, and the Direct3D-S2 engine converts it into a watertight STL built around your geometry requirements.
Table of Contents
- Part 1: Why AI Image-to-3D Beats Downloading Shared Transformer STLs
- Part 2: Capture Your Reference Image and Upload to Neural4D
- Part 3: From Base Mesh to Watertight STL in the Generation Step
- Part 4: Refine the Robot Figure Shape with Conversational AI
- Part 5: Export Settings and Slicer Prep for a Durable Action Figure Print
- Part 6: FAQ on 3D Printing a Transformer-Style Robot Figure with AI
- Start Your Custom Transformer Print Today
Part 1: Why AI Image-to-3D Beats Downloading Shared Transformer STLs
The typical path for an Optimus Prime 3D print goes like this: search Printables or Thingiverse, download a pack, discover it was sliced for a 300mm build volume you do not have, find that the articulation pins are sized for M3 hardware you ran out of, and eventually print a test piece that does not fit the rest of the kit. Shared STLs are designed by someone else for someone else’s printer.
AI-generated files solve three specific problems that community STLs consistently create:
✅ Scale is yours to define. Type your build plate dimensions into the generation prompt. The model comes out sized for your machine, not a theoretical “standard” printer.
✅ Geometry is closed by default. Neural4D’s Direct3D-S2 architecture processes full volumetric data. The output has no open shells, no non-manifold edges. Load the STL into Cura, PrusaSlicer, or Chitubox and it reports zero errors.
✅ You control the pose and proportions. A reference photo of the toy in the exact stance you want is all the input required. The engine reads the silhouette, depth, and surface detail to reconstruct the geometry.
⚠️ IP note on image prompts: When using AI image generation for any downstream purposes, describe the character visually rather than naming copyrighted properties. For your own private print, the STL you generate from a photo of a toy you own sits in a different legal category than redistribution. If you plan to sell prints, consult your local IP regulations first.
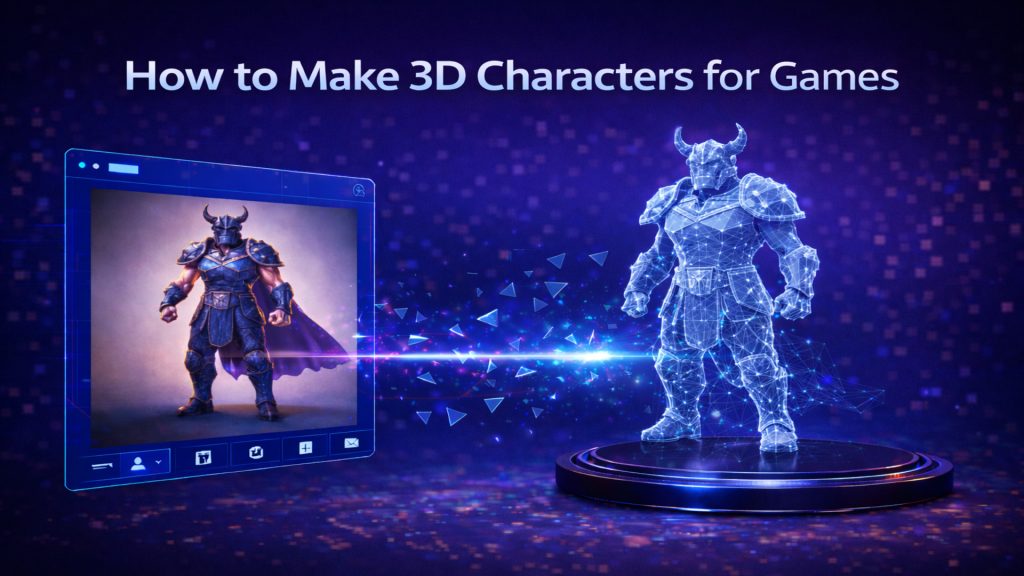
This is the same workflow used for generating other character helmet and figure models from reference photos, and the process transfers directly.
Part 2: Capture Your Reference Image and Upload to Neural4D
Image quality at input directly determines mesh quality at output. A blurry photo taken at an oblique angle produces a model where the generator has to guess too much geometry. The fix is straightforward, and it applies whether you are creating an Optimus Prime 3D print or any other robot figure.
What makes a good reference photo for a mech figure
Shoot against a neutral background, ideally white or light gray. The figure needs to be lit from the front so armor surface features are visible without harsh shadows obscuring panel geometry. A slight three-quarter angle (roughly 20-30 degrees off dead-center) gives the engine depth reference that a perfectly flat front-on photo cannot provide. If you have multiple angles of the same pose, upload the clearest one; you can add more later with Neural4D-2.5.
Toy photography tip: a ring light or two desk lamps at 45 degrees eliminates the deep shadow zones that cause the algorithm to hallucinate flat geometry where armor detail actually exists.
Upload and generation settings
Go to Neural4D’s Image to 3D feature. Drag and drop your reference photo or paste the image URL.
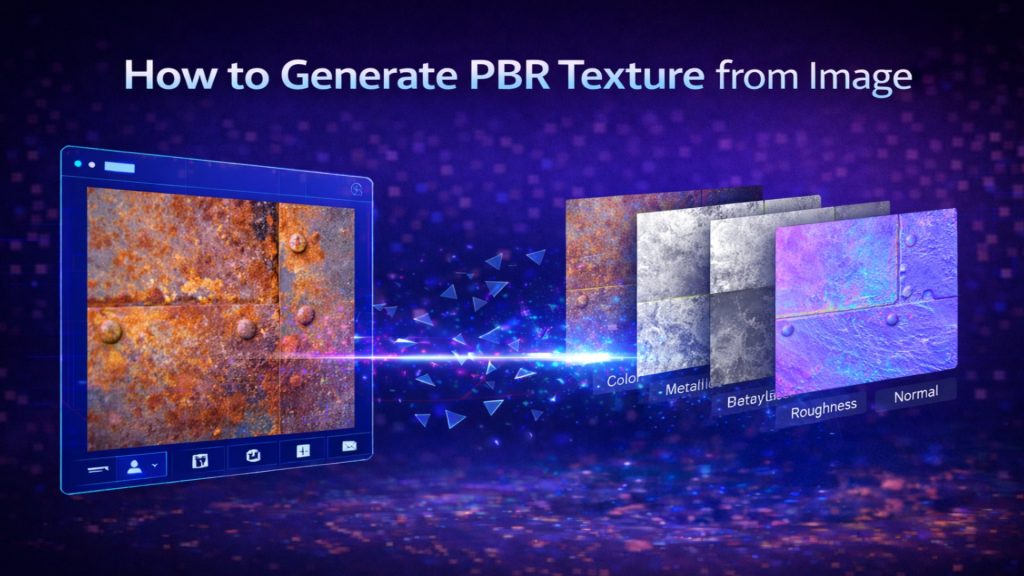
Choose your output texture setting before clicking Generate. Options: no textures (fastest, STL-only use), standard textures, or full PBR maps. For 3D printing purposes, the untextured base mesh is sufficient for a paint-your-own workflow. PBR maps are useful if you want reference colors for hand-painting.
Click Generate. The Direct3D-S2 engine begins volumetric inference. You do not need to watch it or take any further action at this stage.
You can read a deeper technical breakdown of the conversion pipeline in this full guide on photo-to-3D model conversion tools.
Turn Any Reference Photo into a Print-Ready STL
Watertight geometry. No mesh repair. Slicer-ready on the first export.
Free plan includes 50 credits per week. No credit card required.
Part 3: From Base Mesh to Watertight STL in the Generation Step
The generation step is fully automated. What happens under the hood matters for understanding what you get back.
The Direct3D-S2 engine does not estimate geometry from a 2D silhouette. It processes the full three-dimensional volumetric space implied by the input image, using Spatial Sparse Attention (SSA) to reconstruct geometry at up to 2048 cubed resolution. That is why the output is closed: the algorithm builds the entire object volume, not just the visible surface. Non-manifold edges and open shells are artifacts of surface-only reconstruction methods, which Neural4D does not use. The Direct3D-S2 architecture was presented at NeurIPS 2025, one of the primary venues for peer-reviewed 3D generation research.
Timing breakdown
⏱️ Base mesh only (no textures): approximately 90 seconds. This is the version you want for a standard 3D print workflow where you plan to prime and paint yourself.
⏱️ With standard textures or full PBR maps: additional computation is required; allow 2 minutes or more total. The textures and base mesh are generated in a single pass, not as two separate steps you trigger independently.
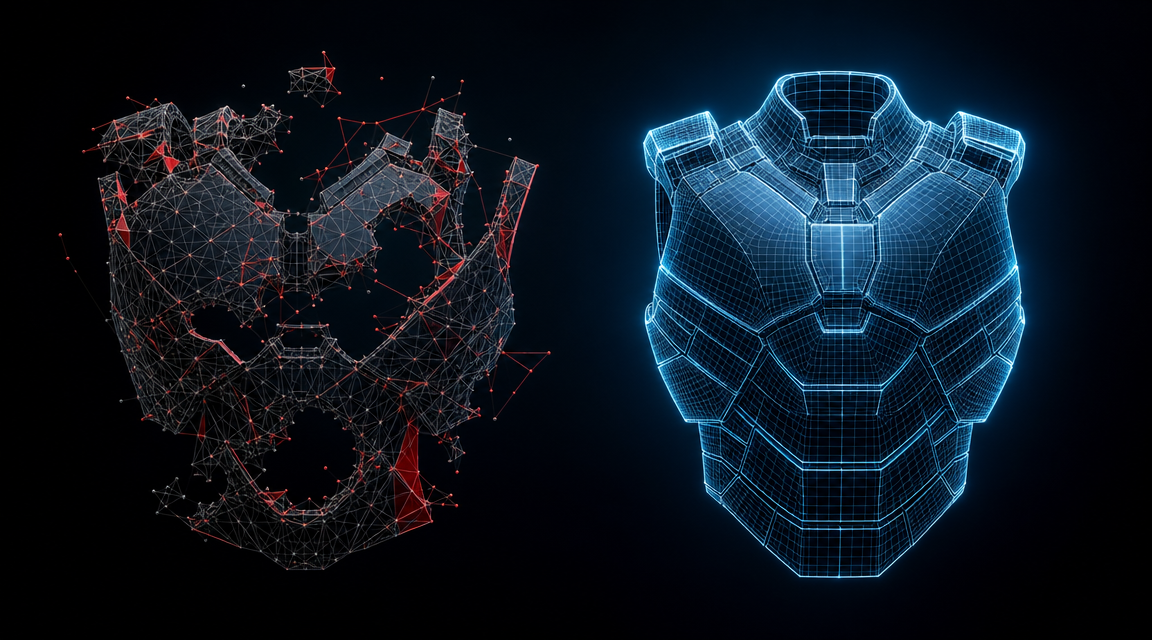
When the generation completes, inspect the model in the Neural4D viewer. Rotate it through all angles. Look specifically at joints, under-arm recesses, and any complex geometry intersections on the chest armor. These are the zones where low-quality generators produce broken topology. For an Optimus Prime 3D print, the shoulder joints and the complex chest window geometry are the highest-risk areas, so verify those first before exporting.
For reference on what watertight AI output looks like versus repaired mesh workflow, this guide on turning an image into a printable robot STL file covers the validation steps in detail.
Part 4: Refine the Robot Figure Shape with Conversational AI
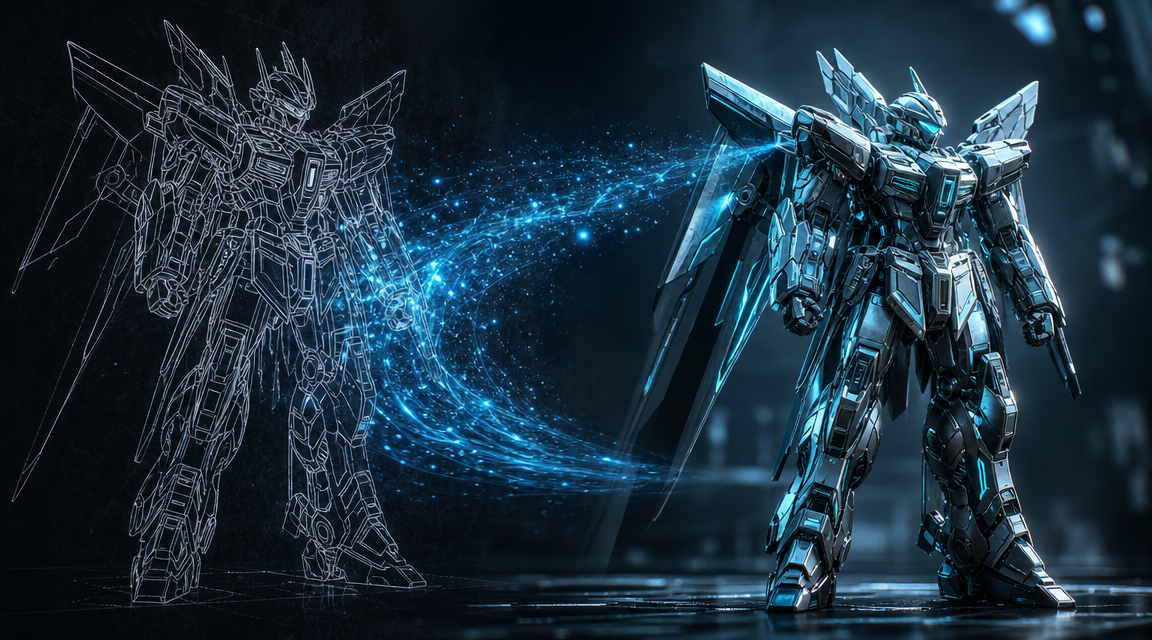
The first-pass model will almost always need adjustment. A front-facing reference photo provides strong surface data but limited depth at the back. Neural4D-2.5 is the tool for closing that gap without running a new generation from scratch.
How Neural4D-2.5 works for figure refinement
Neural4D-2.5 is a conversational multimodal AI system built specifically for 3D asset refinement. You type instructions in plain English and the model reshapes the geometry accordingly. Common use cases for a robot figure:
- Arm length correction: “Make the forearms 15% longer and maintain the proportional elbow joint width.”
- Chest armor detail: “Add more panel line depth to the central chest plate.”
- Head proportions: “Scale the helmet width down by 8% relative to the shoulder span.”
- Back geometry: “The back is too flat. Add shoulder-mounted vent detail behind the upper arm joints.”
Each instruction triggers a targeted geometry update. You are not re-prompting from zero. Neural4D-2.5 holds the full model context across rounds, so corrections compound rather than reset.
⚠️ Scope note: Neural4D-2.5 applies only to 3D features (Image to 3D / Text to 3D). It does not interact with Text to Image or Text to Video outputs. For 3D figure refinement, it is the correct tool. For other Neural4D features, see the relevant documentation.
If your starting point is a sketch or line art rather than a photo, the same refinement flow applies after generation. See converting a sketch to a 3D model for input preparation tips specific to that format.
Part 5: Export Settings and Slicer Prep for a Durable Action Figure Print
Once you are satisfied with the model geometry, export as STL for a direct print workflow, or GLB if you want to reference the texture maps during painting. The STL arrives as a single closed mesh. No Netfabb, Meshmixer, or manual repair required before slicing. This is a meaningful difference from Optimus Prime 3D print files sourced from community repositories, where non-manifold errors are common enough that mesh repair is typically the first step before slicing.
Material and settings recommendations by print goal
| Print Goal | Material | Layer Height | Notes |
|---|---|---|---|
| Display statue, painted finish | PLA or resin (SLA) | 0.12 mm | Resin captures panel lines best. PLA gives stronger pieces for display handles. |
| Articulated figure with moving joints | PETG or ABS | 0.16 mm | PETG resists snap fractures at joint pins better than standard PLA. |
| Rapid prototype / size test | PLA | 0.20 mm | Speed print to verify scale and pose before committing to a full-quality run. |
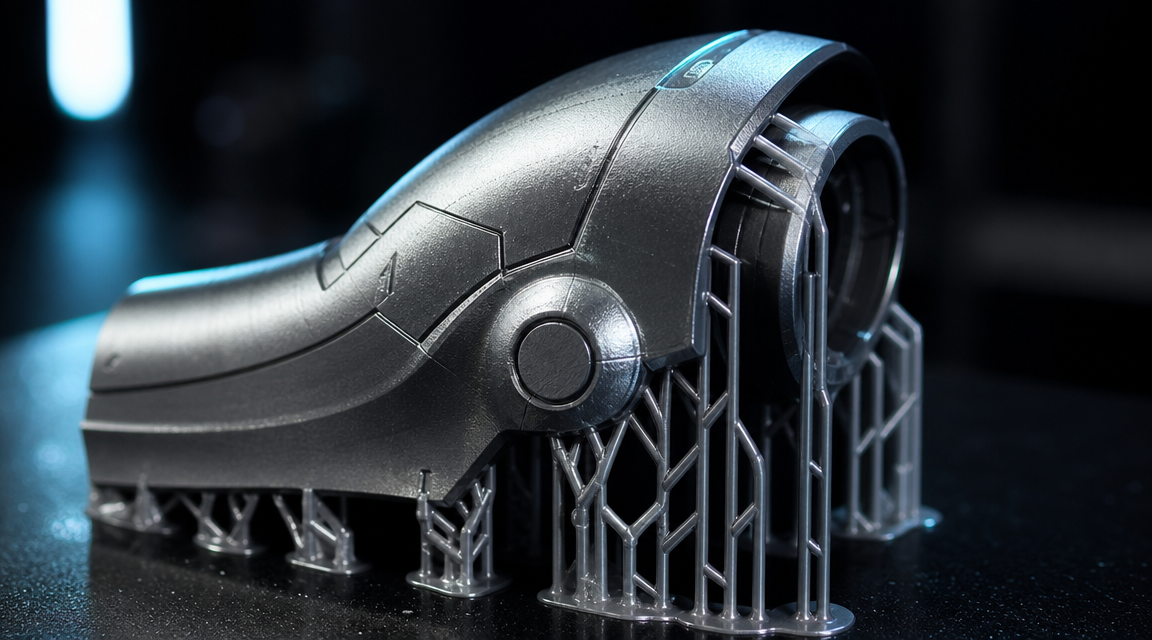
Support strategy for robot armor geometry
Chest panels, shoulder housings, and anything resembling a horizontal overhang over 45 degrees will need supports. Tree supports work well here because they minimize contact surface area with the armor geometry, making removal cleaner than linear support grids. In PrusaSlicer, set support interface layer to 0.15 mm gap for easy detachment without surface gouging.
For wall count: use at least 3 perimeter walls on any piece that will bear joint stress. A single-wall chest plate looks fine on screen and fails on the print table when you try to assemble it. 15-20% gyroid infill on large body pieces keeps weight down without sacrificing structural integrity.
For other complex character prints that use the same AI workflow, the guide on generating articulated anime figure prints from photos covers split-body assembly and joint design in more detail. If you want a reference point for how print settings translate across different IP figure types, the Zelda 3D print settings and custom props guide walks through the same layer height and support decisions for a different character class.
Part 6: FAQ on 3D Printing a Transformer-Style Robot Figure with AI
A single clear photo works, but a slight 3/4 angle (roughly 20-30 degrees off center) produces significantly better geometry than a dead-on front shot. The engine needs some depth signal to reconstruct the back and side panels accurately. If your reference is a flat-on hero shot, expect to use Neural4D-2.5 to correct the back geometry afterward. Multiple-angle uploads are not required but help with complex occlusion zones like underarm joints.
Panel line depth in the output scales with panel line clarity in the input photo. Soft toy photography lighting washes out the shallow recesses that define armor detail. Re-shoot with harsher, directional lighting (a single light source at a 45-degree side angle) to maximize shadow contrast in the grooves. If the figure itself has shallow-molded panel lines, the engine has little depth signal to work with. Neural4D-2.5 accepts instructions like “deepen the chest panel line grooves” to add geometry detail in post-generation refinement.
For moving joints, PETG at 0.16 mm layer height outperforms PLA across most FDM printers. PLA is brittle at thin cross-sections and joint pins fracture under repeated flexing. PETG’s higher impact resistance and slight flexibility under stress keeps pins intact. For purely static display figures, 0.12 mm PLA or resin gives the best surface quality. Avoid ABS unless you have an enclosure: ABS warps aggressively on large flat surfaces like the front torso plate.
Neural4D generates the model as a single closed mesh by default. Part separation for articulated printing requires manual splitting in a slicer or a tool like Meshmixer or Blender. The practical approach: generate the complete figure first, confirm the proportions, then use Neural4D-2.5 to define logical split planes via instructions (e.g., “separate the left arm at the shoulder joint”) or do the cuts manually in your slicer. For display statues with no articulation, a single-piece export prints fine on most build volumes above 150x150mm if you orient the figure diagonally.
This is a genuinely unresolved area in IP law as of 2026. The core issue: the underlying character design is owned by the IP holder regardless of whether the mesh was AI-generated or hand-modeled. Generating a mesh does not transfer or create IP rights to the character design. Selling prints of a copyrighted character without a license exposes you to the same risk as selling prints of a hand-modeled version. Personal use prints are a different category from commercial sales, but neither is a legal determination you should rely on general content for. Consult legal counsel if commercial sale is your intent.
The standard approach for AI-generated figures is to design the joint connections yourself after generation. Export the separated limb pieces, then print separate ball socket joints (available as parametric designs on Printables) and size them to your figure’s shoulder/hip diameter. Press-fit PETG ball joints give good articulation without screws. An alternative: generate the figure in a T-pose using Neural4D-2.5 instructions, which gives cleaner joint access geometry at the shoulders and hips compared to a combat-stance reference photo.
For more AI-generated figure comparison options that use similar generation workflows, see alternative free character model generators. The Optimus Prime 3D print workflow covered here scales to any robot or mech reference: same upload process, same watertight output, same slicer-ready STL.
Generate Your Custom Robot Figure STL Today
Photo in. Watertight Optimus Prime 3D print STL out. No mesh repair, no community file compromises.
Generate Your Optimus Prime STL Now
50 free credits per week. No credit card required to try Image to 3D.