[Easy Guide] How to Convert Image to STL File for 3D Printing
In the current landscape of digital manufacturing, the ability to convert image to STL file has evolved from a complex engineering task into a seamless creative workflow. As we move through 2026, the global 3D printing market is no longer just for industrial giants; it has expanded into a 45-billion-dollar ecosystem of independent creators and hobbyists.
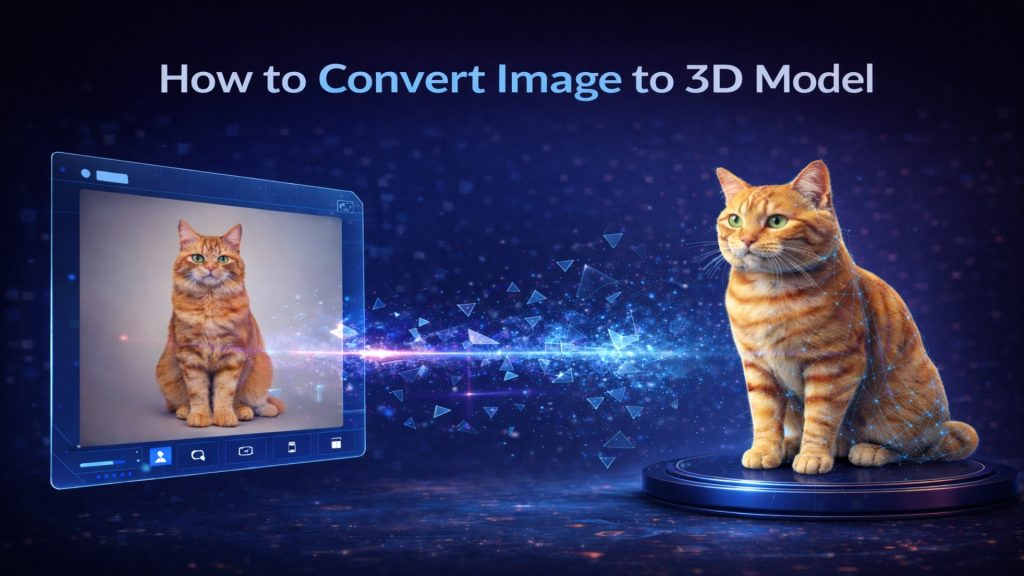
Historically, this transition from a 2D picture to a 3D physical object required hours of painstaking manual labor. Designers had to trace outlines, extrude surfaces, and manually fix mesh errors in expensive CAD software. However, the rise of AI has turned a multi-day task into a 60-second process. Today, the goal is simple: take any clear picture and transform it into a high-quality, 3D printable STL entity without needing any professional modeling skills. This shift is why AI-driven tools are now the standard for anyone looking to convert image to STL online.
Neural4D: Redefining STL Generation with Direct3D-S2
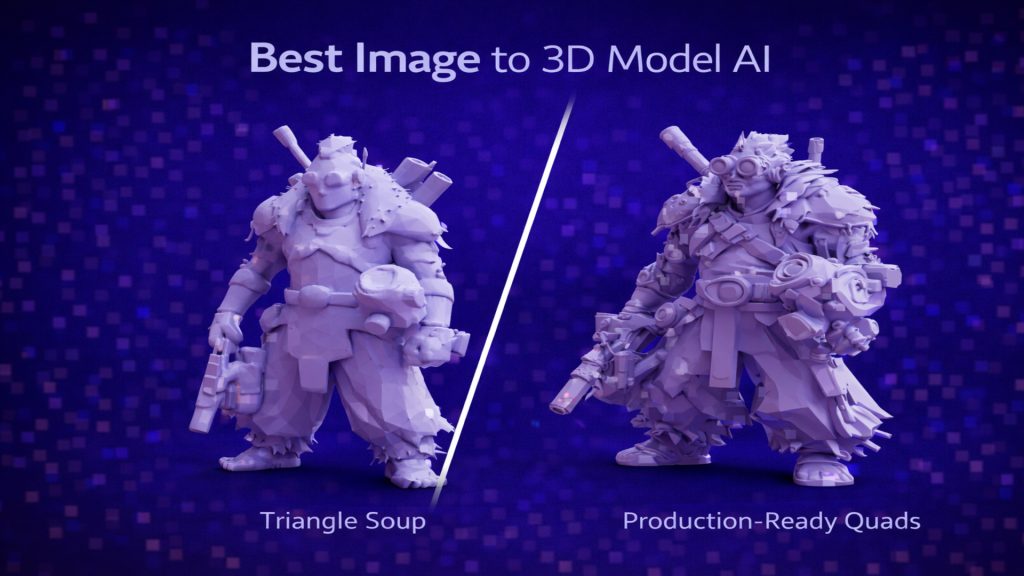
Traditional “heightmap” tools—the previous standard for a decade—are rapidly becoming obsolete. These basic tools merely extrude pixels based on brightness, which often results in spiky surfaces and non-manifold geometry that causes 3D printers to fail.
Neural4D represents the next generation of this technology. Powered by the proprietary Direct3D-S2 algorithm, it performs a full volumetric reconstruction. Instead of just “lifting” pixels, it interprets the spatial intent behind your image.
- Watertight Integrity: As a professional image to STL file converter, Neural4D produces airtight meshes that require zero repair, ensuring your slicer software (like Cura or PrusaSlicer) won’t report errors.
- Volumetric Accuracy: The AI predicts hidden back-side geometry, allowing you to convert image to STL file with real depth and structural logic.
- Online Accessibility: You can perform the entire conversion process online without the need for high-end hardware, as the heavy computational lifting happens in the cloud.
By using Neural4D as your primary free image to STL converter, you are accessing an engine that understands the physical constraints of 3D printing, not just the visual aesthetics.
| Feature | Traditional Heightmap Tools | AI Volumetric Reconstruction (Neural4D) |
| Geometry Type | 2.5D Surface Extrusion (Lifting pixels based on brightness) | Full Volumetric 3D Geometry (Complete reconstruction of volume) |
| Mesh Integrity | Often Non-Manifold (Contains holes, gaps, or zero-thickness walls) | Watertight & Manifold (Structurally solid and ready for printing) |
| Depth Perception | Limited to pixel grayscale values | Direct3D-S2 Spatial Intelligence for true depth mapping |
| Back-side Detail | Usually flat or a simple mirror of the front | Automated Prediction and reconstruction of back and side surfaces |
| Complex Shapes | Fails at overhangs, undercuts, and hollow structures | Handles complex 3D structures and overlapping parts with ease |
| Slicer Compatibility | Usually requires manual repair in CAD or MeshLab | Directly slice-ready for software like Cura and PrusaSlicer |
| Best Used For | Basic logos, simple embossing, and lithophanes | Complex characters, mechanical parts, and high-detail art |
Step-by-Step Guide: From Pixels to 3D Print
The process to convert image to STL online is designed to be intuitive. Follow this expert-level workflow using the Neural4D-2.5 engine:
Step 1: Preparation of the Source Image
AI thrives on clarity. For the best image to STL output, choose a picture with high contrast and clear boundaries. If you are converting a character or a product, a solid-colored background helps the Direct3D-S2 algorithm define the edges accurately. Avoid images with dramatic shadows, as the AI might misinterpret those shadows as physical indentations.
Step 2: Generation with Neural4D-2.5
Navigate to the Neural4D dashboard and upload your 2D file. The Neural4D-2.5 engine will analyze the pixel data and generate a volumetric 3D model in less than a minute. You can rotate and inspect the model in the real-time preview window to ensure all details have been captured.
Step 3: Conversational Refinement
One of the most powerful features of Neural4D-2.5 is its conversational editing interface. If you notice the model is too thin for your 3D printer’s nozzle, you can simply type a command to “increase the wall thickness” or “smooth the surface.” This ensures the resulting STL file is physically viable before you even download it.
Step 4: Exporting the STL File
Once satisfied, select the export menu to convert image to STL file for download. The file is already optimized for high-resolution printing, balancing the level of detail with a manageable file size.
Real-World Use Cases: Why This Matters
The ability to convert photo to STL file opens doors across multiple industries. Here is how professionals and hobbyists are using this technology today:
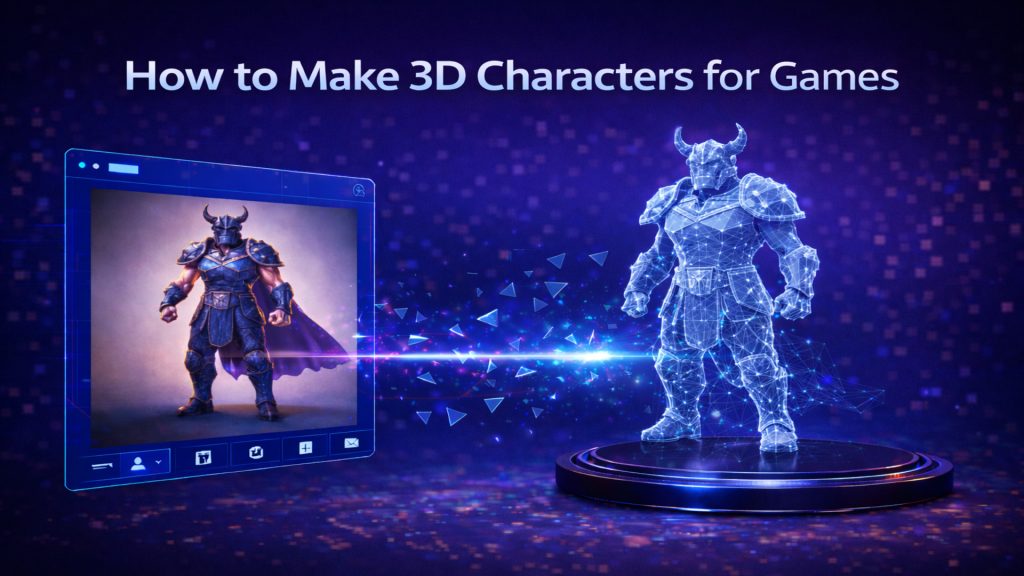
✅ Custom Miniatures: Tabletop gamers are turning 2D character sketches into physical figures. By using an image to STL converter, they can bring unique OC (Original Characters) to life without hiring a sculptor.
✅ Personalized Jewelry: Designers are taking hand-drawn patterns and converting them into 3D reliefs for pendants and rings.
✅ Industrial Prototyping: Engineers use screenshots of legacy parts to quickly convert picture to STL online, allowing for rapid fit-testing before committing to full production.
✅ Lithophanes & Art: Artists are creating 3D-printed photos that reveal intricate details when backlit, a popular application for a free image to STL converter.
Common Problems & Technical Fixes
Even with advanced AI, you may encounter technical hurdles. Here is how to handle them:
❗Non-Manifold Geometry: If your slicer warns of “holes,” it is usually due to a messy background in the original photo.
Fix: Crop your image to focus purely on the subject before uploading it to the image to STL file converter.
❗Fragile Parts: 3D prints can fail if parts are too thin to support their own weight.
Fix: Use the Neural4D-2.5 interface to adjust the “Minimum Thickness” setting to at least 1.2mm for FDM printing.
❗Surface Noise: Low-resolution images can result in “bumpy” STL files.
Fix: Use the “Smooth Mesh” command in Neural4D to refine the final output.
Conclusion: The Future of Instant Manufacturing
The barrier between a digital idea and a physical object has been permanently lowered. By choosing to convert image to STL file with Neural4D, you are leveraging the most advanced Direct3D-S2 technology available.
Whether you need a free image to STL converter for a quick project or a professional pipeline for high-volume manufacturing, the efficiency and precision of Neural4D ensure that your journey from pixel to printer is successful.
Ready to bring your vision to life?