How to Convert Sketch to 3D Model: Turn Your Drawings into 3D
Quick Summary
- Neural4D shows you how to convert sketch to 3D model, producing watertight meshes in under 90 seconds using volumetric AI reconstruction
- The workflow covers sketch preparation, upload, real-time generation, and multi-format export
- Output supports GLB, STL, OBJ, FBX, and USDZ for 3D printing, game development, and AR applications
- Clean line art with high-contrast input produces the best reconstruction results
Learning how to convert sketch to 3D model used to take hours of manual CAD work. This guide walks through the Neural4D workflow from paper sketch to final file export, with practical tips for achieving watertight geometry in under 90 seconds.
- Part 1: How AI Reconstructs Your 2D Sketch
- Part 2: Step-by-Step Guide: From Paper Sketch to Final Export
- Part 3: Tips for Better Sketch-to-3D Results
- Part 4: Technical Specifications for Sketch Reconstruction
- Part 5: FAQs about 2D Sketch to 3D Model Conversion
- Conclusion: Reclaiming the Power of the Pencil
Part 1: How AI Reconstructs Your 2D Sketch
The Neural4D Image to 3D feature is powered by the Direct3D-S2 engine, a proprietary volumetric inference model that moves beyond simple extrusion to interpret the semantic geometry behind your lines. In traditional workflows, a sketch was merely a reference background, a template over which a modeler would manually place vertices and edges. The modern sketch to 3D model process flips this dynamic. Instead of acting as a passive guide, the sketch now serves as a high-level instruction set for AI engines.
These engines utilize volumetric inference to predict the depth and curvature of an object based on the weight and direction of your hand-drawn lines. This technology is driven by a deep understanding of geometric priors. When you upload a drawing of a mechanical part or an organic character, the system recognizes the underlying structure and automatically generates the hidden side of the mesh.
Generative 3D tools are reducing the initial concept-to-prototype phase by as much as 70 percent, allowing for rapid iteration without the overhead of manual sculpting.
Unlike the Neural4D sketch to 3D feature page which covers product capabilities at a high level, this tutorial focuses on the hands-on workflow so you can get your first conversion right from the start. For a complete overview of supported file types and technical limits, visit that feature page directly.
Part 2: Step-by-Step Guide: From Paper Sketch to Final Export
Learning how to convert sketch to 3D model online requires a clean input and a systematic approach within the Neural4D platform.
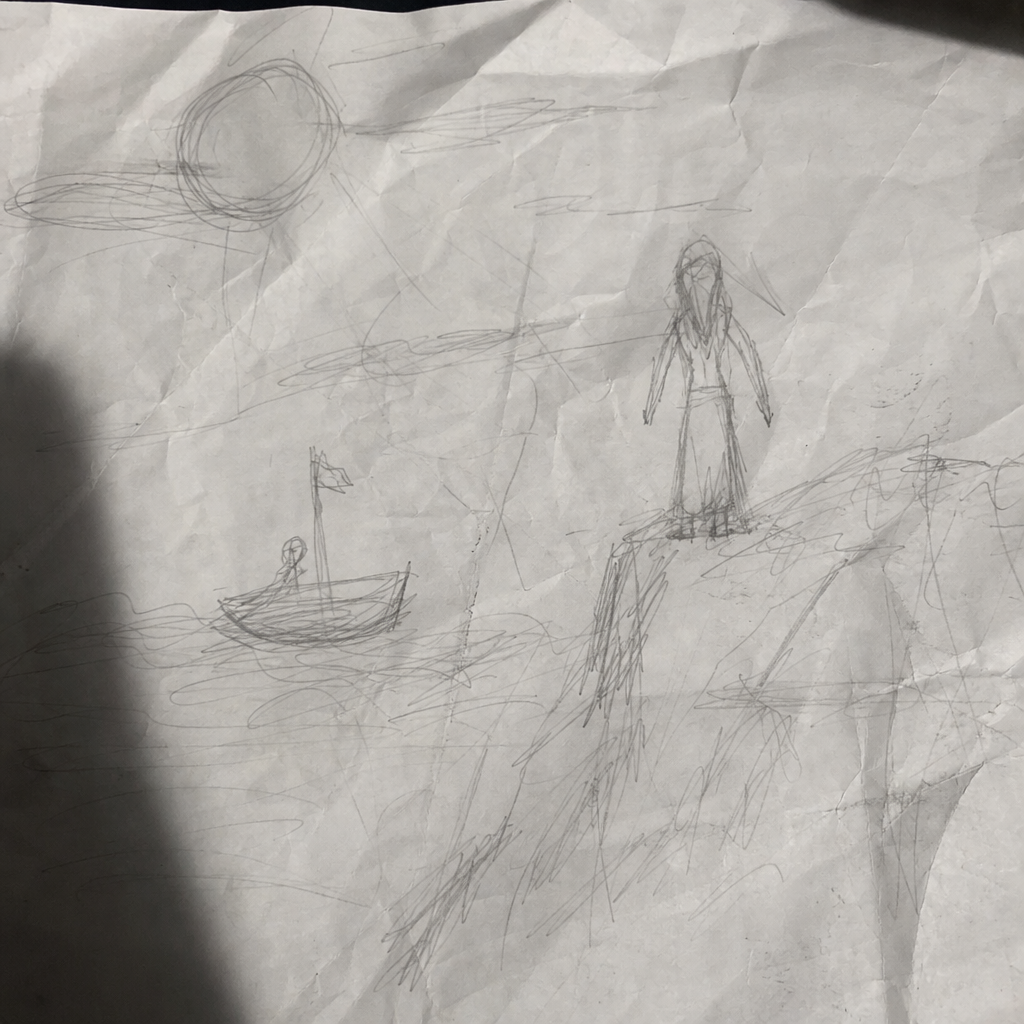
1. Preparation of the Input Sketch
For the best reconstruction results, use high-contrast black ink on a plain white background. The AI relies on clear boundaries to define the mesh. Ensure the photograph of your sketch is well-lit and free of unnecessary shadows or background noise, as these can be misinterpreted as geometric artifacts.
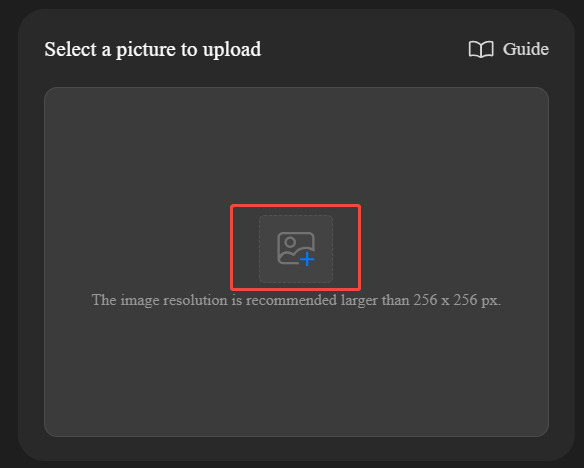
2. Uploading to the Image to 3D Workspace
Navigate to the Neural4D Image to 3D workspace and upload your JPG or PNG file. The system will immediately begin the volumetric analysis. Unlike text-based generators, this AI sketch to 3D model workspace focuses entirely on the visual data provided in your sketch to ensure the highest fidelity to your original design.
3. Real-Time Generation and Evaluation
Once the generation is complete, use the integrated viewer to rotate and scale your model. This is the stage to check for structural integrity and ensure the curves match your intent. Since this is an online service, you can easily refine your sketch and re-upload for an immediate update if the geometry requires adjustment.
4. Professional Export and Format Selection
The final step in the workflow is exporting your file. Neural4D provides a versatile range of output options to fit any professional pipeline. Depending on your destination, you can select from several industry-standard formats:
- .obj: Universal format for general 3D design and digital sculpting
- .fbx: Optimized for game engines like Unity or Unreal Engine
- .glb: Best for web-based real-time rendering and digital showcases
- .usdz: The primary format for AR experiences on iOS devices
- .stl: The industry standard for 3D printing and manufacturing
Not sure which format fits your workflow? See the Neural4D 3D file format guide for a breakdown of each format’s strengths and recommended use cases.
Turn Your Sketch Into a 3D Model
Upload your drawing and get a watertight mesh in under 90 seconds.
No credit card required. Free credits every month.
Part 3: Tips for Better Sketch-to-3D Results
Getting the best possible 3D reconstruction from your 2D sketch depends on more than just the AI engine. Here are proven techniques that improve output quality significantly.
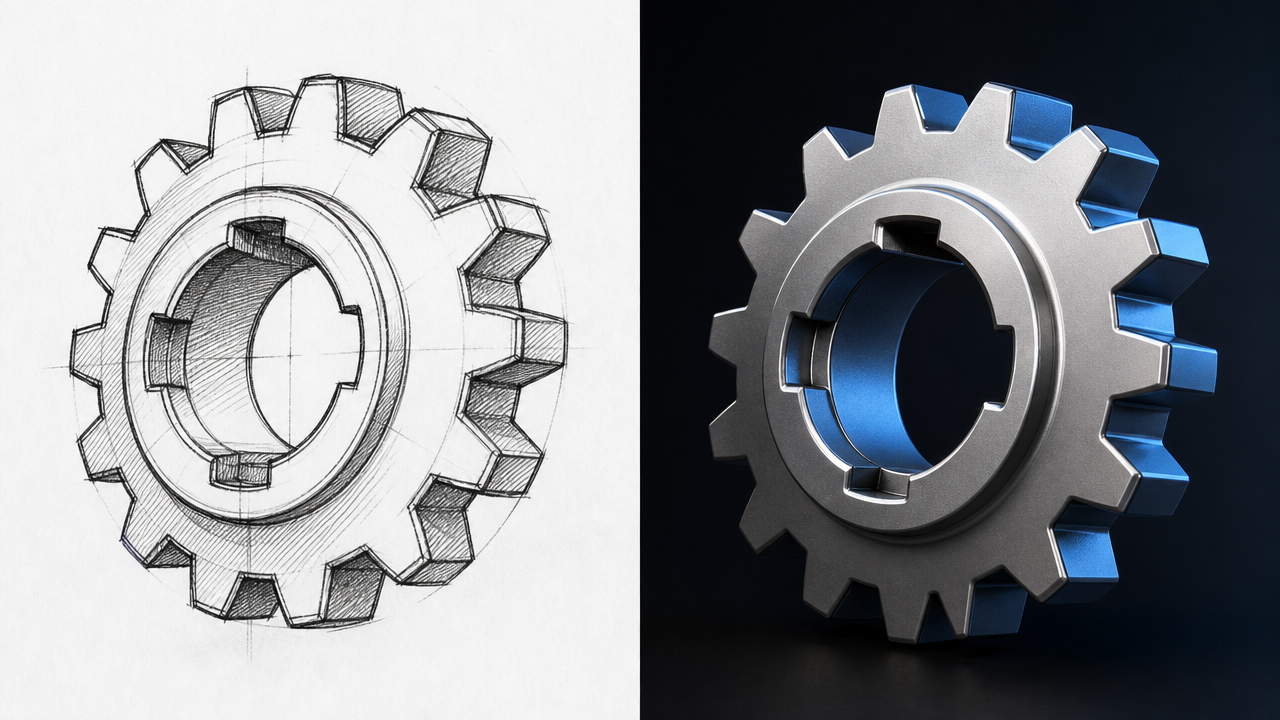
Before & After: How Input Quality Affects Your 3D Result
Before: Unclear Line Art
Thin pencil lines + uneven lighting → broken mesh with holes and artifacts
After: Clean High-Contrast
Black ink + bright white paper → watertight, artifact-free mesh
Optimize Your Input Sketch
The single most impactful factor is line clarity. Use a dark pen or marker on bright white paper. Avoid pencils, as graphite reflectivity can confuse the depth estimator. If you are drawing digitally, export your line art as a clean PNG with a transparent or solid white background. Thick, continuous outlines produce more reliable geometry than thin, sketchy lines.
Control Lighting and Background
When photographing a physical sketch, shoot under diffused daylight or desk lighting to eliminate harsh shadows. Place the paper flat on a table and hold your camera directly overhead. Cropping the image to the paper edges before uploading removes background clutter that the AI could misinterpret as part of the geometry.
Use Symmetry for Character and Mechanical Parts
Neural4D supports X-axis mirroring, which is particularly valuable for character design, vehicle concepts, and mechanical components with bilateral symmetry. Draw only one half of a symmetrical subject, enable symmetry in the workspace, and let the AI mirror the result. This produces cleaner topology and reduces the chance of asymmetrical artifacts.
Refine and Iterate
First-generation results often benefit from a second pass. If the output geometry has minor artifacts, adjust your sketch with thicker outlines or simplified detail and re-upload. Treat the process as iterative: each cycle takes under 90 seconds, so you can rapidly converge on the result you need. For post-processing cleanup in external tools, see the AI 3D model Blender cleanup guide for mesh repair techniques.
Part 4: Technical Specifications for Sketch Reconstruction
| Feature | Neural4D Capability | Industrial Use Case |
|---|---|---|
| Mesh Type | Optimized Geometry | Suitable for both printing and digital animation |
| Symmetry Control | X-Axis Mirroring | Essential for character design and symmetrical tools |
| Inference Speed | Sub-90 Second Generation | Enables massive iteration during early design phases |
| Output Variety | Multi-Format Export | Seamless integration into STL, OBJ, or FBX pipelines |
| AI Engine | Direct3D-S2 by Neural4D | Proprietary volumetric inference engine for learning how to convert sketch to 3D model with sub-90 second generation |
Part 5: FAQs about 2D Sketch to 3D Model Conversion
Q: How to convert sketch to 3D model online for free?
You can use a 2D sketch to 3D model AI like Neural4D. The Neural4D sketch to 3D model tool allows you to turn any sketch into 3D models online, and you get free credits every month. Simply upload a photo of your sketch to the Image to 3D workspace and download the result in your preferred format.
Q: Can I use this 2D sketch to 3D model tool for AR?
Yes. Neural4D supports USDZ and GLB exports, which are the standard formats for AR and mobile-based 3D viewing. You can upload the GLB file directly to webAR platforms or use the USDZ file for iOS Quick Look integration.
Q: Does the sketch need to be a professional drawing?
Not necessarily. While cleaner lines produce sharper models, the AI is designed to understand structural intent, making it accessible even for basic conceptual doodles. That said, high-contrast black ink on white paper consistently delivers the best results regardless of drawing skill level.
Q: What types of sketches produce the best AI reconstruction results?
Sketches with clear, continuous outlines and solid filled areas work best. Line art with distinct foreground shapes, minimal hatching or cross-hatching, and unambiguous silhouettes gives the volumetric inference engine the cleanest signal. Detailed shading and gradient tones are harder to interpret because they blend edge boundaries.
Q: How to achieve high-precision dimension restoration when converting sketch to 3D model?
For industrial design applications requiring accurate dimensional restoration, start with a precisely scaled reference sketch drawn to known proportions. Use grid paper or print your CAD layout at 1:1 scale as the input image. Neural4D’s Direct3D-S2 engine preserves proportional relationships within the sketch, ensuring width-to-height ratios and critical feature alignments are maintained in the final mesh. For absolute dimension control, export the model to STL and scale to exact measurements in your slicer or CAD software before manufacturing.
Q: Can I combine text prompts with my sketch for better results?
The Image to 3D workspace processes visual data exclusively, so text descriptions do not modify the reconstruction. However, you can use Neural4D’s Text to 3D feature separately to generate additional assets, then combine both outputs in your scene. The generated sketch model already includes PBR materials and clean topology.
Q: What if the AI-generated model has missing parts or holes?
First, check whether your sketch had disconnected outlines. Open shapes where lines do not form closed loops are the most common cause of missing geometry. Redraw those sections with connected contours and re-upload. Neural4D natively outputs manifold geometry, so if the sketch is well-formed, the mesh should be watertight. For existing models with issues, dedicated mesh repair tools (such as Blender’s remesh modifier) can fix remaining artifacts.
Q: Is it difficult to convert sketch to 3D model files for printing?
Not at all. Neural4D generates manifold geometry, meaning your STL file is ready for the slicer. You simply need to add supports and define layer height before sending it to the printer. The Direct3D-S2 engine produces models with actual wall thickness, which eliminates the hollow shell problem common in other AI generators.
Q: What is the maximum resolution or file size for sketch uploads?
Neural4D accepts JPG and PNG files up to 20 MB. For optimal results, aim for at least 1024 x 1024 pixels. Very large images (above 4000 x 4000) are automatically downscaled, so there is no benefit to uploading ultra-high-resolution photos. Focus on input quality rather than raw pixel count.
Conclusion: Reclaiming the Power of the Pencil
The evolution of how to convert sketch to 3D model workflows represents the ultimate democratization of design. By removing the technical friction of manual vertex manipulation, Neural4D allows you to focus on the purity of the idea. Your hand-drawn lines are no longer static images; they are the high-fidelity blueprints for the physical world.
Once your sketch-to-3D model is ready, you can take it further by integrating it into an e-commerce 3D product showcase or preparing it for 3D printing with STL export. For a full overview of supported formats and the Direct3D-S2 engine, visit the Sketch to 3D Model feature page.
Ready to See Your Sketches in 3D?
Upload a drawing and get a watertight 3D model in seconds.
Free monthly credits. No experience needed.