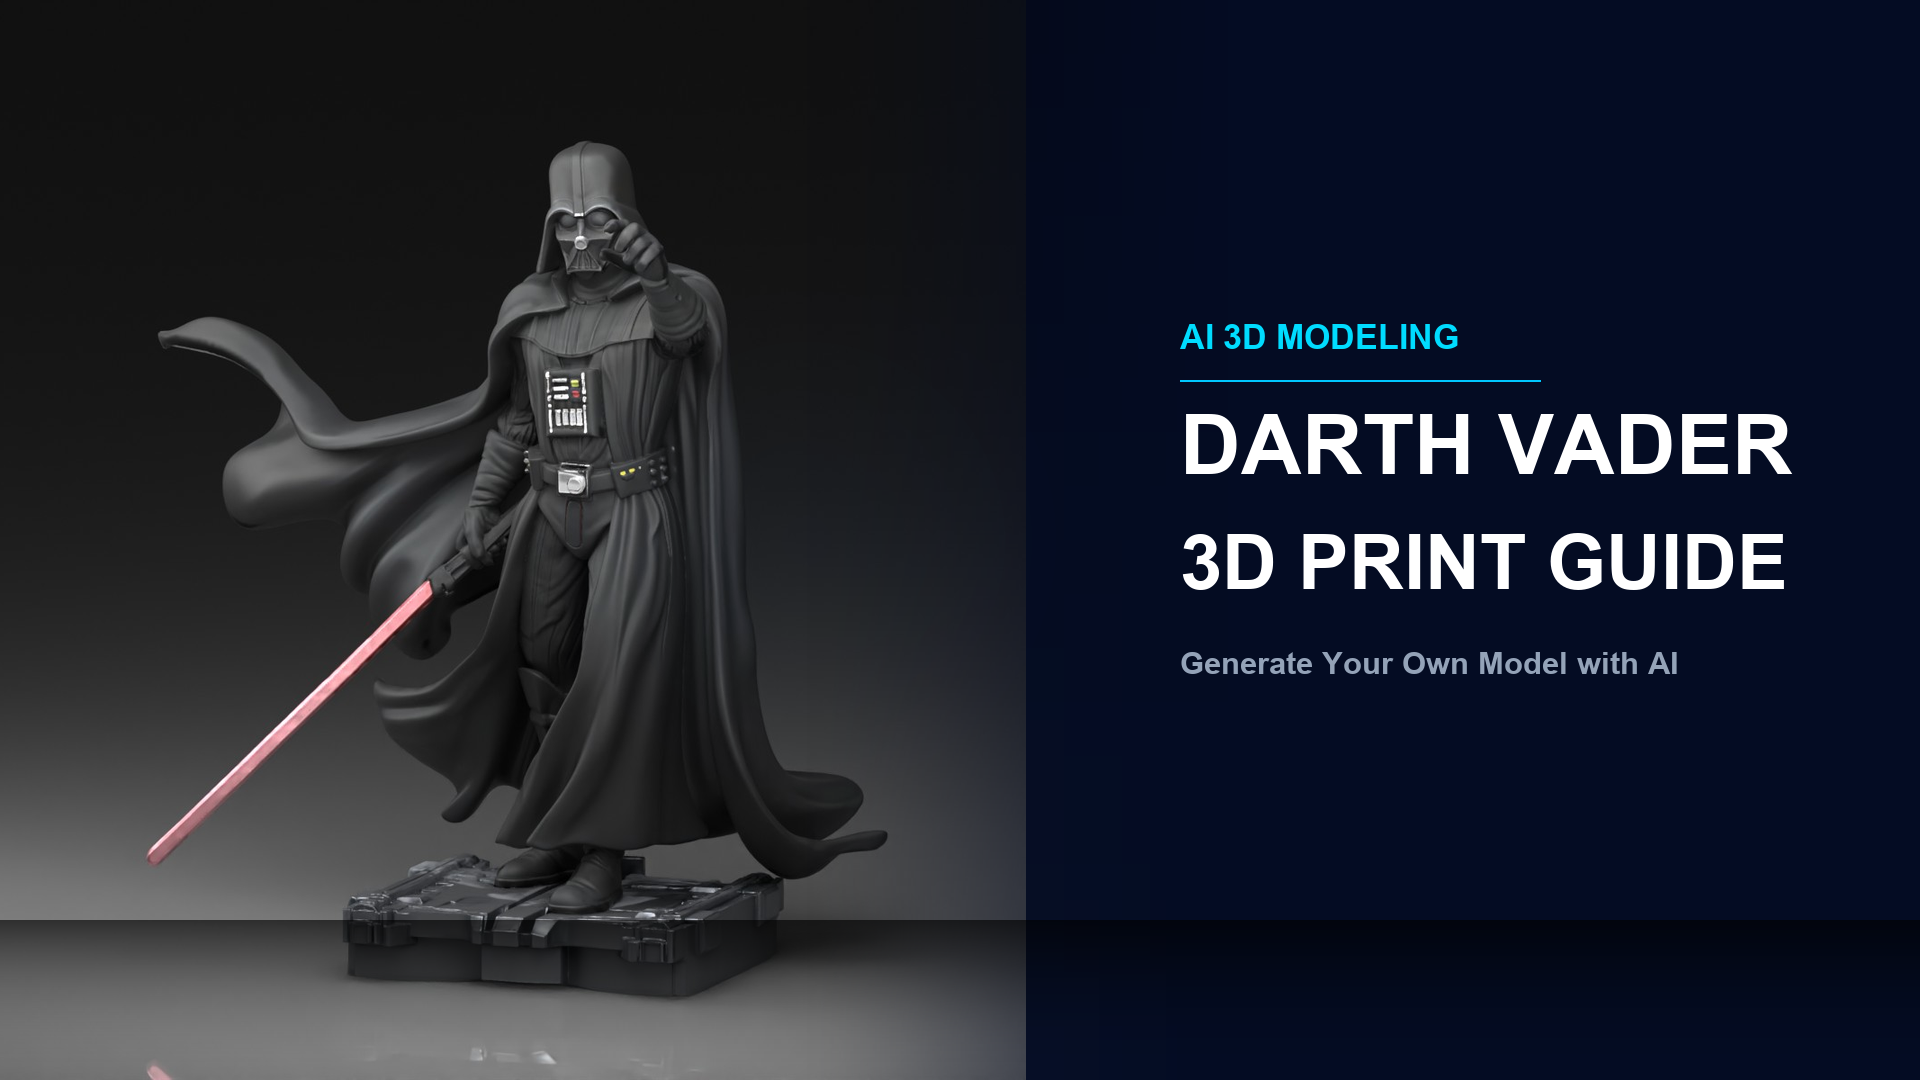
Darth Vader 3D Print: Generate Your Own Model with AI (2026 Guide)
Quick Summary
- Most Darth Vader STL files online are someone else’s design; AI lets you generate your own unique version from a photo or text prompt
- Neural4D’s Image to 3D workflow produces a watertight mesh ready to export as STL in 2 minutes or more (with textures)
- The base mesh generates in approximately 90 seconds; PBR texture computation adds additional time on top
- Neural4D-2.5 lets you refine proportions, armor detail, and pose through conversational prompts before exporting
- Both FDM and resin printers work; resin captures finer armor details at 0.025-0.05mm layer height
- For personal use only: Darth Vader is a Lucasfilm/Disney IP; never sell prints or share files commercially
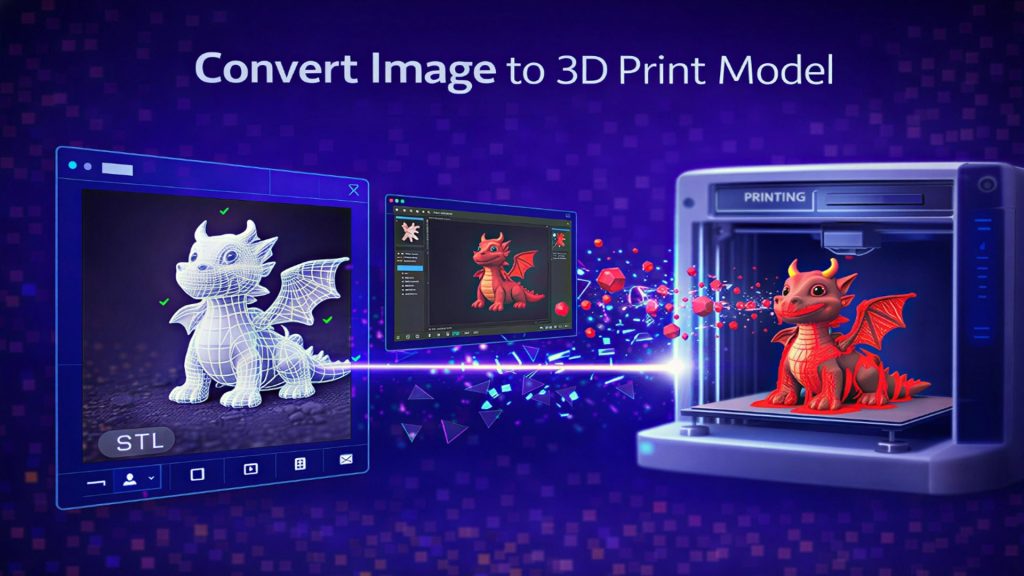
Searching for a Darth Vader 3D print file typically lands you on Printables or Thingiverse, where you scroll through dozens of fan-uploaded STLs with no control over the design. Neural4D changes that workflow entirely: upload a Darth Vader reference photo or type a description, and the Direct3D-S2 engine reconstructs a watertight 3D mesh you can immediately send to your slicer. The result is a model you built, with the armor proportions and stance you chose.
Table of Contents
- Part 1: Why Generate Instead of Download
- Part 2: The AI Workflow: Image to Print-Ready STL
- Part 3: Refining Your Model with Neural4D-2.5
- Part 4: Print Settings for Darth Vader Figurines
- Part 5: Post-Processing and Finishing
- Part 6: Common Questions About Darth Vader 3D Printing
- Get Your Darth Vader Model
Part 1: Why Generate Instead of Download
Every Darth Vader 3D print file on Thingiverse or Printables was designed by another person, then shared under a non-commercial personal-use license. You get what they made. The proportions, the pose, the helmet visor angle: none of these are yours to adjust without opening Blender and remodeling from scratch.
AI generation flips the relationship. You control the design before a single layer is printed. Want a more cinematic helmet profile with sharper cheek vents? Describe it. Prefer a crouching battle pose over a static standing figure? Change the prompt. The output reflects your creative decision, not someone else’s fan art preference.
There is also a quality problem with community STL files: many were modeled years ago at lower polygon counts, optimized for the machines of that era. Hidden non-manifold edges and thin walls that modern slicers catch as errors are common. Neural4D’s Direct3D-S2 architecture outputs mathematically watertight geometry by design, which means the STL drops into Cura or Chitubox without the error-patching step most downloaded files require.
A 180mm Darth Vader on a standard 220x220mm FDM build plate fits with room to spare and takes approximately 8-10 hours at 0.12mm layer height. The same model at 80mm on resin prints in 3-4 hours with far finer detail resolution. For readers who have already downloaded a Darth Vader file and need to convert it to a printable format, the image-to-STL conversion guide covers that workflow. But if you want to create something original, keep reading.
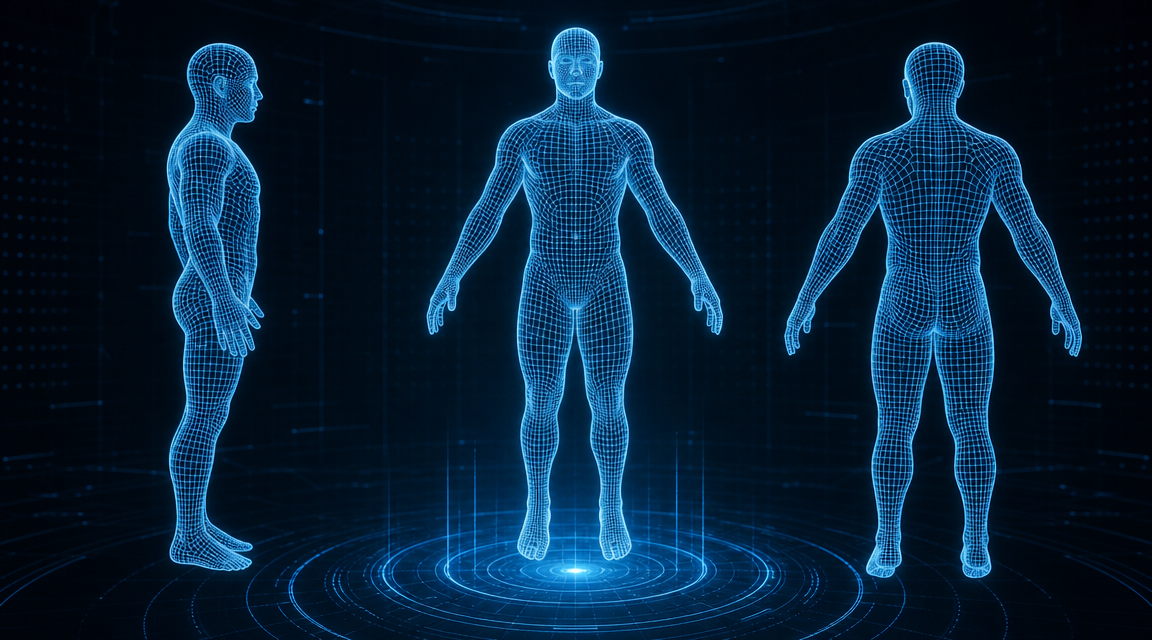
Watertight geometry from the Direct3D-S2 engine: no hidden holes, no patching required before slicing
Build Your Own Darth Vader Model
Upload a reference photo. Neural4D generates a watertight STL you designed.
Generate Your Darth Vader Model Free
Free credits refresh weekly. Start now before this week’s 50 Power credits run out.
Part 2: The AI Workflow: Image to Print-Ready STL
The Neural4D Image to 3D workflow has three decision points, all made before you click Generate. Getting these right determines how much work the print requires downstream.
Step 1: Prepare Your Reference Image
The Direct3D-S2 engine reads volume from a 2D image. A straight front-on shot of Darth Vader gives it a flat projection with ambiguous depth. A slight 3/4 angle view (roughly 30 degrees off-center) gives the algorithm enough reference points to calculate accurate chest armor volume, helmet curvature, and shoulder geometry. Use a clean, uncluttered reference with a neutral background. Fan art screenshots, toy photos, and movie stills all work.
If you want to go further, Neural4D supports multi-view input. Upload a front view and a side view simultaneously and the engine fuses both into a single mesh. This is the fastest path to accurate armor silhouette on a complex character like Darth Vader.
Step 2: Configure Texture Output Before Generating
In the Image to 3D studio, choose your texture output upfront. The options are: base mesh only, standard textures, or full PBR maps (Normal, Roughness, Metallic). For a Darth Vader 3D print, the right choice depends on what you plan to do after printing.
If you intend to prime and hand-paint the figure, base mesh only is sufficient. The geometry is what matters; you add the surface detail manually. If you want the digital file to look accurate in a 3D viewer or game engine before printing, select PBR textures. Base mesh generation takes approximately 90 seconds. Full PBR texture computation runs longer; the complete textured GLB takes 2 minutes or more. Do not expect textures in 90 seconds.
Step 3: Export as STL
Once generation completes, export the model as STL. Neural4D outputs a watertight closed mesh, which is the fundamental requirement for any 3D print. Load it directly into PrusaSlicer, Cura, or Chitubox: no hole-patching, no mesh repair step. The model is print-ready from the export.
For more detail on the full Image to 3D pipeline, the AI image-to-3D model guide walks through each studio setting in depth. If you are working from a 2D illustration instead of a photo, the same Image to 3D workflow applies: upload the illustration and configure texture output the same way.
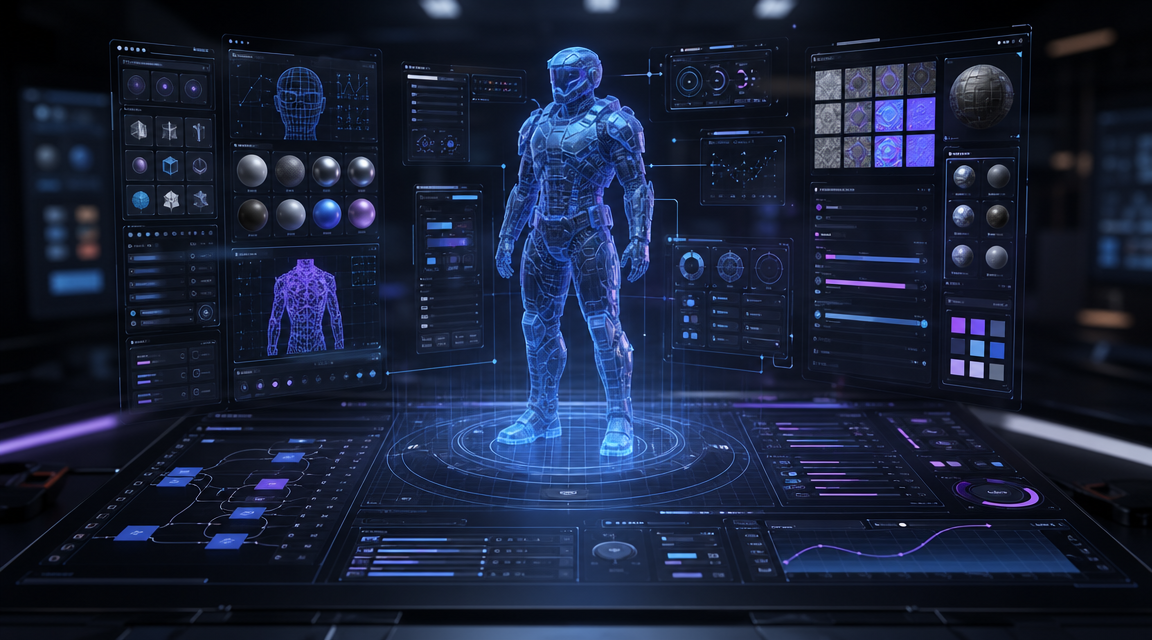
Configure texture output before hitting Generate: base mesh, standard textures, or full PBR maps are all set upfront
Part 3: Refining Your Model with Neural4D-2.5
After the initial generation, Neural4D-2.5 lets you adjust the model through natural language before you export anything. This is where the workflow separates from downloading a static STL file.
Type instructions like “narrow the helmet dome,” “add deeper chest panel grooves,” or “shift the cape to hang more naturally.” Neural4D-2.5 applies targeted geometry edits to the generated mesh: no modeling software, no vertex pushing. You are editing a 3D object through a conversation interface.
⚡ Neural4D-2.5 scope: This conversational refinement tool applies to models generated within Neural4D (Image to 3D, Text to 3D). It operates on the output of the Direct3D-S2 engine specifically. It does not apply to STL files imported from external sources such as Printables or Thingiverse.
For a Darth Vader 3D print, common refinement passes are: adjusting the helmet visor depth for cleaner resin print release, thickening the lightsaber hilt to survive FDM printing tolerances, and flattening the base for stable first-layer adhesion without a separate support raft. These are the adjustments that normally require Blender, and here they are a prompt away.
The Chainsaw Man 3D print guide shows this same refinement workflow applied to a different IP character with complex organic geometry.
Part 4: Print Settings for Darth Vader Figurines
The right settings depend on printer type and the level of armor detail you want to capture. Darth Vader’s armor has specific demands: the helmet ridges and chest panel engravings are fine enough to disappear on FDM at standard layer heights.
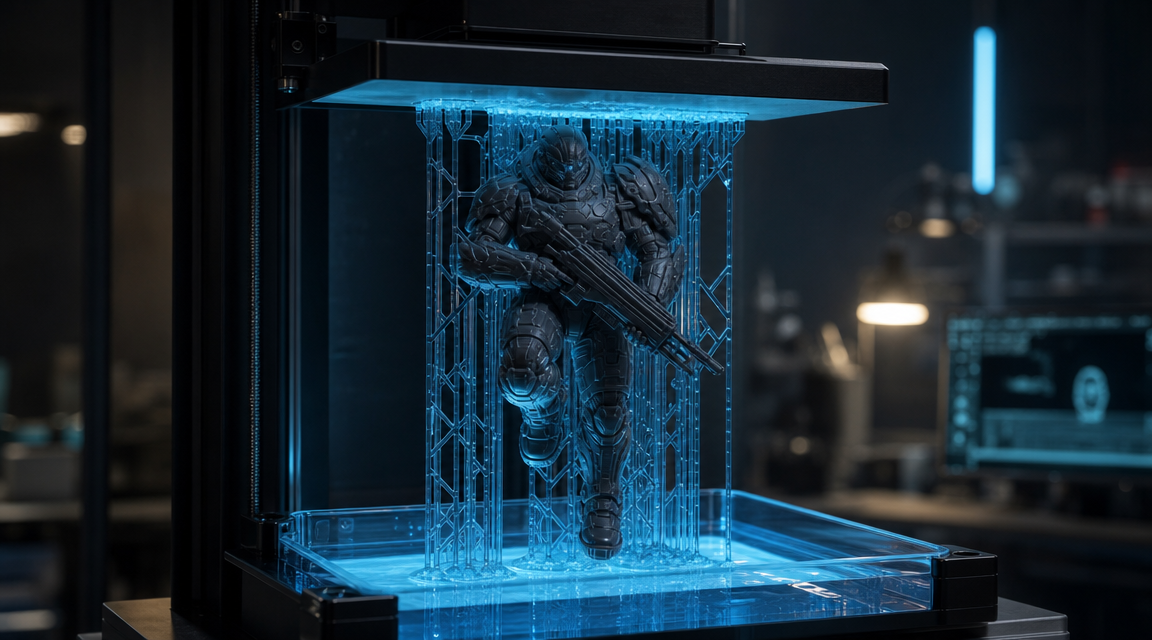
Resin printing captures fine armor panel details that FDM at 0.2mm layer height misses
FDM Settings
FDM is the right choice if you want a larger display piece (150-400mm) or plan heavy post-processing anyway. Set layer height to 0.12mm or lower for the helmet section; standard 0.2mm makes ridges look stepped. Use tree supports. Infill at 15-20% (gyroid pattern) gives enough structural integrity for display without excessive weight or material. PLA works well; PETG if you want slightly more durability for assembled parts.
Resin Settings
Resin is the better choice for collector-quality figurines under 150mm. At 0.025-0.05mm layer height, the helmet vent lines, chest panel engravings, and shoulder armor texture all resolve clearly. Exposure time and lift speed are critical for overhangs: the cape and arm angles of a Darth Vader model have several. Standard gray or black resin shows panel line detail better than translucent variants.
| Setting | FDM (Display) | Resin (Collector) |
|---|---|---|
| Layer height | 0.10-0.12mm | 0.025-0.05mm |
| Infill | 15-20% gyroid | N/A (hollow + drain holes) |
| Supports | Tree supports, 45-60 deg threshold | Heavy supports on cape, arms |
| Material | PLA or PETG | Standard gray or ABS-like resin |
| Display height | 150-400mm | 50-150mm |
For a direct comparison of how AI-generated character figures perform across different printers, the Iron Man helmet 3D print breakdown covers similar armored geometry with comparable complexity.
Part 5: Post-Processing and Finishing
The print coming off the bed is the midpoint, not the end. Darth Vader’s armor demands matte black with controlled metallic highlights, a specific finish that requires a deliberate sequence of steps.
Support Removal and Surface Prep
Remove tree supports with flush cutters or angled pliers. The shoulder armor and cape attachment points are the most fragile sections; go slowly. For resin prints, cure fully under UV light before attempting removal. Sand seams with 120-grit, then 400-grit, then 800-grit if display quality matters. High-build filler primer fills layer lines on FDM prints before painting; one coat, sanded at 400-grit, makes a significant difference to the final look.
Painting the Armor
Base coat with matte black primer. Second pass with flat dark charcoal to build even coverage. Then apply silver edge highlighting with a dry brush: load a flat brush with metallic silver, wipe most of it off on a paper towel, and drag lightly across raised armor edges. This replicates the worn metal look of screen-accurate Vader armor without airbrushing equipment.
The helmet visor is the detail that makes or breaks the final figure. Gloss black creates the correct look; mask off everything else before applying a gloss coat to the visor only. Two thin coats of matte varnish over the full model protects the paint and brings the non-visor surfaces back to flat.
Assembly
For multi-part prints, dry fit all pieces before gluing. Super glue (cyanoacrylate) works for rigid PLA joints. For resin, epoxy or UV-cure adhesive gives a stronger bond at thin section joins like the lightsaber hilt. Scale the model 101-102% in your slicer if pins feel too tight; this is faster than sanding every pin hole.
The Super Mario 3D print guide covers multi-part assembly and painting basics that apply to any character figurine workflow.
Part 6: Common Questions About Darth Vader 3D Printing
Can I sell 3D printed Darth Vader figures I generated with Neural4D?
No. The problem is not the generation tool — it is the character itself. Darth Vader is Lucasfilm/Disney intellectual property. A Neural4D-generated mesh of a copyrighted character carries the same commercial restrictions as any other fan-made file: personal display only, no sales, no distribution. Neural4D’s paid plan grants full commercial rights to original characters you generate, but it cannot override the underlying IP ownership of existing fictional characters. If commercial sales are the goal, generate an original armored villain design instead of a direct character likeness.
What is the best size to print a Darth Vader figurine?
For FDM, 150-250mm height gives a good balance between detail and print time (approximately 8-12 hours at 0.12mm layer height). For resin, 80-120mm captures the finest armor panel detail. Anything under 60mm loses chest panel engravings even on resin. If you want a wearable helmet at roughly 1:1 scale, expect 200-250mm across the widest point and 20+ hours on FDM.
What reference image gives the best result for a Darth Vader 3D model?
A 3/4 angle view at roughly 30 degrees off-center outperforms a straight front-facing photo. The Direct3D-S2 engine needs reference points on both sides of the helmet to correctly calculate depth — a flat front shot leaves the back geometry ambiguous. High-contrast images with a clean background work better than screenshots grabbed from dark film scenes. Toy photography and render stills tend to give cleaner inputs than live-action movie frames because the lighting is more controlled and the silhouette reads clearly.
Does Neural4D work with third-party Darth Vader STL files I downloaded?
No. Neural4D’s Image to 3D and Text to 3D features generate new models from scratch using the Direct3D-S2 engine. They do not import or repair existing STL files from external sources. If you need to work with an existing downloaded file, your options are Meshmixer (free) for hole repair or Blender for structural edits. Neural4D’s role is to generate a cleaner, watertight model from the start rather than fix geometry from other generators.
Why does my Darth Vader print look good in the slicer but fail mid-print?
The two most common causes are insufficient supports on the cape overhang and inadequate first-layer adhesion under the wide foot base. Cape geometry typically extends past 45 degrees at the lower edge — most slicers under-support this area with default tree support settings. Manually add support enforcers to the cape hem. For adhesion, a brim of 5-8mm around the base prevents warping on FDM, especially on PETG. On resin, make sure drain holes are placed at the lowest point of any hollow section; trapped resin creates suction forces that pull prints off the build plate mid-layer.
What file format does Neural4D export for 3D printing?
Neural4D exports STL, OBJ, FBX, and GLB formats. For 3D printing, STL is the universal format that every major slicer (Cura, PrusaSlicer, Chitubox) accepts directly. Export STL, load it into your slicer, and print. No conversion step required.
Get Your Darth Vader Model
Downloading a random STL gets you someone else’s interpretation of Darth Vader. Using Neural4D’s Image to 3D, you generate a Darth Vader 3D print with the specific proportions and detail level you chose, backed by a watertight mesh that slices without error. Upload a reference photo, configure texture output, refine with Neural4D-2.5, export STL, and send it to your printer. According to research published at NeurIPS 2025, the Direct3D-S2 architecture driving Neural4D delivers inference speeds approximately 12 times faster than previous volumetric diffusion approaches, which is why the base mesh is ready in roughly 90 seconds rather than the minutes competitors require.
The AI-generated path is faster, gives you control over the design, and produces geometry that does not require pre-print repair. For more AI character print projects, the best AI image-to-3D model comparison and the Text to STL guide show how the same approach applies across different character types.
Generate Your Darth Vader 3D Model Now
Watertight STL in under 2 minutes. No Blender. No manual retopology.
Generate Your Model Now — Free
Free plan: 50 Power credits per week. Credits refresh every week — don’t let them go to waste.