How to Make a 3D Atom Model: 5 Methods from Craft to AI Generation
Quick Summary
- A 3D atom model is a scaled build of an atom that shows a nucleus of protons and neutrons with electrons arranged on shells around it.
- Every route starts from the same three numbers: the atomic number gives the protons, the mass number minus the atomic number gives the neutrons, and a neutral atom carries an equal count of electrons.
- Craft balls and wire, foam balls, and recycled materials cover the hand-built routes, while 3D printing and AI generation cover the digital ones.
- Particle counts and shell order carry more weight than surface finish, because the model is graded on what it explains.
- Neural4D generates the base geometry from a text prompt and exports a watertight mesh as STL or GLB, so a printable atom model no longer depends on a craft store run.
Building a 3D atom model comes down to three numbers and one layout: read the element’s atomic number, mass number, and shell count, then decide whether you are gluing craft balls, printing a mesh, or generating one with AI. The five routes below each end in a displayable model, but they differ sharply in build time, cost, and how much detail survives at classroom scale.
In This Guide
- What a 3D Atom Model Has to Show
- Choose Your Element and Count the Particles
- Method 1: Build a Craft Ball and Wire Model
- Method 2: Build a Free-Standing Foam Ball Model
- Method 3: Build a Model from Recycled Materials
- Method 4: 3D Print the Model
- Method 5: Generate the Model with AI from a Text PromptHOT
- Compare the Five Methods Before You Start
- Bohr Model vs Electron Cloud: What Your Model Really Shows
- Where Neural4D Fits in a Classroom Workflow
- Common Questions About 3D Atom Models
- Build the Model Your Element Deserves
What a 3D Atom Model Has to Show
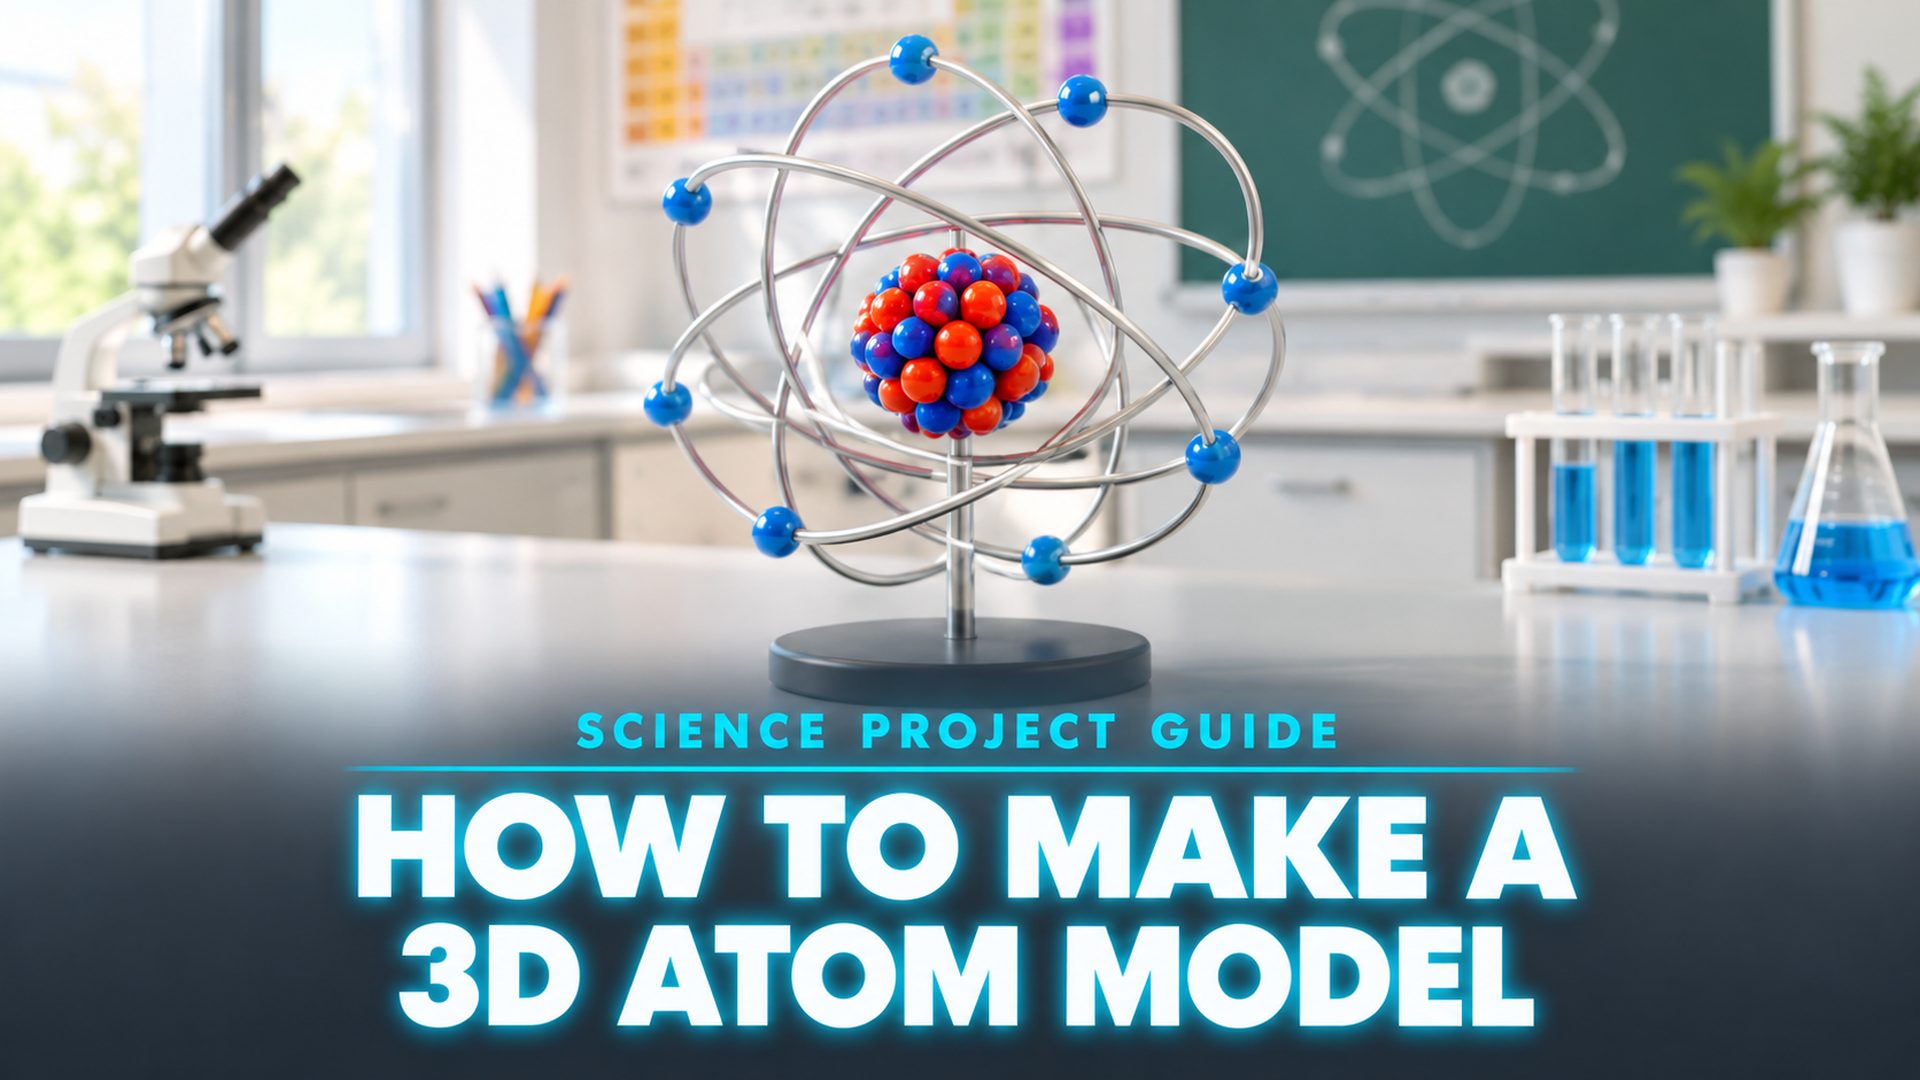
A 3D atom model is a three-dimensional build that represents one element’s structure: a compact nucleus in the center, and electrons distributed around it. The nucleus holds protons and neutrons. The electrons sit on shells, also called energy levels, and the number of electrons on each shell is what a viewer checks first.
The format is a display object, not a calculation. Students build it for a science fair, a teacher prints a set for a classroom demonstration, and a museum renders one for an exhibit screen. Across all three settings, the model has to communicate the same three facts at a glance: which element it is, how many protons and neutrons the nucleus holds, and how the electrons divide across shells.
What belongs on the model
Four elements do the teaching work. A nucleus built from two visually distinct particle colors. At least one ring or shell per occupied energy level. Electrons placed on those shells in the correct count. And a key that maps each color to a particle type, since a viewer cannot infer whether a blue sphere is a proton or a neutron.
🔹 The nucleus carries two particle types, so it needs two colors. Electrons use a third, and a smaller sphere size, so they read as different objects from a desk away.
🔹 The shell order is the graded detail. A calcium model with the right particles but the wrong shell split looks correct in a photo and fails on inspection.
Choose Your Element and Count the Particles
This step is identical for every method below, so finish it before buying anything. Three readings from the periodic table give you everything the build needs.
The atomic number equals the proton count. For a neutral atom, the electron count matches it. The mass number minus the atomic number gives the neutron count. Calcium, the most common classroom build, has atomic number 20 and a mass number of 40, so it takes 20 protons, 20 neutrons, and 20 electrons.
Placing electrons on shells
Fill shells from the inside out. The standard classroom pattern is 2 electrons on the first shell, 8 on the second, 8 on the third, and the remainder on the fourth. Calcium lands at 2, 8, 8, 2. Neon stops at 2, 8. Oxygen fills as 2, 6, which leaves the outer shell visibly short and makes it an effective model for showing why oxygen bonds.
The longer 2, 8, 18, 8, 1 sequence only matters once you reach the heavier elements, and those models get unwieldy fast. For a display object, stay at or below calcium. If the assignment requires a heavier element, consider a digital build instead of a physical one, because a hand-built nucleus of 80-plus spheres collapses under its own glue.
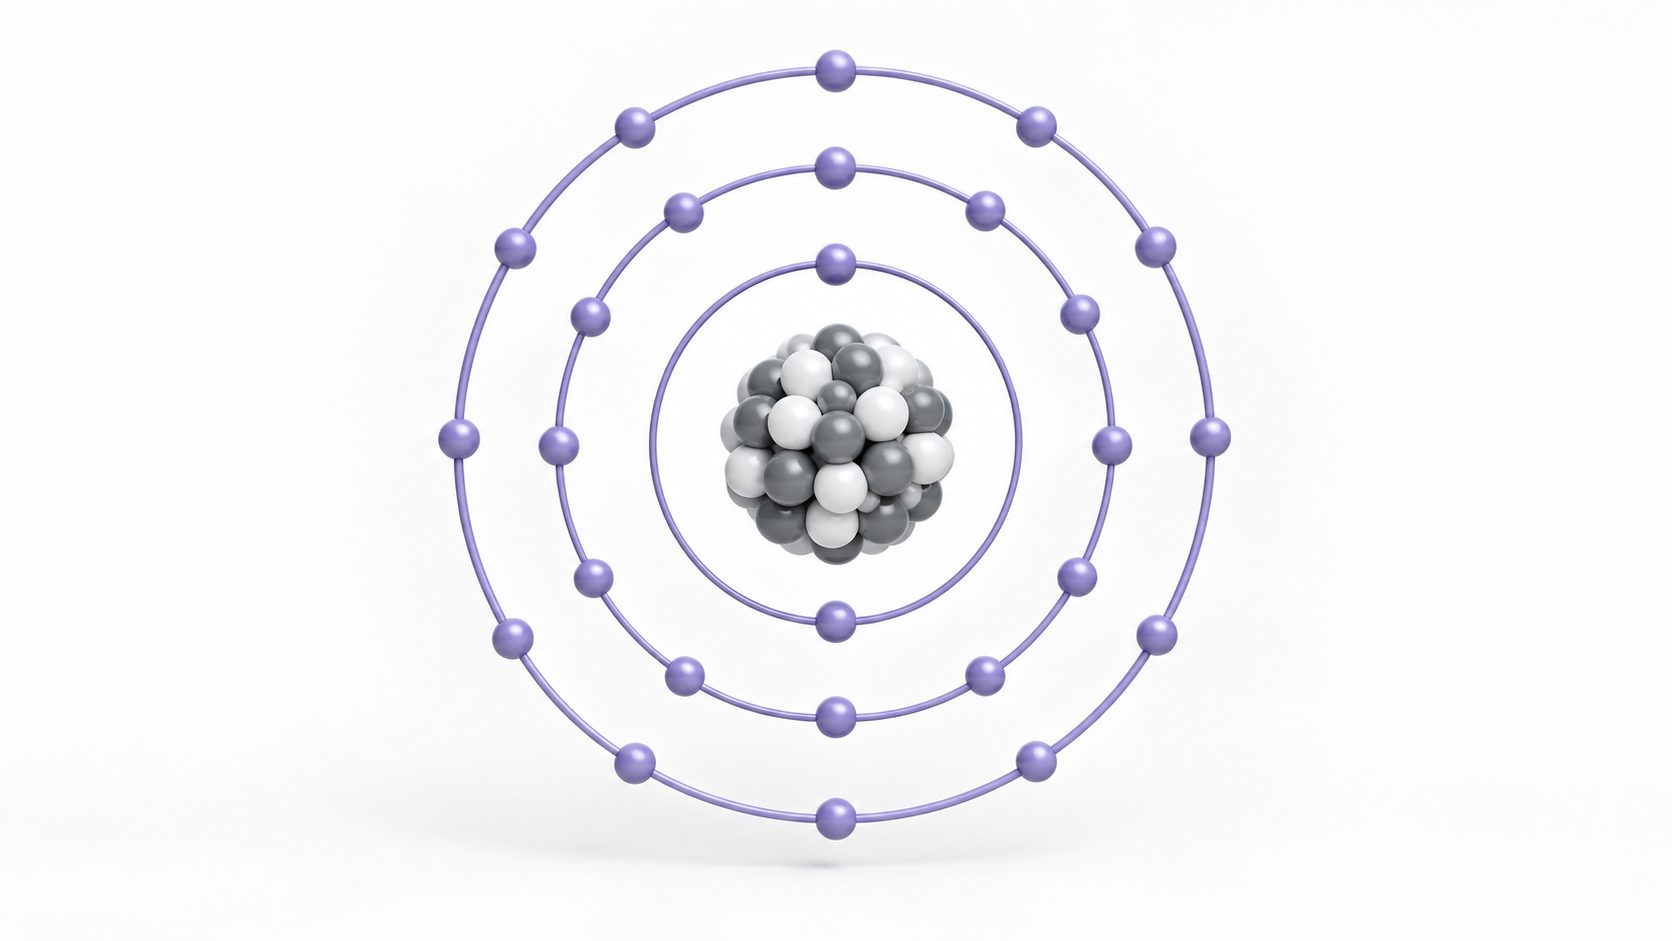
Method 1: Build a Craft Ball and Wire Model
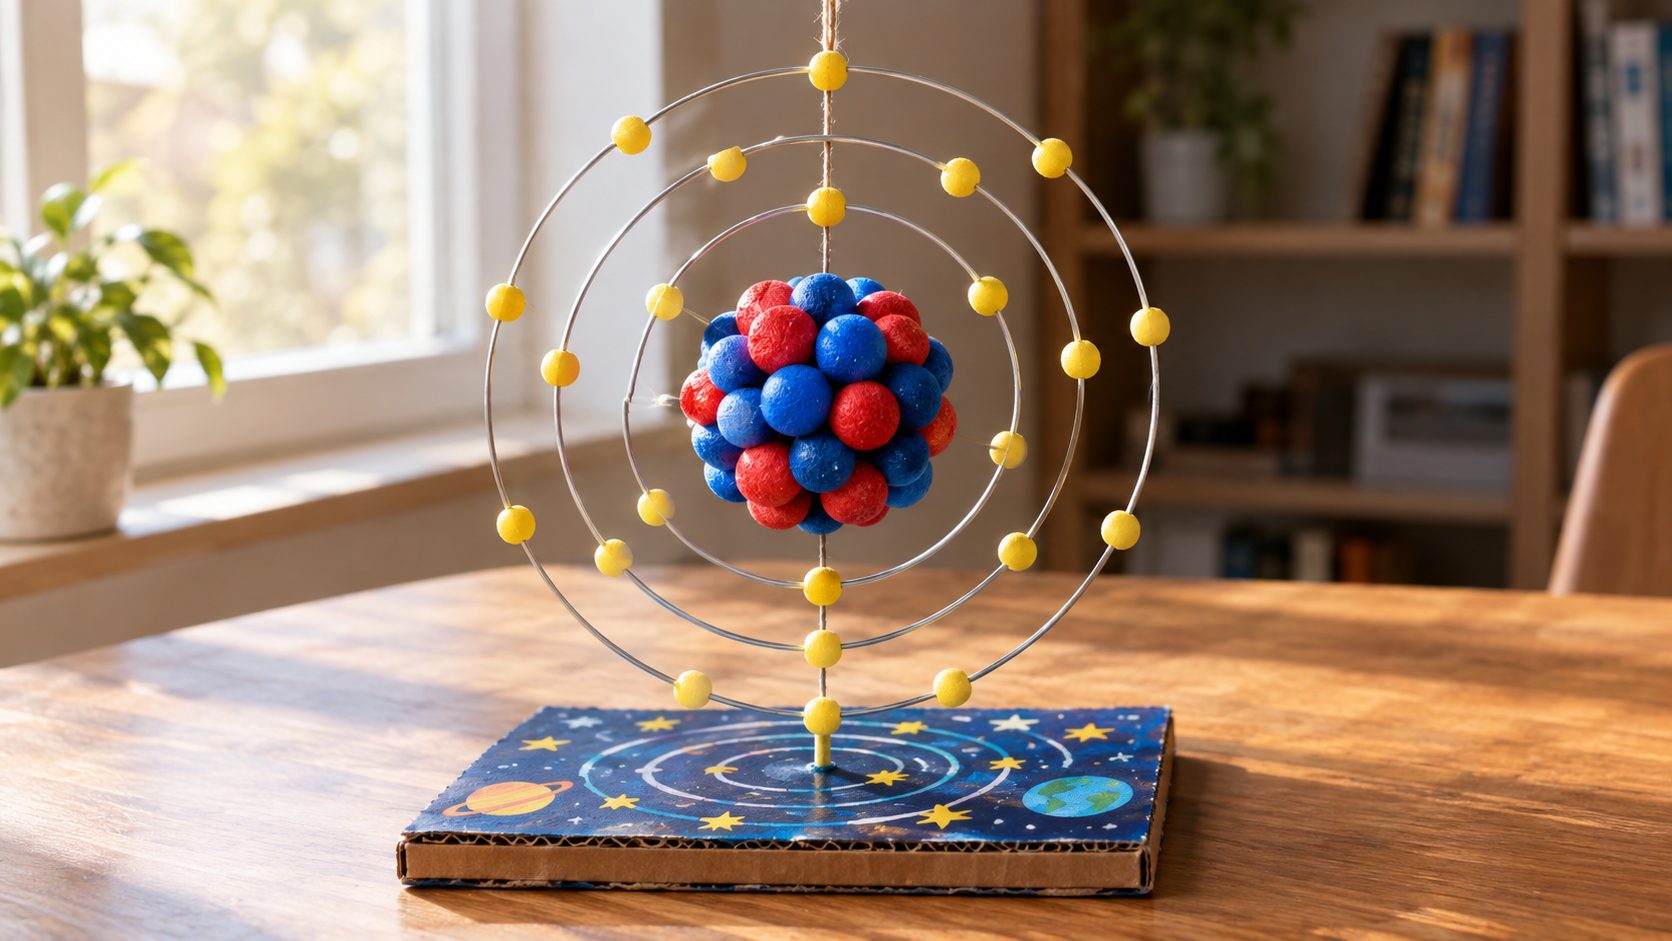
The craft ball and wire build is the default school-project route, and it is the one that produces the largest, most readable model. Expect one to two evenings of work.
Materials
Two colors of large craft balls for protons and neutrons, one color of small balls for electrons, stiff wire or cardstock for the shell rings, strong craft glue, and a base or hanging string. A calcium build at 20 protons and 20 neutrons takes 40 large balls and 20 small ones, plus four rings.
Steps
Cut four rings in graduated diameters, keeping the largest wide enough that the outer electrons do not touch the nucleus. Glue the 40 large balls into a single compact cluster for the nucleus. Thread or glue the small balls onto the rings in the 2, 8, 8, 2 pattern, spacing each group evenly. Then mount the completed assembly on a base, or tie it off with string so it hangs. Hanging models survive transport to school better than standing ones.
A common substitution is colored marshmallows in place of craft balls. They work, and they degrade within a few weeks, so they suit a short-lived assignment rather than a model you want to keep.
Method 2: Build a Free-Standing Foam Ball Model
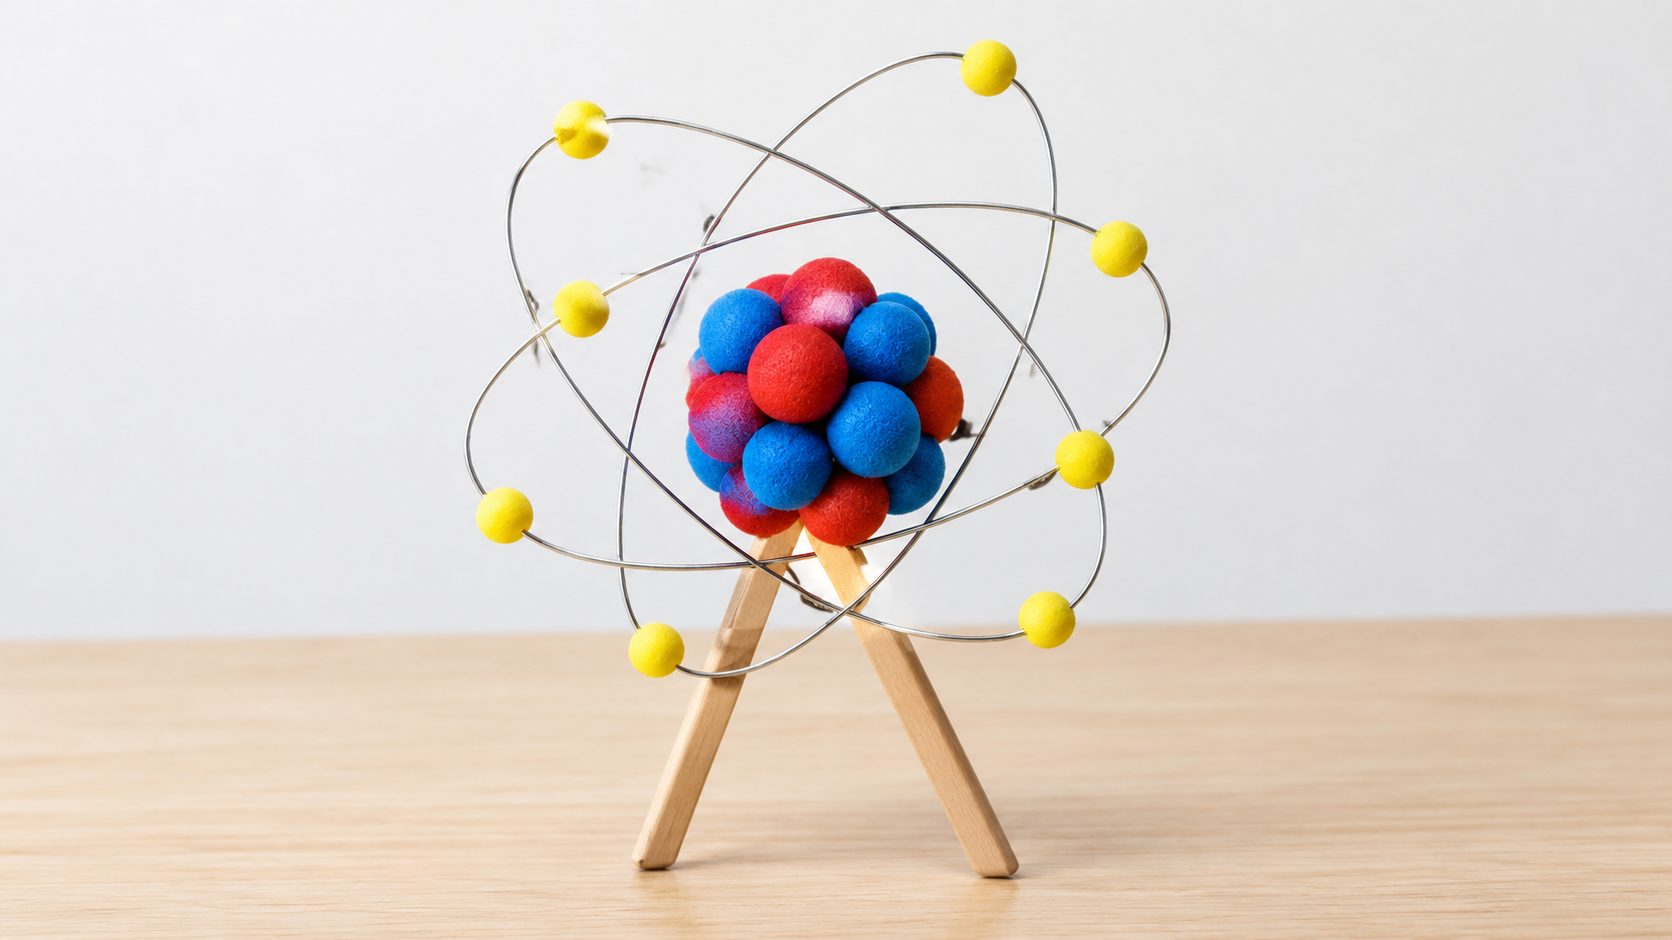
Foam balls produce the lightest model of the three hand-built routes, and the one that stands on its own. The trick is structural: the nucleus holds the legs, so the model needs no separate base.
Materials
Foam balls in two nucleus colors, a third color in a smaller size for the outer shells, wooden craft sticks, strong craft glue, and paint if you cannot source pre-colored balls. A neon build uses 10 medium balls of each nucleus color and 10 small yellow balls for the electrons.
Steps
Paint or sort the nucleus balls into two distinct colors, then glue them into a cluster. Insert two craft sticks into the underside of the cluster at an angle so they act as legs, and let the glue cure fully before the cluster carries any weight. Build the shell rings from thinner sticks or wire, attach them to the nucleus, and place the electrons across them in the 2, 8 pattern that neon requires.
Foam dents easily under pressure, so press balls into place rather than squeezing them. The material also takes paint unevenly, which is why pre-colored balls are worth the extra cost when the assignment is graded on clarity.
Method 3: Build a Model from Recycled Materials
The recycled route costs almost nothing and finishes in under an hour, which makes it the practical option for a group project or a same-week deadline. Educational chemistry literature has documented this approach for years as a way to make atomic structure tangible without a budget.
Materials
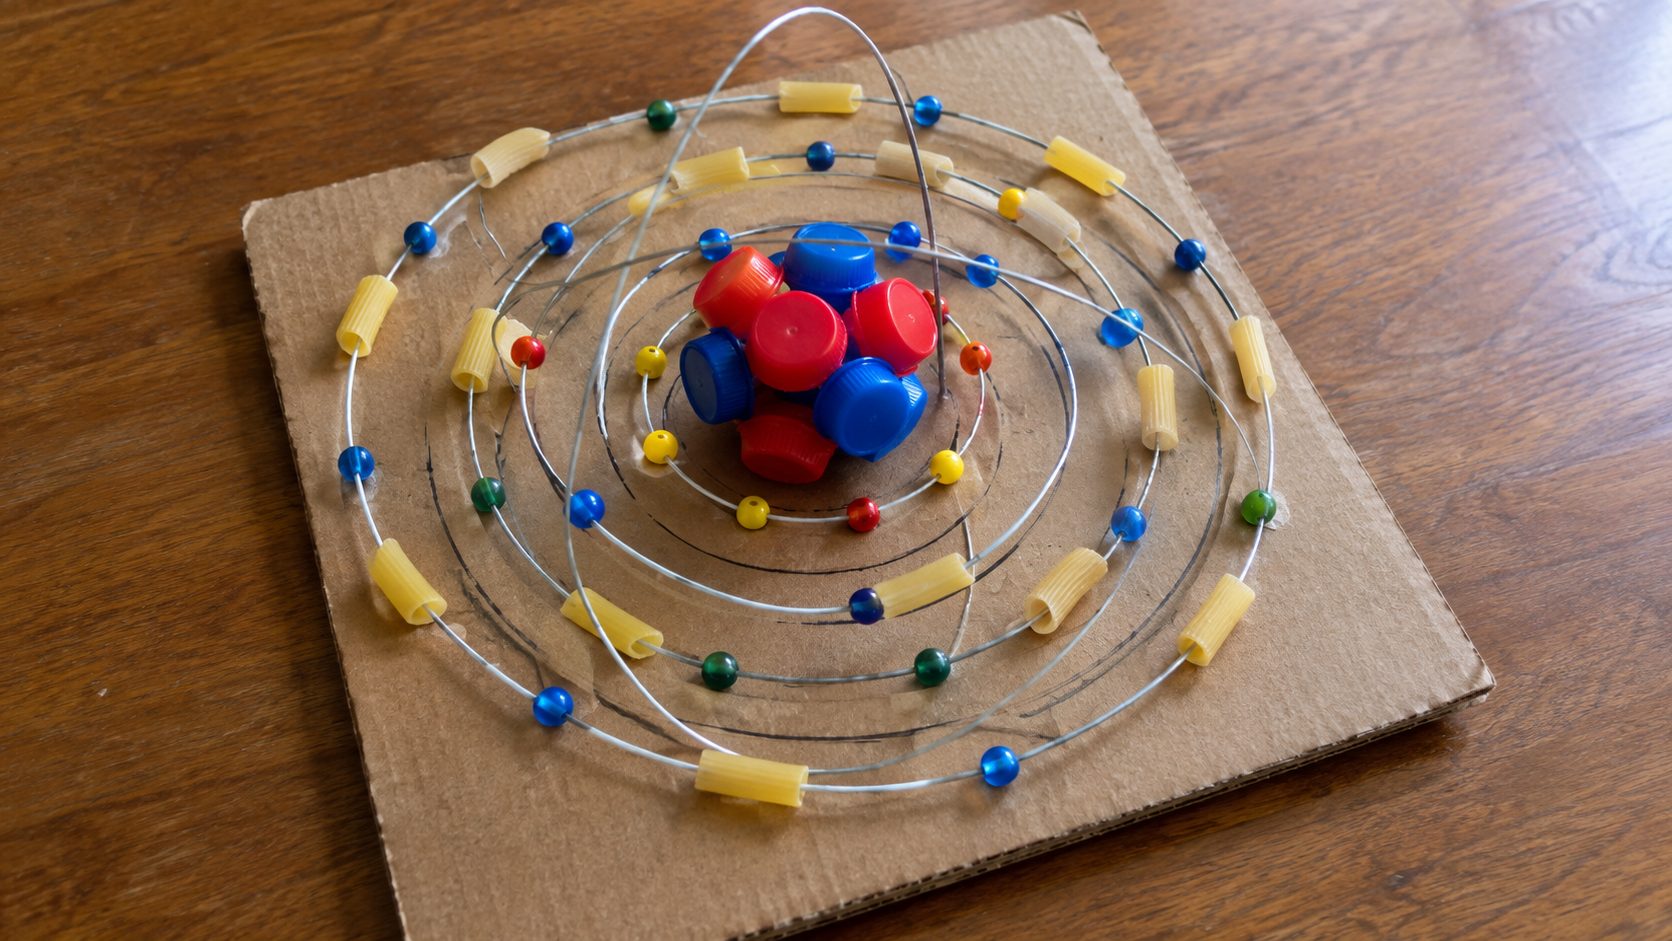
Whatever the household already holds: bottle caps for the nucleus, beads or dried pasta for electrons, aluminum wire or a coat hanger for the shell rings, and a paper plate or cardboard sheet as the backing. Paint or marker colors distinguish the particle types.
Steps
Draw concentric circles on the plate or cardboard to mark the shells, which removes the hardest part of the build, since the rings are already positioned correctly. Glue bottle caps into a central cluster for the nucleus, then place the electron markers along the drawn circles. An oxygen model works well here because 2, 6 fills only two shells, so the model stays readable at small scale.
The tradeoff is precision. Drawn rings sit on a flat plane rather than in three dimensions, so the result reads as a diagram with depth rather than a true spatial model. That is usually acceptable for a quick demonstration, and rarely acceptable for a graded science fair entry.
Method 4: 3D Print the Model
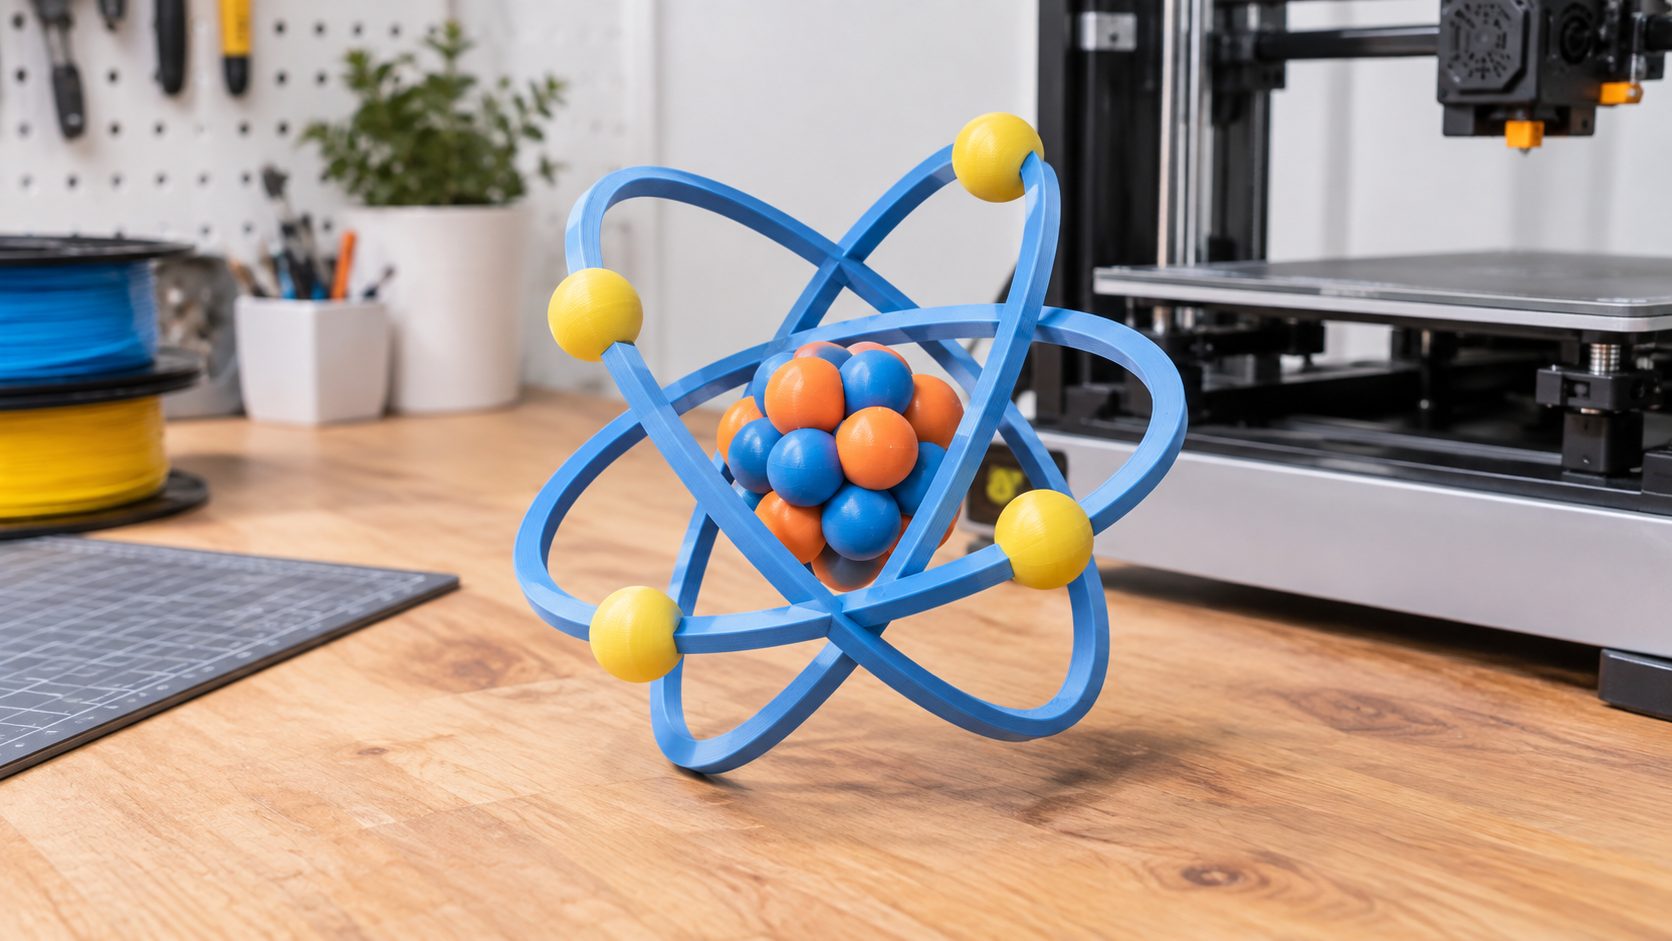
Printing solves the problem the hand-built routes cannot: repeatability. Once the file is right, a class set of 30 identical models comes off the same machine with no glue and no color variance between them. Print time runs four to eight hours per model depending on scale, so print a class set in batches rather than the night before.
Getting a printable file
Two paths work. Design the atom in a CAD tool, which gives exact control over ring diameter and nucleus spacing, or download an existing STL from a public model library and scale it. If you are new to modeling software, the workflow of going from a reference image to a printable mesh is worth understanding before you commit to a design tool, and the guide to converting an image to an STL file covers that pipeline end to end.
⚡ Print the orbital rings flat, not round. Flat rings print without supports, survive multi-color in-place printing, and stand up better on a shelf. Round rings need supports, which means a longer print and a cleanup pass on every model.
Print settings that matter
Use a multi-color or multi-material setup if the printer supports it, assigning one filament per particle type so the model needs no paint. PLA at 0.2 mm layer height with a 0.4 mm nozzle handles this geometry without trouble.
Print quality matters less than mesh integrity. A model with a hole in a ring or a non-manifold nucleus wall slices badly and fails partway through the print, which wastes the whole run. Starting from watertight 3D models removes that failure mode, since a closed mesh has no gaps for the slicer to misinterpret. If you are weighing printer types before you commit, the comparison of types of 3D printing covers which process suits small educational parts.
Method 5: Generate the Model with AI from a Text Prompt
The digital route skips materials entirely. You describe the atom you need, a generative model builds the geometry, and you export a mesh that either goes to a printer or straight onto a classroom screen. This is the fastest path when the model is for a presentation rather than a physical display, and it is the only route that produces a rotatable model on a Chromebook or iPad with no hardware at all.
Describe the structure you need
Text to 3D generation turns a written description into geometry. A workable prompt names the element, the shell count, and the spatial arrangement rather than the chemistry: “a calcium atom model with a central nucleus of 40 spheres and four concentric rings holding 2, 8, 8, and 2 small spheres”. Naming the element alone is not enough, because the generator has no periodic table. It builds what you describe, so the particle counts have to come from your own reading of the atomic number and mass number.
The same description can be produced from a reference instead of text. Image to 3D model generation takes a diagram or a photograph of an existing model and reconstructs the geometry from it, which is useful when you already have a textbook figure you want to reproduce as a 3D object.
Generate, refine, export
Neural4D builds the base mesh in roughly 90 seconds with no textures applied, which is enough for a shell-and-nucleus model where color is the only material property you need. If you want the particle types to render in distinct colors for a screen presentation, the texture pass takes additional time, and the full output runs two minutes or more.
Refinement happens before export. If the ring spacing comes out too tight, or the nucleus reads as a single blob instead of individual spheres, describe the correction in plain language and regenerate rather than rebuilding the prompt from scratch. Neural4D-2o handles those adjustments conversationally on models generated in the same Neural4D-2o session.
Export is where this route separates from every other one on the list. N4D exports the same base mesh as STL for a printer, GLB for a web viewer or AR overlay, OBJ for a modeling tool, or USDZ for an iPad. One generation covers the printed handout and the presentation screen, and the geometry is watertight on arrival, so a printed copy does not need mesh repair first.
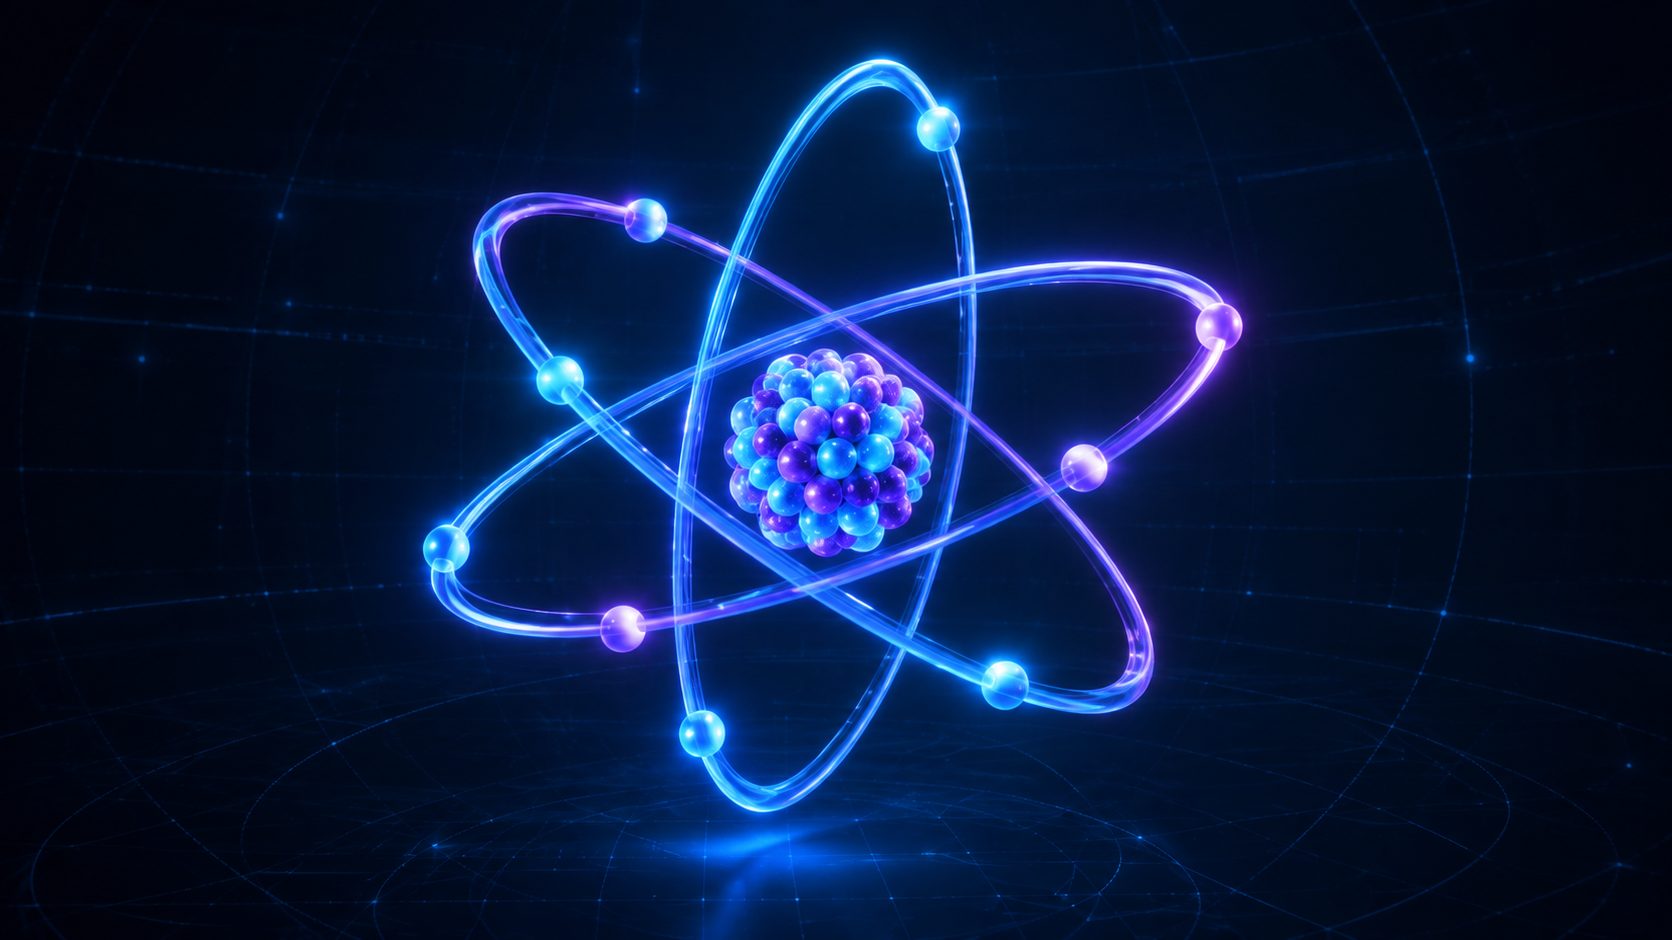
A class set that once took a week of gluing now takes one prompt and a batch print. Text to 3D generation produces the geometry directly from that description.
Skip the Craft Store Run
Describe your atom, generate the mesh, and export STL or GLB in one pass.
Free credits on signup. No modeling experience required.
Compare the Five Methods Before You Start
The five routes trade time against repeatability and detail. Pick by what the finished model has to do, not by which one sounds easiest.
| Route | Build time | Cost per model | Detail level | Best for |
|---|---|---|---|---|
| Craft ball and wire | 1 to 2 evenings | $8 to $15 | Medium | Individual graded project |
| Foam ball, free-standing | 1 to 2 evenings | $10 to $18 | Medium | A display that stands unaided |
| Recycled materials | Under 1 hour | Under $5 | Low to medium | Group builds and tight deadlines |
| 3D printing | 4 to 8 hours print | Under $2 in filament | High and repeatable | Printing a class set |
| AI generation | Under 2 minutes of work | Platform credits | High and editable | Presentations and digital display |
Choosing between a paid tool and a free one
Generates atom geometry from a text description and exports watertight STL, GLB, OBJ, or USDZ. Strongest when you need a class set or a rotatable screen model without a modeling background.
Free downloads of existing atom models. Fast when a generic Bohr layout fits, limited when your assignment names a specific element or shell split.
Exact control over ring diameter and nucleus spacing. The right call for a custom assembly, and a steep first step if you have never modeled before.
If you are deciding whether to learn a modeling tool at all, the tradeoffs are laid out in this comparison of 3D modeling software for beginners.
Bohr Model vs Electron Cloud: What Your Model Really Shows
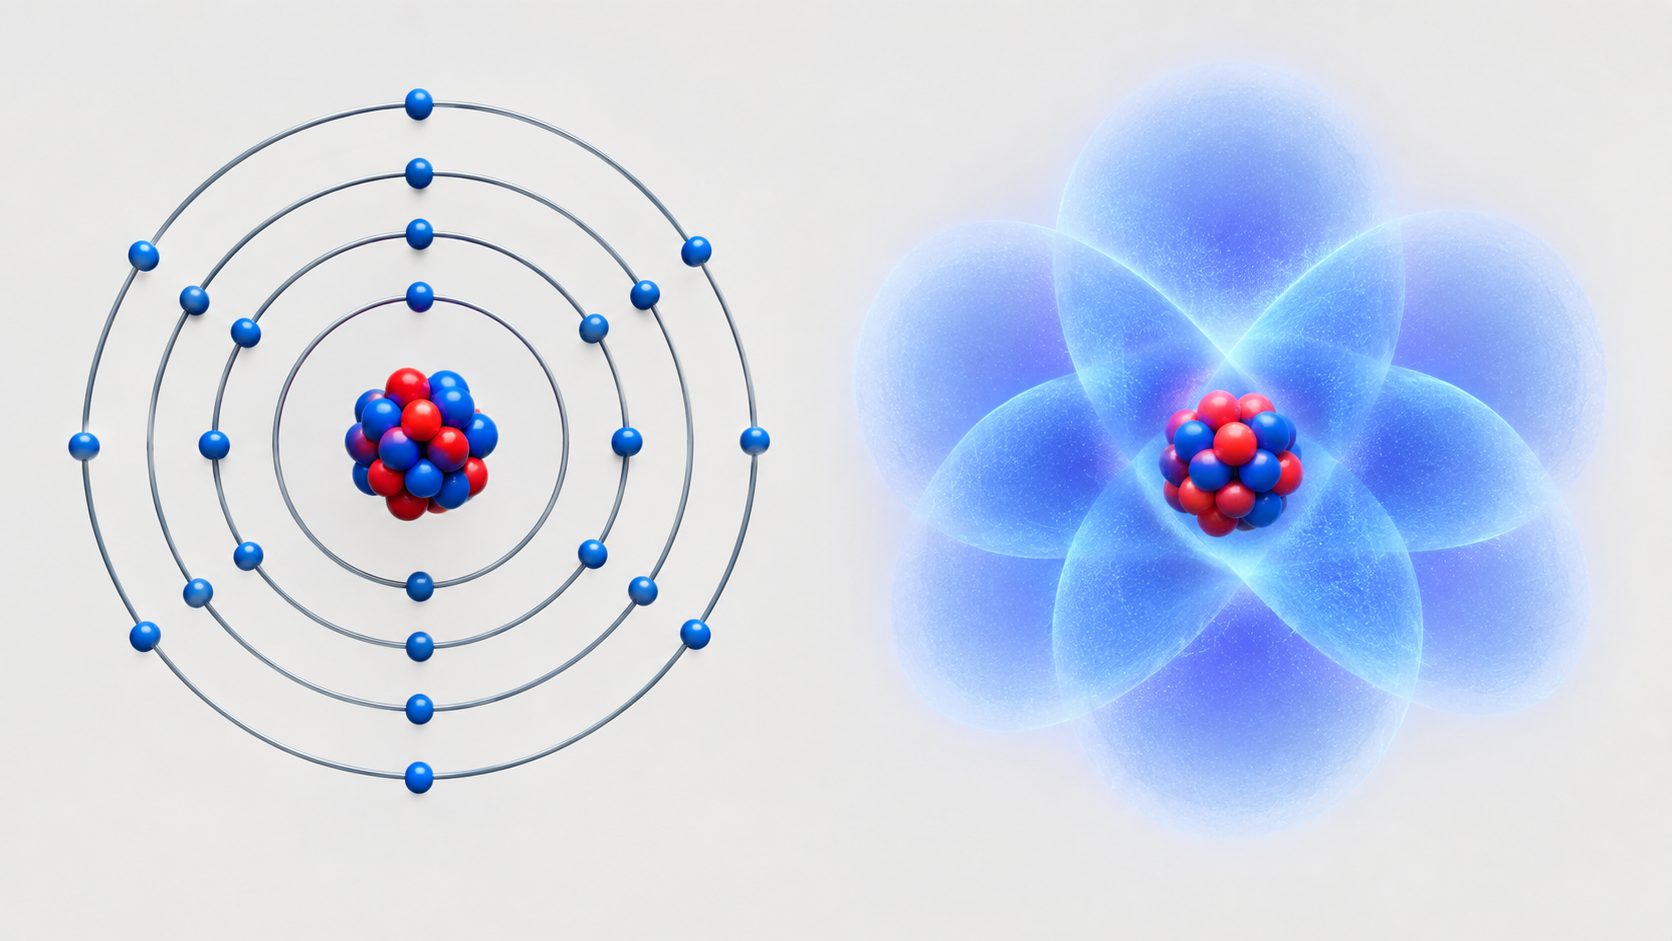
Every method above produces a Bohr-style model: electrons as discrete spheres travelling defined rings. That layout is a teaching convention, not a photograph. Real electrons occupy probability distributions called orbitals, and the region where an electron is most likely to be found is the electron cloud. An orbit and an orbital are not the same thing, and the difference is worth knowing before someone asks you about it at a science fair.
Orbitals are genuinely three-dimensional, which is why they resist being drawn on a flat diagram. An s orbital is a sphere, a p orbital is a pair of lobes on one axis, and a d orbital has four lobes in a cloverleaf across two axes. A printed model can represent those shapes where a textbook page cannot, though at that point you are modeling a probability region rather than a path, and the particle-by-particle counts that make a school model readable no longer apply.
Physics education research is unusually clear that the ring model should be taught alongside the cloud model rather than replaced by it. A study in Physical Review Physics Education Research by McKagan, Perkins, and Wieman found that students who were taught only the quantum picture often still retained a Bohr-like mental model anyway, and concluded that comparing and contrasting both models is what actually builds understanding. The ring model earns its place as a stepping stone, provided the limitation gets stated.
The limitation shows up in student recall. A study of 72 post-16 students who had already been taught atomic theory found that only about 6 percent described the electron cloud model accurately, while roughly 75 percent held a hybrid model that mixed the two pictures, as reported by RSC Education. The ring layout is sticky, which is exactly why it works as a first model and exactly why it needs a caveat attached.
What this means for your build
Build the ring model, then label it honestly. One line on the key card is enough: electrons are shown on fixed shells for clarity; actual electrons occupy probability clouds. That single sentence converts a model that teaches a misconception into a model that teaches the difference, and it costs nothing to add.
Scale is the other honest caveat. Atoms are overwhelmingly empty space, and if you built a nucleus to true scale the electrons would sit far outside the room. Every physical model compresses that distance, so treat the nucleus-to-orbit ratio as a design choice rather than a measurement. A nucleus that occupies roughly the inner fifth of your outer ring reads clearly from across a classroom.
Where Neural4D Fits in a Classroom Workflow
The hand-built routes teach the material best. Handling 40 craft balls and counting the shell groups is the part students remember. So the honest framing is that AI generation replaces the model you need at volume, not the model you build to learn.
Three classroom situations suit it. A teacher who needs 30 identical models for a lab station, where hand-building is not feasible at that count. A unit that covers several elements, where a set of printed models in different colors beats one large model of a single element. And a fully remote lesson, where a rotatable GLB on a shared screen is the only display option available.
Rendering the shell structure in distinct colors currently depends on the texture pass, which adds time beyond the base mesh generation. That is a genuine tradeoff: for a black-and-white print you can stop at the geometry, and for a color screen model you should budget the extra generation time. The AI 3D for education overview covers the classroom-specific export and integration options in more detail.
✅ What it does well: clean repeatable geometry, watertight meshes ready to print, and one description that exports to STL, GLB, OBJ, and USDZ.
❌ What it does not do: derive particle counts from an element name, or verify that your shell split is chemically correct. Those stay your job.
Common Questions About 3D Atom Models
Can I use a 3D atom model for a science fair presentation?
Yes, and judges typically weight explanation over finish. A model that shows the correct shell order for its element, carries a visible key, and lets you state why the layout is a simplification scores better than a smoother model with the wrong electron count.
How many electrons go in each shell?
The first shell holds two, the second holds eight, the third holds eight in the standard classroom pattern, and the fourth takes what remains. Calcium fills as 2, 8, 8, 2. The longer 2, 8, 18, 8, 1 sequence only applies once you reach the heavier elements.
Why does a 3D printed atom model tip over?
Orbital rings printed as thin unsupported loops carry very little weight, while the nucleus holds most of the mass at the top of the stand, so the center of gravity sits above the base. Widen the base, print the rings flat instead of round, or add a weighted insert inside the nucleus.
How do I label the parts so the model actually teaches something?
Use a key card alongside the model rather than text on the model itself. Color-code protons, neutrons, and electrons consistently, list what each color means, and record the element name, atomic number, and mass number. Text printed on a small sphere at classroom scale is unreadable from a desk away.
Does an AI-generated atom model get the electron count right?
No, and it will not derive the count for you. An AI 3D generator builds the shapes you describe, so you still read the atomic number and mass number from the periodic table and check the electron placement before printing. Treat the generator as a fast way to produce clean geometry, not as a chemistry reference.
What is a 3D atom model used for besides a school project?
Teachers use printed sets for comparative demonstrations, where weighted nuclei let students feel the mass difference between elements, and museums use clean digital renders for exhibit screens. Both cases need repeatable geometry more than hand-finished detail.
Build the Model Your Element Deserves
Start with the periodic table, not the supply list. Read the atomic number, the mass number, and the shell count, and the rest of the build becomes mechanical. Then pick the route that matches the deadline you actually have: 3D atom model builds made from craft balls and wire still teach the material best, and a printed or generated model wins whenever you need identical copies or a display that rotates on a screen.
Whatever route you choose, attach the caveat. A model that shows fixed electron shells and admits they are a simplification teaches more than one that stays silent, and it answers the first question anyone asks about the ring layout.
Print the Whole Periodic Table Row
One text description becomes a watertight mesh you can print or project.
STL, GLB, OBJ, and USDZ exports included.
Share Your Creation
Tag @Neural4D and use #Neural4D to be featured on our channel.