How to Make a 3D Cell Model: 5 Methods for Class and Printing
Quick Summary
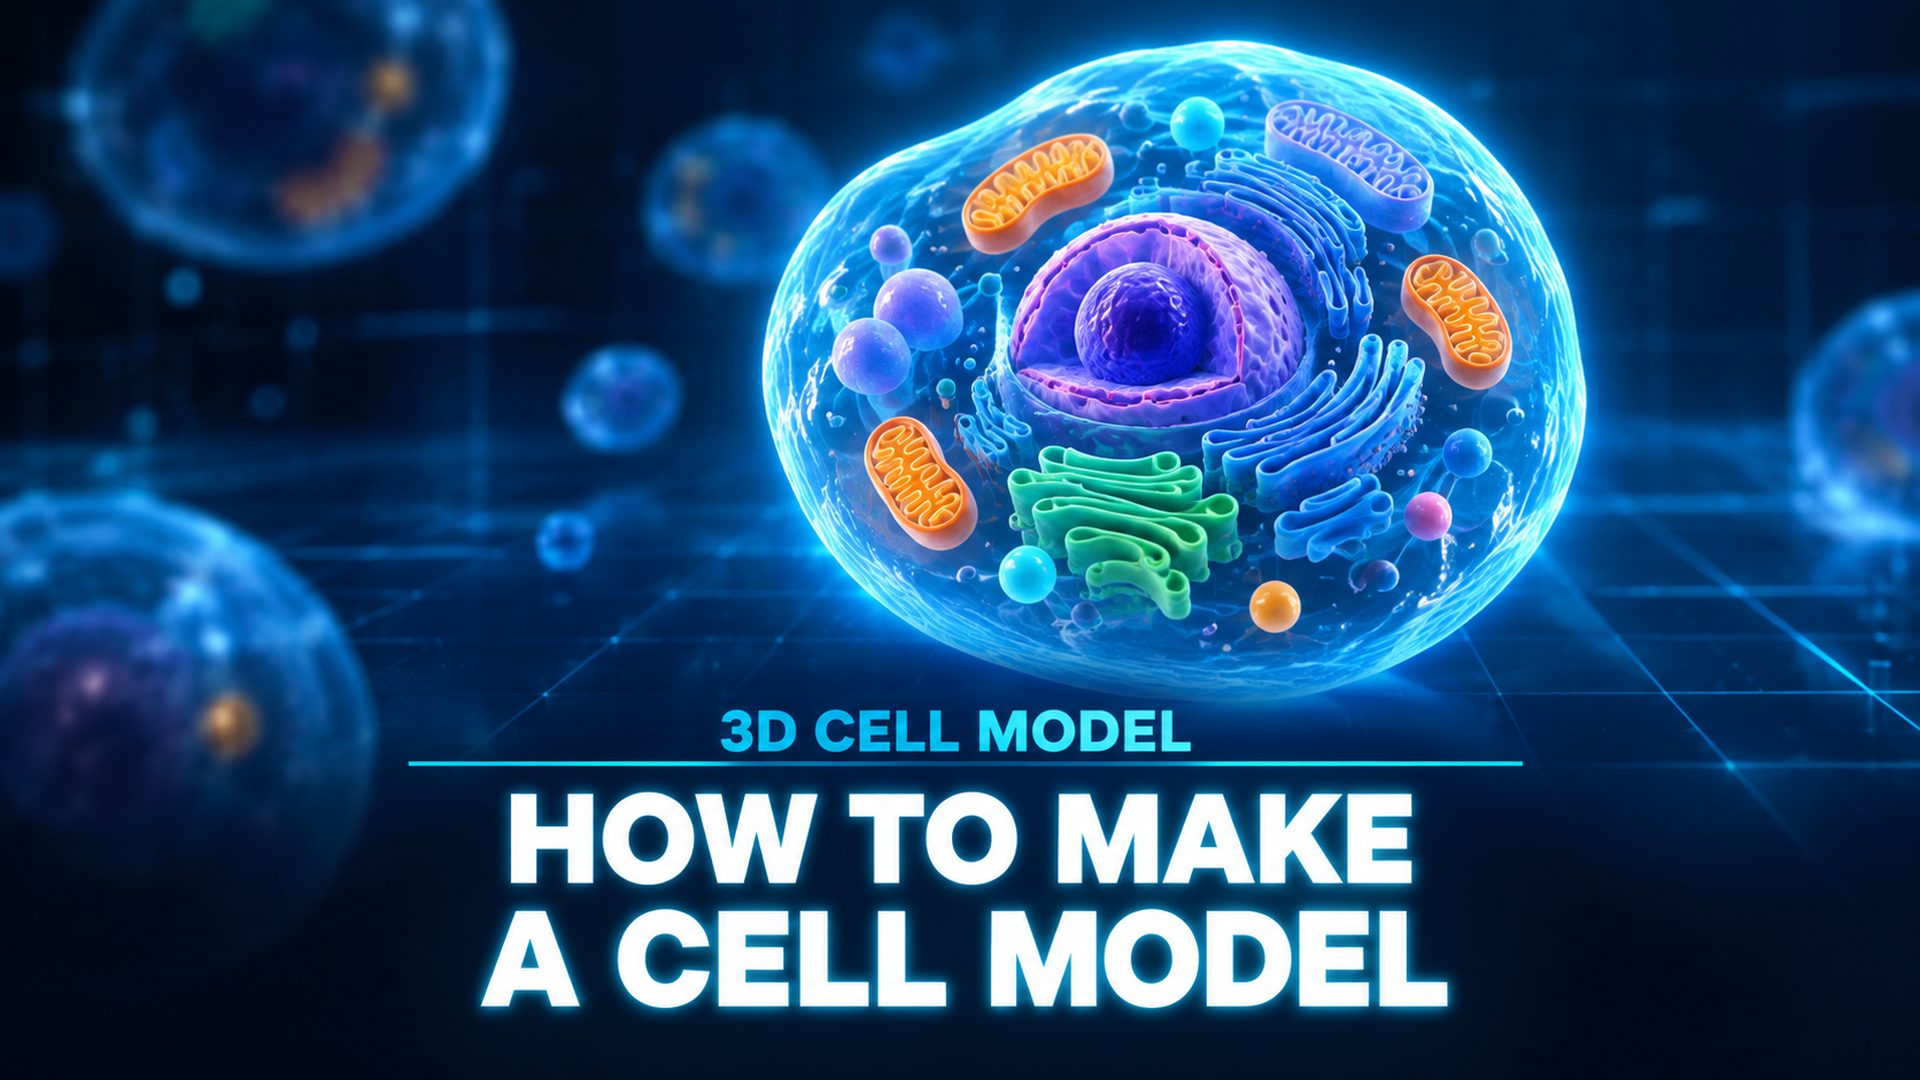
- A 3D cell model is a three-dimensional representation of a cell and its organelles, either as a digital mesh you can rotate and render or as a physical object you can hold.
- Five routes produce one: AI generation from a text prompt, AI reconstruction from a diagram, a public download, a 3D print, and a handmade build.
- Digital and AI routes finish in minutes and stay editable; printed and handmade routes take hours but give students something to handle.
- Neural4D turns a text prompt or a single diagram photo into a watertight, textured cell mesh that exports straight to STL for printing.
Building a 3D cell model that survives a classroom, a slicer, and a student’s hands comes down to one decision made before you start: how the geometry gets made. A mesh generated from a text prompt or a single diagram arrives closed, correctly scaled, and editable, while a downloaded or handmade model usually needs repair before it prints. Pick the wrong route and you spend the evening patching holes instead of teaching the difference between a ribosome and a lysosome.
Contents
- What Counts as a 3D Cell Model
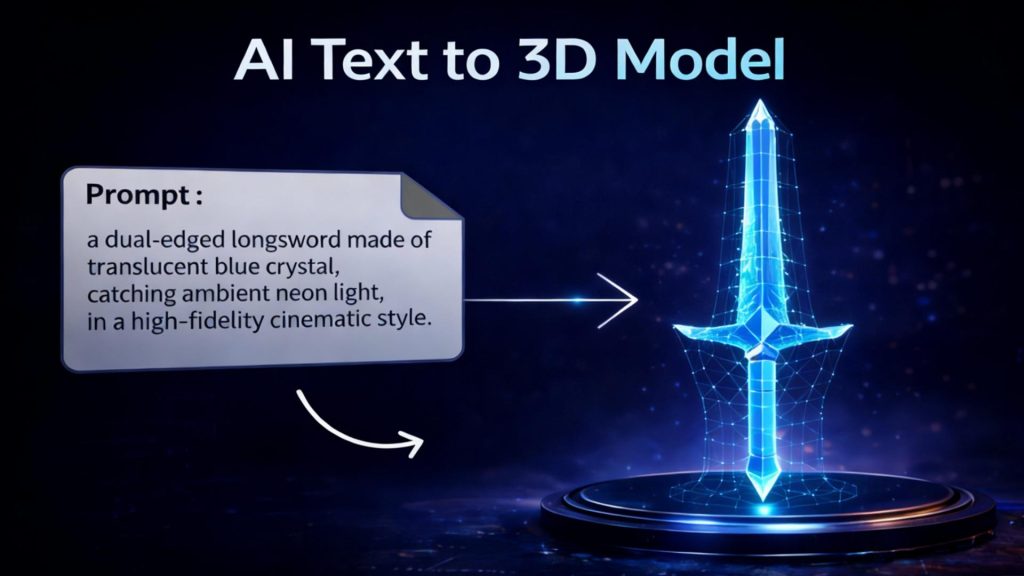
- Method 1: Generate a 3D Cell Model from a Text Prompt
- Method 2: Turn a Cell Diagram into a 3D Cell ModelHOT
- Method 3: Download a Free 3D Cell Model and Adapt It
- Method 4: 3D Print a Cell Model for Hands-On Study
- Method 5: Build a Physical Cell Model by Hand
- Which Method Fits Your Project
- Common Mistakes That Ruin a 3D Cell Model
- Where Neural4D Fits in a Cell Model Workflow
- Questions About Making a 3D Cell Model
- Build Your First 3D Cell Model
What Counts as a 3D Cell Model
A 3D cell model is a three-dimensional representation of a cell and its internal structures, built either as a digital mesh or as a physical object. The label covers four different things depending on who is asking. A research institute means an interactive viewer stitched from microscopy data. A game artist means a mesh with organelles as separate, selectable geometry. A teacher means a printable STL sized to fit a classroom printer. A parent means clay and a shoebox. What they share is the third dimension, and that is the whole point.
A flat diagram forces a student to mentally rotate a two-dimensional slice and invent the depth that is missing. A model removes that invention step. You look at the structure from any angle, and the spatial relationship between the nucleus, the mitochondria, and the endoplasmic reticulum stops being something you memorize and becomes something you see.
Digital Mesh vs. Physical Model
The two output types fail in completely different ways, which is why the method you choose should follow from what you plan to do with the result rather than from what looks easiest today.
A digital mesh carries properties you can measure before anyone touches a printer. Polygon count determines whether the model opens smoothly in a viewer or stalls it. Manifold geometry determines whether a slicer accepts it. Separated organelle meshes determine whether you can recolor or hide a structure for a lesson. These are all fixable in software, and none of them cost material.
A physical model carries properties you can only discover by holding it. Weight, surface texture, and the resistance when a student rotates it in their hand are the reason physical models work at all. Those same properties make physical models expensive to revise. Change the scale on a printed cell model and you reprint it; change the scale on a digital one and you type a number.
Why a 3D Cell Model Beats a Textbook Diagram
The learning-outcome argument for physical and manipulable models is not a marketing claim, it is a measured result. Lazarowitz and Naim ran the cell unit with 669 ninth-grade students across three teaching modes: hands-on construction of 3D cell structures, teacher demonstration of 3D models, and conventional instruction using one- and two-dimensional cell images from charts and textbooks. The hands-on group scored significantly higher on both high and low cognitive-level questions, as reported in the Journal of Science Education and Technology.
The finding that matters for your method choice is buried in the middle condition. Teacher demonstration with a 3D model did not outperform the flat-image group by the same margin. Students who handled the structure learned more than students who watched someone else handle it. That points toward models a student can rotate, take apart, or print themselves rather than a single showcase piece on the teacher’s desk.
Method 1: Generate a 3D Cell Model from a Text Prompt
This is the fastest route from nothing to geometry, and it is the only route where the input is a description rather than an asset you already have. You type what the cell should look like, the system generates a mesh, and you either accept it, regenerate it, or refine it in conversation. For a teacher who needs a labeled animal cell by tomorrow morning, nothing else in this list competes on time.
The catch is prompt specificity. Cell generation is not forgiving of vague input, because “a cell” describes almost nothing about the structure you want back.
Write the Prompt That Produces a Real Cell
A prompt that reliably produces a usable cell structure follows four slots in order: subject, structural detail, material, and style. Skip a slot and the generator fills the gap with something generic that you then have to fix.
🔹 Prompt formula: [cell type and view] + [organelles to include] + [material or surface treatment] + [render or presentation style]
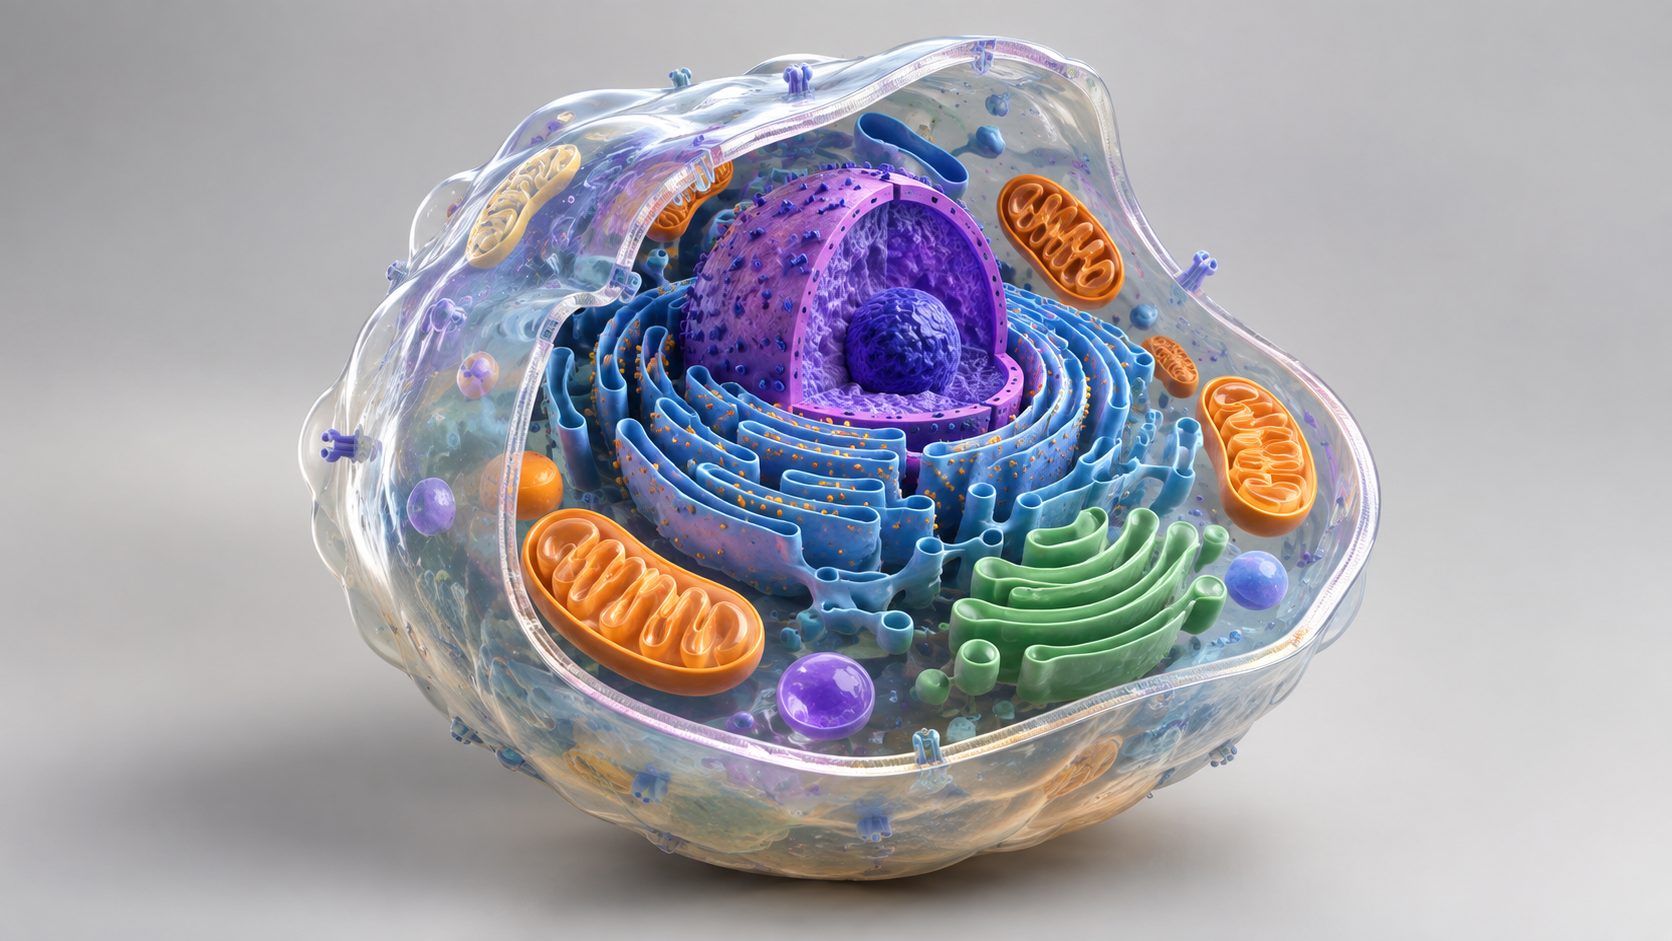
🔹 Animal cell example: “Eukaryotic animal cell, cutaway view, showing nucleus with nucleolus, mitochondria, rough and smooth endoplasmic reticulum, Golgi apparatus, and ribosomes, semi-translucent membrane, clean technical visualization”
🔹 What the cutaway clause buys you: an interior view without it, the generator returns a closed sphere and the organelles are invisible.
Two failure modes show up repeatedly. The first is organelle overload. Asking for twenty structures in one pass produces small, ambiguous blobs, because each additional organelle competes for the same geometry budget. Six to eight structures render as recognizable shapes with clear membranes; past that, they start merging.
The second is the missing view instruction. A prompt that names a cell but not a camera angle gives the model no reason to open the structure up, and you get a smooth exterior that is technically correct and pedagogically useless.
Set Textures and Export the Mesh
Texture settings are chosen before generation, not after. That ordering matters because it determines what you get back in a single pass rather than in a second operation. If you want material separation between the nucleus and the cytoplasm, select the texture option up front and the base mesh and its texture maps are generated together.
Timing is worth being precise about, because the numbers get quoted loosely. An untextured base mesh takes roughly 90 seconds. Selecting standard textures or full PBR maps adds computation on top of that, and a fully textured, production-ready GLB runs 2 minutes or more. The 90-second figure belongs to the geometry-only pass, and quoting it for a textured export will set the wrong expectation.
Exports cover the formats the downstream work actually needs: STL for slicing, OBJ and FBX for modeling and game engines, GLB for real-time web viewing, USDZ for iOS augmented reality, and BLEND for further work in Blender. Generate through the Text to 3D model generator and you get the shape without opening a modeling package at all.
Method 2: Turn a Cell Diagram into a 3D Cell Model
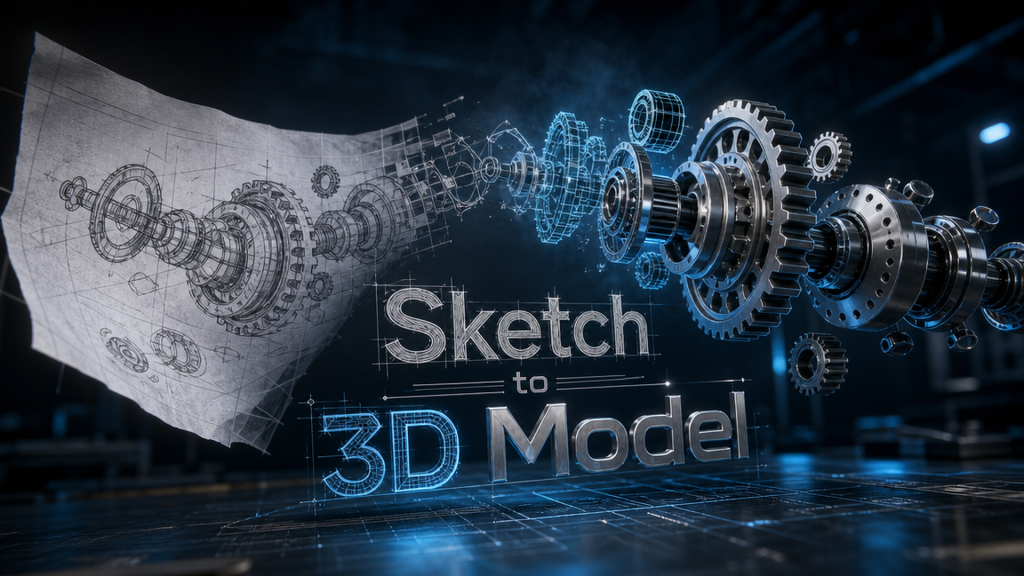
If you already have the diagram the class uses, this method starts from an asset instead of a description and produces a model that matches your own teaching material. You photograph or scan the diagram, run it through an image to 3D reconstruction, and get a mesh that carries the exact organelle arrangement the textbook shows. Nothing is invented, which matters when the model has to agree with the worksheet.
Photograph or Prepare the Reference Image
Reconstruction quality tracks input quality almost linearly, so ten minutes spent on the reference image pays back more than ten minutes spent fixing the output. The rules are short.
Shoot the diagram flat-on with even, diffuse lighting. Angled light casts shadows that the reconstruction reads as real surface depth, and your flat diagram comes back with a warped, lumpy membrane that has no basis in the source. Fill the frame with the diagram and exclude the page margins, because the reconstruction treats every visible pixel as part of the object, including the desk the paper is sitting on.
If you are photographing a physical object rather than a printed diagram, add one thing: a slight three-quarter rotation. A perfectly front-facing photograph gives the system a flat profile with no depth reference, so it guesses the volume and the back of the model comes out distorted. A three-quarter view supplies the reference points the algorithm needs to calculate accurate depth, and the difference in the finished geometry is substantial.
⚡ Highest-yield input fix: retrace the diagram with clean, high-contrast outlines on plain white before photographing it. Removing shading gradients and paper texture from the input removes the false surface detail they would otherwise become.
Run the Image to 3D Pass and Inspect the Result
Run the reconstruction, then check three things in this order before you invest any more time. First, is the geometry closed? A mesh with visible openings will slice into a part with invisible internal walls and a failed print. Second, are the organelles separated geometry or a single painted surface? Selection and recoloring depend on it. Third, is the overall scale plausible for your target output?
Once the mesh is clean, it slots into real teaching work. A generated animal cell can be rendered for a slide deck, exported for a web viewer students open on their own devices, or pushed to a printer for a classroom set. The Image to 3D feature covers this reconstruction route directly, and schools building a broader 3D program can start from the AI 3D for education overview rather than assembling tools one at a time.
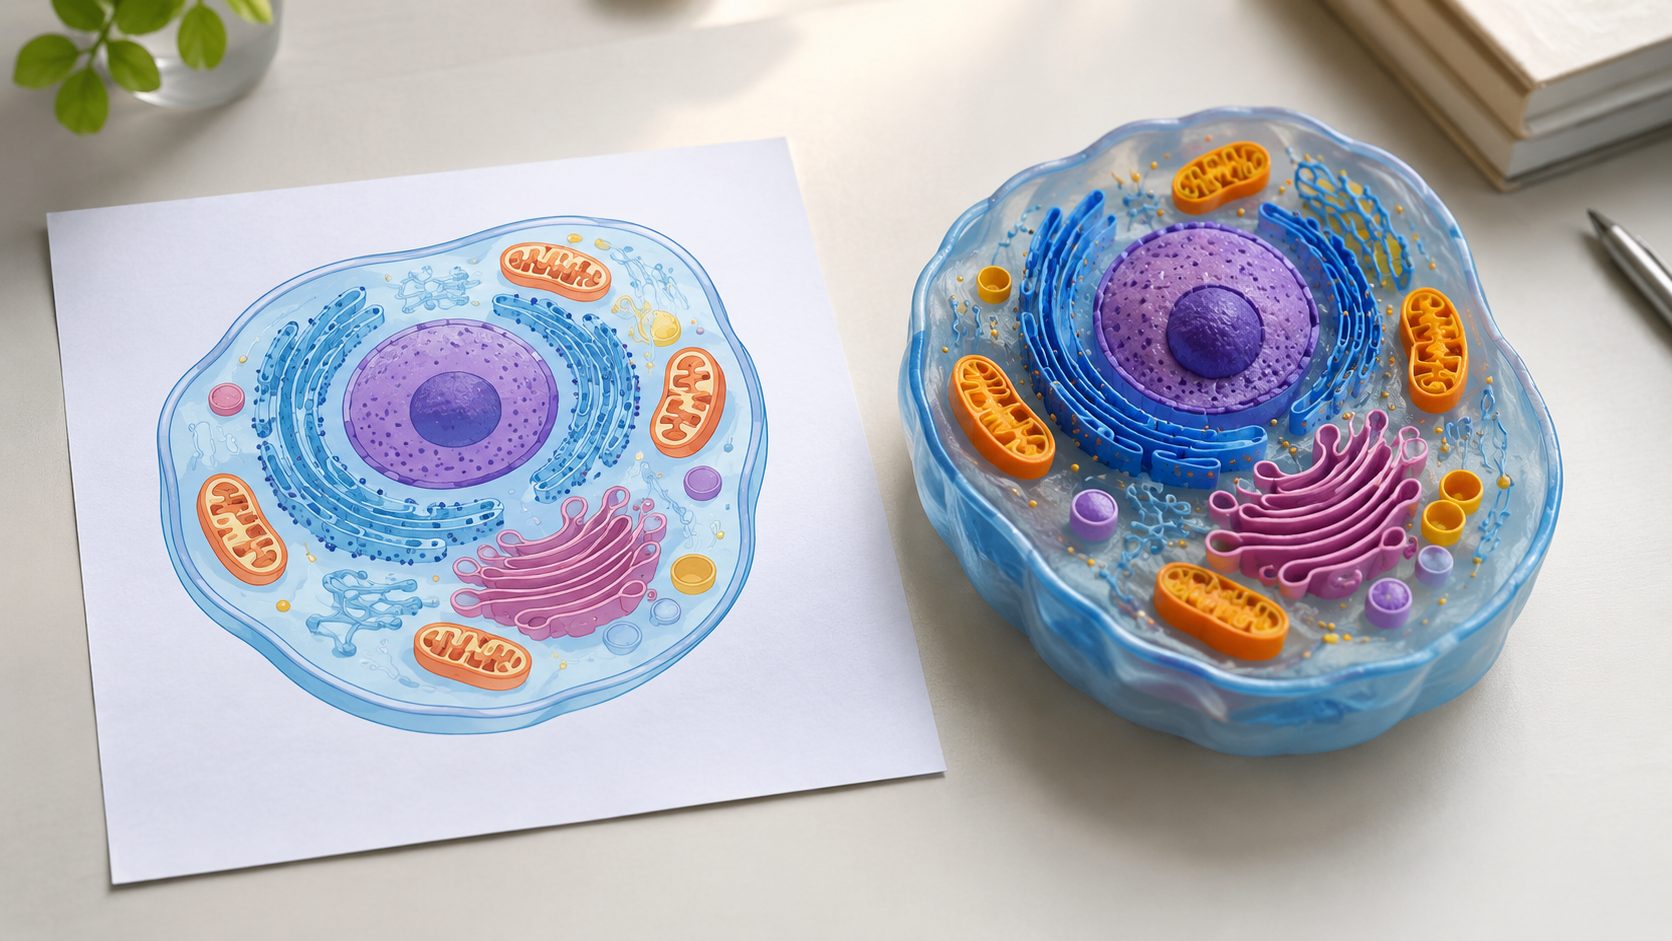
This is the route worth trying first if you have a diagram on hand and a class on Monday. Upload the reference, inspect the geometry, and export an STL in a single session.
Your Diagram Is Already a 3D Model Waiting to Happen
Upload a cell diagram and get a watertight, textured mesh in minutes, not days.
Free plan includes 50 Power per week. No credit card required.
Method 3: Download a Free 3D Cell Model and Adapt It
Public repositories host thousands of cell models, and some are excellent. The reason this method is not first on the list is that the quality spread is enormous and the good models are not always the ones that surface first. A download costs you nothing but the time spent discovering it is unusable, so the check has to happen before the download, not after.
Check the Mesh Before You Download
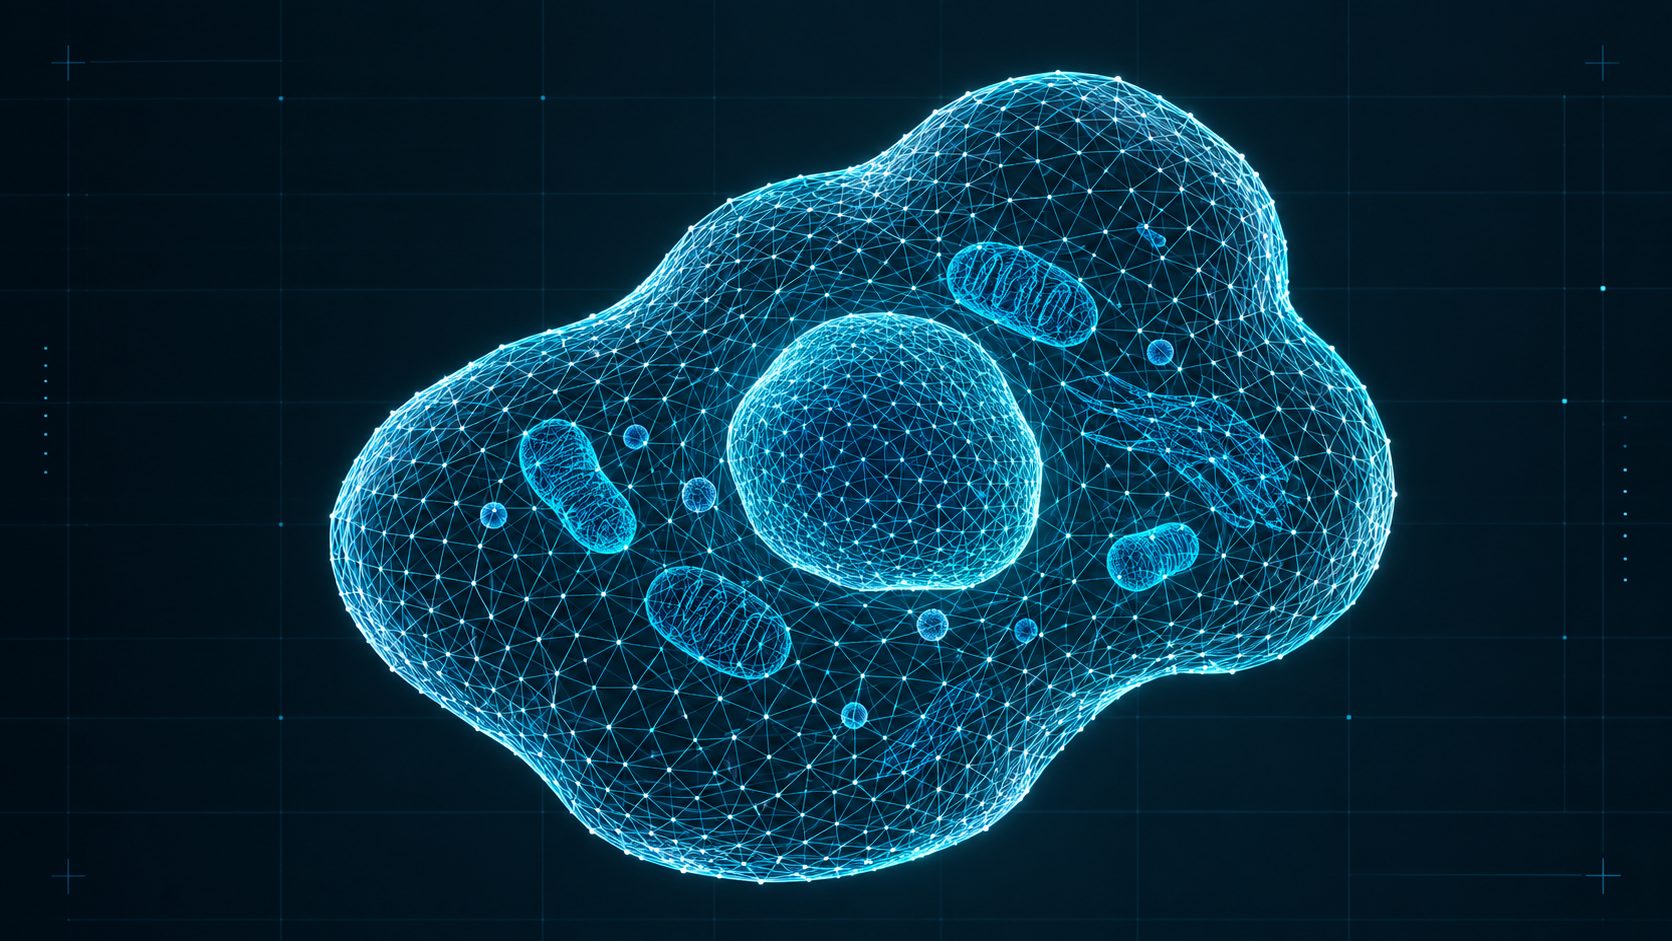
Repository pages usually expose enough metadata to filter without opening a single file. Read the polygon count first. A cell model above roughly 500,000 triangles is a rendering asset, not a printable one, and it will need decimation before a slicer will touch it. Under 50,000 triangles is comfortable for both printing and real-time viewing.
Then look for a manifold or watertight flag. Many repository listings state it outright; when they do not, the comments section usually settles it, because a non-manifold cell model generates complaints about failed prints in the first page of reviews. If the listing shows no watertight claim and no user reports either way, treat it as unverified and budget time for a repair pass.
Finally, check the scale units. A model authored at 200 millimeters tall and one authored at 2 meters look identical in a preview window and behave completely differently in a slicer. If the listing does not state units, download it, drop it into the slicer, and read the bounding box before you commit to a print setup. Starting from a verified download is faster than generating one, but only when all three checks pass. Sites that publish clean, correctly licensed models are worth bookmarking, and downloading free CC-BY 3D models covers how to read the license metadata that comes attached.
Licensing: What You Can Actually Reuse
The license on a downloaded cell model decides what you can do with it, and classroom use is not automatically covered by every open license. The distinctions that matter in practice are narrow ones.
CC0 and public domain models carry no restrictions at all, and you can modify, print, and redistribute them freely. CC-BY models require attribution, which for a classroom usually means a credit line on the handout or the slide, and that obligation travels with the model even after you remesh it. CC-BY-NC models exclude commercial use, and “non-commercial” is where school contexts get complicated, because a model used in a paid workshop or a published course is commercial even when the audience is students.
❌ Check before you remix: a license that permits classroom use does not automatically permit redistribution of your modified version. If you plan to share the remixed model with other teachers, look for a ShareAlike clause or an outright CC0 dedication.
Method 4: 3D Print a Cell Model for Hands-On Study
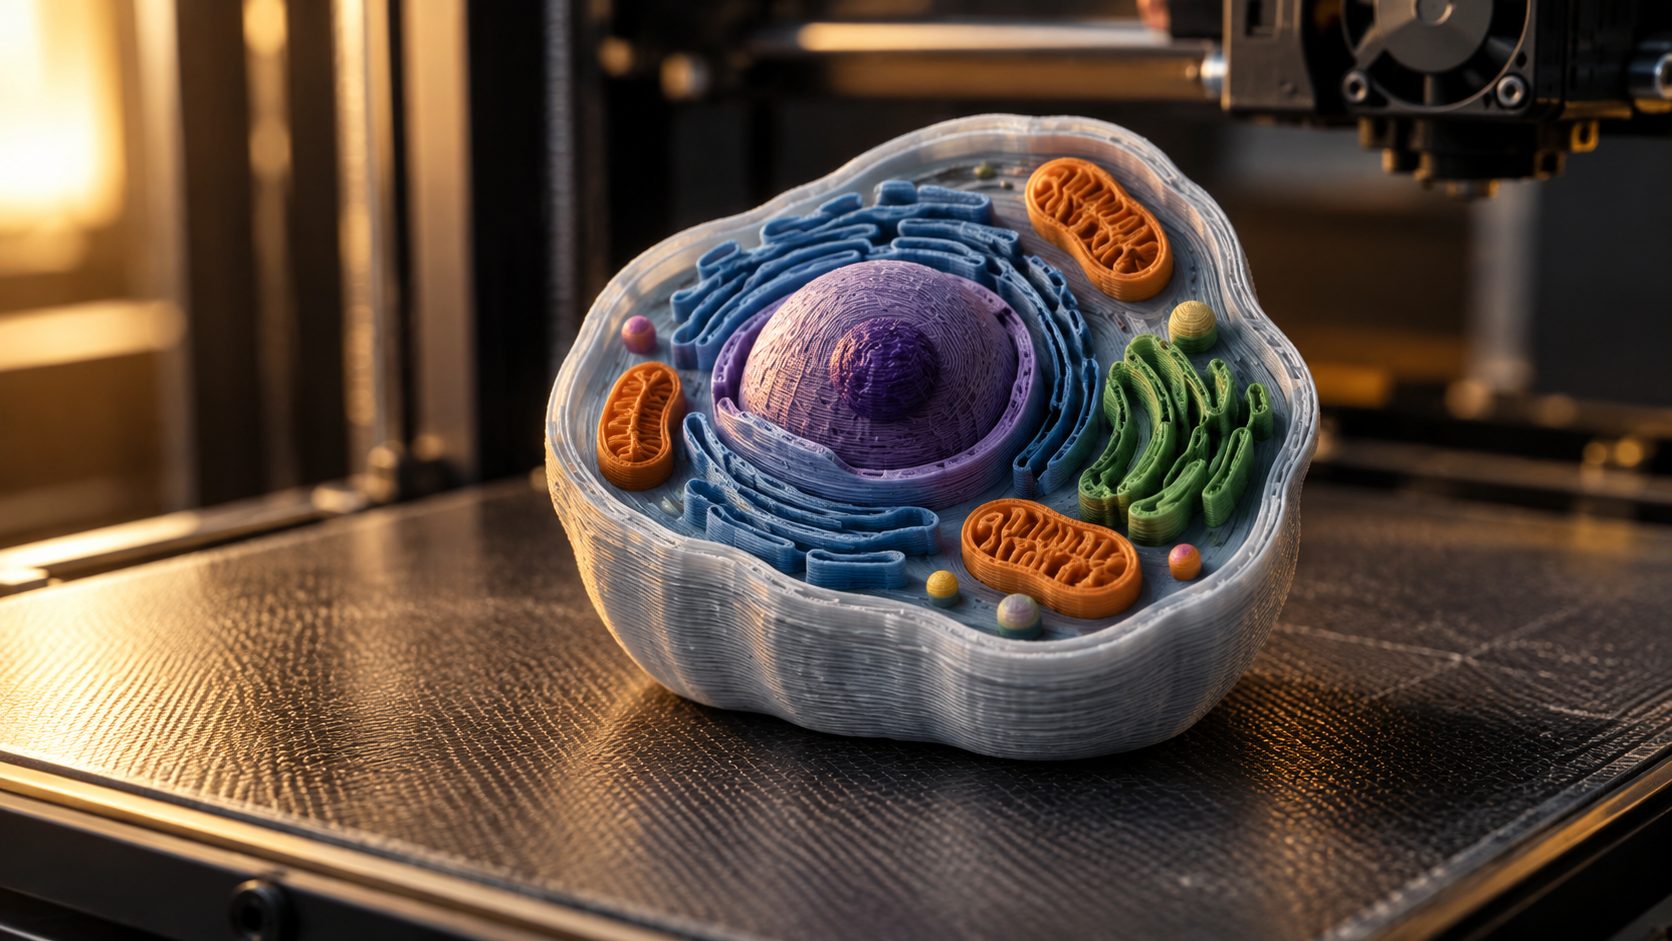
A printed cell model is the output that the learning research actually rewards, because it is the version a student can pick up. The work splits into two problems that people tend to conflate: making the geometry printable, and making the organelles visually distinguishable once it is printed. Solve them in that order.
Slice and Print
Start by scaling to a size that works in a hand rather than on a shelf. A 120 to 150 millimeter cell sits comfortably in two palms and still leaves individual organelles large enough to resolve at a 0.2 millimeter layer height. Below about 80 millimeters, the smaller structures collapse into each other and the model stops teaching anything.
Wall thickness is the next constraint. Organelle membranes modeled as infinitely thin surfaces will slice into nothing, so thicken them to at least two extrusion widths before exporting. For a 0.4 millimeter nozzle that means 0.8 millimeters minimum, and 1.2 millimeters if students will handle the model repeatedly. The same applies to the outer membrane if you print the cell as a shell.
Overhangs decide whether the print finishes. A cutaway cell model has large interior surfaces facing downward, and those need support. Tree supports reach into a cutaway interior with less scarring than a full support lattice, and they release more cleanly from curved organelle geometry. If the model is a solid closed cell instead, rotate it so the flattest face sits on the build plate and support requirements drop sharply. The preparing and exporting models for 3D printing walkthrough covers the export settings that feed this step.
Solve the Multi-Color Organelle Problem
Color is what makes a printed cell model readable at a glance, and there are three ways to get it, each with a different cost.
Manual painting after printing is the cheapest and slowest option. It works well for a single demonstration model and poorly for a classroom set, because the labor scales with every copy. Pause-and-swap filament changes get you two or three colors in a single print by stopping the machine at a layer height and changing spools, which suits a split-color cell body but not five distinct organelles.
Multi-material printing handles the full organelle palette and is the only approach that scales to a class set without per-unit labor. It requires a printer with multiple extruders or a material switching system. If you are working with a single-extruder machine, printing the organelles as separate parts and assembling them afterward is the practical compromise, and coloring 3D models for printing covers where to apply color in the model so it survives the print.
Method 5: Build a Physical Cell Model by Hand
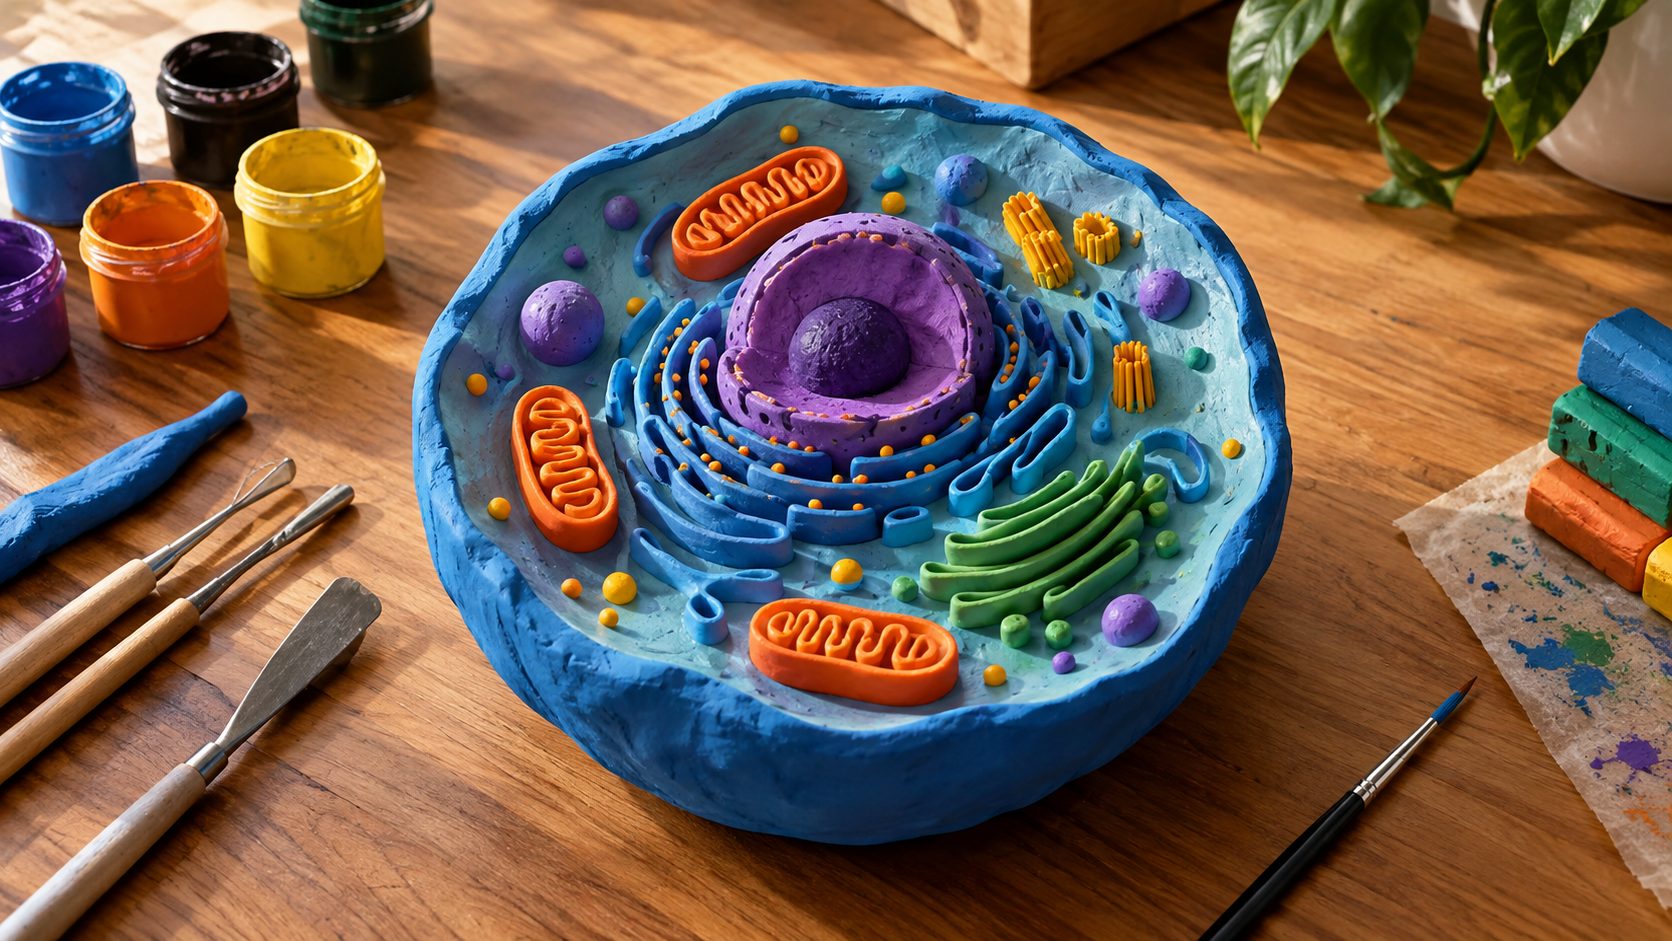
Handmade construction is the method the search results already reward, and it earns its place for a reason that no digital route replaces: the student doing the building is the one doing the learning. When a class builds models rather than receiving them, the construction process itself is the lesson, which is exactly the condition the hands-on group in the research above was in.
Pick Your Material
Material choice determines how much detail the model can carry, and the tradeoff is always detail against durability.
| Material | Best for | Detail ceiling | Cure time |
|---|---|---|---|
| Air-dry clay | Durable classroom models | Medium, holds sculpted membranes | 24 hours |
| Salt dough | Large group projects, low cost | Low, soft edges | Bake, then cool |
| Foam and craft board | Cutaway cross-sections | High for flat planes | Immediate |
| Gelatin or cake | Edible demonstrations | Low, collapses over time | Chill overnight |
| Building bricks | Reusable, reconfigurable sets | Blocky, limited curves | None |
Two materials cover most classroom needs. Air-dry clay holds a sculpted membrane edge and survives a semester of handling. Foam board cuts into clean flat planes, which makes it the only practical handmade option for a true cross-section, where the flatness of the cut is the thing students are being asked to read.
Scale and Label the Organelles
Proportional accuracy is where handmade models quietly fail. A nucleus the size of a fist next to a mitochondrion the size of a pea teaches the wrong relationship, and students carry that error forward. Work from a single reference measurement instead of guessing each structure independently.
Pick one organelle, decide its size, and derive the rest from published proportions. On a 150 millimeter cell, the nucleus lands near 25 millimeters across, mitochondria sit around 5 millimeters, and ribosomes fall below the resolution of the material entirely. Ribosomes and lysosomes are usually omitted or represented as surface dots on handmade models, and that omission is honest as long as the model is labeled to say so.
Build in the order the cell is built. Form the outer membrane first and let it set, because every organelle is positioned relative to that boundary. Add the nucleus next, since it anchors the interior layout and defines the space everything else has to fit into. Then place the large structures, and finish with surface details. Working outside-in means you never have to reach past a finished organelle to place an unfinished one.
Budget the drying time before you budget the modeling time, because that is where handmade projects actually run late. Air-dry clay needs 24 hours per layer of thickness, so a model built in a single afternoon session needs a full day before it can be painted. Building, drying, and painting are three separate sessions. A model assembled on Tuesday is not finished until Thursday. Plan the assignment around that calendar, or choose a material that cures faster.
Labeling separates a craft project from a teaching tool. A numbered pin and a printed key survives handling better than paint-on text, and it lets you change labels when the curriculum shifts without rebuilding the model.
Which Method Fits Your Project
Every method above produces a cell model. They diverge on what happens after the model exists, and that is the axis worth deciding on. The matrix below scores each route on the six constraints that come up most often when a teacher or student is choosing.
| Method | Best for | Time to first result | Skill floor | Re-editable | Cost per unit |
|---|---|---|---|---|---|
| 1. Text prompt generation | A model that does not exist yet | Under 5 minutes | None | Yes, regenerate or refine | Free tier available |
| 2. Diagram to 3D reconstruction | Matching the model to your own textbook | Under 10 minutes | None | Yes, edit the mesh | Free tier available |
| 3. Public download | Zero budget, willing to verify quality | 30 minutes to several hours | Low, slicer literacy | Yes, if the license allows | Free |
| 4. 3D printing a generated model | Hands-on classroom sets | 4 to 12 hours per unit | Medium, slicer and supports | Yes, reprint from source | Filament and machine time |
| 5. Handmade construction | The building process is the lesson | Several hours to days | Low craft skill | No, rebuild to change | Craft materials only |
Read the last column against the fifth and the practical split becomes obvious. Methods 1 and 2 sit at the top because they are the only routes where a revision costs nothing but a click. That property matters more than it first appears, because the first cell model you make is rarely the one you keep. You discover that the membrane needs to be semi-transparent, that the Golgi apparatus is too small to see, or that the whole structure needs to be 30 percent larger, and the route that lets you act on that discovery in a minute is the route you will actually finish.
Animal Cell vs. Plant Cell: Which One to Model
Both are eukaryotic, so the nucleus, mitochondria, endoplasmic reticulum, Golgi apparatus, and ribosomes appear in either one. The divergence starts at the boundary and runs inward, and it decides what the finished model can teach.
| Structure | Animal cell | Plant cell | What it changes for the model |
|---|---|---|---|
| Cell wall | Absent | Rigid, cellulose | Flat exterior faces print with almost no support |
| Chloroplasts | Absent | Present in green tissue | Adds a large colored organelle the animal cell never has |
| Central vacuole | Several small ones | One, filling most of the volume | Occupies the interior, so a cutaway is the only way to show anything |
| Centrioles | Present | Rarely present | Changes the label key students are asked to produce |
The printing consequences run opposite to what most people expect. A 3D plant cell model is the easier print, because the rigid wall supplies flat faces that sit on the build plate and a boxy silhouette that needs almost no support. An animal cell model is the harder print and the more recognizable object, because the irregular rounded membrane leaves large downward-facing surfaces that want tree supports. The plant cell wins on printability; the animal cell wins on instant recognition.
Choose by what the assignment is testing. If the lesson is a side-by-side comparison, build both, since the contrast between a walled rectangular cell and a bare rounded one is the point being made. If you need a single model and the curriculum does not specify, a 3D animal cell model is the safer default: it maps onto human biology and carries the organelle set students meet again in later courses. A bacterial cell is the usual third option, and it is prokaryotic, with no nucleus and no membrane-bound organelles, so its cutaway shows free-floating ribosomes around a single nucleoid. Either eukaryotic cell type comes out of the same pipeline, and the free 3D model generator takes the cell type as ordinary prompt text, so switching between a 3D plant cell model and a 3D animal cell model costs one edit rather than a rebuild.
Common Mistakes That Ruin a 3D Cell Model
These are the failures that show up across every method, and most of them are caught in the first five minutes if you know to look.
Wrong organelle scale. The most common and the most damaging, because the model still looks fine. A cell model communicates size relationships, and getting them wrong teaches an error that survives the exam. Derive every structure from one reference measurement.
A non-manifold or open mesh. Slicers handle it inconsistently. Some repair it silently, some produce internal walls you cannot see in the preview, and the print fails hours in. Check for holes before slicing, not after the failure.
Organelles modeled as infinite planes. Single-sided surfaces with no thickness render correctly and print as nothing. Thicken every membrane to at least two extrusion widths before export.
Unsupported interior overhangs. A cutaway model has large downward-facing interior surfaces that people forget to support because the exterior looks clean. Enable supports and check the cross-section preview at the slice layer where the cutaway begins.
Over-detailing past the print resolution. Features smaller than the nozzle diameter do not print. Ribosomes, individual protein channels, and detailed cristae folds inside mitochondria fall below 0.4 millimeter and turn into surface noise. Simplify for the target process instead of trusting the mesh.
Skipping the label pass. An unlabeled model is a sculpture. A numbered key is the difference between an object the class looks at and a structure the class reads.
Where Neural4D Fits in a Cell Model Workflow
Methods 1 and 2 are the routes Neural4D serves, and it serves them on the constraint the other three cannot move: revision speed. The workflow runs input, generate, regenerate or refine, then export, and the refine step is available through Neural4D-2o conversational editing on models that Neural4D-2o generated.
The technical differentiator is the geometry itself. The Direct3D-S2 architecture generates watertight output, so the mesh that leaves the N4D studio goes into a slicer without a repair pass. Organelle surfaces come out as closed geometry rather than open shells, which is what makes the difference between a model that prints and a model that previews correctly and then fails. Spatial Sparse Attention keeps inference fast enough that regenerating is a normal action rather than a decision you weigh.
🔹 Where it earns its place: the first cell model you generate will not be the one you keep. A workflow that regenerates the untextured base mesh in about 90 seconds turns iteration into something you do while thinking rather than something you schedule. Selecting standard textures or full PBR maps adds computation on top of that, and the fully textured result runs 2 minutes or more.
🔹 What it will not do: Neural4D generates new geometry, it does not repair a mesh produced by another tool. If you downloaded a broken cell model from a repository, method 3 is where that gets fixed, not here.
The same workflow scales past a single cell. Once the N4D pipeline is familiar, generating a plant cell, a bacterial cell, or a labeled human cell uses the same three steps, and the approach carries directly into making 3D human models with AI when the model needs to be an organism rather than a structure.
Questions About Making a 3D Cell Model
Q: How do you label the organelles on a 3D cell model?
For a physical model, use numbered pins matched to a printed key rather than painting text directly onto the structures. Paint fades with handling and cannot be revised, while a pin and key can be relabeled when the curriculum changes. For a digital model, keep each organelle as separate geometry and attach the label as a leader line in the rendering software, so the label follows the structure when you rotate the view.
Q: Can you make a 3D cell model without any modeling software?
Yes, and most people should. Text prompt generation and diagram reconstruction both produce a finished mesh without opening a modeling package, and a public download requires only a slicer to become a physical object. Software like Blender becomes necessary only when you need to modify organelle geometry that already exists, such as merging two structures or cutting a custom cross-section plane.
Q: Does a 3D cell model need to be hollow to print correctly?
Not for the geometry to slice, but hollowness changes the print substantially. A solid cell model prints faster and stronger and hides no internal flaws, which suits small classroom models. A hollow shell saves filament on large models but requires drain holes and creates interior surfaces that need support, and any trapped resin or powder inside a hollow print becomes a handling problem. For a model under 150 millimeters, print it solid.
Q: How accurate are AI-generated 3D cell models next to real microscopy?
They are structurally plausible rather than microscopically faithful. An AI generated cell gets the organelle inventory, their relative positions, and the overall membrane topology right, because those relationships are consistent across every reference the model learned from. What it will not reproduce is the specific irregularity of one real cell, since a real electron micrograph shows membrane folding and organelle placement that vary cell to cell. For teaching structure and spatial relationships, that tradeoff is usually the right one. For research illustration, work from segmented microscopy data instead.
Q: Why does my 3D cell model print fail at the overhangs?
The usual cause is gravity acting on a downward-facing surface with nothing beneath it, which is most of the interior of a cutaway cell model. Two fixes work reliably. Add tree supports that reach into the cutaway interior, since they scar curved organelle surfaces less than a full lattice. Or split the cell into a top and bottom half, print each with its flat cut face on the build plate, and join them afterward, which removes nearly all support requirements at the cost of a visible seam.
Q: Can you use a downloaded 3D cell model in a paid course or textbook?
Only if the license permits commercial use, and a free download does not imply that it does. CC0 and public domain models are safe. CC-BY models are usable commercially with attribution, which in a textbook means a credit line in the figure caption. CC-BY-NC models are excluded entirely, and paid courses and published textbooks count as commercial even when the audience is educational.
Build Your First 3D Cell Model
Start with whichever route matches the asset you already have. If you have a diagram, reconstruct it, because you get a model that agrees with your own teaching material and you get it today. If you have nothing but a description of the cell you want, generate it from the prompt formula and iterate until the organelle arrangement is right. Both routes land on the same export step, and both produce geometry clean enough to print without a repair pass.
The wider point is that a 3D cell model stopped being a project that takes a weekend. The research on hands-on learning has been settled for over a decade, and the constraint was never whether physical and manipulable models work, it was how long they took to produce. That constraint has moved. Describing a cell and holding a printable mesh a few minutes later is now the ordinary case, which means the interesting question is no longer whether you can build one, but which structures your class should be exploring next.
Generate Your Cell Model and Print It Today
Watertight geometry, PBR textures, and direct STL export in one pass.
50 Power per week on the free plan. Export formats include STL, OBJ, FBX, GLB, and USDZ.