How to Use GPT-6 Astra with Blender MCP for AI 3D Workflows
Quick Summary
- GPT-6 Astra is OpenAI’s flagship reasoning model, released September 3, 2026, with a 1,050,000 token context window and state-of-the-art scores on computer use and software engineering.
- Blender MCP is a Model Context Protocol server that opens a TCP socket inside Blender, letting an AI client read scene data and execute Python against a session that is already open.
- Three connection routes exist for this pairing, script pasting, Computer Use screen automation, and MCP, and only MCP returns structured results the model can act on without you relaying them.
- The full stack needs Blender 3.0 or newer, Python 3.10 or newer, the uv package manager, and a local MCP client that can spawn a stdio process.
- Neural4D supplies the clean watertight base mesh that Astra then edits, which keeps the agent working on geometry worth editing.
Connecting GPT-6 Astra with Blender MCP turns the model into a live operator of your scene instead of a chat window that hands you Python to paste. The stack is four layers deep, and the transport choice at layer two decides whether a local server can be reached at all. Get that order right and everything downstream is configuration.
What This Guide Covers
- What GPT-6 Astra and Blender MCP Actually Are
- Three Ways to Connect GPT-6 Astra to Blender
- What You Need Before You Install Anything
- Install the Blender MCP Server and Addon
- Configure Codex for GPT-6 Astra and Blender MCP
- Lock Down the Connection Before You Model
- Run Your First AI 3D Workflow in BlenderHOT
- Prompts and Task Patterns That Actually Work
- Where Neural4D Fits in an Agent-Driven 3D Pipeline
- When Blender MCP Breaks: Fixes for Common Failures
- Cost, Speed, and the Limits of Agentic Blender
- Common Questions on GPT-6 Astra and Blender MCP
- Start Building Your Agent-Driven 3D Pipeline
What GPT-6 Astra and Blender MCP Actually Are
GPT-6 Astra with Blender MCP is a pairing of two separate projects that were never designed around each other, which is why the setup trips people up. One is a frontier language model. The other is a bridge that exposes Blender’s Python API as a set of tools. Understanding what each half does explains every configuration step that follows.
GPT-6 Astra is OpenAI’s flagship model, released to approved users on September 3, 2026 and generally available the following day, succeeding GPT-5.6. OpenAI reports a 1,050,000 token context window with up to 128,000 tokens of output, and positions the model as state of the art on computer use, browsing, and software engineering. The launch benchmarks OpenAI published put it at 72.6% on OSWorld 2.0 at roughly 40 minutes per task, against 65.7% at roughly 75 minutes for GPT-5.6 Sol. That efficiency gain matters here: an agent driving a 3D application takes many small steps, and step count is where token budgets die.
Tool calling, including MCP, runs through the Responses API. That detail is easy to skim past, but it shapes which client you can use later.
Two different projects both called Blender MCP
Search for Blender MCP and you will find two unrelated codebases sharing a name, and tutorials rarely say which one they mean.
The community server, published as mcp-for-blender (formerly blender-mcp) by Siddharth Ahuja under an MIT license, is the one most demos use. It carries roughly 28.7k GitHub stars as of September 2026 and describes itself plainly as a third-party integration that is not made by Blender. It runs on Blender 3.0 or newer, opens a TCP socket inside Blender on port 9876, and exposes scene inspection, object creation, material control, arbitrary Python execution, and asset sourcing from Poly Haven, Sketchfab, Poly Pizza, Hyper3D Rodin, and Hunyuan3D.
The official server lives at blender.org. It requires Blender 5.1 or newer, installs as a drag-and-drop add-on with no uv dependency, and focuses on documentation lookup and scene analysis rather than asset generation. The Blender Lab MCP Server page carries an explicit warning that the server runs LLM-generated code with no guards, and recommends a virtual machine or a system without access to sensitive data.
Both are legitimate. Neither is a superset of the other. Most people following a modern tutorial want the community server because it does more, and that is the path this guide takes, with the official server noted wherever the two diverge.
Underneath both sits the Model Context Protocol, which Anthropic published in November 2024 and donated to the Linux Foundation’s Agentic AI Foundation in December 2025. MCP standardizes how a model discovers and calls tools, which is why the same Blender server works across unrelated AI clients.
Three Ways to Connect GPT-6 Astra to Blender
MCP is not the only way to put this model behind a Blender session, and it is not always the right one. Three routes are in active use, and they differ less in capability than in whether the model can see what happened after it acted.
Paste the script and run it yourself
Ask Astra for bpy code, copy it into Blender’s Scripting workspace, run it, and paste any error back into the chat. Setup cost is zero: no install, no config file, no admin rights. The cost is the loop. Astra never sees the result, so every iteration depends on you relaying errors and screenshots by hand.
This route is genuinely fine for one-off snippets. It collapses on anything requiring more than a handful of iterations, because you become the transport layer.
Let Astra drive the screen with Computer Use
Computer Use has Astra look at the viewport and drive mouse and keyboard the way a person would. It is the most legible option because you can watch every action, and it reaches interface elements that the Python API cannot. It is also the most expensive by a wide margin. One documented build of a detailed architectural model ran about four hours and consumed close to half of a $200 monthly plan allowance.
Treat Computer Use as a complement rather than a substitute. It is a good way to verify visually what an MCP session produced.
Connect over MCP
MCP gives Astra a bidirectional, structured channel to a session that is already running. The model calls a named tool, gets back structured data about the scene, and decides its next move from that data. No screen reading, no manual relay, no copy-paste loop.
| Route | Feedback to the model | Relative cost | Best fit |
|---|---|---|---|
| Paste bpy scripts | None until you paste results back | Lowest | One-off snippets where installing anything is not an option |
| Computer Use | Visual, but at human pace | Highest by a wide margin | Interface-only operations the Python API cannot reach |
| MCP | Structured and immediate | Efficient per action | Repeatable scene work you intend to run more than once |

If you are comparing the agent route against generating the asset outright, how GPT-6 Astra in Blender compares with native AI 3D generation covers that decision in depth. This guide assumes you have picked the agent route and want it working.
What You Need Before You Install Anything
Four layers have to line up. Each one is simple; the ordering is what people get wrong, because layer three depends on a decision made at layer two.
| Layer | What it is | What you choose |
|---|---|---|
| 1. Model | The reasoning engine that plans each step | GPT-6 Astra through OpenAI, Azure, or Bedrock |
| 2. MCP client | Speaks the protocol and holds the tool list | A local client that can run a stdio server, such as Codex |
| 3. MCP server | Translates tool calls into socket messages | Community mcp-for-blender, or Blender’s official server |
| 4. Blender add-on | Opens the TCP socket inside Blender | Ships with whichever server you picked |
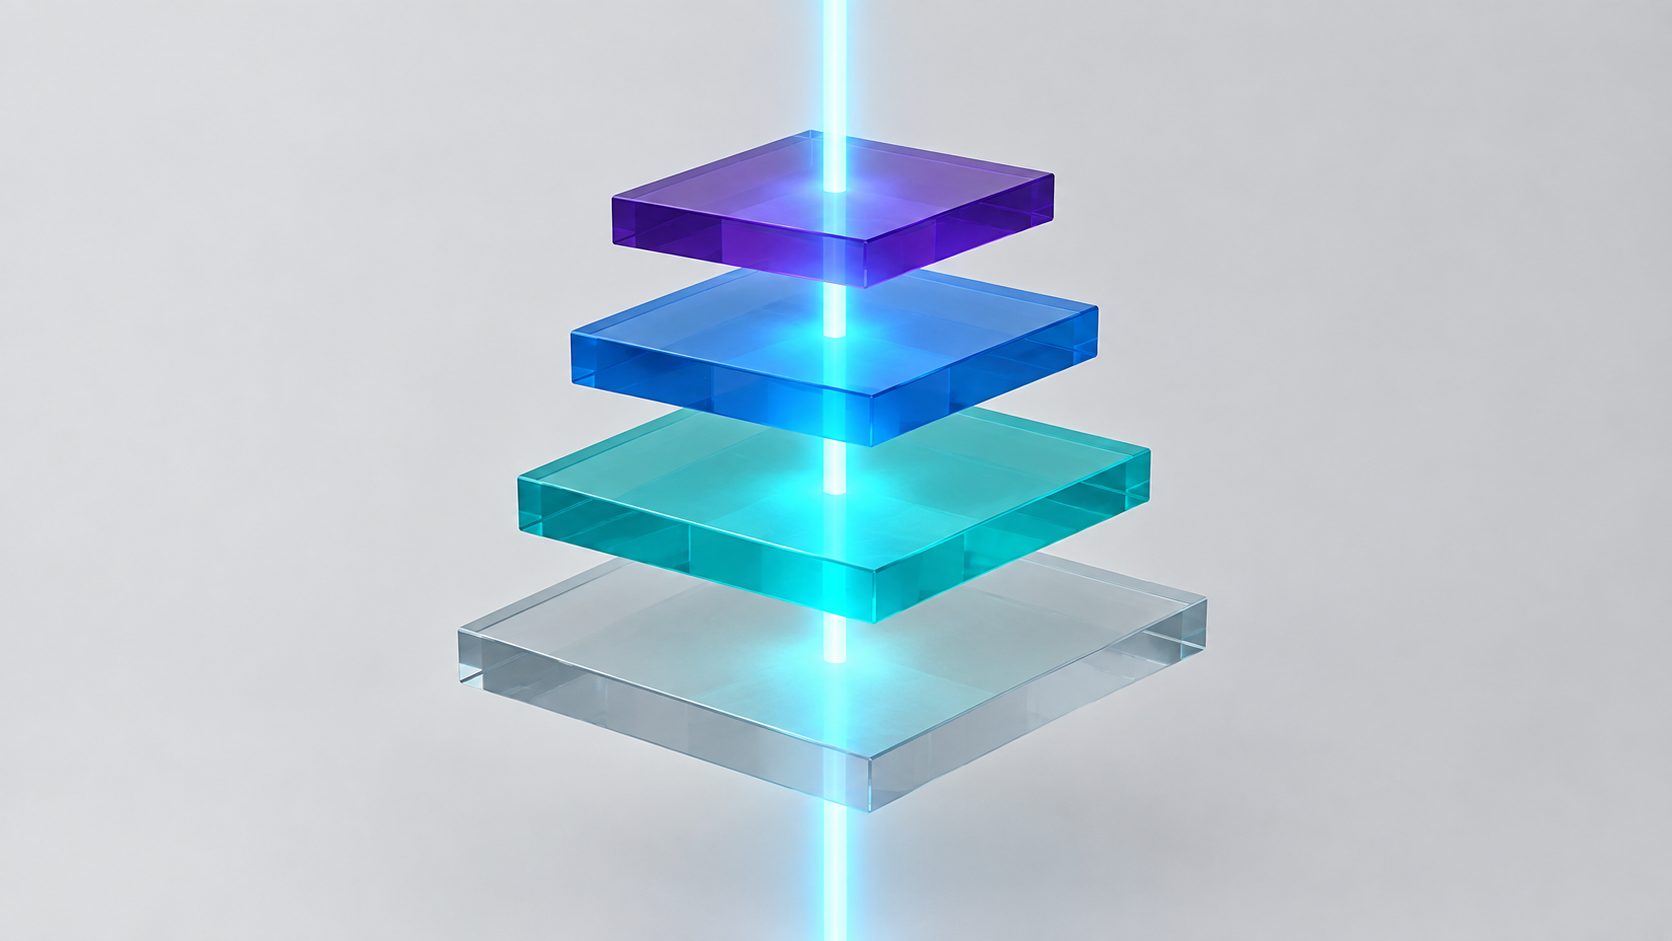
Beyond the stack itself, gather these first:
- Blender 3.0 or newer for the community server, or 5.1 or newer for the official one.
- Python 3.10 or newer. Pinning 3.11 avoids most installation failures, for reasons covered in the install section.
- uv, installed from the official installer. Not through pip.
- A local MCP client that can spawn a process on the machine running Blender. Codex is the natural pick for Astra, since it selects the model directly and configures stdio servers in a text file.
- Access to GPT-6 Astra through a plan that includes it, or API credentials.
- A saved copy of your .blend file. Save before every session. This is not a formality, for reasons in the security section.
Install the Blender MCP Server and Addon
Install uv before anything else. The project’s own documentation is blunt about this, and about not using pip install uv, which can leave you without the uvx command the server config depends on.
On Windows, run this in PowerShell:
powershell -c "irm https://astral.sh/uv/install.ps1 | iex"
On macOS, brew install uv. On Linux, the install script from astral.sh. On every platform, open a fresh shell afterward so uvx lands on your PATH.
Next, install the Blender add-on:
uvx mcp-for-blender install-addon
Then enable it in Blender under Edit > Preferences > Add-ons, where it appears as Interface: MCP for Blender. In the 3D viewport, press N to open the sidebar, find the MCP for Blender tab, and click Start MCP Server.
💡 If you use conda, pyenv, or asdf, make a note here. uv picks its own interpreter, and on a machine with an auto-activated conda base it can select one that breaks dependencies. The documented fix is a pinned interpreter plus a managed-only preference, and both belong in the client config rather than in the install command. The next section shows the single file where they go.

If a failed install keeps replaying after you fix the cause, clear the cache with uv cache clean mcp-for-blender blender-mcp and then uvx --refresh mcp-for-blender.
Configure Codex for GPT-6 Astra and Blender MCP
This is the step most guides get wrong, because they were written for Claude Desktop and never had to confront the constraint.
OpenAI’s hosted MCP support accepts remote servers over HTTP or prebuilt connectors. The community Blender server is a local stdio process. A stdio server cannot be reached from the hosted layer, because there is no URL for OpenAI to call. That means the model does not connect to Blender directly. It runs inside a local agent client, and that client connects to Blender.
For GPT-6 Astra, Codex is the cleanest fit. It selects the model by name and manages stdio servers in ~/.codex/config.toml.
Register the server from the command line. This writes the server table into the config for you:
codex mcp add blender -- uvx mcp-for-blender
Then open ~/.codex/config.toml. Everything this section asks for goes into that one file, and the server table is defined in exactly one place, so the finished result looks like this:
model = "gpt-6-astra"
model_reasoning_effort = "high"
[mcp_servers.blender]
command = "uvx"
args = ["mcp-for-blender"]
env = { BLENDER_MCP_SAFE_MODE = "1" }
startup_timeout_sec = 20
tool_timeout_sec = 120
The model key sits at the top level of the file rather than inside the server table, because it selects the reasoning engine instead of describing a server. Use the exact model slug your account exposes for Astra, and raise model_reasoning_effort only if your plan supports the higher tiers. The safe mode flag is explained in the security section below; setting it here means you configure it once instead of coming back to it.
Two adjustments apply to some setups, and both edit the block above rather than adding a second one. If you use conda, pyenv, or asdf, change args to ["--python", "3.11", "mcp-for-blender"] and extend the same env line to env = { BLENDER_MCP_SAFE_MODE = "1", UV_PYTHON_PREFERENCE = "only-managed" }. If your client takes JSON rather than TOML, such as Claude Desktop or Cursor, the same values are {"command": "uvx", "args": ["mcp-for-blender"], "env": {"BLENDER_MCP_SAFE_MODE": "1"}}, with a Python pin going into args the same way.
Both timeout values are worth raising from their defaults. startup_timeout_sec defaults to 10 seconds, which is not always enough for a first run that has to download and unpack the package. tool_timeout_sec defaults to 60 seconds, which a scene-building call can exceed.
Restart the client after any config change, and restart it fully. On Windows that means quitting from the system tray rather than closing the window.
⚠ If the client reports spawn uvx ENOENT, your PATH is the problem, not your config. Clients launched from a start menu or dock do not inherit your terminal’s PATH. Find the real path with where uvx on Windows or which uvx on macOS and Linux, and put that full path in the command field. On Windows you can also wrap the call instead:
command = "cmd"
args = ["/c", "uvx", "mcp-for-blender"]
Lock Down the Connection Before You Model
You have just given a language model the ability to run arbitrary Python inside an application that can read and write files on your machine. That is the actual capability you configured, and it is worth ten minutes before you point it at a client project.
The community server’s socket has no authentication and no encryption. Anything able to reach port 9876 can execute code in your Blender session. The execute_blender_code tool is documented as powerful and potentially dangerous, with an explicit instruction to always save your work first. A code injection issue in that tool is tracked as CVE-2026-10688, publicly disclosed in June 2026 with a proof of concept and no fixed version, because the project ships as a rolling release rather than versioned builds.
Telemetry is a second consideration. It is on by default and, per the project’s own terms, may be used to train AI models. You can switch it off in the add-on preferences or set DISABLE_TELEMETRY=true in the server environment.
The server also ships a partial guard, and it is off unless you turn it on. Setting BLENDER_MCP_SAFE_MODE=1 makes it inspect every script before it runs and block the riskiest categories: reading or writing files directly, launching other programs, reaching the network, and installing code that keeps running after the script exits. Ordinary work still functions, including modeling, materials, rendering, saving, and import or export. A blocked script is returned to the model along with the reason, so it can retry with a corrected version rather than failing silently. Treat that as a seatbelt rather than a sandbox. It narrows what a careless instruction can reach; it does not contain a deliberate attempt, and it is not a substitute for running Blender somewhere you are willing to lose.
| Risk | Mitigation |
|---|---|
| Open socket on port 9876 | Do not expose the port beyond localhost; run Blender on a machine without sensitive data |
| Arbitrary code execution through execute_blender_code | Set BLENDER_MCP_SAFE_MODE=1 to block file, network, and process access; restrict the tool list with enabled_tools; keep per-call approval on |
| Untrusted input reaching the model’s context | Never paste third-party prompts or scraped content into a session with file access |
| Data loss when an agent edits a scene | Save before every session and keep versioned copies of the .blend |
| Default-on telemetry | Disable in preferences or through the DISABLE_TELEMETRY environment variable |
Note that the official server does not remove this class of risk. Blender’s own documentation warns that it runs LLM-generated code with no guards in place and recommends a virtual machine. The open port is a community-server specific exposure, but unguarded code execution is inherent to the approach.
Run Your First AI 3D Workflow in Blender
Start with a task that generates visible geometry but stays small enough to finish in one session. Building a blockout is the standard first run, because every step is verifiable by looking at the viewport.
1. Confirm the tool list loaded. In Codex, the server should appear with its tools attached. If the tools are missing, the client never reached the server, which is almost always the PATH problem above.
2. Establish the scene. Ask for a fresh scene with defined units, so the model is not guessing whether you work in meters or millimeters.
3. Build the massing. Describe the structure in terms of primitives and proportions rather than adjectives. Volumes, counts, and relative sizes translate into operators; “make it look modern” does not.
4. Check the poly count before adding detail. Ask the model to report object counts and polygon totals. Catching a runaway subdivision early is much cheaper than discovering it after materials are assigned.
5. Add materials and lighting. This is where the agent is strongest, because material assignment is a well-defined operator surface with clear parameters.
6. Export. Ask for a GLB or FBX export of the scene. If you are moving the result into a game engine, importing FBX into Blender covers the round trip in the other direction.
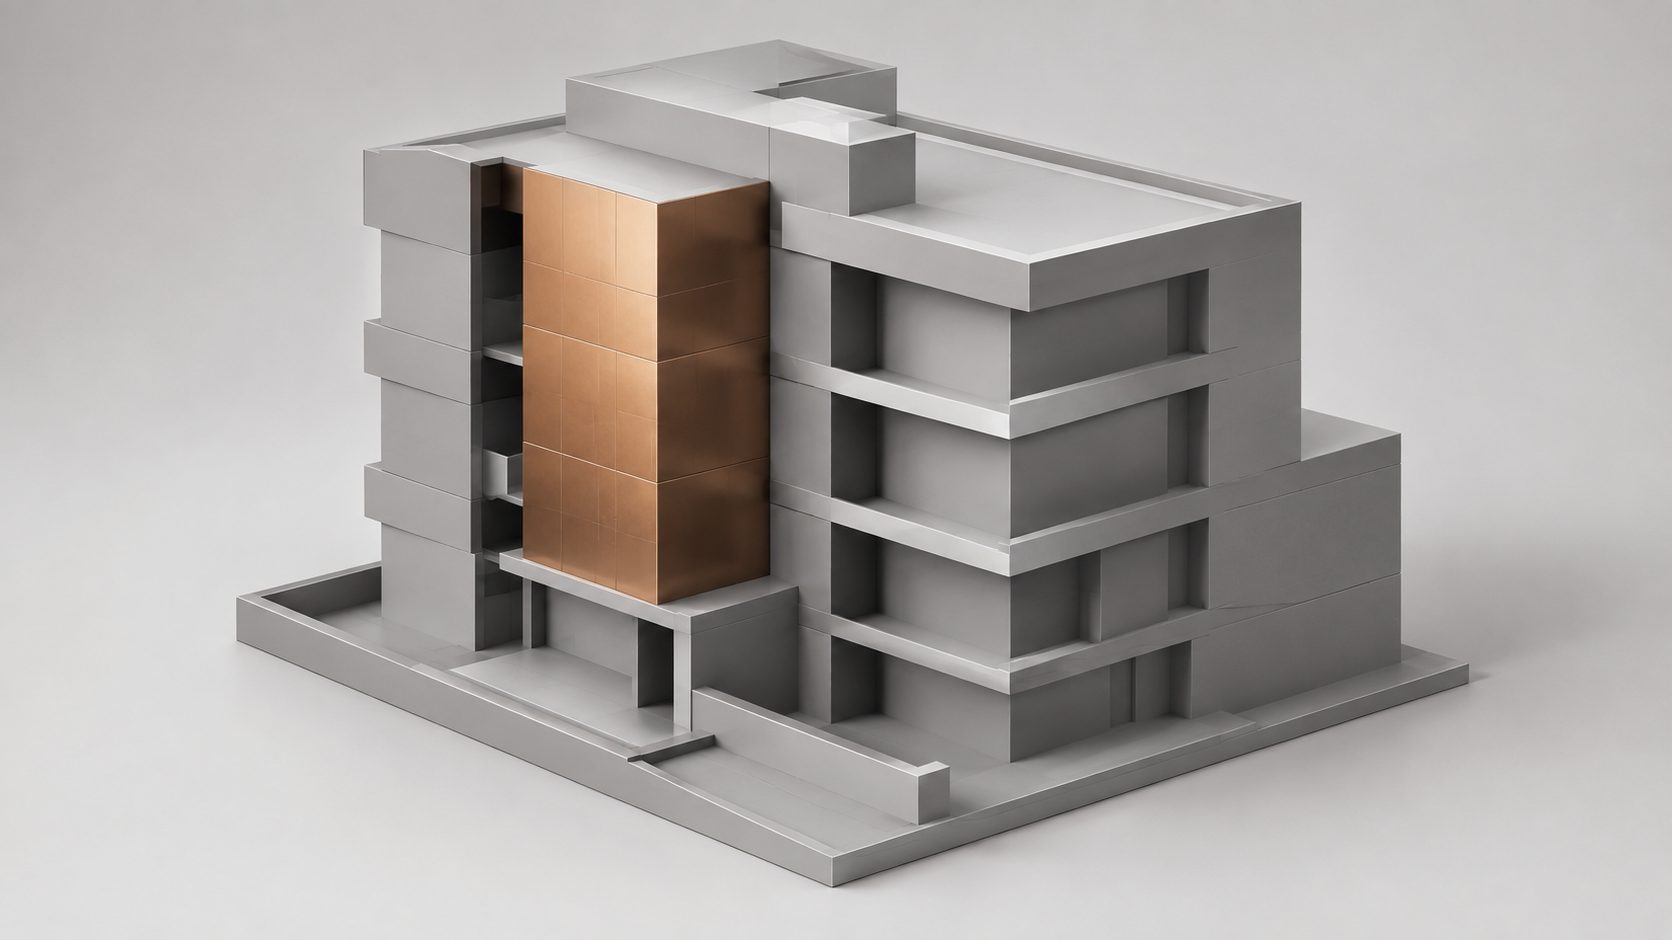
Here is a first run you can paste in as-is. The scope is deliberately small so that it works as a first test, and every result is checkable by looking at the viewport:
Create a new scene with metric units. Build a rectangular two-storey building massing: 12m by 8m footprint, 7m total height, with a 0.4m floor slab line at 3.5m separating the storeys. Cut window openings 1.2m wide and 1.5m tall along the two long facades, spaced 2m apart. Report the object count and total polygon count when done. Then create one material for the concrete body and apply it, and report the material name.
What a healthy run looks like: the model makes several separate tool calls rather than one large one, the viewport updates after each, and the final report names specific numbers instead of describing the result in adjectives. If it times out partway through, that is a scope problem rather than a broken setup. Split it into two rounds, one for the massing and one for the openings and material, and reissue. If it instead reports an error about the socket or the tool list, you are in the troubleshooting section, not a prompt problem. And if it builds the massing but the reported poly count is far higher than the geometry warrants, that is the signal to audit the scene before adding detail.
Keep sessions short. The most common failure is not a wrong answer, it is a request complex enough that the tool call exceeds its timeout and the model loses its place in the sequence.
Give Your Agent Something Worth Editing
An agent works on the mesh it is handed. Start from a clean, watertight, textured base asset instead of a blockout.
Generate a Base Asset in Neural4D
Free tier includes 50 Power credits every week. No install required.
Prompts and Task Patterns That Actually Work
The model is only as specific as your instruction. Prompts written for a chat window produce chat-window results, because nothing in them defines what “done” looks like in scene terms.
| Task | Prompt pattern that works |
|---|---|
| Scene audit | Analyze the scene and list the outliers: objects with the highest polygon count but the smallest on-screen size. |
| Naming hygiene | Suggest descriptive names for every data-block in the current file and apply them if I approve. |
| Dependency tracing | Which objects in this scene use the material named pebbles? |
| Environment setup | Create a beach environment using HDRIs, textures, and models for rocks and vegetation from Poly Haven. |
| Props and dressing | Fill this room with low-poly furniture from Poly Pizza, under a CC0 licence. |
| Material pass | Make this car body red and metallic, and keep the roughness under 0.3. |
| Camera and framing | Point the camera at the selected object and make the view isometric. |
The first three patterns come from Blender’s own published examples for its MCP server, and they are a good illustration of the principle: each one names a measurable target. The scene audit pattern is worth studying, because on Blender’s own benchmark file it surfaced an object with 20k polygons that could have been a texture, and another at 37k driven by a subdivision modifier. That is the kind of finding that pays for the setup.

Two habits make a measurable difference. Ask the model to report what it changed after each step, so you have an audit trail. And break animation work into explicit stages, because a single long pass is the most reliable way to hit a timeout.
For assets that need real topology work before animation, retopology for AI 3D models covers what to fix and in what order.
Where Neural4D Fits in an Agent-Driven 3D Pipeline
An agent operating Blender is a very capable editor and a poor sculptor. Ask it to build a scene from primitives and it does well. Ask it to produce an organic character or a detailed prop from nothing, and the results degrade, which matches the pattern reported by people running these workflows: architecture, vehicles, and machinery work, creatures often do not.
That is the gap native AI 3D generation fills. Neural4D turns a text prompt or a single reference image into a clean, watertight mesh with PBR materials, which becomes the object the agent then positions, lights, and exports. The base mesh generator handles the part that is hard to describe procedurally. The agent handles the scene work.

The workflow stays inside N4D’s own pipeline: input a prompt or image, generate, regenerate or refine conversationally with Neural4D-2o, then export as GLB, FBX, OBJ, USDZ, or STL into Blender. A base mesh takes about 90 seconds untextured; selecting PBR before generating produces the base mesh and full texture maps in a single pass and takes two minutes or more.
Bringing a finished asset in also shortens the agent’s working session, which is where the token cost accumulates. Fewer corrective steps on bad geometry means a smaller bill. If you want the base asset without leaving the browser, Neural4D’s Image to 3D generation is the direct path, and Neural4D’s AI 3D agent covers the automation layer above it.
For teams wiring this into a larger pipeline rather than a single session, automating 3D generation workflows with AI agents covers the orchestration patterns, and cleaning up AI generated meshes in Blender covers what to check on arrival.
What Neural4D does not do is repair someone else’s output. Its 3D features operate on models generated within Neural4D, so the role here is supplying a better starting asset, not fixing geometry an agent produced.
When Blender MCP Breaks: Fixes for Common Failures
Nearly every failure at this stage is a connection problem or a scope problem. Work through the connection layer first, because a tool call that never arrived looks identical to a model that answered badly.
| Symptom | Cause | Fix |
|---|---|---|
| spawn uvx ENOENT | GUI client did not inherit your PATH | Use the full path to uvx in the command field, then fully restart the client |
| Connection refused | The add-on socket is not running | Click Start MCP Server in the Blender sidebar; never run the uvx command directly in a terminal |
| Tools missing in the client | Client never reached the server | Restart both the client and the Blender server |
| Timeouts mid-task | Request too large for one tool call | Split into smaller steps; raise tool_timeout_sec on the client side |
| Install replays a previous failure | Stale uv cache | Run uv cache clean, then uvx –refresh mcp-for-blender |
| Wrong Python picked up | conda, pyenv, or asdf shadowing | Pin –python 3.11 with UV_PYTHON_PREFERENCE set to only-managed |
| Poly Pizza download blocked | CDN bot protection rejects datacenter and VPN addresses | Retry from a normal connection, or download the GLB and import it manually |
| Edits appear then vanish | Two clients writing to one session | Run a single client against port 9876 at a time |
| First command after connecting fails | Known quirk on a fresh connection | Re-issue the command |
If you hit something not listed here, check whether the model actually received a result. Asking it to report the scene state is a fast way to tell a broken connection from a bad instruction.
Cost, Speed, and the Limits of Agentic Blender
Agentic 3D work is metered in a way that interactive modeling is not, and the numbers are large enough to plan around.
GPT-6 Astra lists at $10 per million input tokens and $50 per million output tokens, with cached input at $1 and higher rates once a single request passes 272,000 input tokens. A single agent session is not a single request. It is a long chain of tool calls, each carrying accumulated scene data and conversation history forward, and how much of that history the cache absorbs changes the bill more than any other variable. One practitioner running a Blender workflow through an agent reported roughly 56 million tokens consumed across the session.
Do not read that count as a quote. The dollar cost of a session like that swings widely with the input to output mix and the cache hit rate, and caching alone moves the input side by an order of magnitude. Treat the number as evidence of scale rather than a price: this is a workload where a flat subscription can run out before the task is finished, and where the same task costs very different amounts depending on how well your prompts reuse context.
⚡ Three levers actually reduce the bill. Start from a clean base mesh so the agent spends fewer turns fixing geometry. Keep sessions scoped to one deliverable. And turn off optional asset integrations you are not using, since each enabled source adds tools the model has to reason about.
Speed has a hard ceiling that cost does not. Long animation passes time out, because a single tool call has to return within its window and animation work is inherently long-running. The documented workaround is staging: build the hierarchy, set positions, animate, then set the camera path, then render a preview, checking between each.
The honest limit is judgment. Astra drafts and executes well against a defined target, and it does not know what the shot needs to feel like. The pattern that holds up in practice keeps a human on direction and final QA, and hands the agent the parts that are tedious rather than the parts that are taste.
Common Questions on GPT-6 Astra and Blender MCP
Q: Can I use GPT-6 Astra with Blender MCP on a ChatGPT plan, or do I need API access?
The subscription and the transport are separate problems. A ChatGPT plan gives you Astra in the ChatGPT and Codex surfaces, but the community Blender server is a local stdio process, so it needs a client that can spawn a process on your own machine. OpenAI’s hosted MCP layer accepts remote servers over HTTP, which a local socket server is not. Driving Blender through your own tooling instead means API pricing per token.
Q: Do I need Blender 5.1 for Blender MCP, or does 3.x still work?
It depends which server you install, and the two requirements are not interchangeable. The community server runs on Blender 3.0 and newer. Blender’s own MCP server requires 5.1 or newer. The trap is upgrading Blender to satisfy the official server while your add-ons and pipeline are still pinned to a 4.x workflow. Pick the server that matches the Blender you already run rather than the reverse.
Q: Is the official Blender MCP server safer than the community plugin?
Neither one sandboxes anything. Blender’s own documentation warns that its server executes LLM-generated code with no guards protecting your data, and recommends a virtual machine. The community server is more exposed in one specific way: its socket has no authentication or encryption, so anything that can reach port 9876 can run Python in your session. The official server avoids the open port model by using a bridge, but it still runs whatever code the model writes.
Q: Why does Blender MCP time out on long animations, and can I raise the limit?
Two separate ceilings are involved. The client sets a per-tool timeout, which defaults to 60 seconds for tool runs and 10 seconds for server startup in Codex, and you can raise both in the config file. The server side has its own cap that the client cannot override. Raising the client value only helps when the server is willing to wait, so the dependable fix is splitting the pass into staged steps rather than negotiating a longer window.
Q: What happens if I run two MCP clients against Blender at once?
The second client does not get a second session, it gets a conflict. The add-on opens a single TCP socket on port 9876, so the second client either fails to bind or connects to the same session and interleaves its edits with the first. The symptom is edits that appear to apply and then vanish, because two agents are writing to one scene state. Run one client at a time.
Q: Can I run Blender MCP on a headless render node?
Partly, and less than the Docker instructions imply. The project’s container path puts the MCP server in a container, and that container reaches Blender running on your host machine through host.docker.internal, which works out of the box with Docker Desktop on macOS and Windows; on Linux the container needs host networking instead. So the container does not make Blender headless. Blender itself still runs on a real machine with the add-on loaded, and the socket is started from the sidebar, which is a GUI action. A fully headless render node is not a documented configuration. If a node does need to run the server unattended, the asset-source API keys can be injected as environment variables rather than set in the interface.
Start Building Your Agent-Driven 3D Pipeline
The setup is four layers and one decision. Install uv, install the add-on, register the server with a local client, and point that client at GPT-6 Astra. Then harden it before you trust it with anything you would be upset to lose, because you have genuinely given a model the ability to run code in your session.
Once it is running, GPT-6 Astra with Blender MCP is at its best on the work that is tedious rather than the work that is tasteful: scene audits, naming cleanup, material passes, poly budget checks, and the repetitive staging that eats an afternoon. Reach for it there and it earns its cost quickly.
The variable you control most directly is what the agent starts from. A clean, watertight, textured base asset means fewer corrective turns, a shorter session, and a smaller token bill.
Start From a Finished Asset, Not a Blockout
Generate a watertight, textured 3D model in about 90 seconds, then hand your agent geometry worth editing.
Free users receive 50 Power credits every week, refreshed automatically.