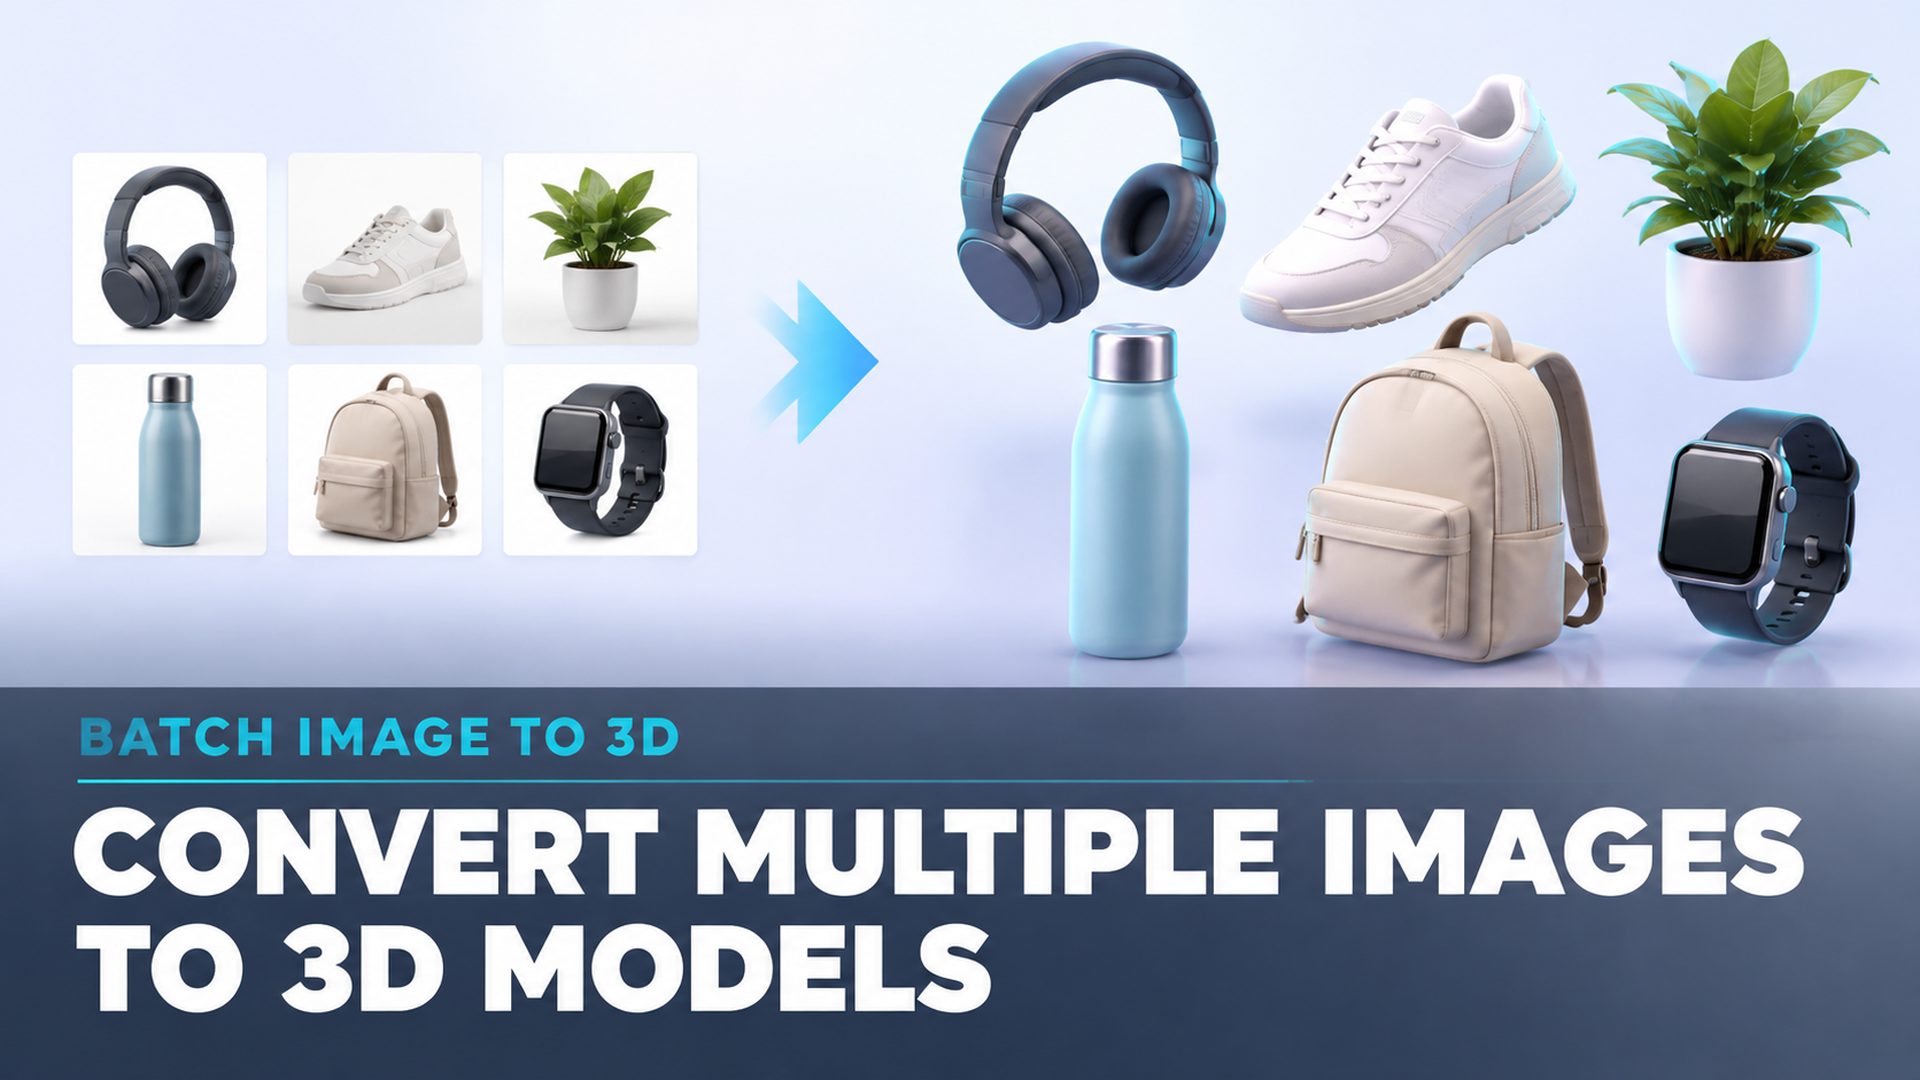
How to Convert Multiple Images to 3D Models in One Batch
Quick Summary
- Neural4D batch image to 3D uploads up to 10 photos in one run and returns one independent 3D model per image.
- Batch means many different objects become many separate models. It is not the same as multi-view reconstruction, which builds a single object from multiple angles.
- You pick standard textures or full PBR maps up front, and every result is a watertight mesh exportable as OBJ, FBX, GLB, USDZ, STL, or BLEND.
- Each batch image runs through the same Image to 3D pipeline as a single upload, so you can regenerate any one model without touching the rest of the batch.
- Neural4D runs on the Direct3D-S2 architecture from NeurIPS 2025, producing watertight geometry with roughly 12x faster sampling speed.
If your workflow needs to how to convert multiple images to 3D models without launching a separate job for each photo, Neural4D batch image to 3D is the direct route: upload up to 10 images, choose standard textures or full PBR maps, and receive one independent watertight model per source image. Read on for the source-image rules, the batch dialog walkthrough, per-model timing, and the export formats that move each asset into a game engine, an AR viewer, or a print queue.
What Does Batch Image to 3D Mean?
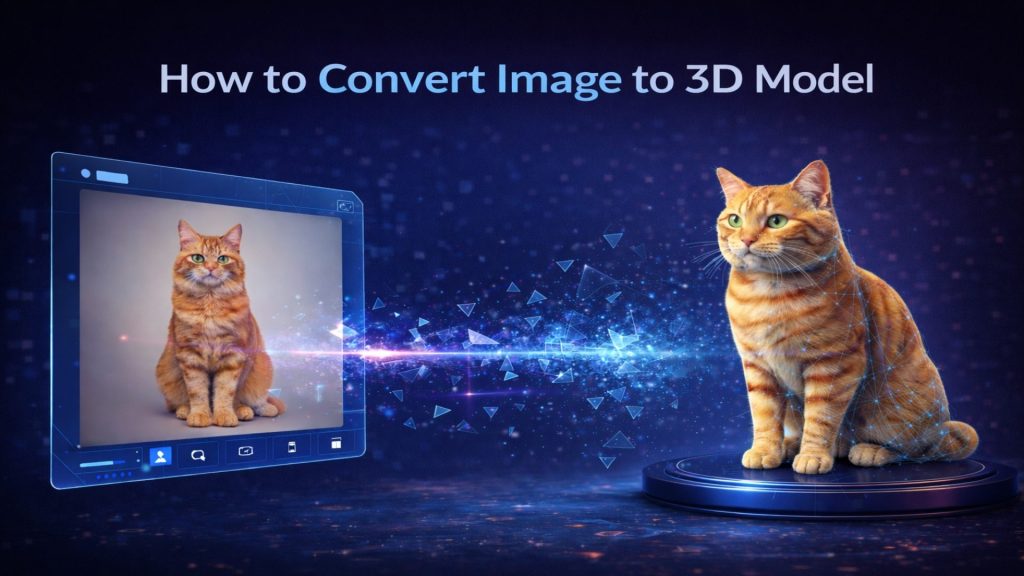
Search for “convert multiple images to 3D” and you will find two different workflows wearing the same phrase. The first is multi-view reconstruction, where you photograph one object from many angles so the software can rebuild that single object with high fidelity. The second is a production batch, where each image is a different object and you want one independent 3D model per image, without running them one at a time.
Neural4D batch image to 3D is the second type. The batch mode inside the Image to 3D feature accepts up to 10 photos in a single upload, and every photo produces its own separate model. One photo of a coffee mug gives you one mug model; a tenth photo of a desk lamp gives you a lamp model, alongside eight others from the same run. Each output goes through the exact pipeline used for a normal single-image upload.
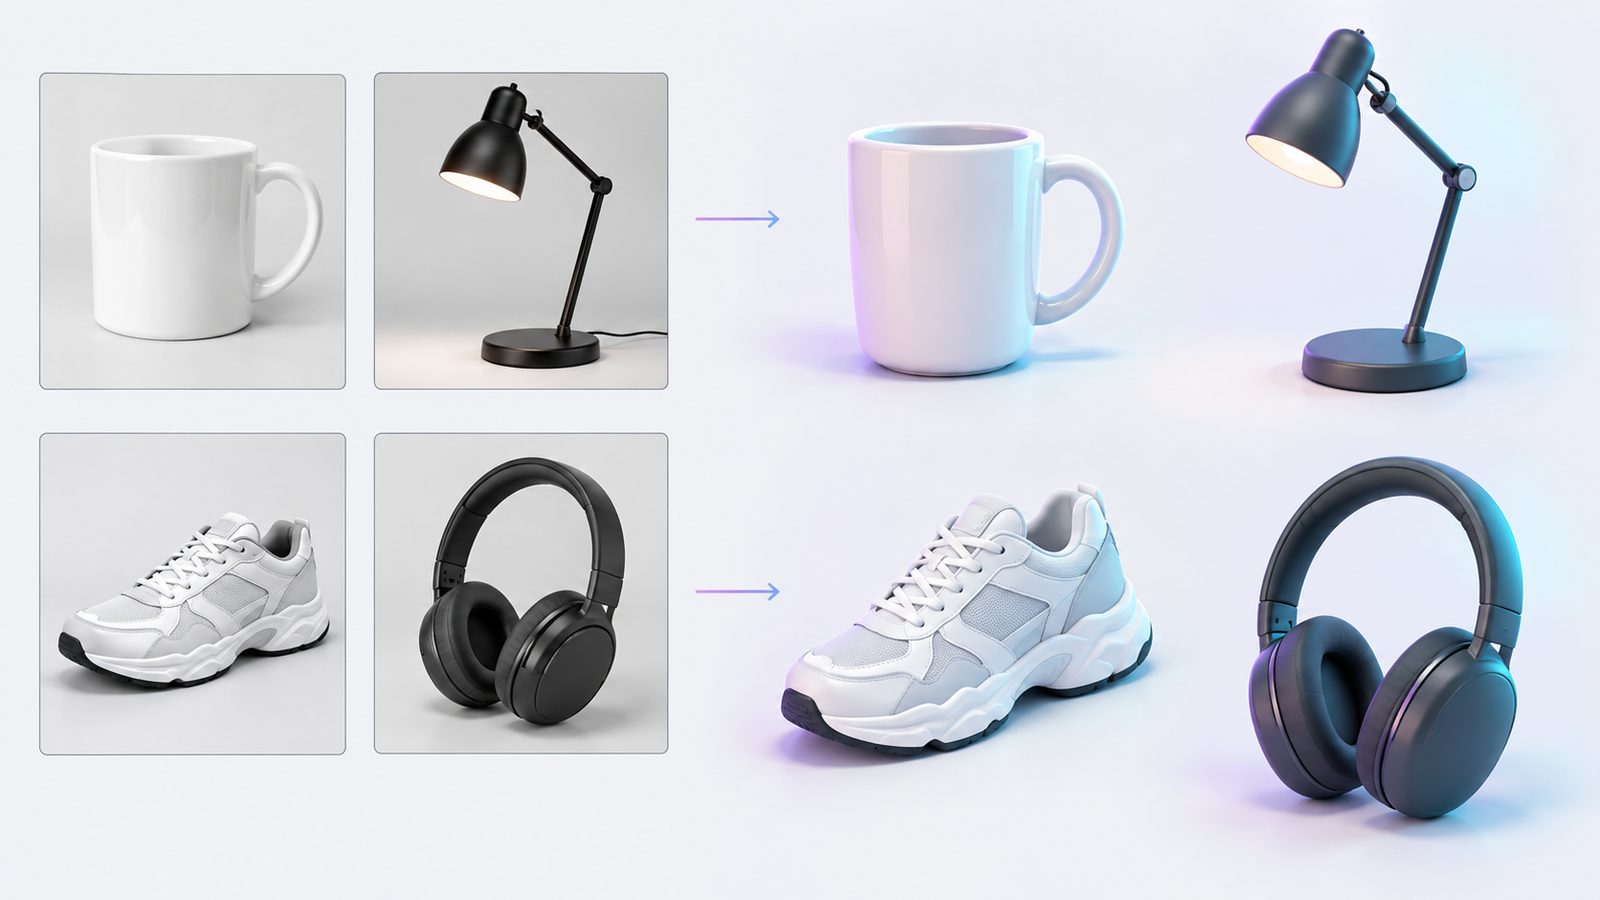
In batch mode, every source image becomes its own independent 3D model.
This matters for anyone producing many assets from many references: an e-commerce catalog with dozens of SKUs, a game prop pack built from concept shots, or a queue of prints waiting on STL files. Photographing a whole object library once and converting it in bulk is faster than opening a tool for each image. The N4D batch workflow accepts png, jpg, jpeg, and webp files up to 20 MB each, and you can add them by clicking, dragging and dropping, or pasting.
If your reference set is a single hero product that needs a full 360 view, that is a different job, covered by the separate Multi-View to 3D feature. The two tools solve opposite problems, and the section below gives you a fast way to pick between them.
Single, Batch, or Multi-View: Which Workflow Fits Your Project?
Choose a workflow by counting objects and deciding how much fidelity each one needs. Use this table as your starting point.
| Workflow | Best when | Photos per object | What you get |
|---|---|---|---|
| Single Image to 3D | You need one asset and have one reference photo | 1 | One model from one image |
| Batch image to 3D | You need several different objects from several photos | 1 | One independent model per image, up to 10 per run |
| Multi-View to 3D | One object that must look right from every angle | 6 views | One higher-fidelity model built from the whole set |
A catalog refresh with 10 product shots fits batch mode perfectly. A single collectible that needs a rotatable storefront view is better handled by Multi-View to 3D, which feeds six orthogonal views of the same subject into one reconstruction. And when you only need a quick test asset, the one-photo route is enough. For a closer look at that basic path, see how to convert a single image into one 3D model.
Traditional photogrammetry is a fourth option, but it works differently. Software such as Agisoft Metashape or RealityCapture reconstructs one real object from many overlapping photographs, which then require cleanup before the mesh is usable in a real-time engine. Photogrammetry is a depth-first tool; batch generation is a breadth-first tool. For turning a folder of separate reference photos into separate models, generation is the faster workflow.
Quick rule: one object per photo goes to batch. Many photos of the same object go to Multi-View to 3D. One photo you need right now goes to single Image to 3D.
Ten Photos, Ten Models, One Click
Upload a folder of product shots and let batch image to 3D handle the rest.
New users get free credits on signup. No card required.
How to Convert Multiple Images to 3D Models with Neural4D
The batch workflow runs through four stages against the actual interface: prepare source images, upload them into the batch dialog, generate once, then inspect and export each model.
Step 1: Prepare Batch-Ready Source Images
Batch output quality starts with the input set. Each photo should show one clear subject, ideally centered with a simple background and even lighting. A clean backdrop helps the modeler separate the subject cleanly, and consistent framing across the whole set keeps the finished models feeling like one family rather than ten strangers.
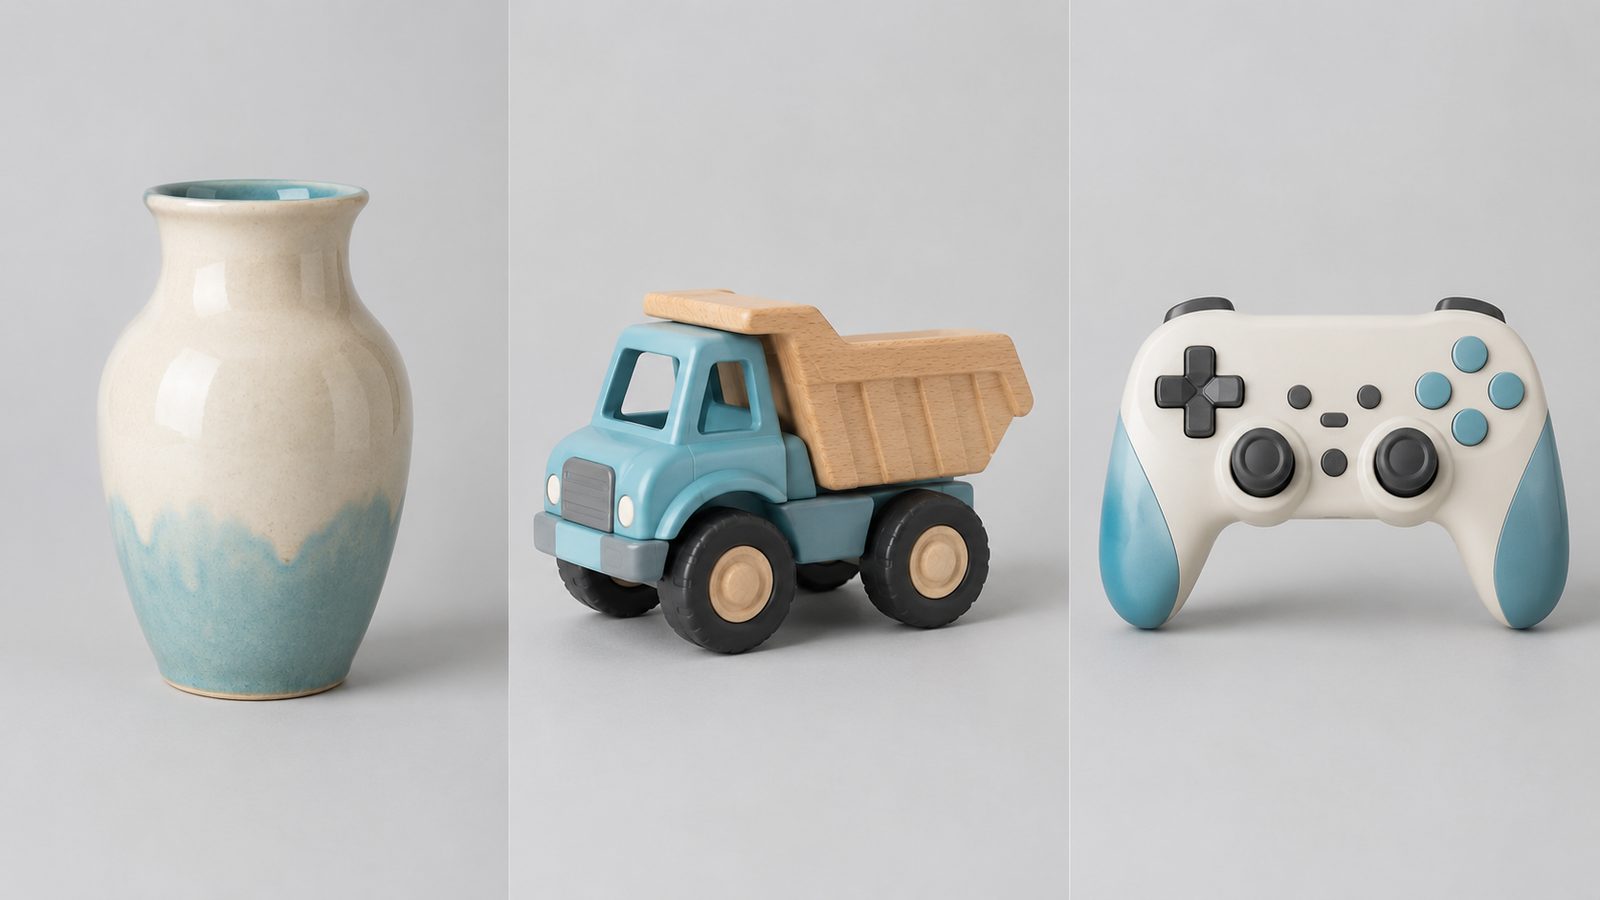
Keep one subject per photo with even lighting so each model in the batch starts clean.
Respect the upload limits before you start: images must be png, jpg, jpeg, or webp, and each file must stay under 20 MB. You do not need to erase the background yourself, since the generator segments the subject, but avoid heavy occlusion, motion blur, and harsh reflections that can confuse the silhouette. When you photograph ten products for one batch, try to shoot them with the same camera angle and lighting, because batch processing runs each image independently and does not force a shared look.
Step 2: Upload Up to 10 Images in the Batch Dialog
Open Image to 3D in the studio and switch to batch mode. The dialog accepts up to 10 images, and you can add them three ways: click to select multiple files, drag and drop a folder onto the panel, or paste from your clipboard. Every queued image appears as a thumbnail before generation starts, so you can confirm the right set made it in.
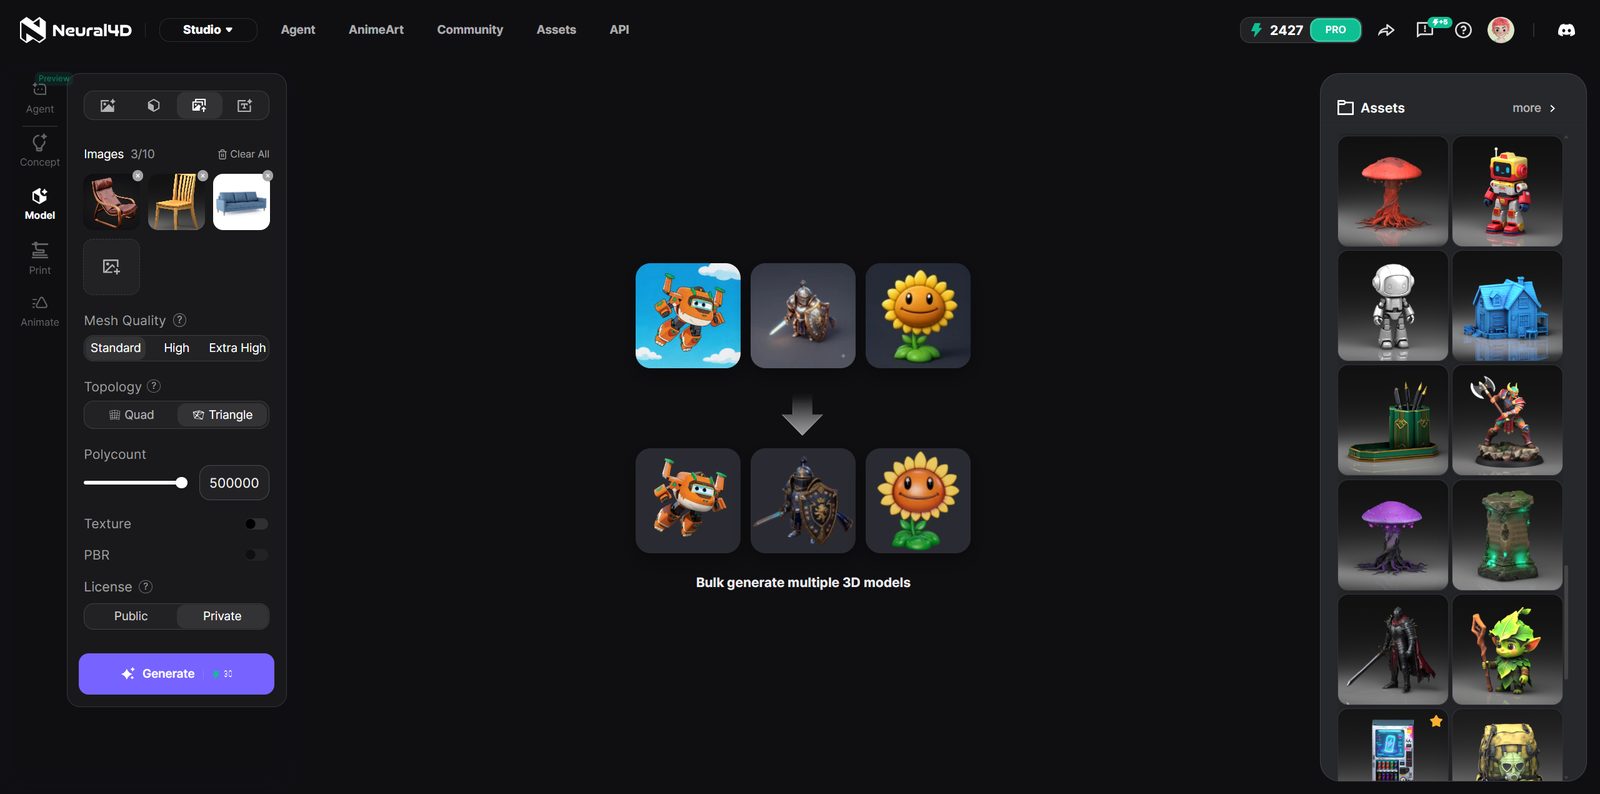
Queued thumbnails in the batch dialog let you confirm the full set before you generate.
Before you click generate, set the options for the whole batch. Batch mode carries the same controls as a single upload, so you can choose standard textures or full PBR maps, and you can pick the mesh density you want. Confirming the option set first matters because N4D configures the workflow up front, in one pass, rather than letting you add textures as a second action later.
Step 3: Generate the Whole Batch at Once
Click generate once and N4D processes every queued image through the same pipeline. When the run finishes, the results grid shows one model card per source photo, so you can inspect each asset side by side.
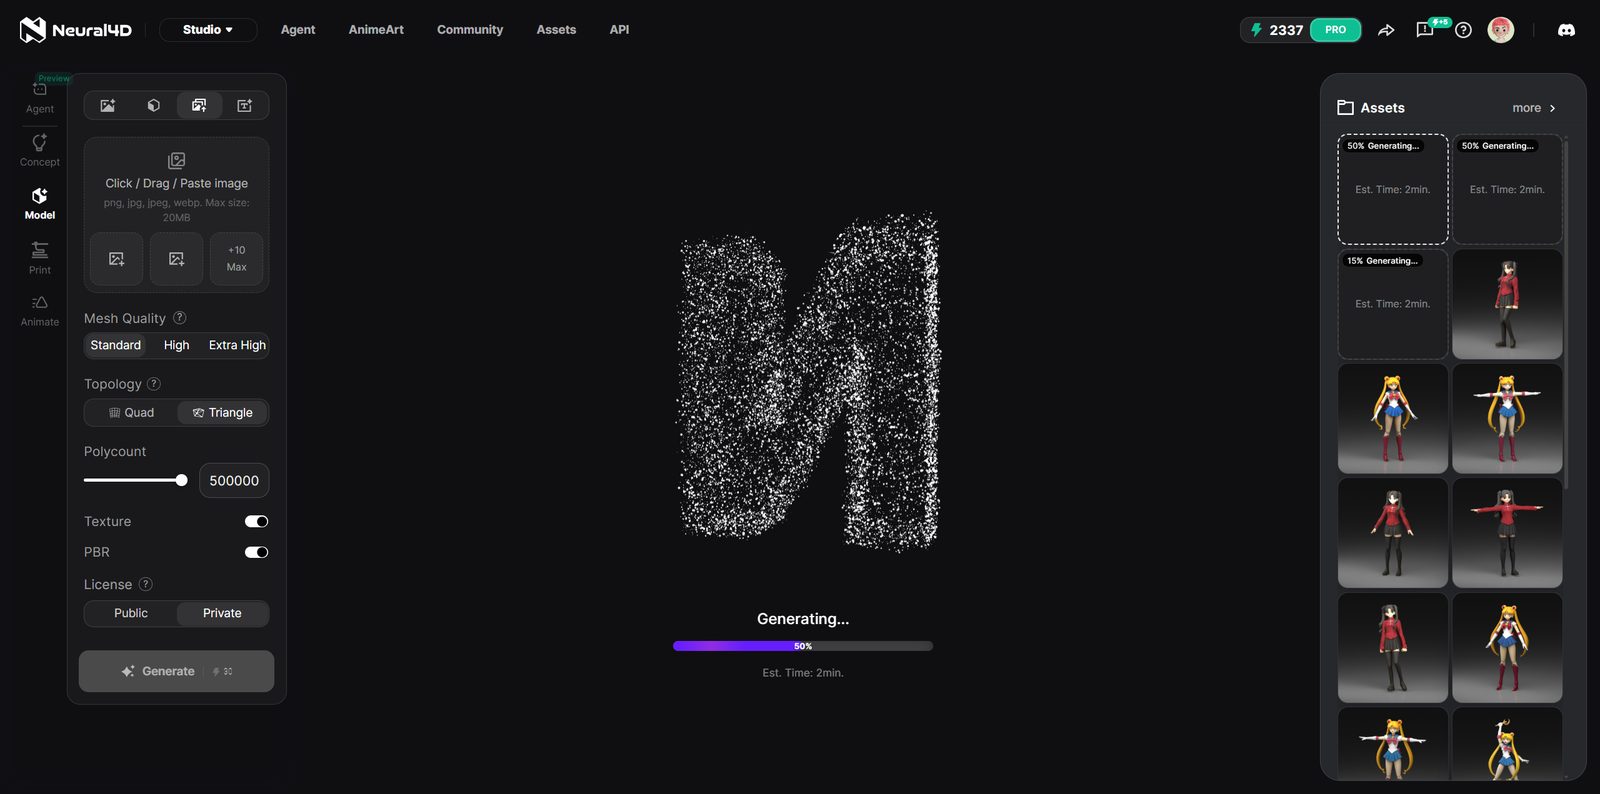
Each source photo returns its own model card in the results grid.
Timing is per model, and it depends on your texture choice. A plain, untextured base mesh takes about 90 seconds to build. When you include standard textures or full PBR maps, the model takes 2 minutes or more, because the same single pass also bakes the material set.
If one model in the grid misses the mark, you do not have to regenerate all ten. Each model card carries its own Regenerate control, so you can rerun a single image and leave the rest of the batch untouched. That keeps a whole run from stalling on one bad reference.
Step 4: Inspect and Export Each Model
Open a model from the grid to spin it, inspect the surface, and check the topology before exporting. Every batch result is a watertight mesh, which means closed, manifold geometry with no holes, so it is ready for downstream use without a cleanup pass.
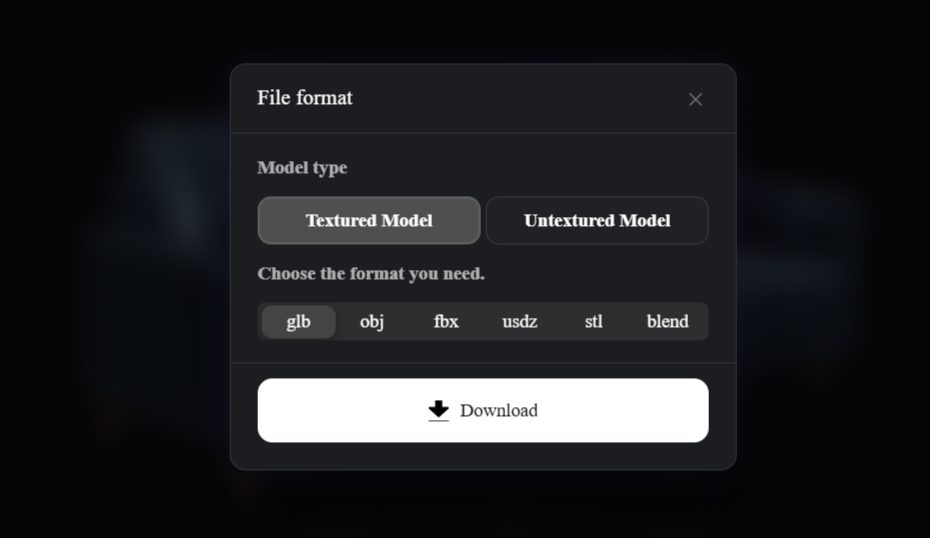
Choose an export format per model once inspection looks good.
Each model exports in the format that fits its destination: GLB and FBX for game engines, GLB and USDZ for AR and quick web previews, STL for 3D printing, and BLEND when you want to keep editing in Blender. OBJ remains a solid universal fallback. When you only need one lightweight asset, the image to GLB route is the compact alternative. Export each model from its own card, and when you generated with textures, the downloaded asset carries the material set with it.
What Each Model in a Batch Run Delivers
Because every image in the batch runs through the standard Image to 3D pipeline, the quality bar is the same as a careful single upload. Each output is a high-quality triangular mesh built by the Direct3D-S2 model, the architecture Neural4D presented at NeurIPS 2025, running on a 2048 cubed reconstruction space. Consistent, well-formed geometry like this imports into engines and DCC tools without the broken, non-manifold surfaces that generic generators sometimes leave behind.
Sampling speed also benefits from SSA, N4D’s approach to accelerating inference to roughly 12x faster than a naive pass. Faster sampling is what makes a ten-image run feel like a queue instead of an overnight job, even though each model is generated independently.
Texturing is a single-pass decision, not a second step. If you selected standard textures, each model gets a clean material set. If you selected full PBR maps, the mesh arrives with the complete PBR material set baked in, which means the model drops into a game engine or renderer already looking lit rather than flat gray.
Batch Image to 3D Limits Worth Knowing
Know before you queue: batch mode is designed for breadth, not consistency.
- Ten images per batch. The dialog caps a single run at 10 photos. Larger libraries run in multiple batches.
- Independent processing. Every image generates on its own. Batch mode does not share geometry or force a consistent style between models, so matching your source photos is the only lever you control for a uniform look.
- No pose presets. A-Pose and T-Pose presets belong to single-image character workflows in Text to 3D and Image to 3D. In batch mode each photo is treated as an independent single subject, so those presets do not apply.
- Textured outputs take longer. Plan for 2 minutes or more per textured model, versus about 90 seconds for an untextured base mesh.
- Editing scope. Neural4D-2o conversational editing works only on models generated by Neural4D-2o. Batch runs produce standard models, which you refine with Regenerate or by exporting and editing externally.
Where Neural4D Fits for Batch Conversion
Most tools that mention multiple-image conversion are actually solving multi-view reconstruction. N4D is one of the few that offer a true many-to-many batch, where several different images become several different models in one operation.
| Tool | Many different images to many models | Workflow | Textures |
|---|---|---|---|
| Neural4D | Yes, up to 10 images per run, each producing its own model | One batch upload, one generate click, per-model Regenerate | Standard textures or full PBR maps chosen up front |
| Meshy | Documents a batch conversion queue | Items process in sequence inside the workspace | Texture options vary by plan |
| Tripo | Batch mode accepts up to about 30 images | Queued submissions | Texture pass available on higher tiers |
| Photogrammetry suites | No. Many overlapping photos of one object, not many objects | Reconstruction plus manual mesh cleanup | Texture mapping after the mesh is built |
Neural4D earns the first row here because of what ships with each batch model. Output is watertight out of the box, so an asset does not need the cleanup pass that generic AI meshes and photogrammetry scans usually require before they are usable. PBR materials are baked in a single pass, and six standard export formats cover engines, AR, printing, and editing. For teams that convert product libraries at scale, the flow is also direct: batch output feeds straight into e-commerce pipelines, which is why sellers pairing 3D product views with their storefronts tend to start from AI 3D for e-commerce workflows.
Two honest notes keep the picture complete. First, if your output needs to be a single object with true 360 fidelity, route that job to Multi-View to 3D instead of batch, since batch gives you breadth across objects, not depth on one object. Second, if you only have one reference today, a single Image to 3D run is the lightweight path, and the Image to 3D how-to guide covers that workflow step by step. Batch is the middle lane: many photos, many models, one operation.
Common Questions About Batch Image to 3D Conversion
Q: Can I upload several angles of the same product and get one better model in batch mode?
No. Batch mode expects one image per distinct object, so each photo becomes its own model. If you want a single product rebuilt from multiple angles, use the Multi-View to 3D feature instead, which feeds six orthogonal views into one higher-fidelity reconstruction.
Q: Why is there no A-Pose or T-Pose preset in batch mode?
Pose presets exist to guide character generation from a single prompt or reference in Text to 3D and Image to 3D. Batch mode treats every upload as an independent single-subject photo, so a shared character pose makes no sense across ten unrelated objects. If you need preset-posed characters, generate them one at a time in single-image mode.
Q: One model in my batch came out wrong. Do I have to rerun all ten?
No. The results grid shows one card per model, and each card has its own Regenerate control. Rerun the single failed image and the other nine stay untouched. For a recurring problem, check that image first for blur, heavy occlusion, or a cluttered background before you regenerate.
Q: Will the models from one batch look visually consistent with each other?
Each image is generated independently, and batch mode does not apply cross-image style transfer, so it cannot force ten models to share a look. The practical fix is upstream: shoot every product in the batch with the same camera angle, background, and lighting, and the outputs will match far more closely than a mixed-reference batch.
Q: An image failed to upload. What should I check?
Confirm the file is png, jpg, jpeg, or webp and that it is under the 20 MB per-image limit. Very large phone photos often fail on size, so export a compressed copy first. If the file passes both checks and still fails, re-export it from the source and try again, since a corrupted file can stall a single slot in the queue.
Q: Are batch exports ready for Unity, Unreal, and 3D printing immediately?
Yes, when you pick the matching format. GLB drops directly into Unity and Godot, FBX suits Unreal and Blender, and the watertight mesh exports to STL for printing without a repair pass. When you generated with full PBR maps, the GLB or FBX carries the material set, so the asset renders lit instead of flat.
Convert Multiple Images to 3D Models Right Now
The whole point of batch image to 3D is that you do not babysit ten separate jobs. Prepare your reference photos once, drop up to 10 of them into the batch dialog, choose standard textures or PBR, and generate. What comes back is a grid of independent watertight models, each ready to export for a game engine, an AR view, or a print queue, with any single model regenerated on its own if it misses.
If you are ready to how to convert multiple images to 3D models for your own catalog or asset pack, the fastest test is a real batch. Sign up, grab your free credits, and run a folder of product shots through Image to 3D in batch mode.
Turn Your Photo Library Into 3D Assets
Batch image to 3D is live in Neural4D Studio. Upload 10 images and export watertight models.
Free credits on signup. Each model is independent, so regenerate only what needs it.
Share Your Batch
Tag @Neural4D and use #Neural4D to show off a multi-model batch and get featured on our channel.