TIV 2 3D Model: Generate a Printable Storm Truck from a Photo
Quick Summary
- A TIV 2 3D model is the armored Tornado Intercept Vehicle 2 built by storm chaser Sean Casey. Every file already online is somebody else’s take on it, sized for their printer.
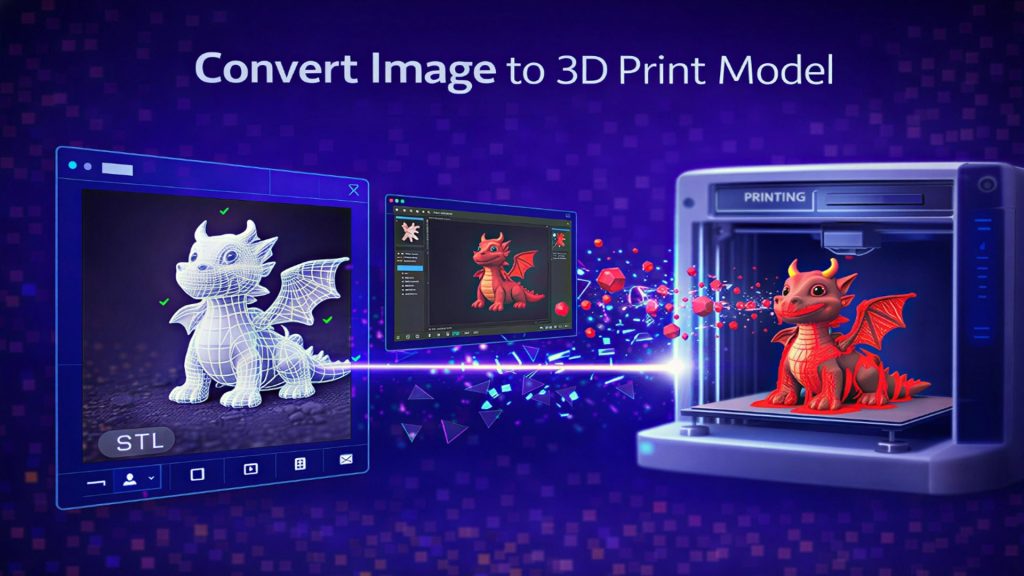
- You can generate your own from a photo of a toy, a screenshot, or any clear reference. Neural4D returns a watertight base mesh in about 90 seconds.
- Generated geometry has no built-in real-world scale, so final size is set in the slicer. That is a feature when you want a 150 mm desk model and a bug when you forget.
- Watertight is necessary but not sufficient. Wall thickness, overhangs, and the print orientation decide whether the spikes and turret survive the printer.
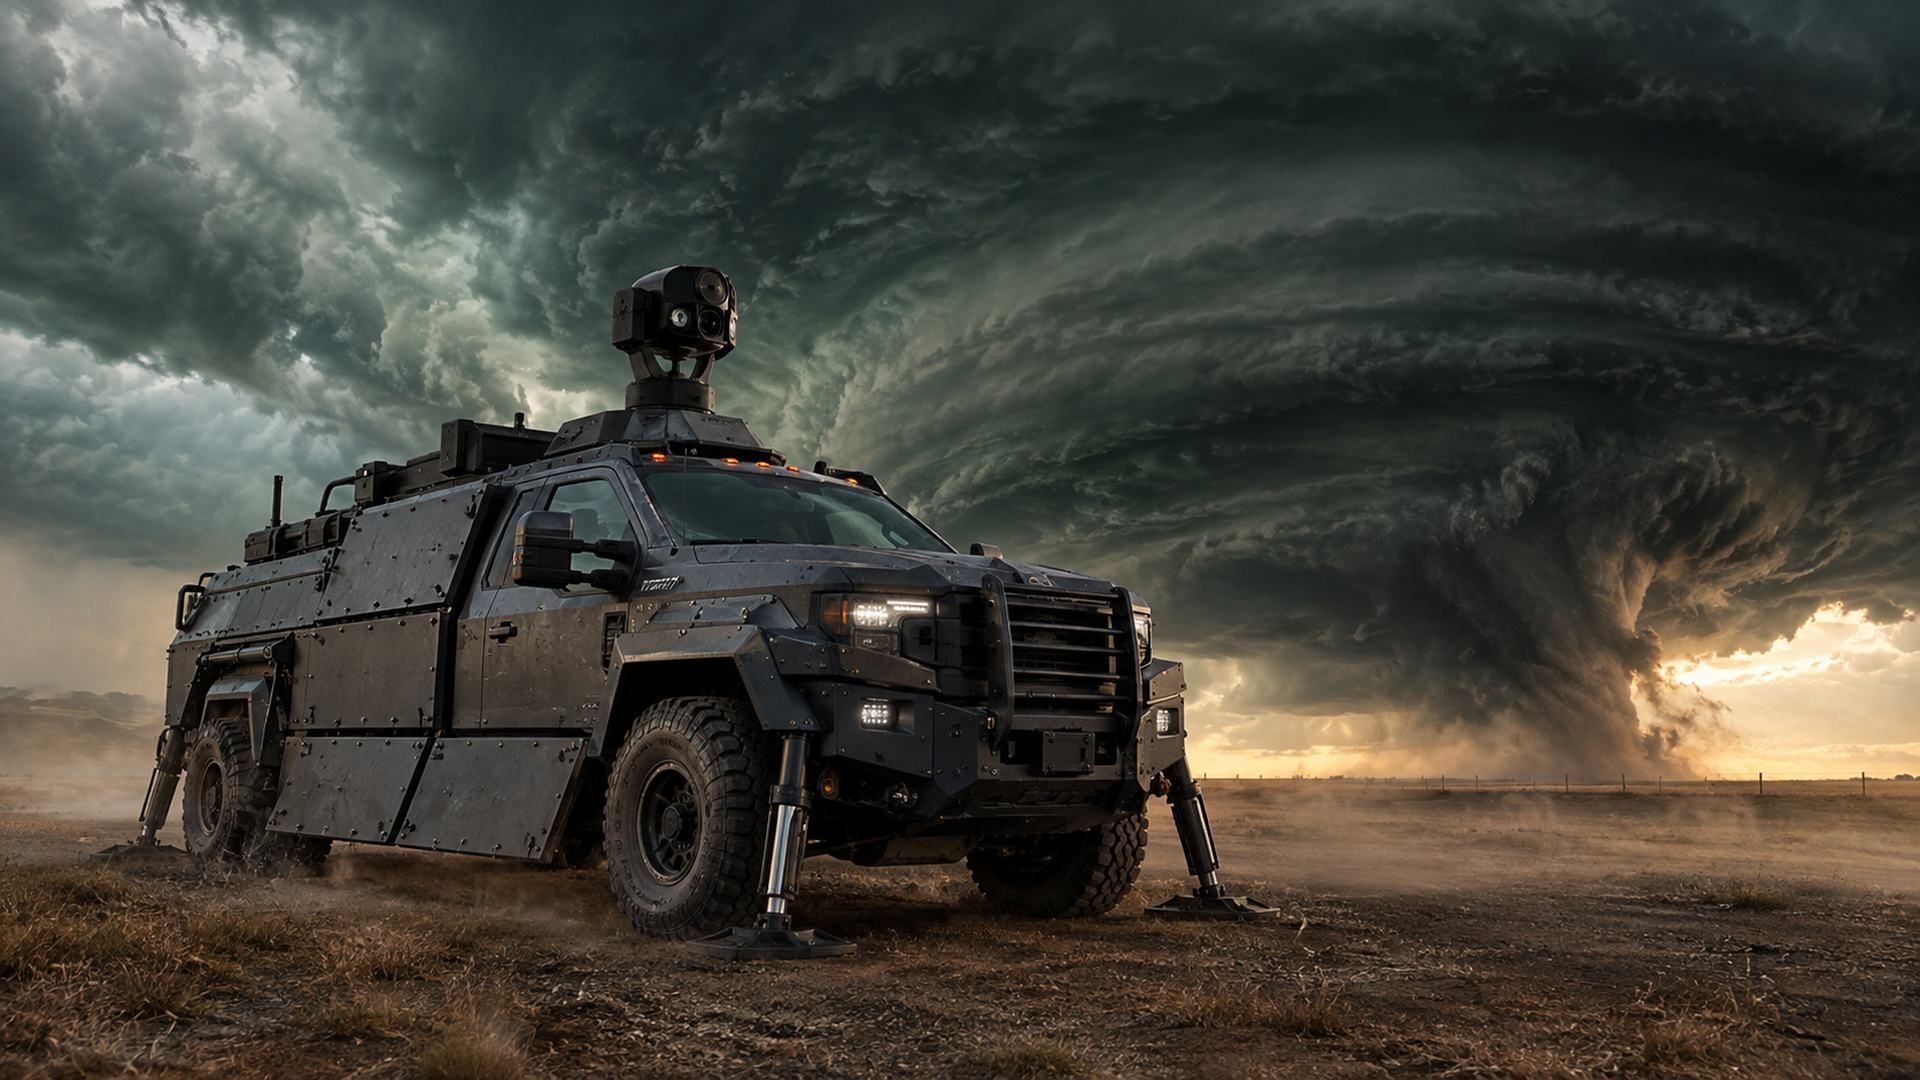
The TIV 2 3D model people search for is a very specific machine: the Tornado Intercept Vehicle 2, the armored truck Sean Casey built to drive into tornadoes and film them from a rotating roof turret. Model sites already host versions of it, and most of them come with the same two problems. They are locked to the designer’s idea of the vehicle, and their license often forbids selling prints. Generating your own sidesteps both. You supply a reference, Neural4D’s Image to 3D returns a watertight mesh, and the model is yours to scale, split, and print.
- Why Generate a TIV 2 Model Instead of Downloading One
- Pick Your Route by What You Already Have
- Generating a TIV 2 3D Model in Neural4D
- Making It Printable: Watertight, Scale, Walls, Supports
- The Parts of a TIV 2 That Are Hard to Generate
- Common Questions
- Where This Leaves Your Build
Why Generate a TIV 2 Model Instead of Downloading One
Searching for a TIV 2 model returns a short list of downloadable files, and they share predictable limits. Scale is fixed to whatever the author printed. Detail is baked in, so you cannot add the science mast if their version left it off. And the licensing is frequently restrictive: one popular deployable version on MakerWorld is listed as personal use only, not for sale, and a Printables pack bundles the TIV with several other chase vehicles under a Creative Commons license that carries its own attribution terms.
There is also the question of what you want the model for. A printable display piece and a game-ready prop have different requirements, and a single downloaded file rarely serves both. The same source file can go to a resin printer at 150 mm or into a game engine as a GLB, but only if you control the export.
Generating from a reference changes the starting point. Instead of adopting a designer’s decisions, you make them: how much detail on the armor plates, whether the hydraulic spikes are deployed, whether the piece is one solid or split for a smaller build volume. You also get a file whose license you set yourself, which matters more for this vehicle than most. TIV 2 is a real, identifiable machine built by a named person, so the section on the download route is worth reading before you print anything you intend to sell.
The workflow is the same one used for hard-surface vehicle and chassis geometry, and for turning a photo of a toy into a printable STL. If you have been burned by a bad community download before, the breakdown of what free vehicle files actually cost you covers the same ground from the file side.
Pick Your Route by What You Already Have
The right method depends on your starting material, not on which tool sounds most advanced. Work out which row describes you before reading further, because the steps and the failure modes differ for each.
| You have | Route | Why it fits |
|---|---|---|
| A physical TIV 2 model or toy | Photograph it, then Image to 3D | A real object gives the engine true depth and surface detail from every angle you can shoot |
| Photos or screenshots of the real truck | Image to 3D from one clear view | One well lit view is enough to start; add more later if the back is occluded |
| Only a written description | Text to 3D | No reference image needed, at the cost of looser control over what the truck looks like |
| Exact real dimensions, manufacturing tolerance | CAD route (Coala or manual CAD) | Generative reconstruction is shape-first. It will not reproduce a measured part to tolerance |
| An STL you already downloaded | Not this article | You need mesh repair or splitting instead |
Two notes on that table. If your reference is a single photo of the real truck, the camera side you can see will be sharp and the hidden side will be the engine’s best guess. The rotating turret and the rear spike assembly are the usual casualties. A second photo from a different angle fixes it, and the difference in output quality between one reference and three is larger than any setting you can change.
If you already downloaded a community STL and it is nearly right, repair and printing around the flaw is cheaper than regenerating. That is a different problem from this one.
Generating a TIV 2 3D Model in Neural4D
The generation step is short. The preparation around it is what determines whether the result is worth printing.
Shoot or choose a reference that carries depth
A dead-on front view of a boxy armored truck is the worst possible reference, because the vehicle’s whole silhouette is a rectangle from that angle. Shoot from roughly 20 to 30 degrees off center, or pick a screenshot with some three-quarter perspective. Light the front evenly so the armor plates cast visible but not crushed shadows; harsh side light wipes out the shallow panel detail that gives the model its character.
For an upload from a file, Neural4D accepts PNG, JPG, JPEG, and WebP up to 20 MB. A reference of about 1024 by 1024 pixels is plenty. Anything much larger is downscaled, so a bigger file buys nothing, and a sharp, evenly lit photo beats a high-resolution blurry one every time.
Set the generation parameters
Before you generate, Image to 3D asks for the topology and target face count. Choose Triangle topology when the goal is preserving fine detail like the turret frame and the spike mounts, and raise the face count if the default looks coarse on a complex hardsurface subject. Quad topology is the better choice when you plan to edit or animate the result afterward, and quad assets download as OBJ by default. For a straight print, Triangle at a moderate count is the simpler path.
You can also set a pose for humanoid subjects, but the TIV is a vehicle, so leave that at its default.
Run it and inspect before exporting
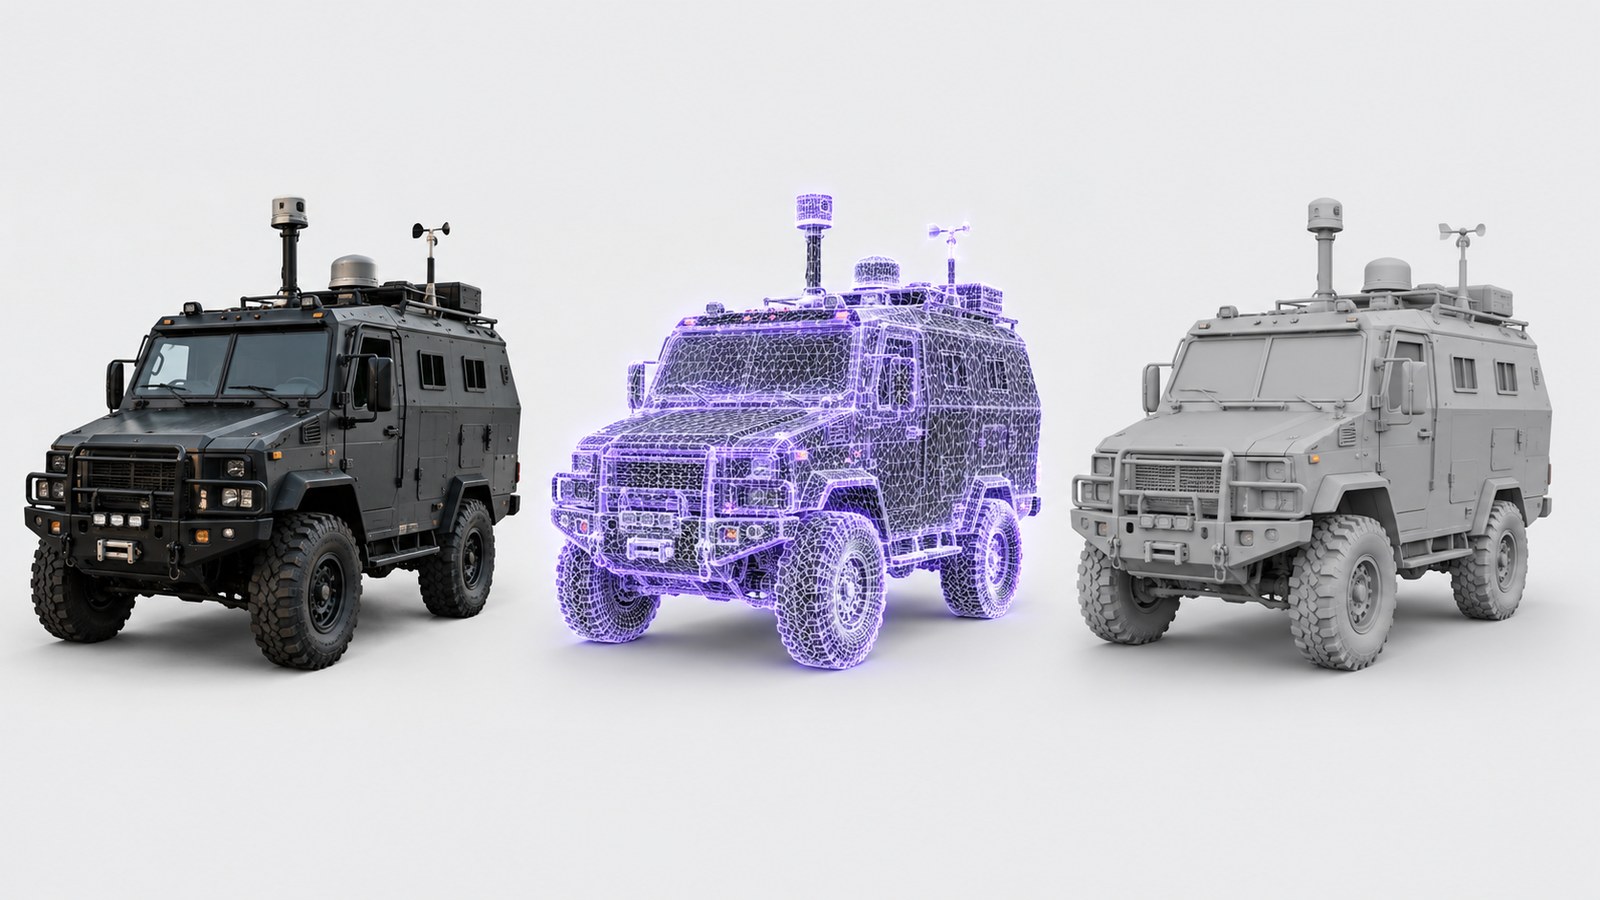
Base mesh generation takes about 90 seconds. When it finishes, rotate the model through a full turn rather than accepting the front view. Look specifically at the four hydraulic spikes, the underside of the turret, and the junction where the armor skirts meet the body. Those are the thin, overhanging features where a single-reference generation is most likely to produce something that looks right from the front and falls apart from the side.
If the shape is close but the proportions are off, Neural4D-2o is the conversational edit model for that. You describe the change in plain language, such as shortening the wheelbase or deepening the panel lines, and it reworks the geometry you generated rather than starting over. Each edit costs 30 credits, and it applies only to 3D models from the current session, so it cannot be pointed at a downloaded mesh or at an image or video output.
Turn a Reference into a Printable Storm Truck
Watertight mesh. No repair step. Scale it and slice it.
50 free credits per week. No credit card required.
Making It Printable: Watertight, Scale, Walls, Supports
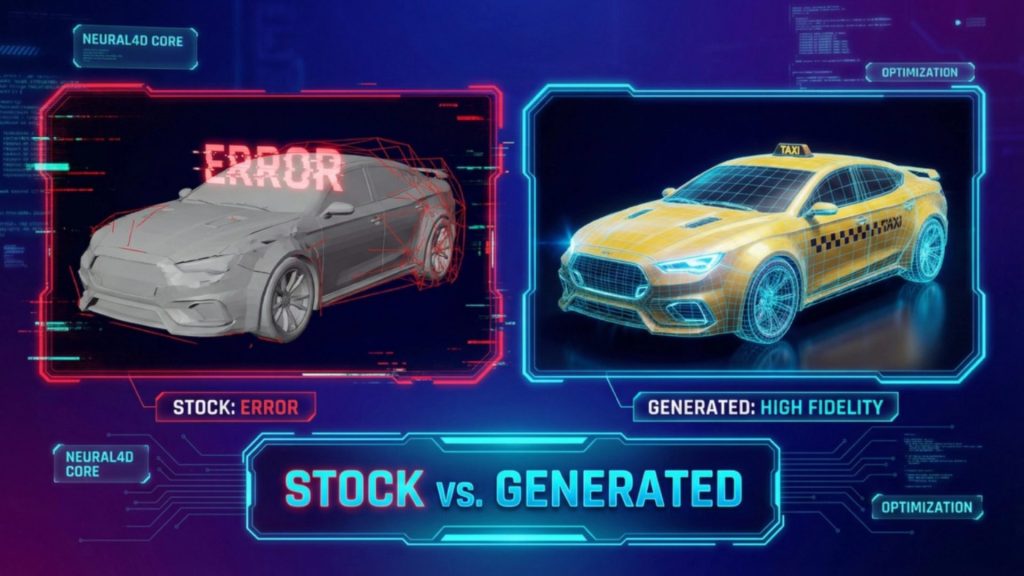
A generated mesh arrives watertight, meaning the surface encloses a solid volume with no open edges. That is the property that lets a slicer treat it as a real object rather than a hollow shell, and it is why the export loads clean instead of throwing the non-manifold errors that community files often carry. Watertight gets you a sliceable file. It does not get you a good print on its own.
Set the scale in the slicer, not in the model
The generated mesh has no real-world dimensions attached. It is a shape with proportions, and the slicer is where you decide it becomes a 150 mm desk model or something larger. This catches people out in both directions: a model that looked detailed on screen can turn out to be 40 mm across, and a model that looked normal can overflow a 256 mm build plate. Always open the slicer’s dimension readout before you slice, and if you need a specific size, scale by a single reference measurement rather than scaling the whole model by eye.
One honest limit here: there is no authoritative published length for the real TIV 2 that you can scale against, and the widely circulated field of figures does not agree with itself on the vehicle’s weight, let alone its footprint. So do not treat any single number as gospel. Decide what size suits your shelf or your build plate and set it directly.
Plan the geometry that tends to fail
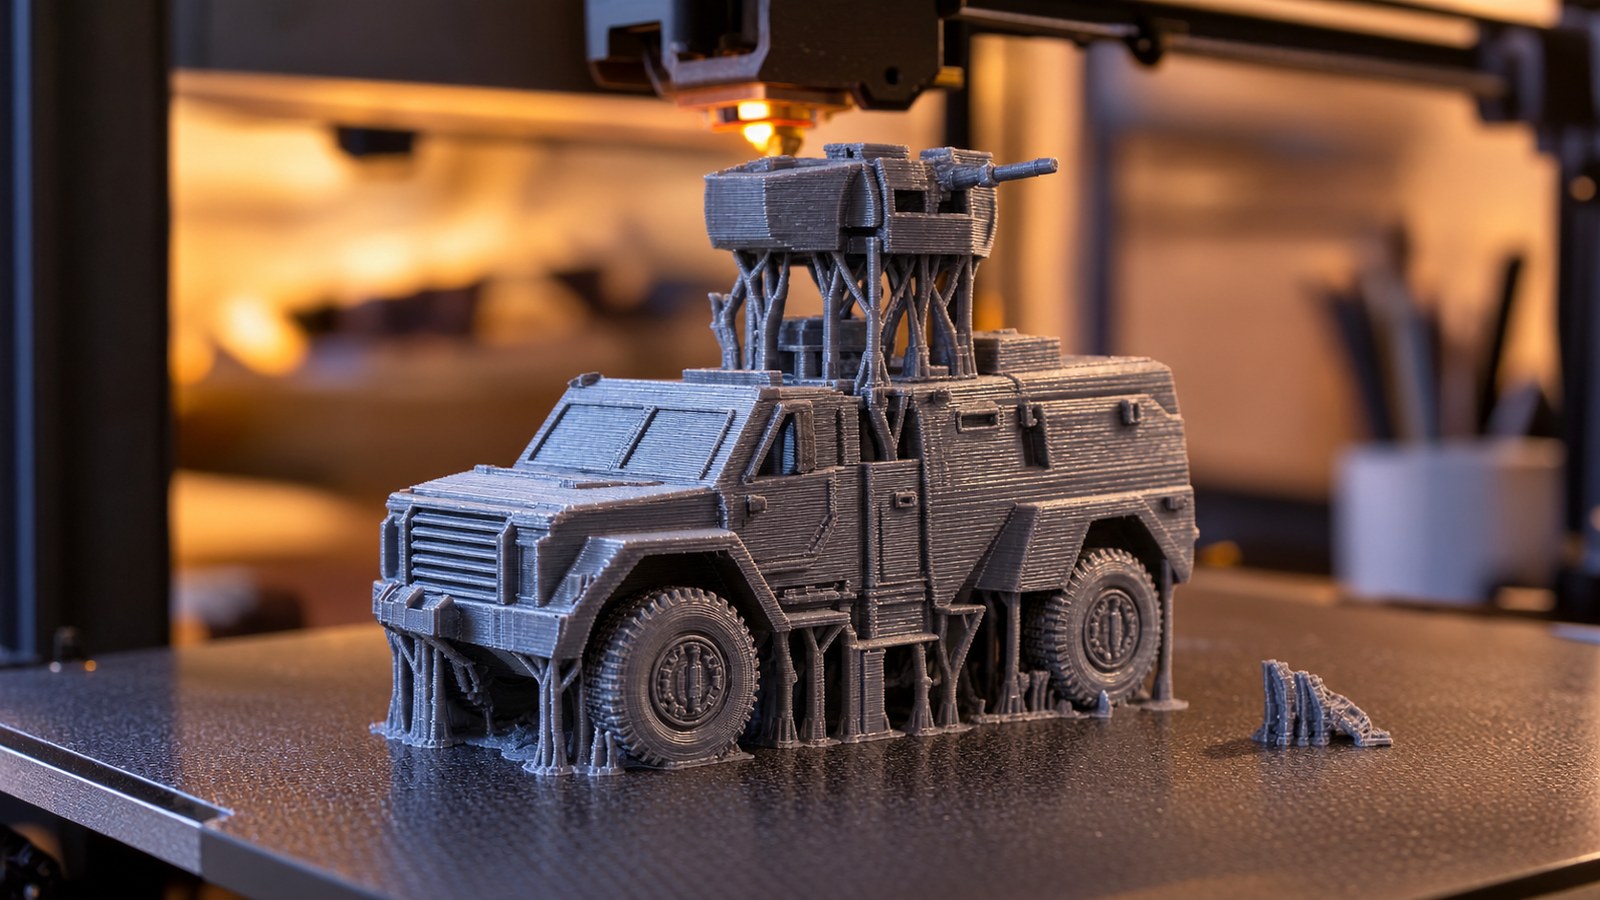
- The four hydraulic spikes. Long, thin, and angled, they are the first thing to snap off a print. Consider printing them as separate parts and attaching after, or thickening them in the slicer if your software supports local scaling.
- The roof turret. It sits on a stalk above the body, so it is a tall overhang island. It usually needs support, and the underside will be rough where the support touches.
- Drop-down skirts. Thin plates hanging from the body have very little cross-section. Keep walls at 0.8 mm or more on a 0.4 mm nozzle so the slicer lays down at least two perimeters, and go thicker on anything that will be handled.
- The armored body. Thick and boxy, it prints easily. The risk is a large flat base that warps on a cold bed, so use a brim on ABS and keep PLA’s cooling sensible.
If the assembled truck is larger than your build volume, split it rather than shrinking it. Neural4D’s model segmentation feature breaks a generated model into named parts, and the guide to splitting a 3D model into parts covers the practical side of orienting and joining the pieces afterward.
Finally, pick the export format by destination. STL is the format to send to a slicer; the comparison of OBJ versus STL explains why OBJ’s advantage, carrying material references, does not matter once you are printing. If you want the same truck as a game or web asset, export GLB instead and skip this whole section.
The Parts of a TIV 2 That Are Hard to Generate
Some features of this vehicle are inherently difficult to reconstruct from a photograph, and knowing which ones they are saves you a frustrating round of regeneration.
The TIV 2 is a two-inch composite shell of eight layers, aluminum, Kevlar, steel, rubber, and polycarbonate, wrapped over a steel frame, with ballistic windows and a 360-degree camera turret on the roof. Photographs show the outer skin and almost nothing of the layered construction behind it, so the generator will produce a plausible surface over a solid interior. For printing, that is exactly what you want. If you were modeling for engineering, it would be the wrong result entirely, which is the CAD row in the table above.
The rotating turret is the hardest single feature. It is a small, glazed, open structure mounted above the body, and it has the least visual overlap with the rest of the vehicle, so a single reference photo gives the engine very little to work with. Shoot it from two angles if you can. The hydraulic ground spikes have the same problem in reverse: they are underneath and often stowed, so a photo of the truck parked will show almost no spike geometry at all.
When a specific area comes out wrong, the fix is usually better input rather than more generations. A second photo of the problem area, a tighter crop, or a screenshot from a video frame showing the deployed configuration will do more than adjusting any slider. If the mesh itself needs fixing after all that, the STL repair guide covers the tools, and for other detail-dense mechanical subjects the approach used for high-detail mecha models transfers directly.
Worth knowing before you print: TIV 2 is a real, identifiable vehicle associated with a named builder, and it has appeared in broadcast and IMAX productions. That makes it a different case from an anonymous generic truck. Downloadable files for it frequently carry terms such as personal use only, not for sale. A model you generate yourself does not automatically change the underlying rights situation if you sell prints of an identifiable real vehicle. Printing one for your own shelf is a different question from selling copies, and for the second one, get proper advice rather than relying on an article.
Common Questions
Is there a free TIV 2 STL file I can just download?
Yes, and they may be all you need. MakerWorld and Printables both host TIV 2 print files, including a deployable version with moving spike flaps. Check the license on the specific listing before you use one, because the terms vary between personal use only and Creative Commons, and some forbid selling prints. If you want a different scale, a pose the file does not offer, or a size that fits your own build volume, generating your own from a reference is the alternative.
Can Neural4D generate a TIV 2 model from just one photo?
One clear photo is enough to produce a watertight mesh. A three-quarter angle works far better than a straight-on front view, because a boxy armored truck shows almost no depth from dead center. Expect the side you cannot see, especially the turret and the underside spikes, to be the engine’s best guess rather than a reconstruction. Adding a second photo from another angle improves those areas more than any parameter change.
How do I convert TIV 2 to a 3D model if I only have a written description?
Use Text to 3D. Describe the vehicle in specific visual terms, an armored storm chase truck with a rotating roof turret, drop-down side skirts, and ground-anchoring spikes, and the engine builds from the description alone. The trade-off is control: without a reference image, the output is the engine’s interpretation of your words, so expect to refine proportions afterward rather than getting the exact truck on the first pass.
What scale should I print the model at?
Whatever suits your purpose, because the mesh carries no real-world size and the slicer sets it. A 150 mm long display model is a reasonable default for a shelf piece, and it fits most common build plates. Open the slicer’s dimension readout before slicing so you are not surprised, and if you need a specific size, scale against one reference measurement instead of eyeballing the whole model.
Is it free to try?
Yes. The free tier includes 50 credits per week with no credit card required, which is enough to run a reference image through and judge the geometry. Texturing, topology choices that consume extra credits, and Neural4D-2o edits cost more on top of the base generation.
Where This Leaves Your Build
The download route and the generation route answer different questions. Downloads answer “give me a TIV 2 model.” Generation answers “give me my TIV 2 model, at my scale, for my printer, with a license I chose.” For a one-off shelf piece where a community file already looks right, take the file. For anything you want to customize, resize, split, or sell, generating from a reference is the shorter path, and it removes the mesh-repair step that downloaded vehicle files frequently force on you.
Start with the best reference you can get: a three-quarter view, evenly lit, ideally with a second angle for the turret. Generate the mesh, check it in the slicer, set the scale, then decide where to split it. Everything after that is ordinary 3D printing.
Generate Your Own TIV 2 Model
Photo in. Watertight, printable STL out. Scale it to your build plate.
50 free credits per week. No credit card required.