Pokemon 3D Models: How to Make Your Own From One Image
Quick Summary
- Most Pokemon 3D models come from three sources: ripped game files, fan sculpts on repositories, and AI generation. The first is built for rendering, not printing
- Ripped game assets are usually open or non-manifold surfaces, which is why a slicer reports holes on a file that looks perfect in a viewer
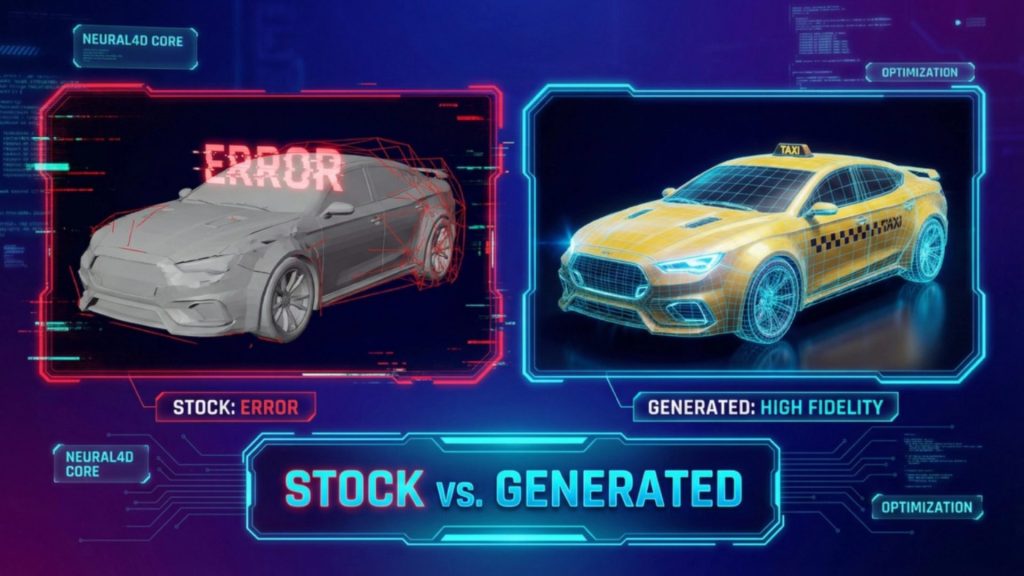
- Watertight geometry is the one property that separates a model that slices cleanly from one that eats an afternoon in mesh repair
- Neural4D builds a watertight mesh from a single reference image. Base geometry takes about 90 seconds, and materials are a separate, longer pass
- Printing a Pokemon model for your own shelf and selling it are different things, and the fan-art terms draw that line clearly
Pokemon 3D models are easy to find and often hard to use. A file that spins beautifully in a browser viewer can still land in your slicer as a hollow shell full of holes. The reason is where the model came from: official game assets are authored for real-time rendering, not for a nozzle. This guide covers the three sources, the geometry problem that breaks prints, how to generate a clean model from one reference image, and what the fan-art rules actually allow.
Table of Contents
Part 1: Where Pokemon 3D Models Come From
Almost everything you can download or generate today falls into one of three buckets. They behave very differently once you try to print.
Ripped game models
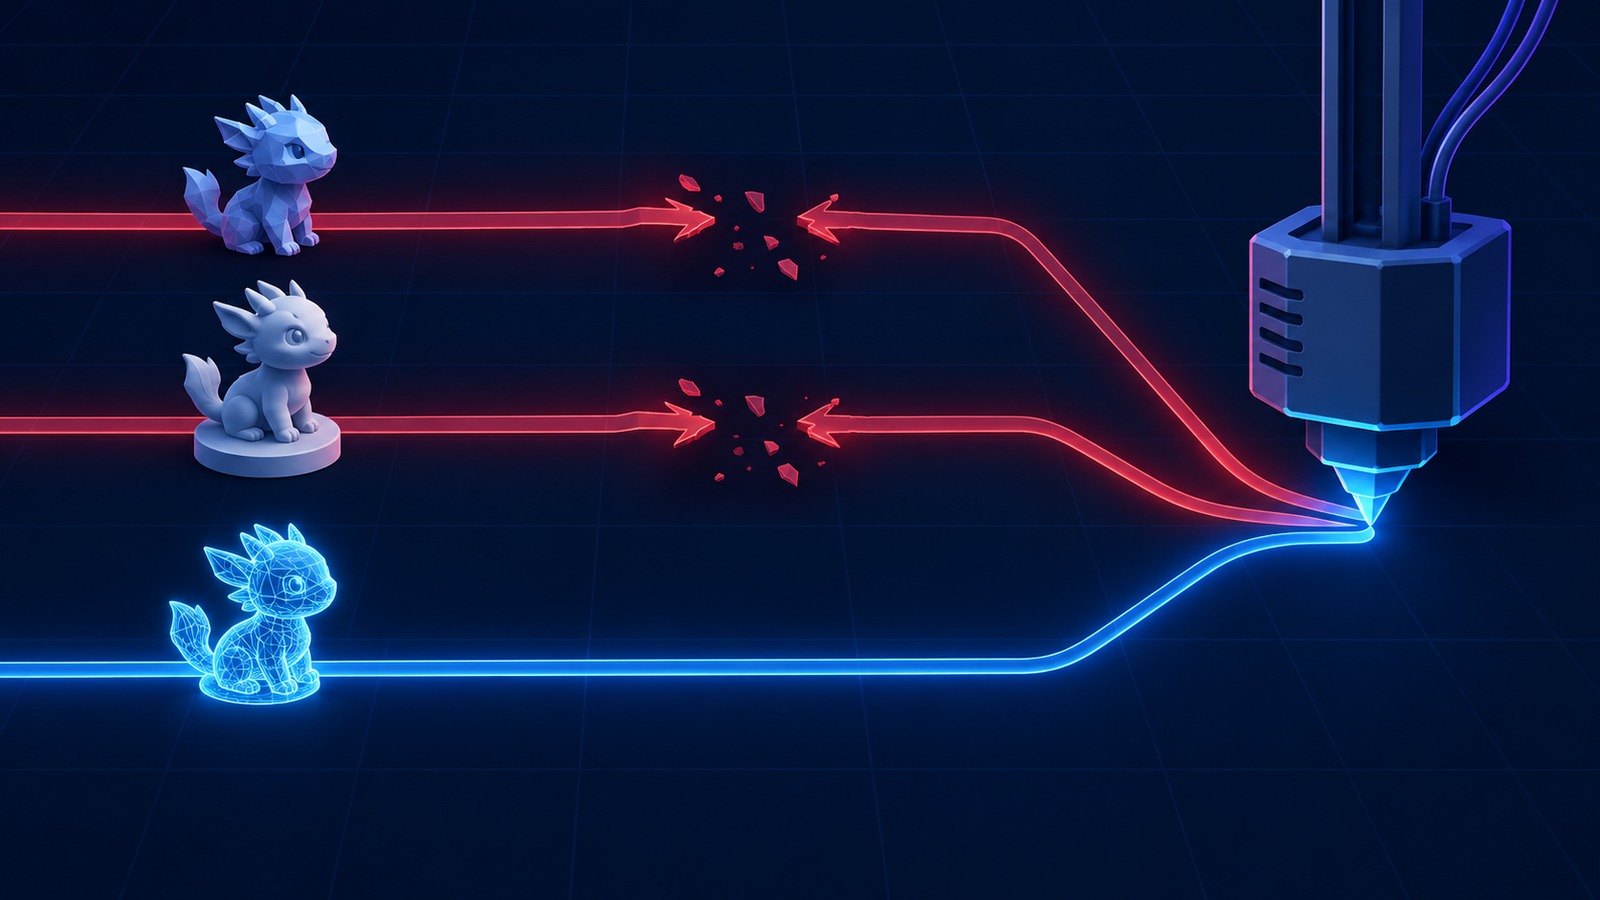
Every Pokemon game ships with thousands of models, and they get extracted, converted, and re-uploaded constantly. These assets are engineered for a console or a phone: they are decimated to hit a frame budget, textured with flat or shader-driven materials, and their geometry assumes it will only ever be seen from outside. A rigged model authored for animation frequently has open boundaries at joints, where the parts interpenetrate rather than join.
That combination is close to the worst case for a 3D printer. The slicer has to decide what is solid, and an open surface gives it no answer. Community repositories still host plenty of these conversions, and because the model renders correctly, nothing warns you until the slice fails.
Fan sculpts on model repositories
MakerWorld, Printables, Cults3D, Thingiverse, MyMiniFactory, and Etsy all host Pokemon files made by people who actually print. Many are pre-supported, tested at a specific resin or layer height, and split into parts so they assemble. This is the best of the download paths, with two caveats: the design is fixed, and quality is per-uploader. There is no central review, so a popular file and a broken one can sit side by side.
Generated models from a reference image
The newest path builds geometry from a picture instead of distributing a file. You supply a reference, the model reconstructs a closed volume, and the output is new geometry rather than an extraction. That matters for printing because the volume can be authored as a solid from the start rather than repaired into one afterward. It is also the only path that lets you make a creature that does not exist in any game, which turns out to matter for legal reasons covered in Part 5.
| Source | Typical geometry | Best for | Main risk |
|---|---|---|---|
| Ripped game model | Open surfaces, decimated, rigged | Reference views, game mods | Slicer rejects it as non-solid |
| Fan sculpt | Often watertight, often pre-split | Printing today, known-good settings | Fixed design, variable quality |
| Generated from an image | Closed volume by construction | Custom poses, original creatures | Proportions need a correction pass |
If you only want a display piece and a tested file already exists, downloading it is the fastest route. The generated path is worth the extra step when the design you want does not exist, or when you need a specific pose, scale, or creature. For a sense of how the same trade-off plays out on another licensed character, our guide to anime character 3D prints works through it in more detail.
Part 2: What Makes a Pokemon 3D Model Print-Ready
A slicer does one job before it does anything else: it works out which regions of space are inside the model and which are outside. Everything after that, supports, infill, toolpaths, depends on that answer. So the property that matters most is not polygon count or texture quality. It is whether the mesh encloses a volume.
Watertight geometry
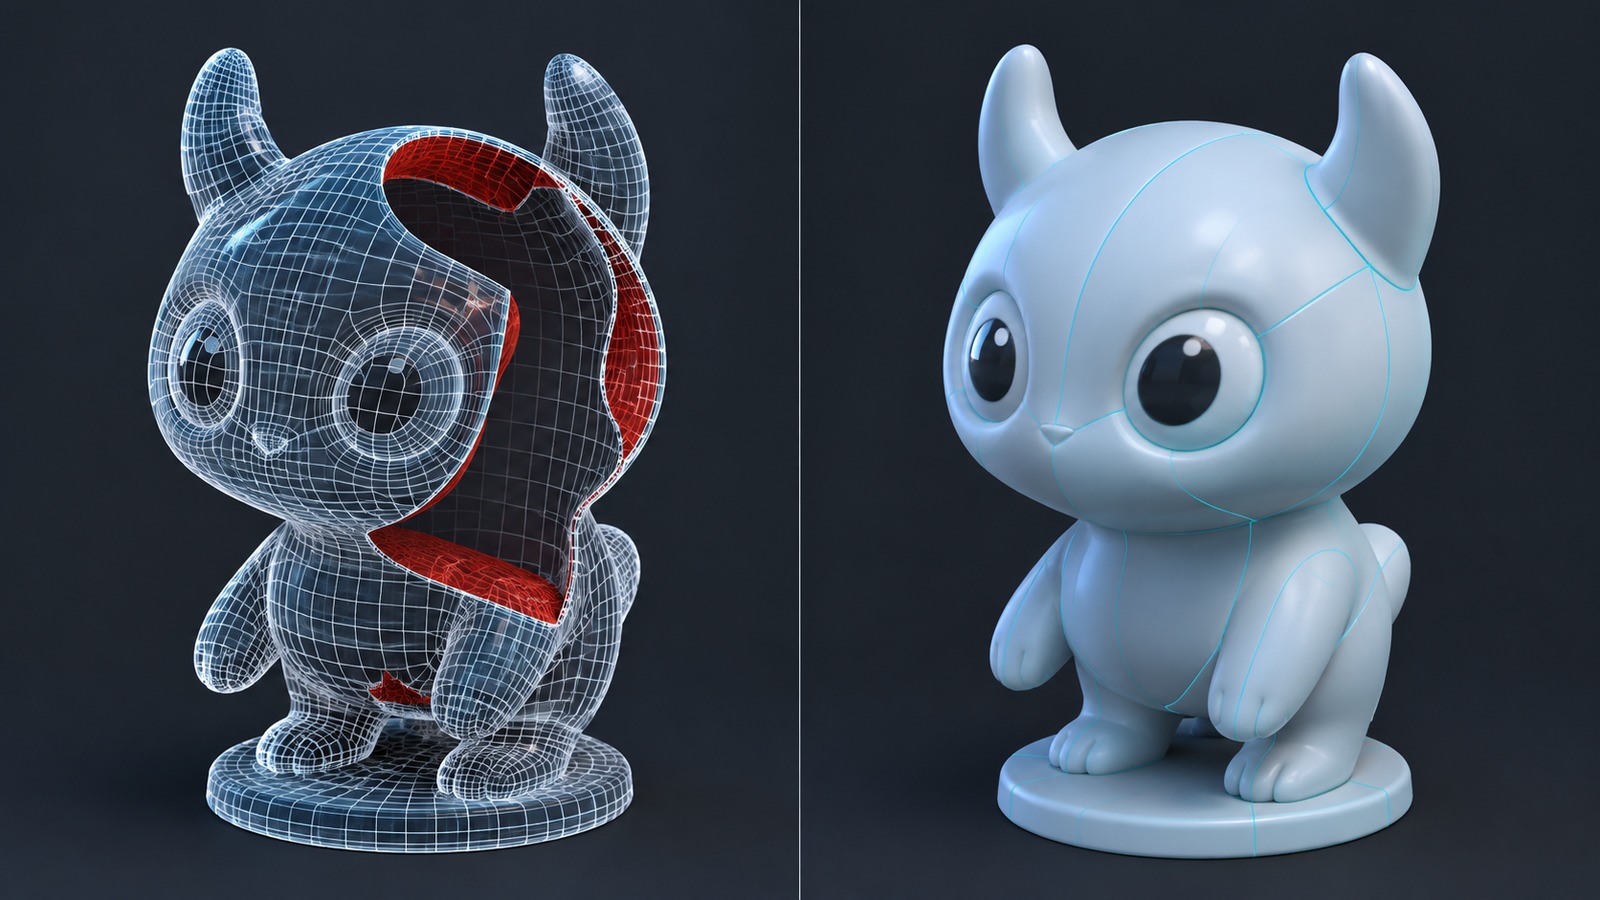
A watertight, or manifold, mesh has every edge shared by exactly two faces, no gaps, and normals all pointing outward. When those conditions hold, the inside is unambiguous and the slicer slices. When they do not, you get the familiar warnings: non-manifold edges, open surfaces, flipped normals, zero-area triangles.
Repair tools can close simple holes, and Meshmixer’s Inspector or the Blender 3D Printing Toolbox will handle a single missing face. They struggle with self-intersecting rips, because closing the surface there requires a decision about which of the overlapping shells is the real one. Repairing a broken file is possible work. Starting from a closed volume skips the work entirely, which is the argument for generating rather than patching. Our watertight Super Mario 3D model guide covers the same failure modes on a rip from a different franchise.
Scale and minimum feature thickness
Pokemon designs are stylised, which mostly helps: large heads, rounded bodies, and few thin protrusions. The exceptions are the features people care about most. Ears, antennae, tails, horns, and wing tips are thin in every direction, and a 2 mm ear on a 60 mm figure will not survive the first layer that has nothing beneath it. As a working rule, keep features above roughly 2 mm for filament printing and above roughly 1 mm for resin, and thicken anything thinner before you slice rather than after it snaps. Bulb-like appendages and long tails usually need to be modelled slightly thicker than the official proportions suggest.
Separated parts for poseable figures
A single-piece print works for a static bust. Anything you want to pose needs joints, and joints need separate bodies. Splitting the mesh into head, torso, and limb groups gives you two things: support material can reach the underside of each piece without scarring a visible surface, and you can print rigid parts in a tough filament and detail parts in resin. The practical approach is to cut the model into named parts and add a peg or socket at each junction so the assembly holds without glue. How to split a model into parts covers the splitting step directly.
Part 3: How to Make Pokemon 3D Models From One Image
This is the route to take when the creature you want does not exist as a printable file, or when you want a pose nobody has uploaded. It takes four steps and one reference image.
Step 1: Choose a reference image that survives 3D conversion
Pick a view where the whole body is visible and nothing important is hidden behind something else. A three-quarter angle gives the reconstruction two planes to work from, while a flat front view gives it one and leaves the depth of every limb to guesswork. Clean, uncluttered backgrounds help as well: a busy background makes the silhouette boundary harder to resolve, and the silhouette is what the depth estimate keys on.
Official artwork, a clean screenshot, a card illustration, or your own drawing all work as input. So does a photograph of a physical figure. What you want to avoid is a reference where limbs overlap the torso, or where the character is cropped.
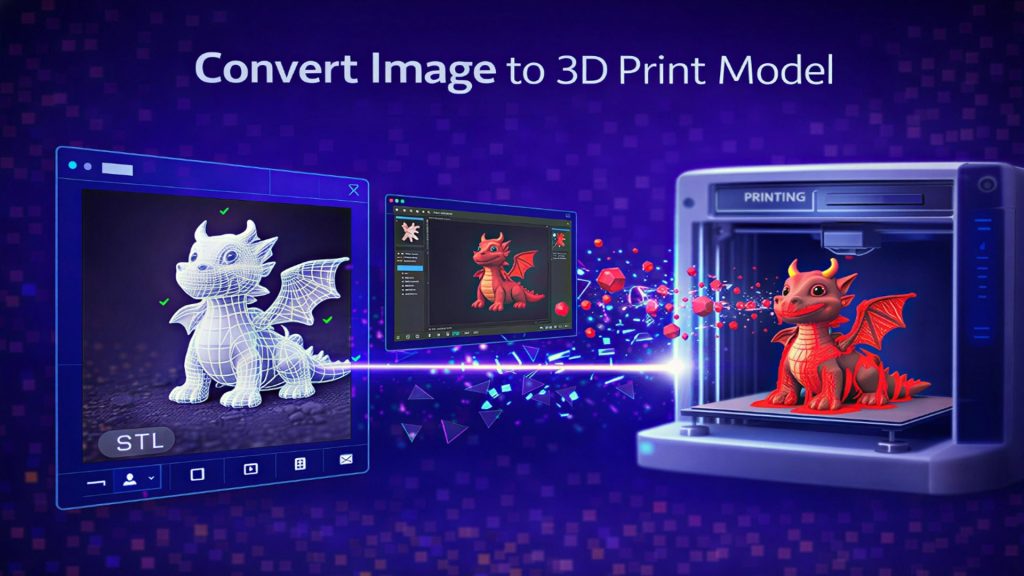
Step 2: Generate the base mesh
Upload the image to Neural4D Image to 3D and choose your material setting before you generate, since standard and PBR textures are selected up front rather than applied in a second pass later. The base mesh, geometry only, takes about 90 seconds. Selecting PBR textures adds Normal, Roughness, and Metallic maps, and a fully textured model takes two minutes or more.
The output is a closed, watertight mesh with standard UV mapping, which is the property Part 2 argued for: no open boundaries and no inverted faces to repair before slicing. It is worth generating two or three variants from the same reference and picking the best silhouette, because small differences in limb placement between runs are easier to choose between than to fix.
Step 3: Correct the proportions and silhouette
Generated creatures are usually recognisable on the first try and slightly off in the details. The recurring problems are stubby limbs, a head that reads too small at figure scale, and thin features that closed into the body. Neural4D-2o accepts plain-language corrections for this kind of refinement, so you can ask for longer ears or a wider tail base instead of rebuilding the model. That editing applies to models generated within Neural4D and is not a repair tool for imported files from other software.
Step 4: Export STL for printing or GLB for a game
Exports are available as .stl, .obj, .fbx, .glb, .usdz, and .blend. Which one you pick depends entirely on the destination:
- STL for printing. It is the format every slicer reads, and it carries the closed geometry with no material data attached.
- GLB for a viewer, a web page, or a game engine, where you want the textures along for the ride.
- FBX or OBJ when you are going into Blender first to split parts, add peg holes, or rescale before slicing.
For the printing branch specifically, the step-by-step detail is in our guide on how to convert an image to an STL file.
Turn Any Reference Image Into a Printable Model
Base geometry in about 90 seconds. Upload one image and export a watertight mesh you can slice without repair.
Part 4: Printing and Finishing Your Model
Most Pokemon-shaped prints are small figures with rounded forms and few flat faces, which skews the usual printer advice. Here is how the choice actually plays out.
| Factor | FDM | Resin |
|---|---|---|
| Layer height | 0.12 to 0.2 mm | 0.025 to 0.05 mm |
| Surface on curved bodies | Visible layer lines across the back and head | Smooth enough to prime directly |
| Thin features (ears, tails) | Flexible in PETG, so they survive knocks | Sharper, but brittle at the tip |
| Minimum clean feature | About 2 mm | About 1 mm |
| Post-processing | Sand, fill, prime | Wash, cure, light sand |
| Best for | Large display pieces, kids’ toys, prototypes | Small figurines and fine facial detail |
For a figure under about 80 mm tall, resin wins on the face, which is where a Pokemon model is either convincing or not. For anything that will be handled, filament in PETG is the better material, because resin ears and tails chip at the tips. If you are printing a set rather than a single piece, the workflow for tabletop miniatures covers batching and consistent scale across a group.
Painting a creature is not painting a mecha
Panel lining and weathering techniques do not apply here, and reaching for them is the fastest way to make a Pokemon model look wrong. The order that works:
- Prime in a neutral grey or white, two thin coats, so the base colour reads true.
- Base coat the largest colour areas first with thin, multiple passes rather than one heavy one.
- Block in the colour breaks next, using the reference for exactly where each region ends. Creature designs have hard colour boundaries and a soft edge reads as a mistake.
- Paint the eyes last, and do them after the surrounding colour is fully dry. A clean eye is most of the character.
- Seal with matte varnish. Cartoon designs are matte by design, so gloss reads as plastic toy rather than as the character.
Sand or fill layer lines before priming, not after. Primer over an unsanded surface still shows the lines underneath.
Part 5: Fan Art, Personal Use, and Selling
This is the part the download pages leave out, and it is the question people actually ask. Pokemon is owned by Nintendo, Creatures Inc., and Game Freak, with The Pokemon Company International managing the property and publishing the terms that govern fan work.
Those terms are worth reading directly. They state that distributing a derivative work based on Pokemon property, which is what a Pokemon model file is, grants The Pokemon Company a royalty-free, non-exclusive, irrevocable, worldwide licence to use that work for any purpose, with no compensation to you. The clause then says something more important for anyone with a printer: it does not grant you any right to use Pokemon intellectual property beyond personal, noncommercial home use. The full text is on Pokemon’s legal information page.
Nintendo’s position is blunter and has been applied to 3D printing directly. The company’s own support pages state that it receives more requests than it can review and that its general policy is to decline requests to use its trademarks or copyrights, and its copyright page says the same. Enforcement is not hypothetical: a Pokemon-themed 3D-printed planter hosted on Shapeways drew a cease and desist in 2014 and the listing was removed, as reported by Polygon at the time.
That leaves the design question. A creature of your own invention, in a similar visual style, does not reproduce anyone’s protected character. Style itself is not what the fan-art terms protect; specific characters and their likenesses are. So the practical split is:
- Self, at home: any Pokemon design you like, printed for your own shelf.
- Original creature: yours to print, share, and sell, because there is no underlying character being copied.
- Selling a Pokemon figure or file: assume no, and expect a takedown if you try.
This is general information drawn from the published terms, not legal advice. If money is involved, talk to a lawyer about your specific case.
Part 6: Pokemon 3D Model Questions
Printing a Pokemon model for your own personal, noncommercial use at home is what the published fan-art terms allow. Selling printed figures or the model file is a different matter and is the use that has drawn cease and desist notices. The distinction is personal use versus distribution and sale, not free versus paid.
Ripped game models are authored for real-time rendering, so they arrive as open or non-manifold surfaces: gaps at joints, faces pointing inward, and zero-area triangles. A viewer renders those triangles without caring whether they enclose a volume, so the file looks fine until a slicer tries to determine what is solid. Repair can close simple holes, but self-intersecting geometry often cannot be fixed reliably.
With Neural4D, the base mesh takes about 90 seconds from a single reference image. That figure covers geometry only. If you select PBR textures, the system also computes Normal, Roughness, and Metallic maps, and a fully textured model takes two minutes or more. Printing preparation is a separate step after export.
Export STL for printing, since every slicer reads it and it carries the closed geometry cleanly. Export GLB when the model needs its textures in a viewer, a website, or a game engine. Choose FBX or OBJ if you are opening the mesh in Blender first to split parts or add peg holes before slicing.
Yes, and it is the route with no legal ambiguity. Generate a model from your own drawing of an original creature, and there is no protected character being reproduced, so you can print it, share it, and sell it. This is the main reason to work from your own reference rather than from official artwork.
Two usual causes. First, printer resolution: an FDM nozzle cannot resolve eyes and small facial shapes at figure scale, so use resin if the face matters. Second, paint order: eyes painted over a wet base coat bleed, and a gloss varnish over a cartoon design reads as a plastic toy. Prime, base coat, block colour breaks, paint the eyes last, then seal matte.
Start With One Image
The two problems worth solving before anything else are geometry and legality, and both have a clean answer. Geometry is solved by starting from a closed volume instead of repairing an open one, which is what generating from a reference image gives you. Legality is solved by knowing which side of the personal-use line you are on, which for most people is the shelf.
Pick a reference where the whole creature is visible, generate a base mesh, correct the silhouette, and export an STL. The figure on your shelf is then limited by your painting patience rather than by a file you cannot slice.
Make Your Own Pokemon 3D Model From One Image
Upload a reference image and get watertight geometry ready for your slicer, with no mesh repair step in between.