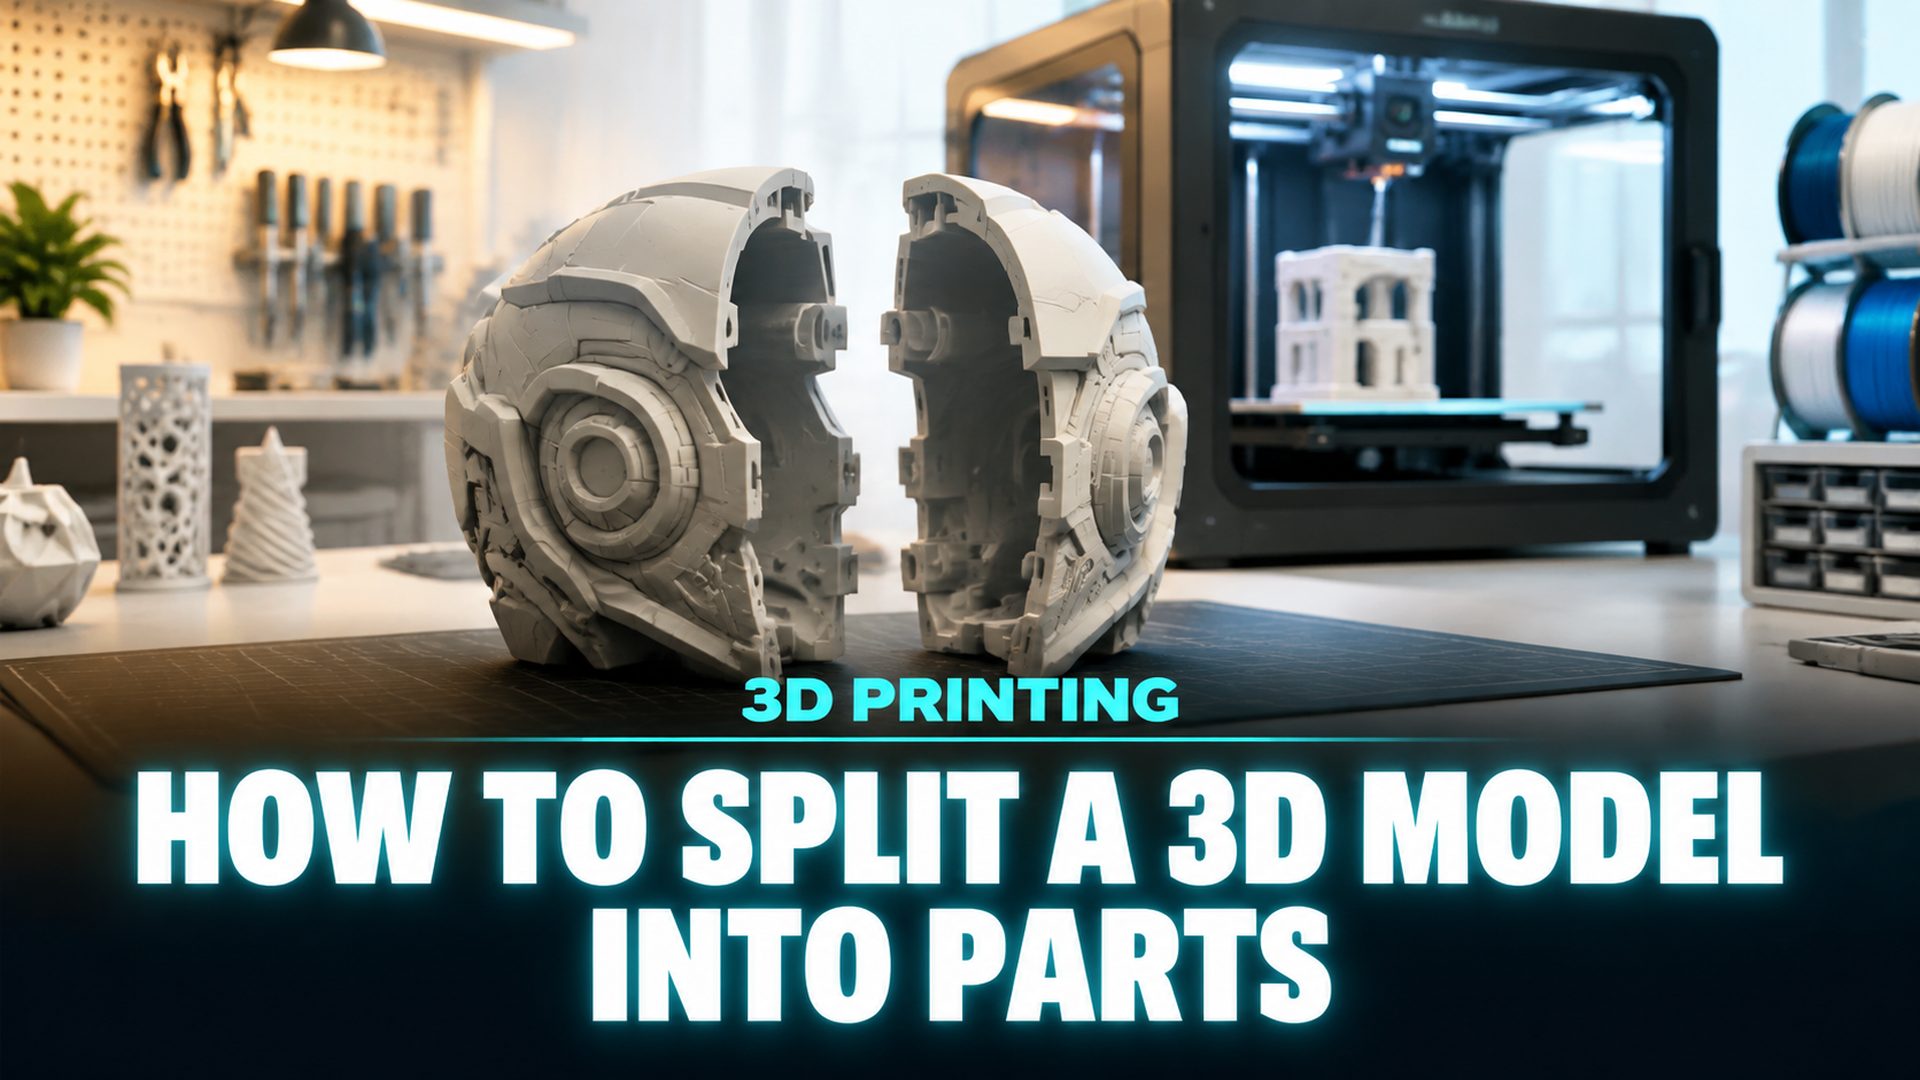
How to Split 3D Model into Parts: 6 Methods for Big Prints
Quick Summary
- A model that exceeds your build volume can be split into separate parts, printed piece by piece, and joined after.
- PrusaSlicer’s Cut tool handles clean planar splits with built-in connectors, while Blender covers complex seams with Separate, Knife, and Boolean.
- Cura has no native cut tool, so STL splitting needs Marketplace plugins, and online STL splitters handle quick one-off cuts.
- Dovetail, plug, and dowel connectors keep reassembled parts aligned, with clearances matched to your filament type.
- Neural4D’s AI model segmentation splits Neural4D-generated models into clean parts automatically, output as a printable 3MF white model.
When a model is taller than your build plate, learn how to split 3D model into parts before printing, then assemble the finished pieces. Pick a slicer cut tool for clean planar splits, a mesh editor for complex seams, or AI segmentation when you want the parts generated automatically.
Want to skip the manual seams entirely? Jump to Method 6, where AI splits your model into parts automatically.
On this page
- Why Split a 3D Model into Parts
- How Splitting Works: Cut, Separate, and Boolean
- Method 1: Split with the PrusaSlicer Cut Tool HOT
- Method 2: Split a 3D Model in Blender
- Method 3: Split a 3D Model in Cura
- Method 4: Split Models with Meshmixer
- Method 5: Split Models with Online STL Splitters
- Method 6: Split Automatically with AI Segmentation
- Add Connectors So Parts Fit Back Together
- Common Questions on Splitting 3D Models
- Final Thoughts: Print Bigger with Smart Splitting
Why Split a 3D Model into Parts
The most common reason is simple: the model does not fit. Every FDM printer has a fixed build volume, and a full-size kayak, a cosplay helmet, or a 40 cm statue will not fit on a 220 x 220 x 250 mm bed. Splitting lets you divide that geometry into chunks that each fit, print them separately, and join the finished pieces.
Fit is not the only reason to split a 3D model into parts. Large prints accumulate heat stress over hours, and a model that warps at hour six wastes a whole day of filament. Smaller parts cool evenly, so they curl less at the corners and keep dimensional accuracy where it matters. Splitting also cuts support waste: an overhang that needed 30% of the plate area as support can be reoriented as its own part and printed flat.
Parting a model opens up orientation freedom too, and it is often the fastest way to learn how to split 3D model into parts that print reliably on a desktop machine. Each piece can be angled for the strongest layer lines or the cleanest surface finish. You can also print different sections in different materials, colors, or with different infill densities, which is how multi-color figures and rigid-with-flexible assemblies get made in one machine.
If you are starting from a photo rather than an existing mesh, the image to STL route produces a printable model in seconds, and our guide to converting an image to an STL file walks through the whole flow. Whether your source is AI-generated or hand-modeled, the splitting methods below apply to any watertight mesh.
⚡ Splitting before slicing is not the same as scaling down. Shrinking a model to force a fit destroys detail and print strength; splitting preserves 1:1 scale, which matters for functional parts that must mate with real hardware.
How Splitting Works: Cut, Separate, and Boolean
Before picking a tool, understand the three operations behind every method. A cut pushes a plane through a solid mesh and creates two new faces at the split line. A separate operation looks at an STL that already contains multiple independent shells and splits them into separate objects, without changing any geometry. A boolean subtracts one mesh from another, useful when you want to remove a shape from a model, not just slice it.
Knowing which operation your situation needs decides your whole workflow. A single solid mesh cannot be “separated” into parts, it must be cut. A bundled STL with ten loose shells does not need a cut plane at all, it just needs a separate. Confusing the two is the most common reason people think their model “cannot be split.” Once you know how to split 3D model into parts with the right operation, every tool below becomes straightforward.
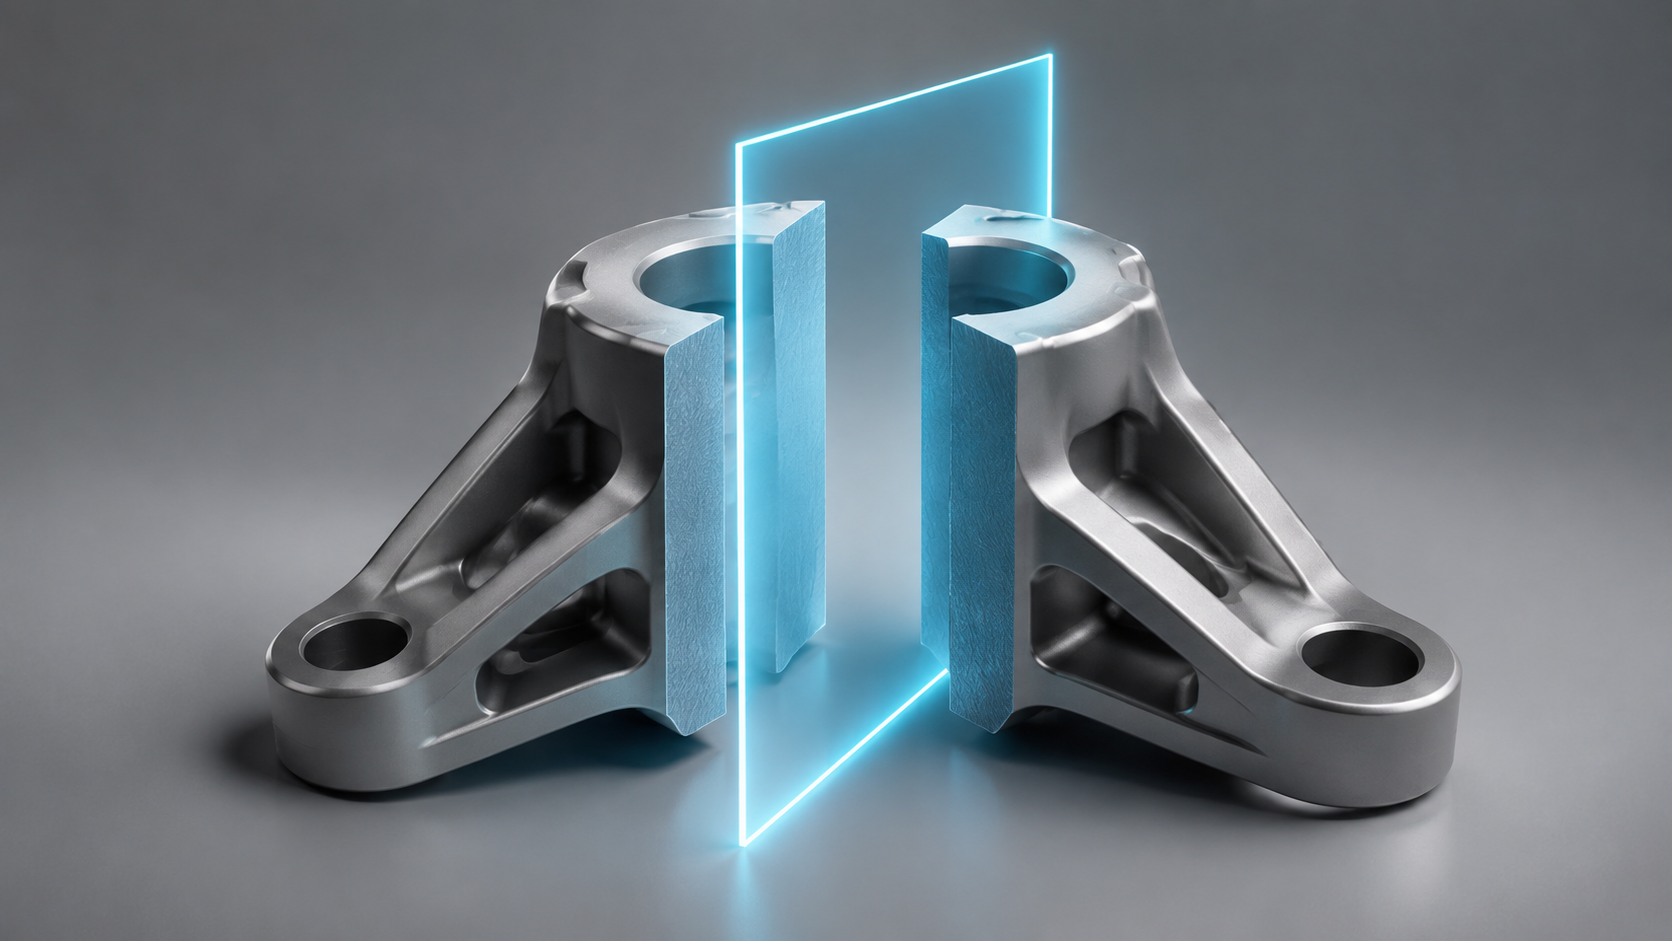
Method selection: which split fits your model?
Use this decision table to pick the fastest route for your specific file and printer.
| Your situation | Recommended method | Effort |
|---|---|---|
| Model taller than the build volume, clean straight split | PrusaSlicer Cut tool | 1 minute |
| STL is a bundle of loose parts that need separating | Blender Separate or Cura Mesh Tools | 1 minute |
| Complex organic model needing hidden seams | Blender Knife or Boolean | 10 to 20 minutes |
| Quick one-off cut, no software installed | Online STL splitter | 2 minutes |
| Production part that needs assembly joints | PrusaSlicer dovetail or CAD connectors | 20 to 40 minutes |
| AI-generated model you want clean parts from | AI model segmentation | Seconds |
The rest of this article walks through each method in order, so you can follow the one that matches your row. All of these tools work on STL files, the common interchange format for slicing, and the same steps apply whether you print on an Ender 3 or a large-format Bambu Lab.
Method 1: Split with the PrusaSlicer Cut Tool
PrusaSlicer is the fastest option for most people because the Cut tool is built into a program they already use to slice. You do not need a separate mesh editor, and you can split a model in under a minute. For most prints, learning how to split 3D model into parts in PrusaSlicer is a one-time setup that pays off on every oversized build. The official Prusa Knowledge Base documents the tool in detail; the steps below cover the workflow that matters for printing.
Step 1: Load the model and open the Cut tool
Import your STL by dragging it onto the plate. Select the model, then press the C key or click the Cut icon in the left toolbar. A cutting widget appears, showing a plane through the model with an exact position readout.
Step 2: Choose planar or dovetail mode
Planar mode cuts along a straight plane. You can type an exact millimeter value for the Z position, rotate the plane with the arrow controls, or drag the widget and watch the readout. Dovetail mode replaces the flat cut line with a trapezoidal pin-and-tail joint, which makes the two halves lock together during assembly instead of relying on glue alone.
Step 3: Pick how the cut results are stored
Choose Cut to Objects to produce fully independent parts you can move, slice, and export separately. Choose Cut to Parts to keep the two halves grouped under one parent model that shares print settings. For splitting a model to fit a bed, Cut to Objects is usually the right call.
Step 4: Add connectors before you slice
PrusaSlicer offers three built-in connector types on the cut plane. Plug adds a cylindrical peg to one side and subtracts matching space from the other. Dowel removes pins from both sides and generates a separate connector object to print. Snap creates a press-fit snap connector. Shift-click two points on the model to define the cut plane quickly, and right-click regions to keep some areas connected while cutting others.
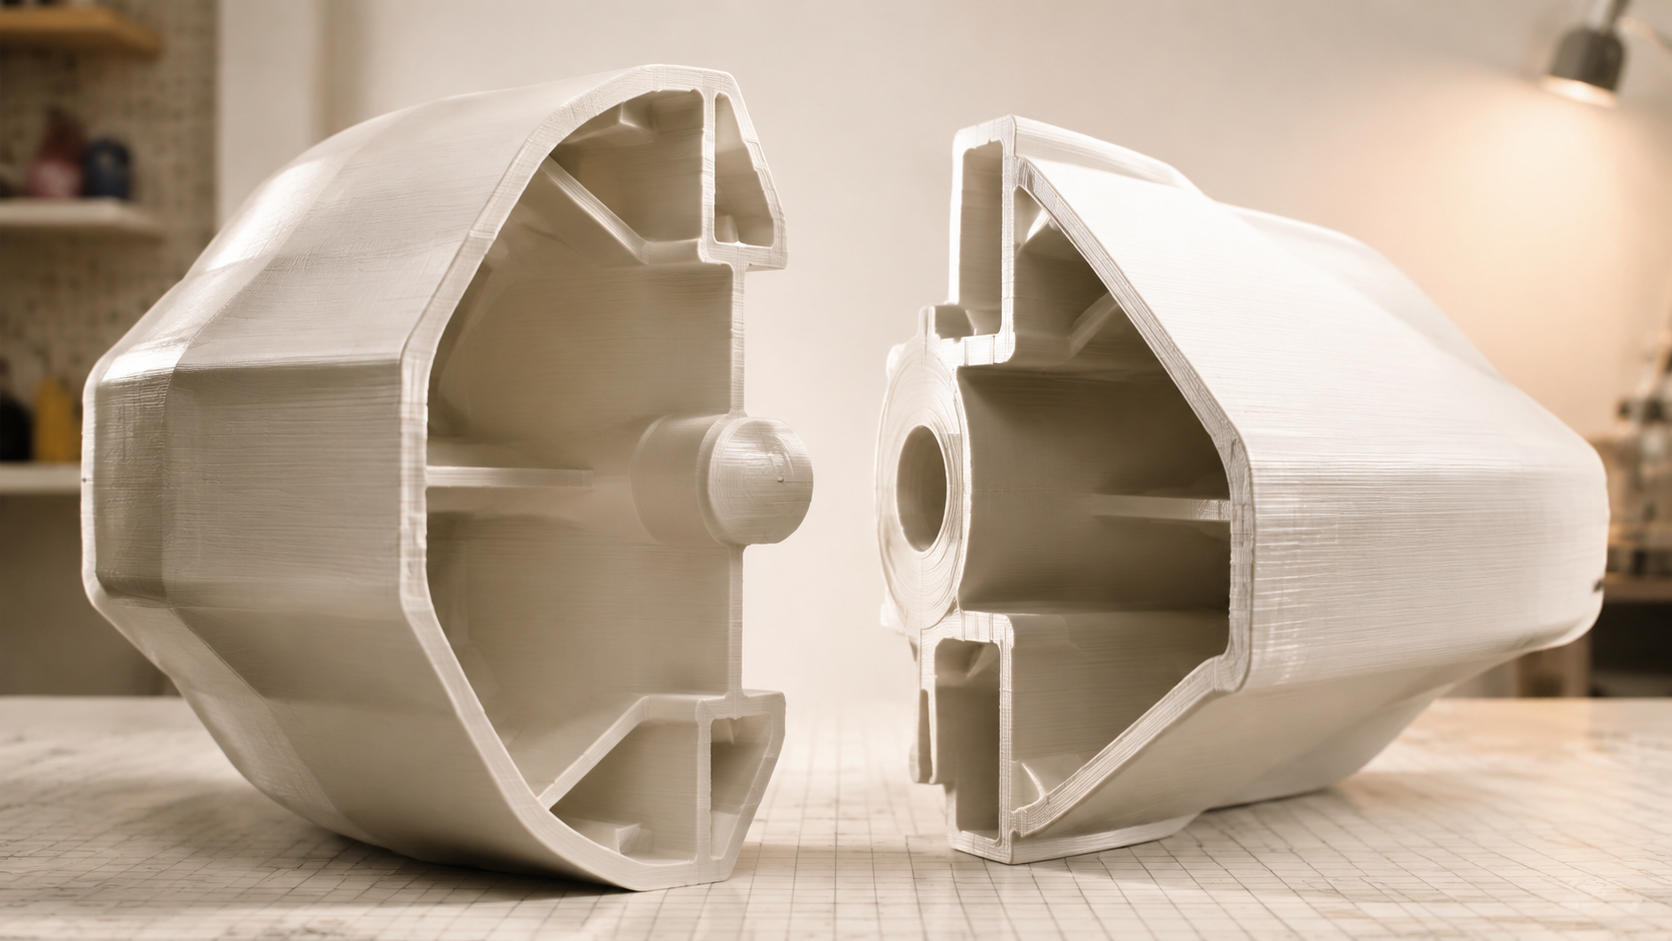
✅ For a print that is only slightly too tall, cut the model at 60% height and keep the detail-heavy section as one piece. Put the seam in a plain area so the join is less visible after assembly.
Step 5: Export each part
After cutting, each object can be exported individually as an STL (right-click the part, then Export > Export as STL). Or you can print directly: both parts stay in the same project and will each be sliced on the plate. Keep the parts in their original world positions when you export, so reassembly in physical space matches the digital layout.
Method 2: Split a 3D Model in Blender
Blender is the tool to reach for when a straight plane cut is not enough. Its mesh editor handles separating loose shells, cutting along custom lines, and boolean operations that PrusaSlicer cannot do. Here is how to split 3D model into parts in Blender when the seam needs to follow the geometry. Blender is free, and the official Blender manual covers the Separate operators in detail.
Method A: Separate by loose parts
In Edit Mode, select everything with A, then press P and choose By Loose Parts. Blender splits the mesh into one object for every disconnected fragment. This is the fastest way to split a bundled STL that contains multiple unconnected models, such as a figure that arrived as one file with separate limbs floating next to the body.
Method B: Knife cut along a custom line
For a single solid that needs a curved or angled seam, enter Edit Mode and use the Knife tool (K). Draw the cut line across the faces, press Enter to confirm, then select the new faces and press P > Selection to separate them into their own object. Enable Cut Through in the knife settings so the line passes entirely through the model, and it will not leave a partial notch on the far side.
Method C: Loop cut for even splits
Select an edge ring and press Ctrl+R to add a loop cut across the model. Drag it to the exact position, then separate the two halves with P. Loop cuts produce perfectly straight, evenly spaced splits, ideal for models that break into equal-length segments.
Method D: Boolean modifier for clean subtraction
Add a cutting plane object (a cube or box), position it where you want the split, then apply a Boolean > Difference modifier to the model targeting that box. Apply the modifier to cut the model, repeat on the other side if needed, and you get two solid halves with perfectly flat faces. Boolean is the method to use when you want each part to end in a flat face that glues cleanly.
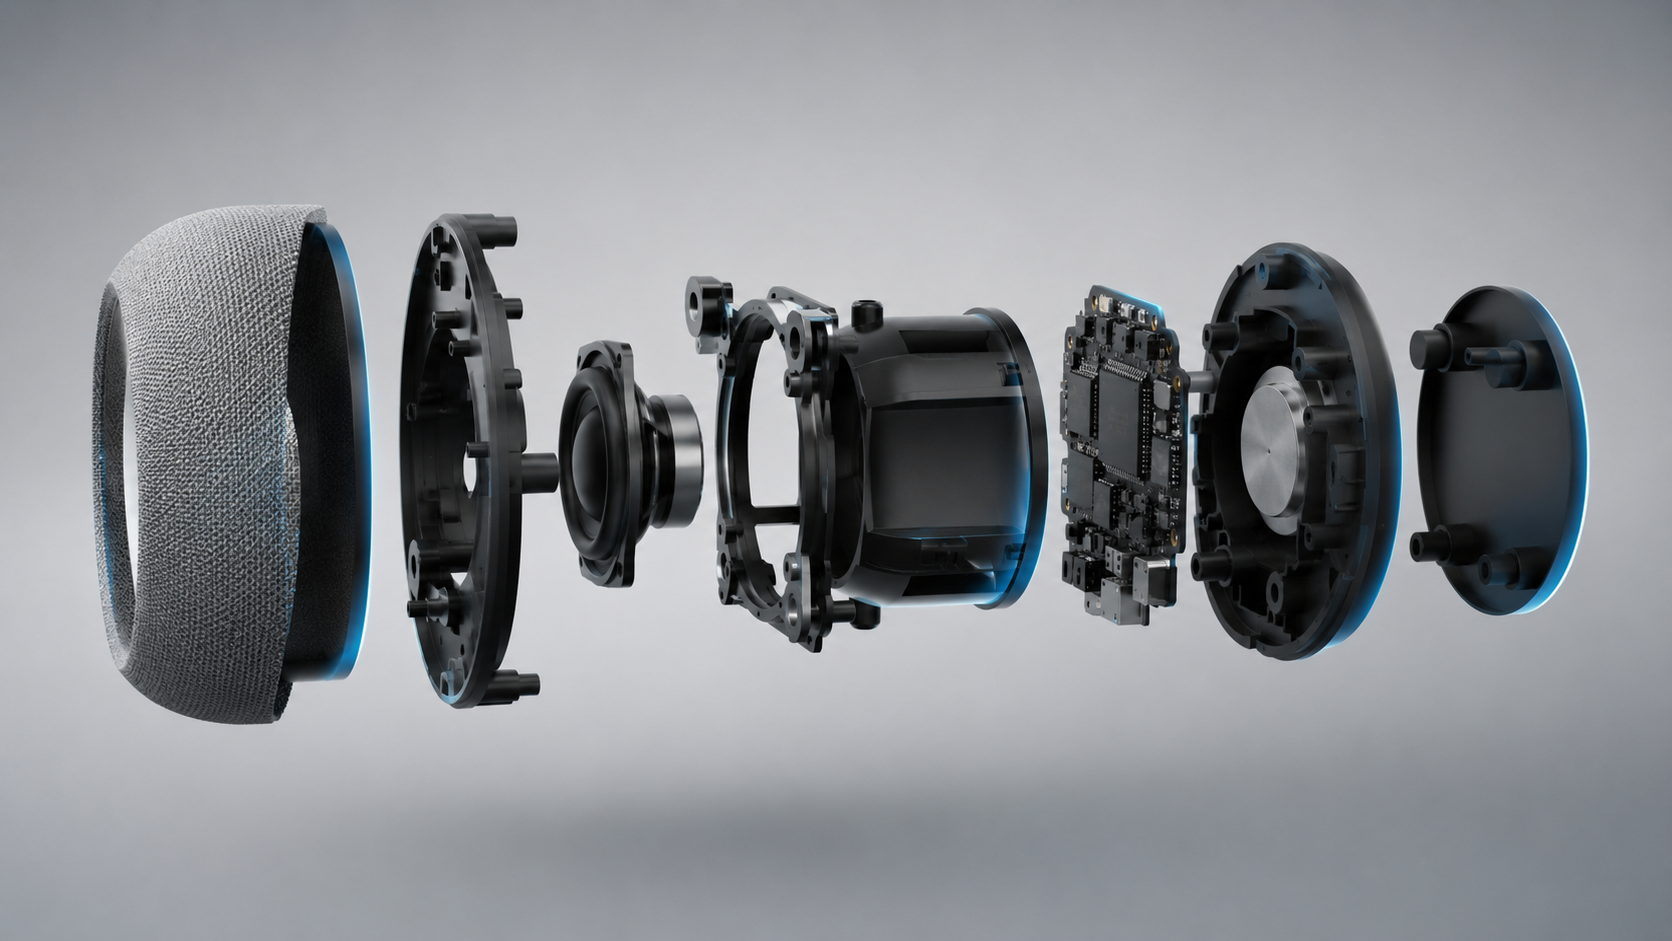
❌ Split before you scale, rotate, or apply modifiers. A non-manifold mesh, one with holes, duplicated vertices, or inward-facing normals, will split into garbage or refuse to separate. Run the 3D Print Toolbox check first, and if the mesh is broken, repair STL files before cutting.
Export each part as its own STL
With each part as a separate object, select one and go to File > Export > STL. Name parts descriptively (head_left, arm_right) and keep world coordinates so the parts line up during assembly. Check that the STL exports as manifold using the 3D Print Toolbox add-on before loading it into a slicer.
Method 3: Split a 3D Model in Cura
UltiMaker Cura does not include a native cut tool, which surprises many users who expect every slicer to offer one. Splitting in Cura therefore goes through the Marketplace, and the result depends on which plugin you install and what your file actually contains.
Mesh Tools: separate bundled shells
The free Mesh Tools plugin adds a right-click option called Split Model into Parts. It only works when the STL already contains multiple separate shells, so it is the Cura equivalent of Blender’s Separate by Loose Parts. For a single solid object, the option is greyed out and does nothing.
Banana Split: a printing-time workaround
Banana Split lets you move part of a model below the build plate and slice only the portion above it. It does not create two independent mesh objects and offers no connector options. Treat it as a print-time trimming trick for a model that slightly overhangs the plate, not a real splitting tool.
The reliable path for Cura users is a hybrid workflow: if your settings live in Cura, learn how to split 3D model into parts in PrusaSlicer or Blender, export each part as a separate STL, then load those STLs into Cura for slicing. You keep Cura’s print settings and lose none of the split control, and the parts stay independent files on the plate.
✅ If a multi-part STL loads as one object in Cura and refuses to separate, the file was merged without keeping its shells separate. Run it through Blender’s Separate by Loose Parts once, export, and reload.
Method 4: Split Models with Meshmixer
When you want to avoid installing a full 3D package, Meshmixer is the lightest desktop path for learning how to split 3D model into parts with a clean plane cut. A free tool from Autodesk, it handles single straight splits without the learning curve of a full CAD suite.
Meshmixer plane cut
Import the STL into Meshmixer, select Edit > Plane Cut, and adjust the cutting plane by dragging it or typing the exact position. Check Cut as Solid so both halves keep closed volume, then accept and the model splits into two objects you can export individually. Meshmixer is end-of-life software, but the installer still works and the tool remains a favorite for quick figure splitting.
Method 5: Split Models with Online STL Splitters
Online STL splitters
Services like STL Splitter run entirely in the browser. Upload the STL, set your printer’s bed dimensions (or pick a preset for a known machine), and the site cuts the model into parts that fit. You download the resulting STL files and drop them into your slicer. These tools are convenient, but they typically only do straight plane cuts, so complex seams still belong in Blender.
If you want to learn how to split 3D model into parts without installing software, an online splitter is the zero-setup option. Online splitters are best judged against your actual model geometry. A straight plane cut handles a statue that is too tall; it cannot follow a curved seam between the head and torso. Match the tool to the shape, not the other way around.
Method 6: Split Automatically with AI Segmentation
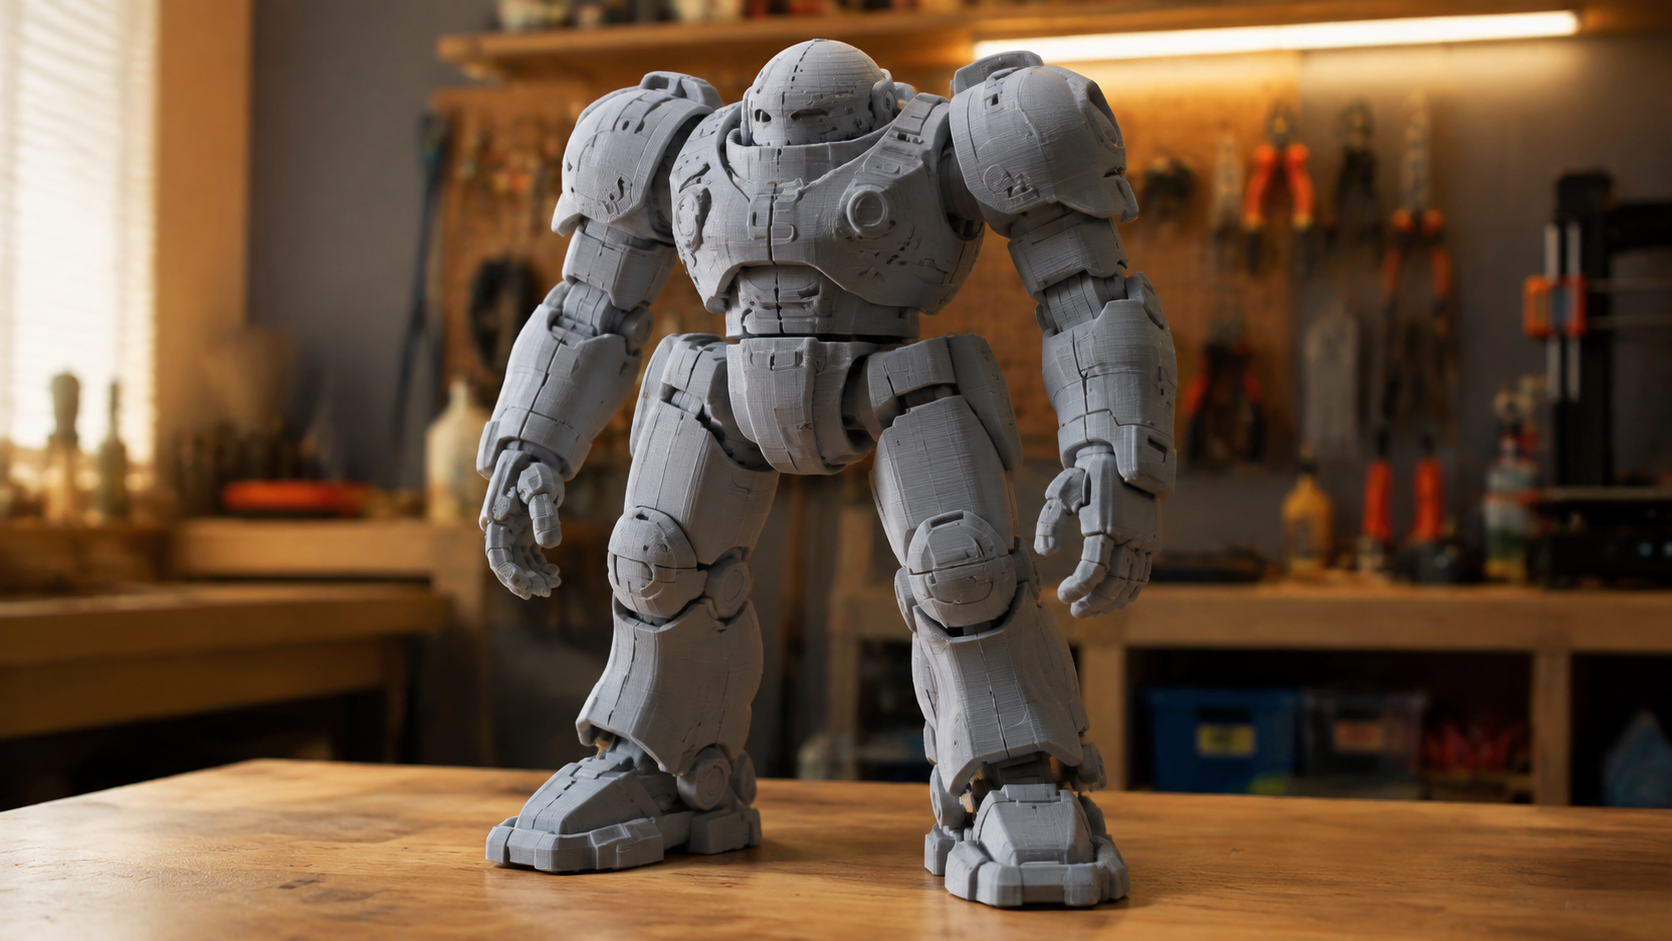
Manual splitting puts every cut decision on you: where the seam goes, whether the parts stay watertight, how they line back up. AI model segmentation changes how to split 3D model into parts: a model reads the geometry, finds logical part boundaries such as the head, torso, and limbs of a character, and separates them automatically.
Neural4D’s model segmentation feature splits Neural4D-generated models into clean parts with one action, no cutting plane to align and no manual selection. The output is a 3MF white model that contains every part, ready to load into your slicer as a multi-object file. You can merge parts back together after splitting, and the result stays a complete asset in your Neural4D workspace.

Where Neural4D fits in the splitting workflow
AI segmentation works on models Neural4D generates itself, which is where it earns its place: the Direct3D-S2 engine outputs watertight 3D models with no holes to patch, so the parts that come out of a split are clean from the start. An untextured base mesh generates in about 90 seconds, and textured output takes two minutes or more, then the model splits straight to parts.
If you want the full comparison of generation-to-print tools, our roundup of the best AI tools for 3D printing covers the wider field, and the AI model segmentation page details the feature’s controls and output. For makers who want to skip the manual seams entirely, the broader AI for 3D printing toolkit covers the full photo-to-print pipeline.
⚡ Keep the two intents separate. A straight plane cut and AI part detection solve different problems. Cut when you control the seam and want flat glue faces. Use segmentation when the model has natural part boundaries and you want them found for you.
Add Connectors So Parts Fit Back Together
Cutting a model solves the fit problem but creates an assembly problem. You should rarely decide how to split 3D model into parts for a functional build without planning the join first. Two flat halves glued edge to edge slide around while the glue cures, and a seam in a visible area draws the eye. Connectors solve both issues: they lock alignment and, done well, they hide the seam almost completely.
Connector types that work on a 3D printer
| Connector | How it works | Best for |
|---|---|---|
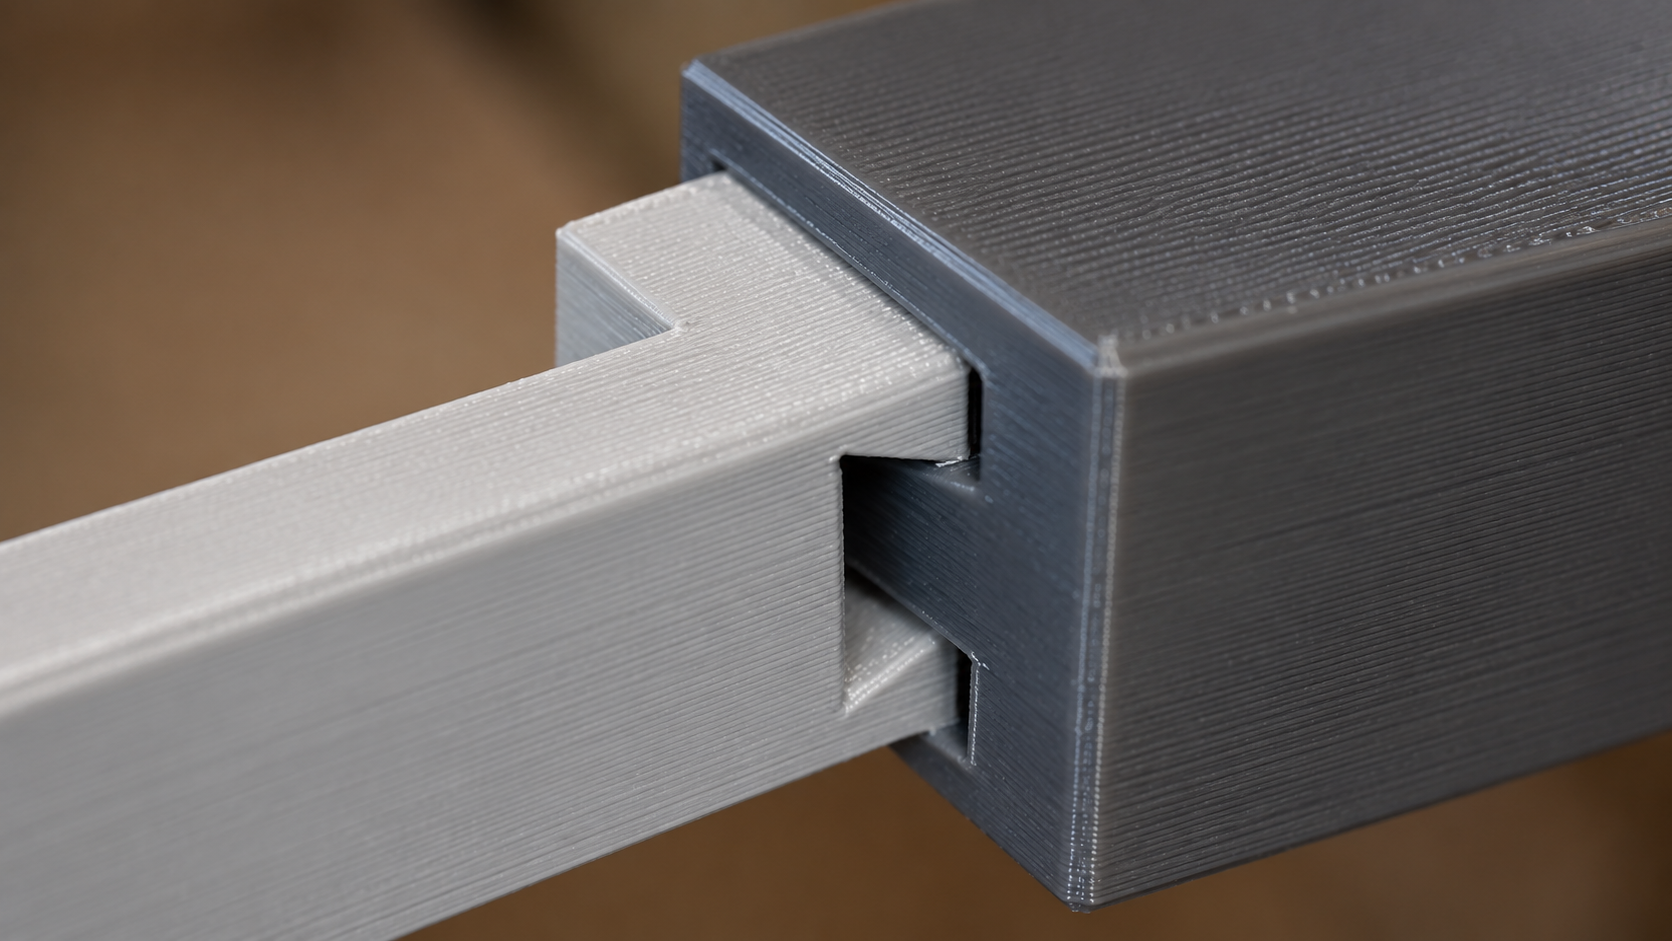
| Dovetail | Pin-and-tail trapezoid locks the halves against sliding | Large, load-bearing joins |
| Plug and hole | Cylindrical peg on one side, matching hole on the other | Alignment with a printed peg |
| Dowel | Pins on both sides plus a separate connector piece | Clean flat seam, no protruding peg |
| Snap fit | Press-fit clips that hold parts together | Removable or serviceable assemblies |
| Tab and slot | Flat tab slides into a matching slot | Fast, tool-free joins |
Set tolerances for your material
Filament is not perfectly rigid at print scale. PLA parts printed with a zero-gap connector bind because the plastic expands and shrinks by a measurable amount per surface. Typical clearances are 0.15 to 0.25 mm per side for PLA, 0.25 to 0.35 mm for PETG, and 0.20 to 0.30 mm for ABS and ASA. Add that gap to the connector diameter so the parts slide together without forcing.
Assembly best practices
- Use 2 to 3 connectors per cut for stability instead of relying on a single peg.
- Place connectors on flat surfaces, not curved areas where the printed contact face is uneven.
- Orient parts so the seam faces down or to the back, where it is least visible.
- Use the same layer height across all parts so layer lines match at the seam.
- Add a third wall count near connector areas so the join area carries load without delaminating.
Splitting by hand takes time. Start with a cleaner model.
Neural4D generates watertight, manifold meshes you can split and print without hours of repair work.
Free users get 50 Power per week, no card required.
Common Questions on Splitting 3D Models
Q: What is the easiest way to split a 3D model into parts?
For a single planar cut, PrusaSlicer’s Cut tool is the fastest path and needs no CAD skills. For a file that already contains multiple loose shells, use Blender’s Separate by Loose Parts. If you want zero manual work, AI model segmentation splits a Neural4D-generated model into clean parts in seconds. The fastest way to learn how to split 3D model into parts depends on whether you have one solid object or a bundled multi-shell STL.
Q: What is the difference between cutting and separating a model?
Cutting pushes a plane through a solid mesh and creates two new surfaces at the split line. Separating splits an existing multi-shell file into its independent objects without changing any geometry. A single solid object cannot be separated into parts; it must be cut first, which is why the tool you need depends on what the file actually contains.
Q: Can I split a 3D model in half exactly at the center?
Yes. In PrusaSlicer, type an exact millimeter value for the cut plane or drag the widget while watching the position readout. In Blender, use the Knife tool with the cut plane aligned to the object origin, or a boolean box centered on it. In Meshmixer, enter the exact position in the Plane Cut panel. If the model origin is not at center, measure the bounding box and add the offset.
Q: Can ChatGPT create STL files for splitting?
ChatGPT cannot open or modify an uploaded mesh directly, but it can write OpenSCAD or Python code that generates simple geometry already split into parts, which works for basic shapes. For splitting an existing STL, a dedicated tool finishes in seconds and keeps the original detail intact. Code generation is useful for new parts, not for editing a mesh you already have.
Q: Why do my split parts not fit back together?
The usual cause is missing clearance. Filament expands and shrinks by 0.15 to 0.35 mm per surface depending on the material, so an exact zero-gap cut can bind. Add a small gap to connector diameters, use a looser tolerance setting, or sand the contact faces. Also confirm both parts were sliced with the same layer height so the seam lines up.
Q: What is AI model segmentation and how is it different from manual splitting?
AI model segmentation detects logical part boundaries in a mesh, such as the head, torso, and limbs of a character, and separates them automatically instead of cutting along a single plane. Neural4D’s model segmentation works on models generated by Neural4D, splits them into parts for printing, and outputs a 3MF white model with every part included. Manual tools keep full control over the seam; AI segmentation removes the geometry decisions.
Final Thoughts: Print Bigger with Smart Splitting
You do not need a larger printer to print a larger object. Pick the method that matches your file: how to split 3D model into parts with the PrusaSlicer Cut tool for fast planar cuts, Blender for complex seams, Cura plugins for bundled shells, online splitters for one-off jobs, and connectors to make the reassembly strong and clean.
The pattern across all six methods is the same: once you know how to split 3D model into parts, decide the seam, keep every part manifold, and plan the join before you slice. Do that and a model that looked too big for your bed becomes a normal multi-part print on the machine you already own.
Skip the repair work, not the print.
Generate a watertight model on Neural4D, split it for printing, or hand it to AI segmentation for clean parts automatically.
Free tier includes 50 Power per week for testing.