How to Make a 3D Skull Model: 5 Methods From Photo to Print
Quick Summary
- A skull 3D model is either a digital mesh you can rotate and render or a printable file you can hold, and the route you pick sets the accuracy ceiling you can ever reach.
- Five routes produce one: a text prompt, a single photograph, a CT or MRI scan, a free download, and a finished 3D print.
- The scan route is the only one that reproduces a specific real skull. The generative routes are far faster but return structurally plausible anatomy rather than clinically exact anatomy.
- Neural4D turns a text prompt or a single photo into a closed, textured mesh that exports straight to STL for printing.
Getting a skull 3D model that holds up comes down to a conflict most guides skip. The three things people want from a skull are accuracy, speed, and a mesh clean enough to print, and no single route delivers all three. A scan reproduces one specific person’s anatomy but needs imaging data you probably cannot get. A generated mesh arrives in minutes but invents the structures it never saw. Decide which of those you can trade away before you open any tool, because the decision is expensive to reverse once you have committed to a route.
Contents
- What Counts as a Skull 3D Model
- Method 1: Generate a Skull 3D Model from a Text Prompt
- Method 2: Reconstruct a Skull 3D Model from a PhotoHOT
- Method 3: Segment a Skull 3D Model from a CT or MRI Scan
- Method 4: Download a Free Skull 3D Model and Clear the License
- Method 5: Print and Finish the Skull 3D Model
- Which Skull 3D Model Method Fits Your Project
- Common Mistakes That Ruin a Skull 3D Model
- Where Neural4D Fits in a Skull 3D Model Workflow
- Questions About Making a Skull 3D Model
- Start Your Skull 3D Model
What Counts as a Skull 3D Model
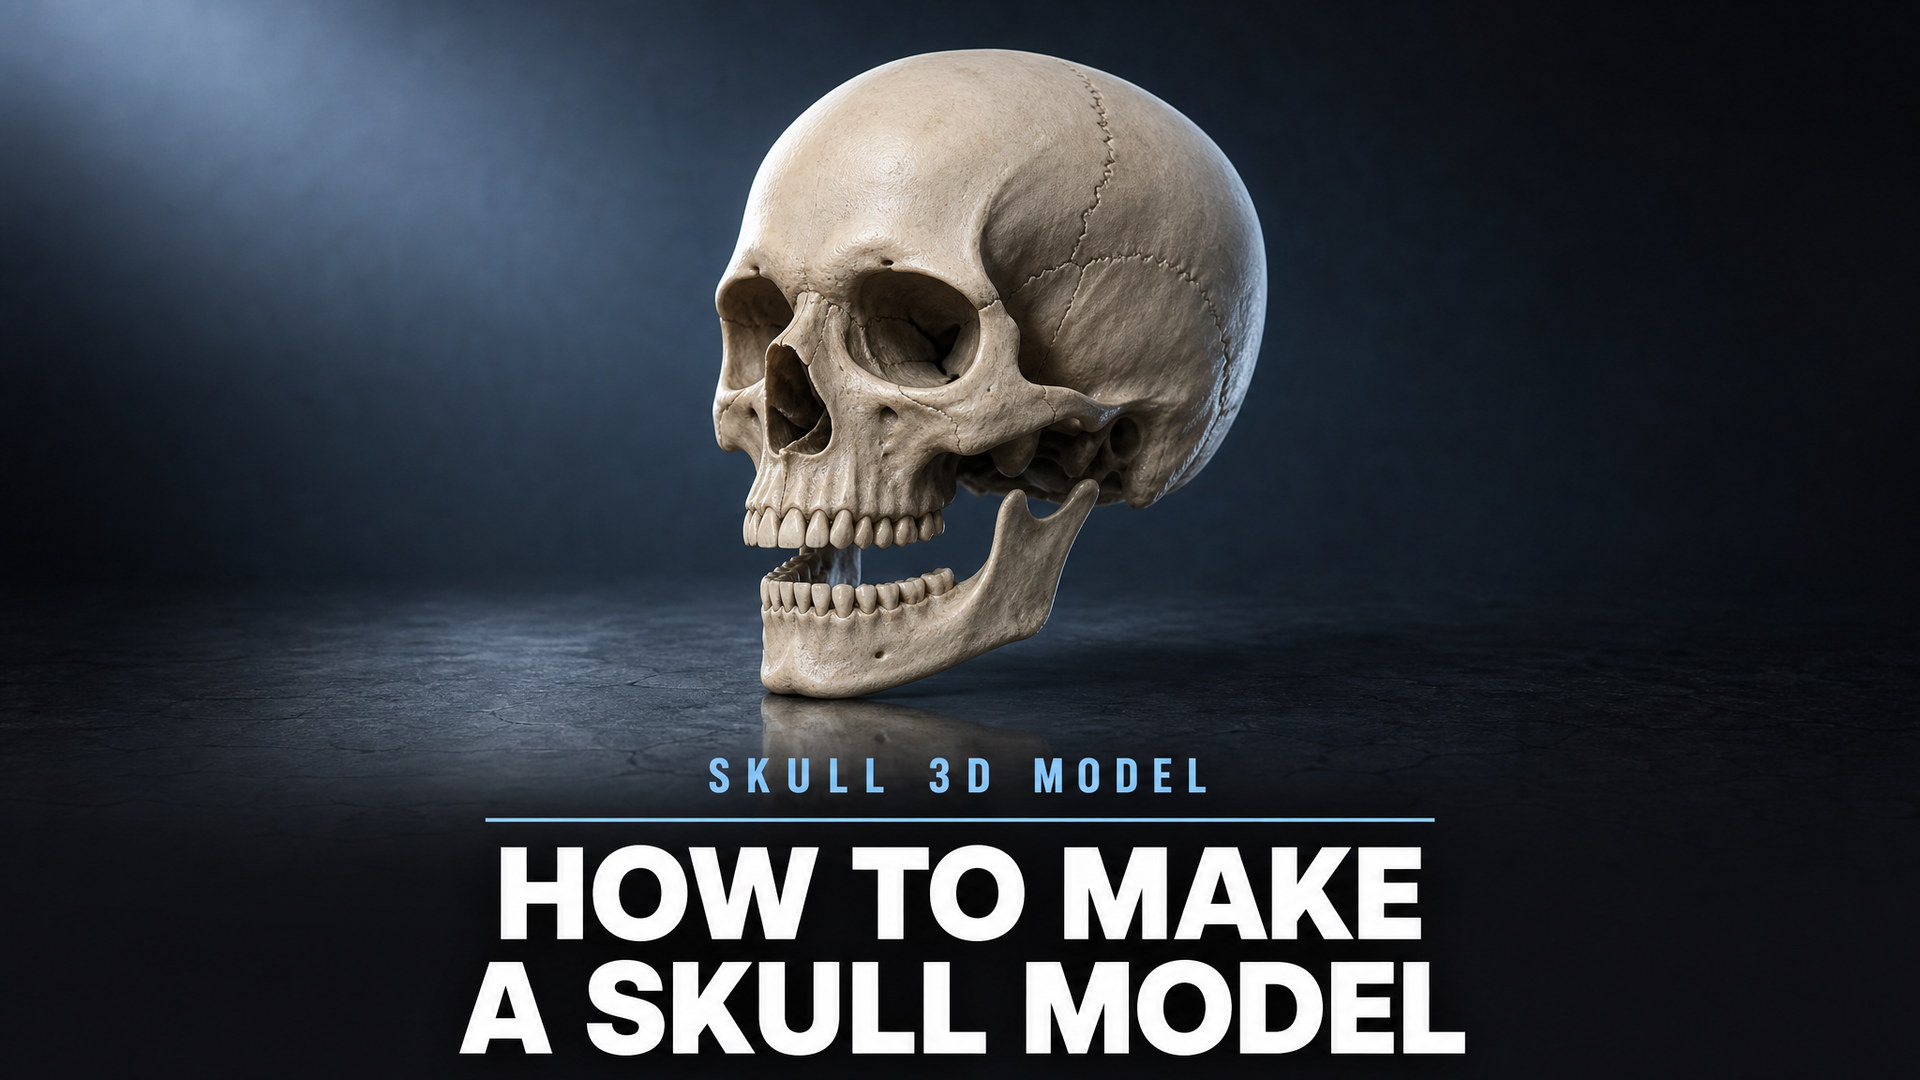
A skull 3D model is a three-dimensional representation of a skull, either as a digital mesh you rotate and inspect on screen or as a physical object you can hold. The label covers four different products depending on who is asking for one. A game artist means a faceted mesh with clean edge flow and a low triangle budget. A medical illustrator means geometry that agrees with real osteology, down to named sutures. A museum means a replica of one specific specimen. A maker at a craft fair means a decoration whose jaw is still attached after the filament cools.
What all four share is the third dimension. What separates them is a decision about accuracy that gets made in the first few minutes and is genuinely hard to undo later.
Skull geometry punishes that decision more than most subjects. A skull is not a blob with roughly the right silhouette. The cranial vault is a thin curved shell, not a solid mass. The cheekbones are struts far thinner than people expect. The mandible is a separate bone that articulates at a joint rather than fusing to the cranium. The orbits and the nasal aperture are openings your geometry has to route around rather than cover. Get the overall proportion right and the model still reads as a skull. Get the thin structures wrong and it reads as a helmet.
Stylized, Anatomical, and Scan-Accurate
Three tiers of accuracy show up in practice, and the vocabulary is worth fixing because sellers apply the labels loosely.
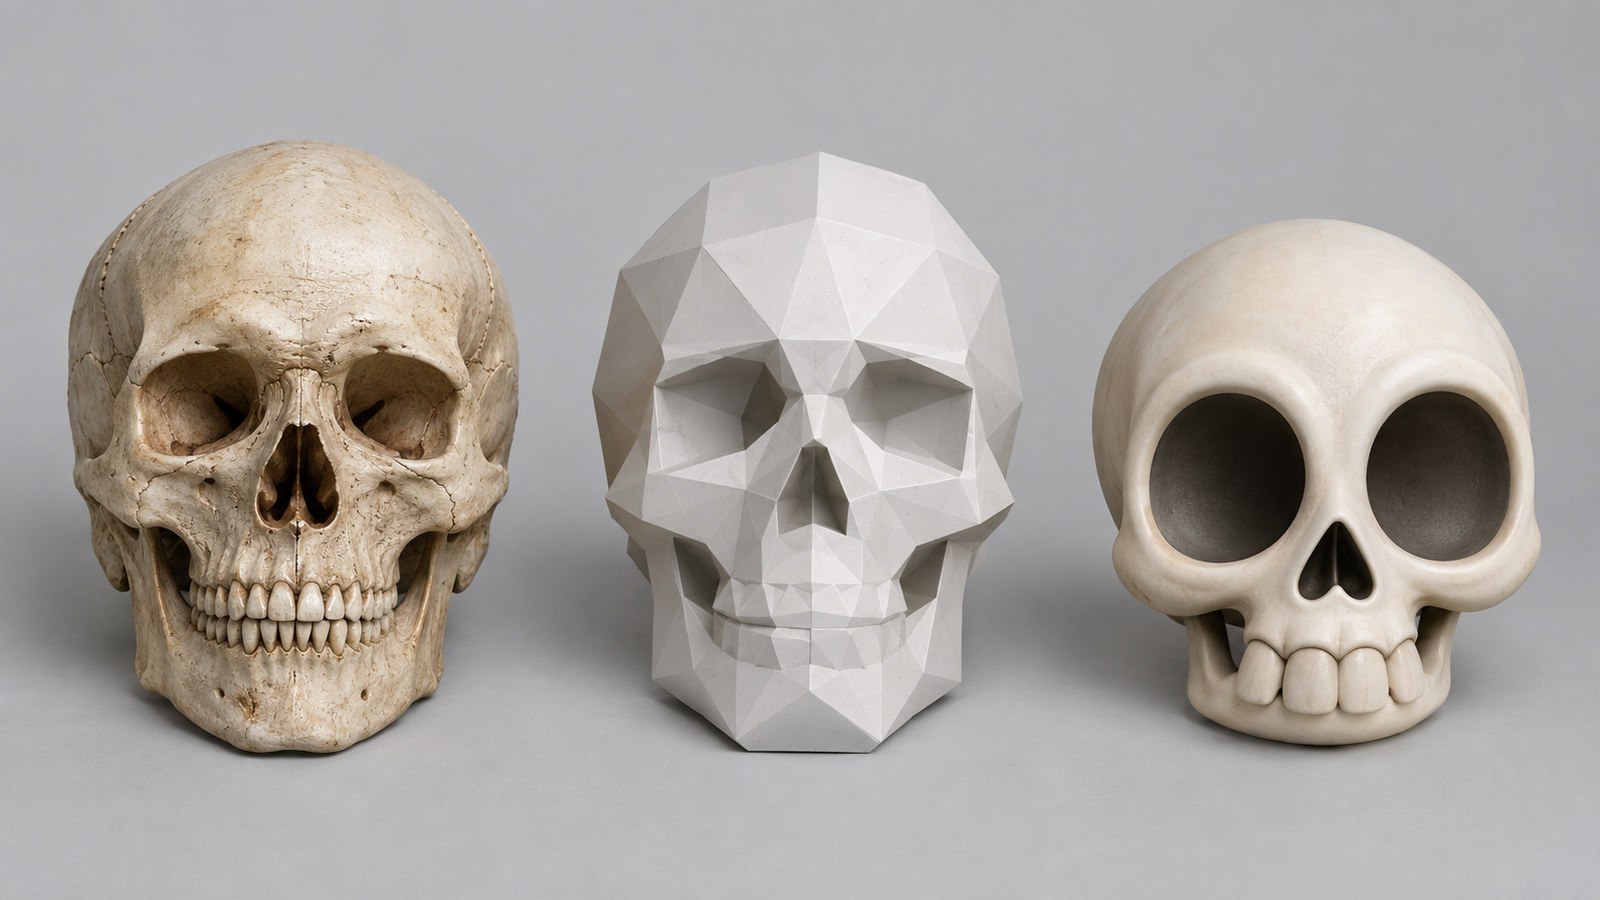
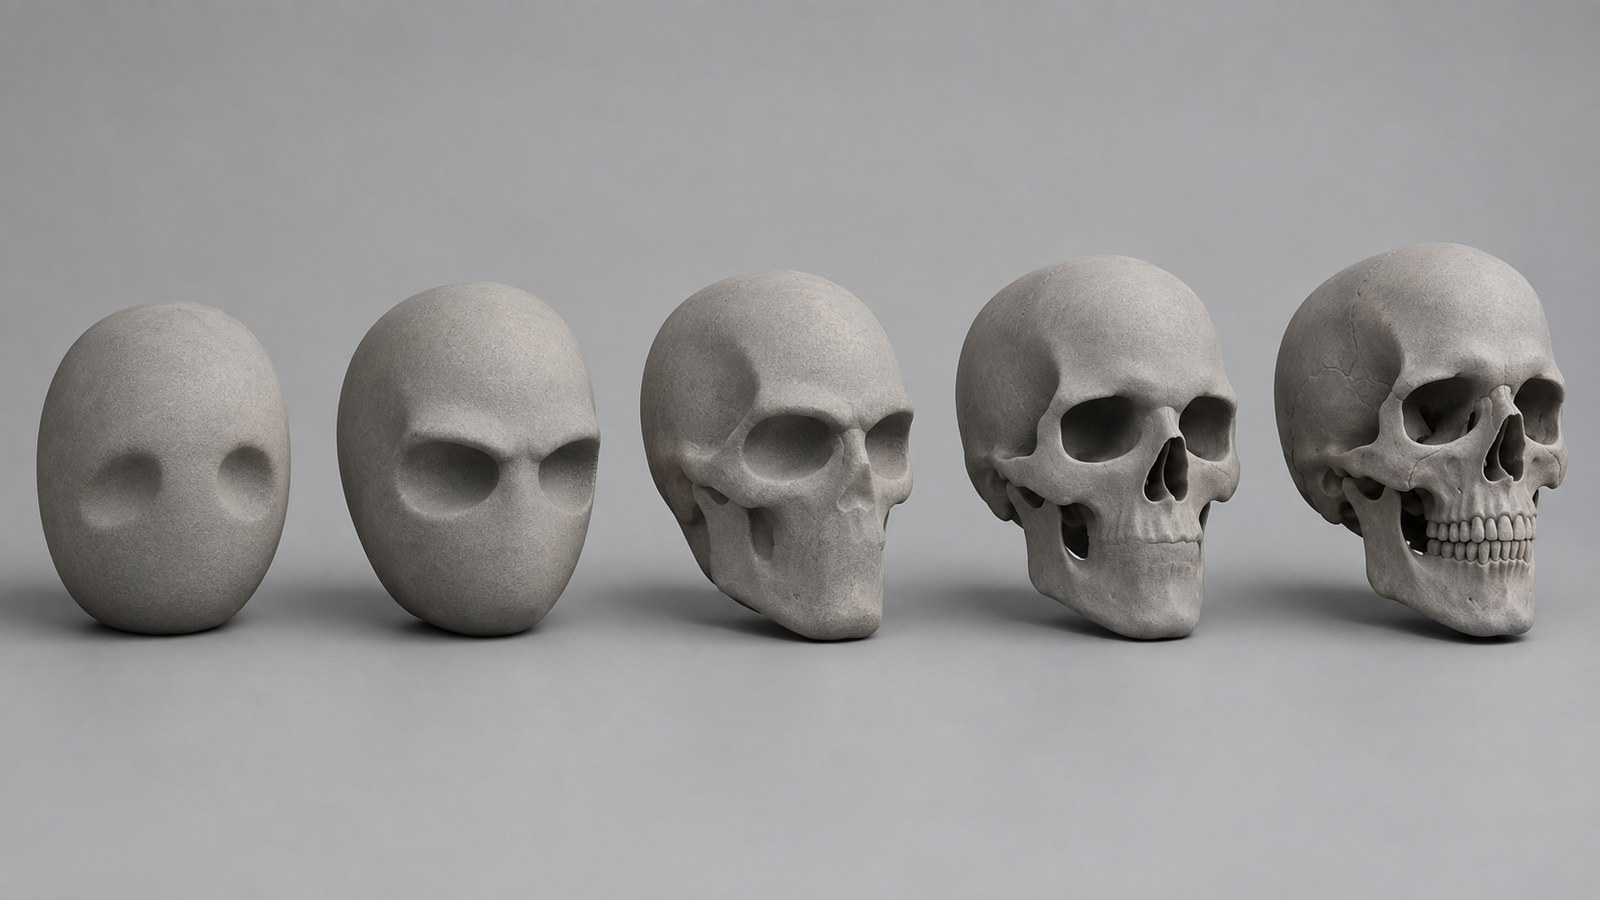
Stylized geometry exaggerates proportions and omits fine structure entirely. No sutures, no foramina, no nasal conchae. The vault may be a single closed solid. This is the correct choice for tabletop miniatures, costume props, and decoration, where a real cranium’s irregularities would read as modeling errors.
Anatomical geometry keeps real proportions and the features an instructor would name: the coronal and sagittal sutures, the orbits, the nasal aperture, the dental arch, the mandibular ramus. It is still a generic skull rather than a portrait of anyone. This tier suits teaching, reference work, and display.
Scan-accurate geometry is derived from imaging of one individual and reproduces that person’s asymmetry, sinus cavities, healed fractures, and dental work. It suits surgical planning, forensic reconstruction, and patient communication.
These tiers are not rungs on a quality ladder. They answer different questions, and the highest tier is often the wrong answer. An anatomically correct skull is not a degraded scan, and a scan is not an upgrade for a tabletop game, where one patient’s asymmetry is noise rather than information. The tiers do map cleanly onto the methods below: Methods 1, 2, and 4 reach the first two tiers, and only Method 3 reaches the third.
Why Skulls Break Generators and Printers
Four features cause almost every failure, and they are worth naming before you pick a route because each method trips over a different one.
The vault is hollow. Any process that estimates a surface from a picture rather than reasoning about volume can leave the interior inconsistent, and a hollow shell is also the hardest thing to print without interior support.
The thin bones are genuinely thin. The zygomatic arches, the nasal conchae, and the orbital walls have wall thickness measured in fractions of a millimeter on a real specimen. They sit close to the resolution floor of both consumer printers and consumer mesh processing, so they are the first thing lost to a uniform decimation pass or an aggressive scale reduction.
The mandible is a separate bone. Whether a model fuses it or leaves it articulated changes your print orientation, your support strategy, and whether the result can be posed at all.
And the foramina are small holes. A generator can quietly close them, and a printer can bridge them badly, which matters when the model is meant to be anatomically defensible.
Scale sits underneath all four. Average adult cranium measurements from a 100-skull osteometric study run about 170.9 mm long, 132.8 mm wide, and 124.9 mm high, with sex and population shifting those figures across roughly 168 to 185 mm of length. That is not trivia. It is the scaling constraint for everything below, because a skull printed at 40 percent scale does not simply look smaller: it loses the cheekbones, the nasal conchae, and the thin orbital walls entirely.
Method 1: Generate a Skull 3D Model from a Text Prompt
This is the fastest route from nothing to geometry, and the only one where the input is a description rather than an object you already possess. You type what the skull should be, the system returns a mesh, and you accept it, regenerate it, or refine it in conversation. For a prop or a game placeholder due tomorrow, nothing else on this list competes on time.
The limit is anatomy, and it is worth stating plainly rather than discovering after the fact. A text prompt returns a structurally plausible skull, not an osteologically verified one. If the model has to survive review by an anatomy instructor, a surgeon, or a court, this is the wrong route and Method 3 is the right one. If the model has to look correct on a shelf, in a game, or on a costume, this route wins outright and the accuracy debate is beside the point.
Write the Prompt That Produces a Real Skull
A prompt that reliably returns usable skull geometry fills four slots in order: subject, named features, material, and presentation style. Skip a slot and the generator fills the gap with something generic that you then have to repair by hand.
🔹 Prompt formula: [skull type and camera view] + [named anatomical features] + [material or surface treatment] + [render or asset style]
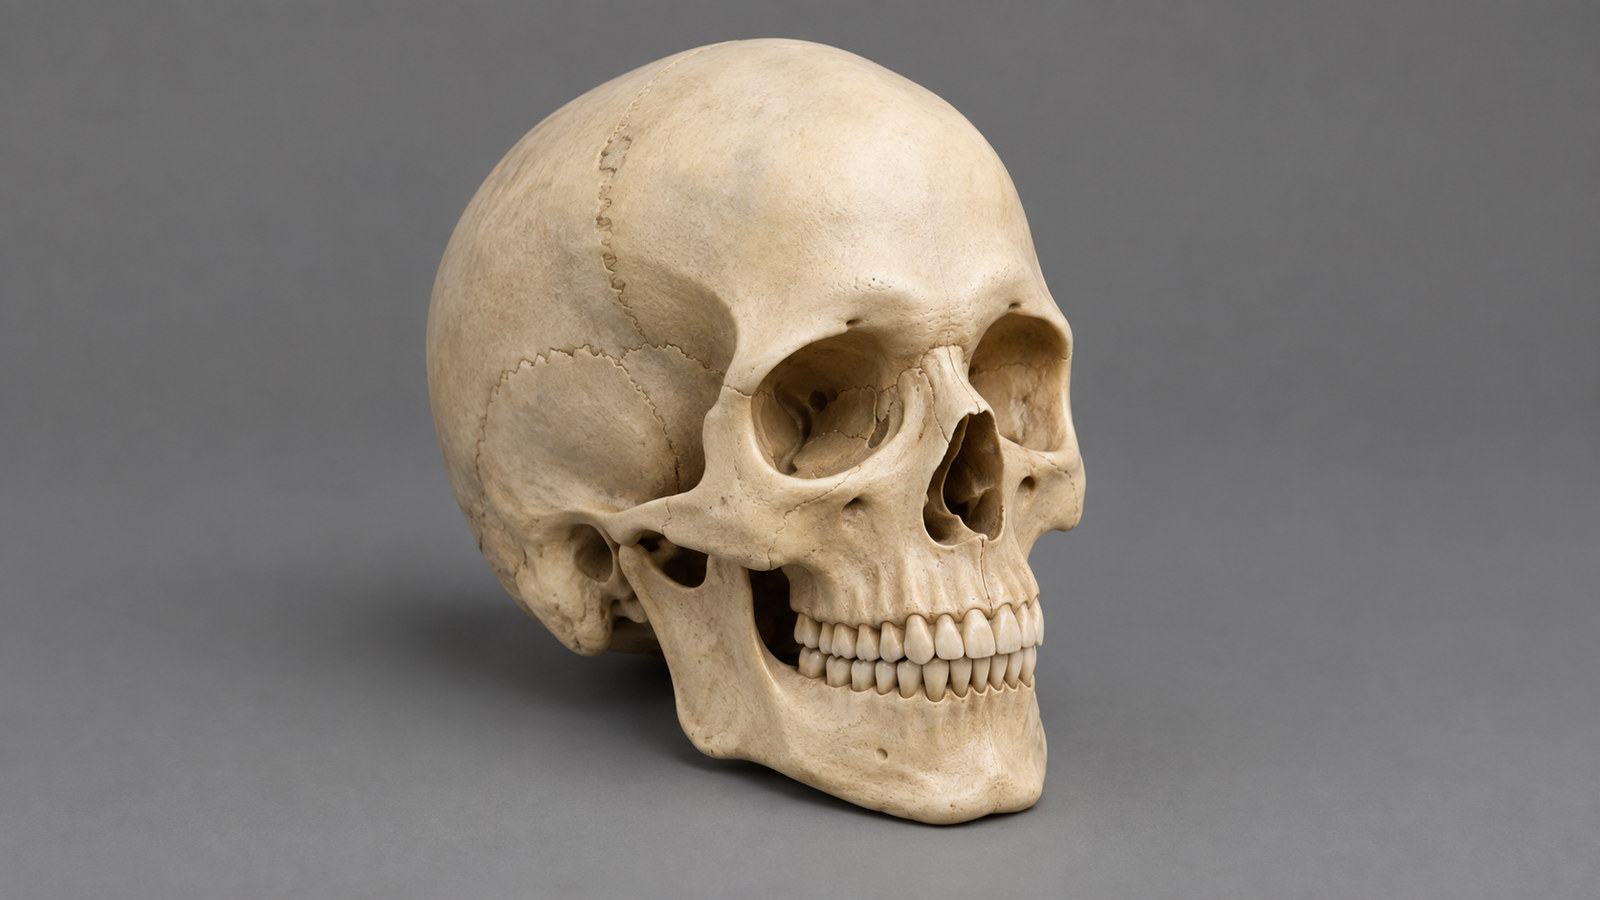
🔹 Anatomical example: “Human skull, three-quarter view, showing cranial sutures, orbital cavities, nasal aperture and full upper dental arch, matte bone surface, clean anatomical illustration style”
🔹 Stylized example: “Horned beast skull, low poly, faceted planes, exaggerated horns and elongated snout, dark stone material, game asset style”
🔹 What the view clause buys you: without a named camera angle, generators default to a flat frontal view that hides the vault profile, and the vault profile is where most of a skull’s actual shape lives.
Three failure modes show up repeatedly. The first is feature overload. Naming a dozen structures in one pass returns small ambiguous lumps, because every additional named feature competes for the same geometry budget. Four to six features come back as recognizable structures. Past that, they start merging into each other.
The second is unexamined symmetry. Real crania are asymmetric, and a prompt that asks for perfect bilateral symmetry returns something closer to a mannequin than a specimen. That is exactly right for a stylized asset and exactly wrong if you are building teaching material, so decide which you want rather than accepting the default.
The third is a missing scale or context cue. A prompt that says “skull” with nothing else gives the generator no reason to commit to human proportions, and you get something between a human and a generic monster that satisfies neither use.
Set Textures and Export the Mesh
Texture settings are chosen before generation rather than after, and the ordering matters because it determines whether the mesh and its material maps arrive together or in two separate operations. If you want separation between bone, teeth, and any soft tissue, select the texture option up front so the base mesh and its maps are generated in the same pass.
Timing deserves precision here, because the numbers get quoted loosely. An untextured base mesh takes roughly 90 seconds. Turning on standard textures or full PBR maps adds computation on top of that, and a fully textured, production-ready GLB runs 2 minutes or more. The 90-second figure belongs to the geometry-only pass. Applying it to a textured export sets an expectation the pipeline will not meet.
Exports cover what the downstream work actually needs: STL for slicing, OBJ and FBX for modeling packages and game engines, GLB for real-time web viewing, USDZ for iOS augmented reality, and BLEND for further work in Blender. Generate through the Text to 3D generator and you get the shape without opening a modeling package at all.
Method 2: Reconstruct a Skull 3D Model from a Photo
If you have a physical skull to work from, even an inexpensive resin one, this route starts from an asset instead of a description and returns geometry that follows the object in front of you. You photograph it, run the image to 3D reconstruction, and the proportions come from your reference rather than from the model’s memory of what a skull generally looks like.
One photograph is not photogrammetry, and knowing the difference changes which route you should pick. Photogrammetry reconstructs from dozens of overlapping frames. Validated research protocols call for at least 90 to 120 images at 50 percent overlap or more, which works out to roughly 20 minutes of shooting and about 3 hours of processing depending on hardware. That precision is why museum and research digitisation uses it. Single-image AI reconstruction is a different trade entirely: seconds instead of hours, paid for with the surfaces the camera never saw.
Shoot the Reference Image the Reconstruction Needs
Reconstruction quality tracks reference quality more closely than any setting you can change afterward, and skulls are unusually unforgiving subjects because a large share of the surface is either curved or recessed.
Light it diffusely and kill the flash. A single hard light source puts a blown highlight on the vault and a black void in each orbit, and both become geometry errors rather than exposure problems.
Shoot a three-quarter view rather than dead-on. A frontal photograph gives the reconstruction almost no depth cue, so the vault profile and the depth of the orbits are guessed. A three-quarter angle hands the system the information it needs to infer volume.
Fill the frame with the skull and keep the background neutral and plain. Avoid glossy white plastic references if you can, because specular blowout reads as missing surface. And do not let the mandible hide the maxilla, since occlusion is the one problem no post-processing step can recover.
Run the Image to 3D Pass and Check the Vault
The reconstruction infers the surfaces the camera could not see, including the entire back of the cranium and the interior of the orbits. That inference is what makes single-photo reconstruction useful, and it is also the part you have to verify rather than trust.
Check three things before you accept the mesh. First, is the vault closed and does its curvature read consistently with the front? A back that is smoother or rounder than the front means the inference filled the gap with an approximation. Second, do the orbits route inward with real depth, or are they shallow dishes pressed onto the face? Third, is the dental arch continuous rather than melted into a single ridge?
A reconstruction that passes those three checks is good enough for printing at display scale. One that fails them will still look acceptable in a viewer and will look wrong the moment it is lit from the side or held in a hand. The Image to 3D route is the same reconstruction approach described in more detail in this guide to turning a photo into a printable model.
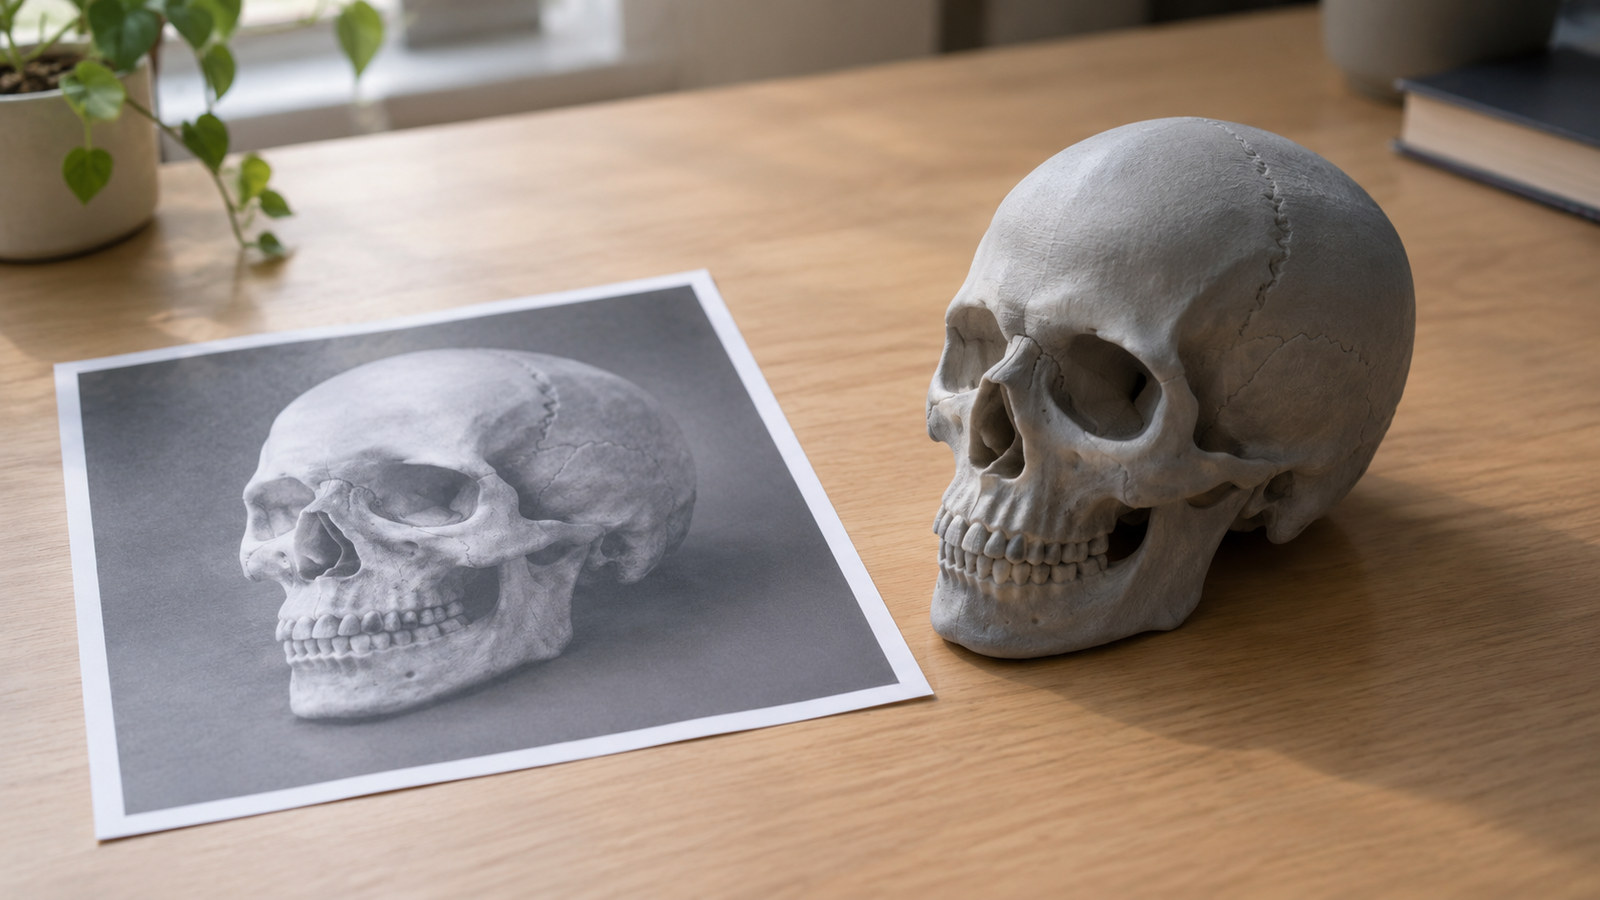
Turn One Photo Into a Printable Skull
Closed geometry, PBR textures, and direct STL export from a single reference image.
50 Power per week on the free plan. Export formats include STL, OBJ, FBX, GLB, and USDZ.
Method 3: Segment a Skull 3D Model from a CT or MRI Scan
Every other method on this list produces a skull. This one produces a specific skull, because the geometry is measured rather than inferred. If you can obtain CT or MRI data, segmentation is the only route that reproduces an individual’s asymmetry, sinus cavities, healed fractures, and dental work, and it is the standard approach in surgical planning, forensic reconstruction, and patient communication.
It is also the slowest and the most gated. The constraint is rarely software, since the segmentation tools are free and open source. The constraint is access to imaging data, which for a living person means a clinical relationship and consent, and for archaeological or museum material means institutional permission.
Get the Scan and Isolate Bone
The pipeline is short and well documented. Obtain the CT or MRI study in DICOM format from the imaging provider, load it into a segmentation tool, and isolate bone from everything else using an image-intensity threshold, since bone is the densest tissue in the volume. Export that segmented surface as an STL.
Published desktop workflows in the medical literature use InVesalius, a free and open-source segmenter, with ITK-SNAP and commercial Mimics as the common alternatives. One practical caution: the threshold value that isolates bone depends on the scanner and the study, so start from the tool’s bone preset and check the result visually rather than trusting a number copied from a tutorial. Too low and you capture soft tissue; too high and you hollow out the thin bones that make the model worth building.
Clean the Mesh Before You Print It
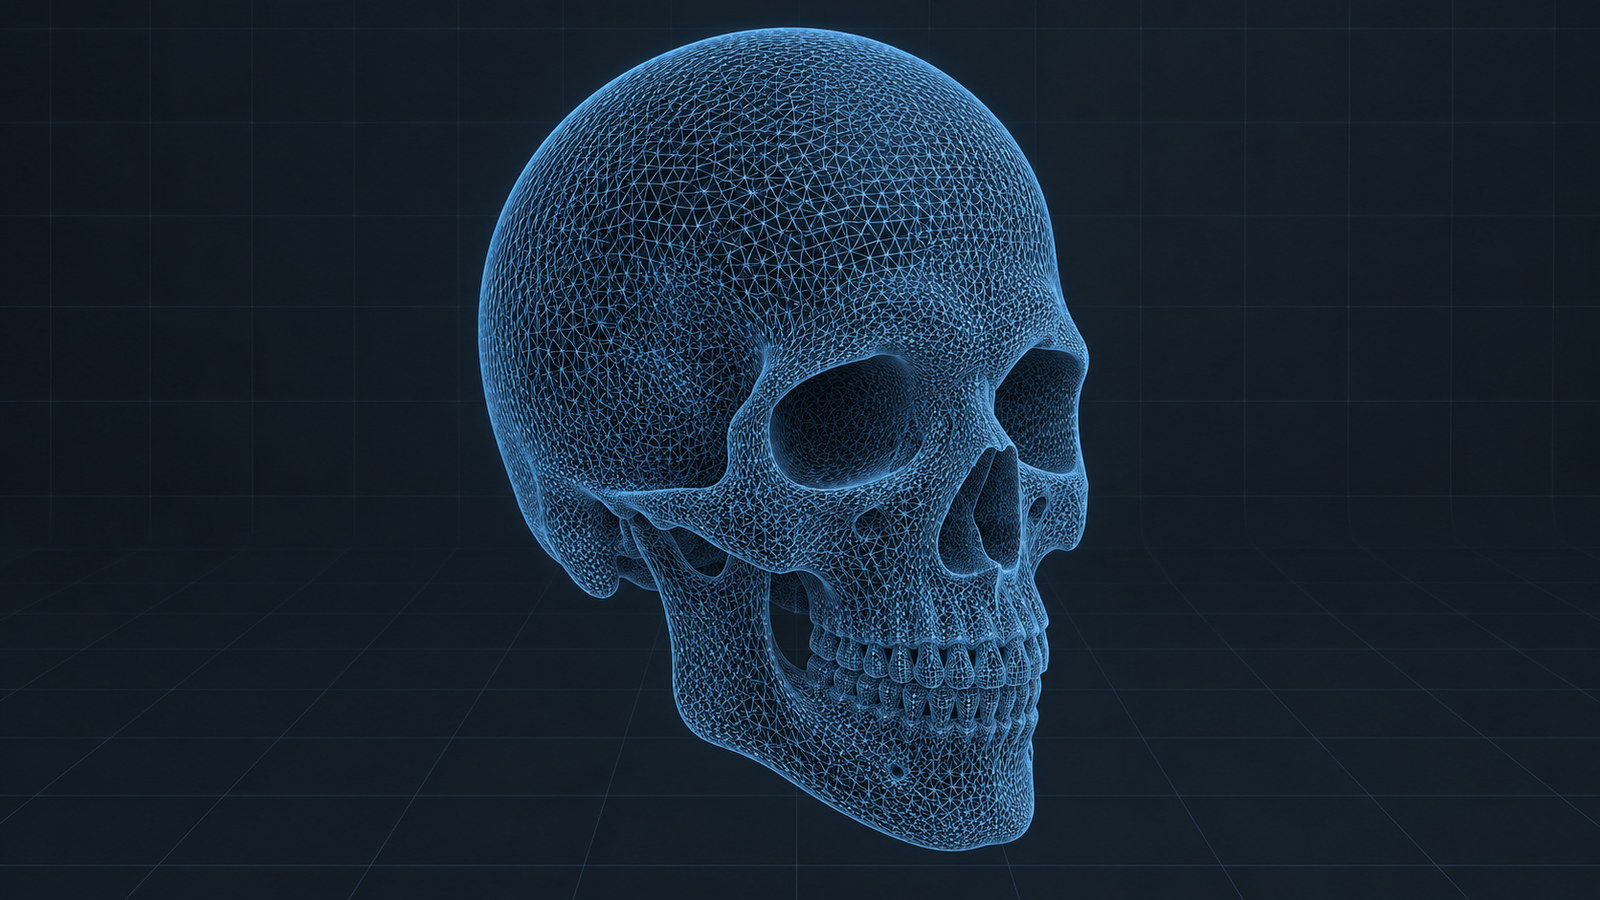
Scan-derived geometry arrives messy in ways that generative geometry does not. Expect non-manifold edges, disconnected fragments from the sinuses, and an outer surface that is not closed. It is fixable, but budget for it rather than assuming the export is print-ready.
Crop to the region you actually need first. A full head and neck volume slices badly, and printing the mandible or the cervical spine only matters if the model is meant for articulation study. Then repair the manifold problems in Blender or Meshmixer before you touch a slicer. This walkthrough on preparing a model for 3D printing covers the checks, and this guide to repairing a non-manifold STL handles the failure cases.
For scale and cost expectations, a published desktop workflow that converted CT data into a printable skull reported filament cost in the range of one to five dollars and a print under 14 hours, with CT preprocessing under an hour including optional Blender cleanup. Those figures come from 2015-era hardware and filament pricing, so read them as an order of magnitude rather than a current quote.
Method 4: Download a Free Skull 3D Model and Clear the License
Sometimes you do not need to make anything at all. Public repositories already host thousands of skull models, and if one matches your subject and your accuracy tier, downloading it costs a few minutes. The trap is rarely finding a file. It is knowing what you are permitted to do with it, because a free download grants nothing by default and the license is almost never visible in search results.
Pick Free or Paid, and Read the License
Creative Commons terms are the most common and the easiest to get wrong, so learn the four that actually matter. CC0 imposes no restrictions and permits commercial use. CC BY permits commercial use as long as you credit the creator, which in a printed classroom handout means a line in the corner. CC BY-NC prohibits commercial use outright, and paid courses, published textbooks, and anything you sell count as commercial even when the audience is educational. CC BY-ND permits no derivatives, which rules out remixing or reshaping the mesh.
Paid marketplaces layer their own terms on top of all that. On CGTrader, a royalty-free license permits editing but not resale, and an extended license is the paid upgrade needed before a model can appear in a product you sell. On Sketchfab, free models carry whatever Creative Commons variant the uploader chose, and the store separates standard royalty-free from editorial royalty-free, the latter intended for non-commercial editorial use.
Two practical rules follow. The license lives on the individual model page, so check it there and never infer it from a download button. And verify the file’s unit scale before printing, because downloaded skull models frequently arrive without metric units applied, which turns a 171 mm cranium into a 171 unit object that your slicer will happily scale to the size of a table. If you would rather work from licensing you chose yourself, this guide to downloading free CC-BY 3D models covers the attribution requirements in more depth.
Scanning Real Human Remains: What Changes
If the skull you want to digitize came from a real person, or a museum collection, or an archaeological site, the licensing question stops being the main question. The relevant literature is consistent on one point: the law and the ethics here are unsettled, and the burden falls on you to establish permission before scanning rather than after publishing.
Consent is the sharpest problem. Informed consent can be obtained from living donors or from people who donated their bodies for teaching, but it cannot be obtained from the deceased, and in a forensic context the next of kin may themselves be a subject of the investigation, which leaves it unclear who is entitled to speak for the individual.
Ownership is equally unresolved. Raw scan data may lack the creative expression that copyright requires, while a model shaped by interpretive decisions about smoothing, cropping, and reconstruction may qualify, and the two may end up owned by different parties. Professional guidance from the British Association for Biological Anthropology and Osteoarchaeology recommends settling permission, context, and reuse in writing, and states that imaging and printing are a way to reduce handling of fragile originals rather than a substitute for them.
For descendant communities the stakes run further still, since cultural ownership can be asserted over digital representations as extensions of intangible heritage, independent of who holds the copyright. None of this is legal advice, and the rules differ by country. The consistent recommendation across the literature is the same one worth applying to any skull you did not model yourself: establish who the remains are, who has authority over them, and what the intended display is, before any file is created.
Method 5: Print and Finish the Skull 3D Model
Geometry that slices is not the same as geometry that prints, and the gap between the two is wider for skulls than for most subjects. Everything below assumes you already have a closed mesh from one of the first four methods. What is left is deciding how to hold it against gravity and how to hide the evidence afterward.
Orientation, Supports, and the Thin Bones
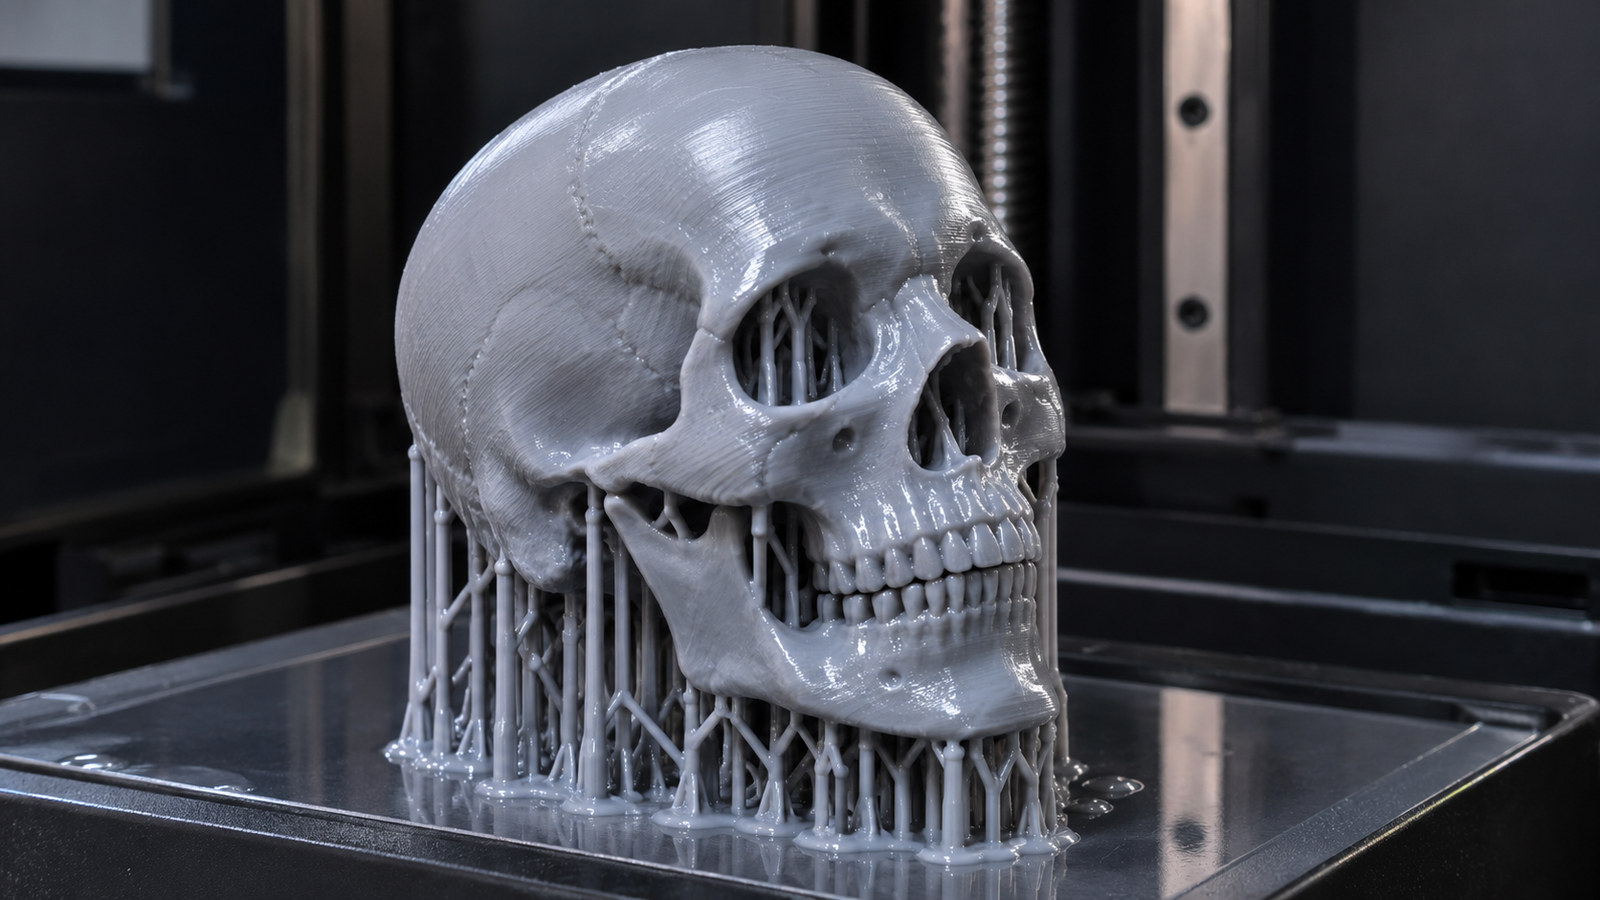
Printing a skull upright off the mandible loads the wrecking force onto the cheekbones, which are the last structures you want carrying support scars. Printing it upside down puts the thinnest bones at the top of the build, where wobble is worst. Neither default is kind to the geometry.
The most reliable approach for a hollow anatomical skull is to split it before printing. Cut it along the sagittal or coronal plane into two halves, print each with its flat cut face on the build plate, and join them afterward. That removes almost all interior support, puts the thin orbital walls in-plane rather than cantilevered, and shortens the print considerably. The cost is a visible seam, which the finishing step below handles.
If you want it printed whole, tilt it back roughly 15 to 20 degrees to reduce the unsupported span across the orbits and use tree supports aimed at the zygomatic arches rather than a full lattice, since tree supports scar thin curved bone with less contact area. On resin, hollow the model and place drain holes at the foramen magnum and near the orbits, or the vault traps uncured resin that will cure inside the print later.
Accept the resolution floor rather than fighting it. Below a certain scale the nasal conchae and the orbital walls fall under your printer’s minimum feature width and disappear, and no setting recovers them. Print larger, or choose a stylized model where their absence is intentional. Thin walls reward smaller layer heights, so calibrate to your material rather than importing someone else’s profile.
Assemble and Finish
If you split the model, register the halves with alignment pins or a keyed joint rather than butting flat surfaces together, then weld them with solvent for resin or cyanoacrylate for filament. Light sanding on the cheekbones removes support scars, but go gently, because the material there is thin enough to sand through.
The mandible deserves separate handling. If your model has it as a distinct bone, pin the joint and glue at the hinge so the jaw can still be posed, rather than fusing it flat. An articulated jaw is most of what makes a printed skull read as a skull in the hand rather than as a paperweight.
Finish with a base coat and a wash. A bone-toned primer followed by a thinned dark wash that settles into the sutures and foramina is what turns surface detail back on, since a single flat color hides exactly the structures you spent the print budget preserving. Further options for getting a printed mesh to that stage are covered in the guide to AI for 3D printing, and format choice for the slicer handoff is broken down in OBJ vs STL.
Which Skull 3D Model Method Fits Your Project
The five routes are not ranked, and picking between them is mostly a question of what you already have and what you are willing to trade. The matrix below scores each one on the six axes that decide most real projects.
| Method | Best for | Time to first result | Skill floor | Cost | Accuracy ceiling | Editable after |
|---|---|---|---|---|---|---|
| 1. Text prompt | Props, placeholders, stylized pieces | Minutes | None | Free tier available | Anatomical at best | Yes |
| 2. Single photo | Matching a physical reference you own | Minutes | Low: one clean photo | Free tier available | Anatomical, reference-bound | Yes |
| 3. CT or MRI scan | Surgical, forensic, patient-specific work | Hours to days | High: segmentation and mesh repair | Imaging access; low material | Scan-accurate, individual | Yes, from source data |
| 4. Free download | Fastest path to a known-good file | Minutes | None, plus license reading | Free to paid marketplace rates | Whatever tier the file is | Limited by license |
| 5. Print and finish | Turning any of the above into an object | Hours | Moderate: orientation and supports | Filament or resin | Inherits the source mesh | No |
Reading the matrix against your own project usually resolves the choice in one pass. If you have imaging data, Method 3 is not optional, because nothing else reproduces a specific individual. If you have a physical reference, Method 2 gets you there faster than segmentation and matches your reference rather than a generic template. If you have neither and you need something on a shelf, Method 1 is the only route that starts from nothing. And if the model already exists in a repository under a license you can live with, Method 4 is faster than all of them and there is no prize for generating something that has already been made.
Common Mistakes That Ruin a Skull 3D Model
Most failed skull models fail for one of six reasons, and five of them are visible before anything is printed.
Treating the vault as a solid block. Modeling the cranium as a filled mass removes the interior volume the anatomy depends on, doubles the material cost, and makes the model useless for anything that needs to show the cranial cavity.
Running a uniform decimation pass. Reducing triangle count evenly across the mesh strips the cheekbones and nasal conchae first, because they were the least dense regions to begin with. Protect thin structures before you reduce, or reduce only the vault where there is density to spare.
Scaling below the feature floor. The structures that make a skull recognizable have a minimum printable size. Shrink the model past it and you get a smooth ovoid with holes, which is exactly what a 40 percent scale reduction produces.
Claiming clinical accuracy from a generative model. A model built from a prompt or a single photograph is structurally plausible, and presenting it as an accurate anatomical or medical reference misleads whoever relies on it. Label the tier you actually built.
Printing a hollow vault with no drain holes. On resin this traps uncured material inside the model, which cures later and can crack the print or leak. On filament it creates unsupported interior surfaces that sag.
Leaving the mandible fused, then fighting the orientation. Fusing the jaw makes the model a single awkward mass with no flat face to sit on, which forces a choice between heavy supports and a tilted print.
Where Neural4D Fits in a Skull 3D Model Workflow
The first two methods on this list run on the same engine, which is the reason they are worth grouping. Neural4D (N4D) takes either a text description or a single reference image and returns a mesh designed to be closed, textured, and ready for the next step without a repair pass in between.
The workflow has four stages. You supply the input, a prompt or an image. The system generates the mesh. You either regenerate for a different variation or refine the result in conversation, with one scope limit worth knowing: conversational editing applies only to models generated by Neural4D-2o, so it will not edit a downloaded file or a scan-derived mesh. Then you export.
What the output is designed to give you is worth stating in the vendor’s own terms rather than as an independent benchmark. The Image to 3D feature page describes output as mathematically watertight meshes with clean topology, infers hidden geometry from a single image, and supports export to GLB, OBJ, FBX, USDZ, STL, and BLEND. The Text to 3D page describes watertight geometry at 2048 cubed resolution with a full PBR texture set covering normal, metallic, and roughness maps, and notes that its sparse attention method reduces geometric hallucination on complex prompts rather than eliminating it. Neither page claims anatomical or clinical fidelity, and this article does not either.
That places N4D honestly on the accuracy-versus-speed axis the matrix above describes. It is the fastest way to reach the anatomical tier from nothing, and it is not a substitute for Method 3 when a specific person’s anatomy is the requirement. For props, game assets, teaching models of a generic skull, and anything that needs to exist before tomorrow, that trade is usually the right one.
Questions About Making a Skull 3D Model
Q: How accurate is an AI-generated skull 3D model?
It is structurally plausible rather than osteologically exact. A generated skull gets the overall proportions, the major features, and the relationship between the vault, the orbits, and the dental arch right, because those relationships are consistent across the reference material the model learned from. What it will not reproduce is the specific irregularity of one real skull: the asymmetry, the suture pattern, the sinus shape. As a written description of a generic human skull, a generated model is convincing. As a replacement for imaging data, it is not, and no prompt setting changes that.
Q: Can you make a skull 3D model from a single photo?
Yes, and a single photo is a legitimate input for the anatomical tier of accuracy. The reconstruction infers the surfaces the camera never saw, including the back of the cranium and the interior of the orbits, so you get a closed mesh rather than a relief. What it cannot do is match the accuracy of photogrammetry, which reconstructs from at least 90 to 120 overlapping images, or of CT segmentation, which measures the geometry instead of guessing it. Shoot a three-quarter view in diffuse light and the inference has enough to work with.
Q: Why does my printed skull keep breaking at the cheekbones?
Because the zygomatic arches are the thinnest load-bearing structures in the model and most print orientations make them cantilevered. Two fixes work. Split the skull along the sagittal or coronal plane and print each half with the flat cut face on the build plate, which puts the arches in-plane instead of hanging in the air. Or, if you print whole, tilt the model back 15 to 20 degrees and use tree supports that reach the arches with minimal contact area, then sand the contact points lightly, since the material there is thin enough to sand through.
Q: Do you need a CT scan to make an anatomically correct skull model?
No. Anatomically correct and scan-accurate are different tiers. An anatomically correct model has real proportions and the features an instructor would name, and you can reach that tier from a text prompt or a single photograph. A scan-accurate model additionally reproduces one specific individual, and only segmentation from CT or MRI data gets you there. Choose based on whether your project needs to represent human skull anatomy or one particular person’s anatomy, since the second requirement is the only one that forces you to obtain imaging.
Q: Is it legal to 3D print a human skull?
It depends on the country and on where the remains came from, and the literature describes the position as unsettled rather than settled. Whether a print counts as human remains at all is contested, and prints are not currently covered by the Human Tissue Act in the United Kingdom. Consent cannot be obtained from a deceased person, and ownership and copyright over scan data and the models derived from it are unresolved. Professional guidance recommends settling permission, context, and intended use in writing before scanning, and treating printing as a way to reduce handling of fragile originals rather than a substitute for them. This is not legal advice, and institutional permission is the practical starting point. A model generated from a prompt or downloaded under a clear license does not raise the same question, because no real individual’s remains are involved.
Q: What size is a life-size skull 3D model?
Average adult cranium measurements from a 100-skull osteometric study come out at roughly 171 mm long, 133 mm wide, and 125 mm high, with sex and population shifting length across a range of about 168 to 185 mm. Those figures describe the cranium alone. A full skull with the mandible runs taller, since total head height from chin to crown averages roughly 227 to 240 mm in living adults, and a skeletal model lands slightly under that because it excludes skin and hair. For a printable life-size model, scale to roughly 170 to 185 mm of cranial length and verify the units your file arrived in, since downloaded models frequently come without metric scale applied.
Start Your Skull 3D Model
Pick the route that matches what you already have rather than the one that sounds most rigorous. If imaging data is available and a specific individual matters, segment it, because nothing else will do. If you have a physical skull or a decent reference photo, reconstruct it and you will have a mesh that follows your own reference rather than a generic template. If you have neither, generate it from a prompt and accept the anatomical tier, which is the correct amount of accuracy for a prop, a game asset, or a decoration.
Whatever you choose, the geometry problem that used to define this project has mostly dissolved. A skull 3D model no longer requires either an afternoon at a modeling workstation or a research collaboration with an imaging lab. The remaining questions are the interesting ones: which accuracy tier your project actually needs, whether you have the right to reproduce the specific skull in front of you, and how you are going to keep the cheekbones intact all the way to the build plate.
Generate Your Skull Model and Print It Today
Closed geometry, PBR textures, and direct STL export in one pass.
50 Power per week on the free plan. Export formats include STL, OBJ, FBX, GLB, and USDZ.