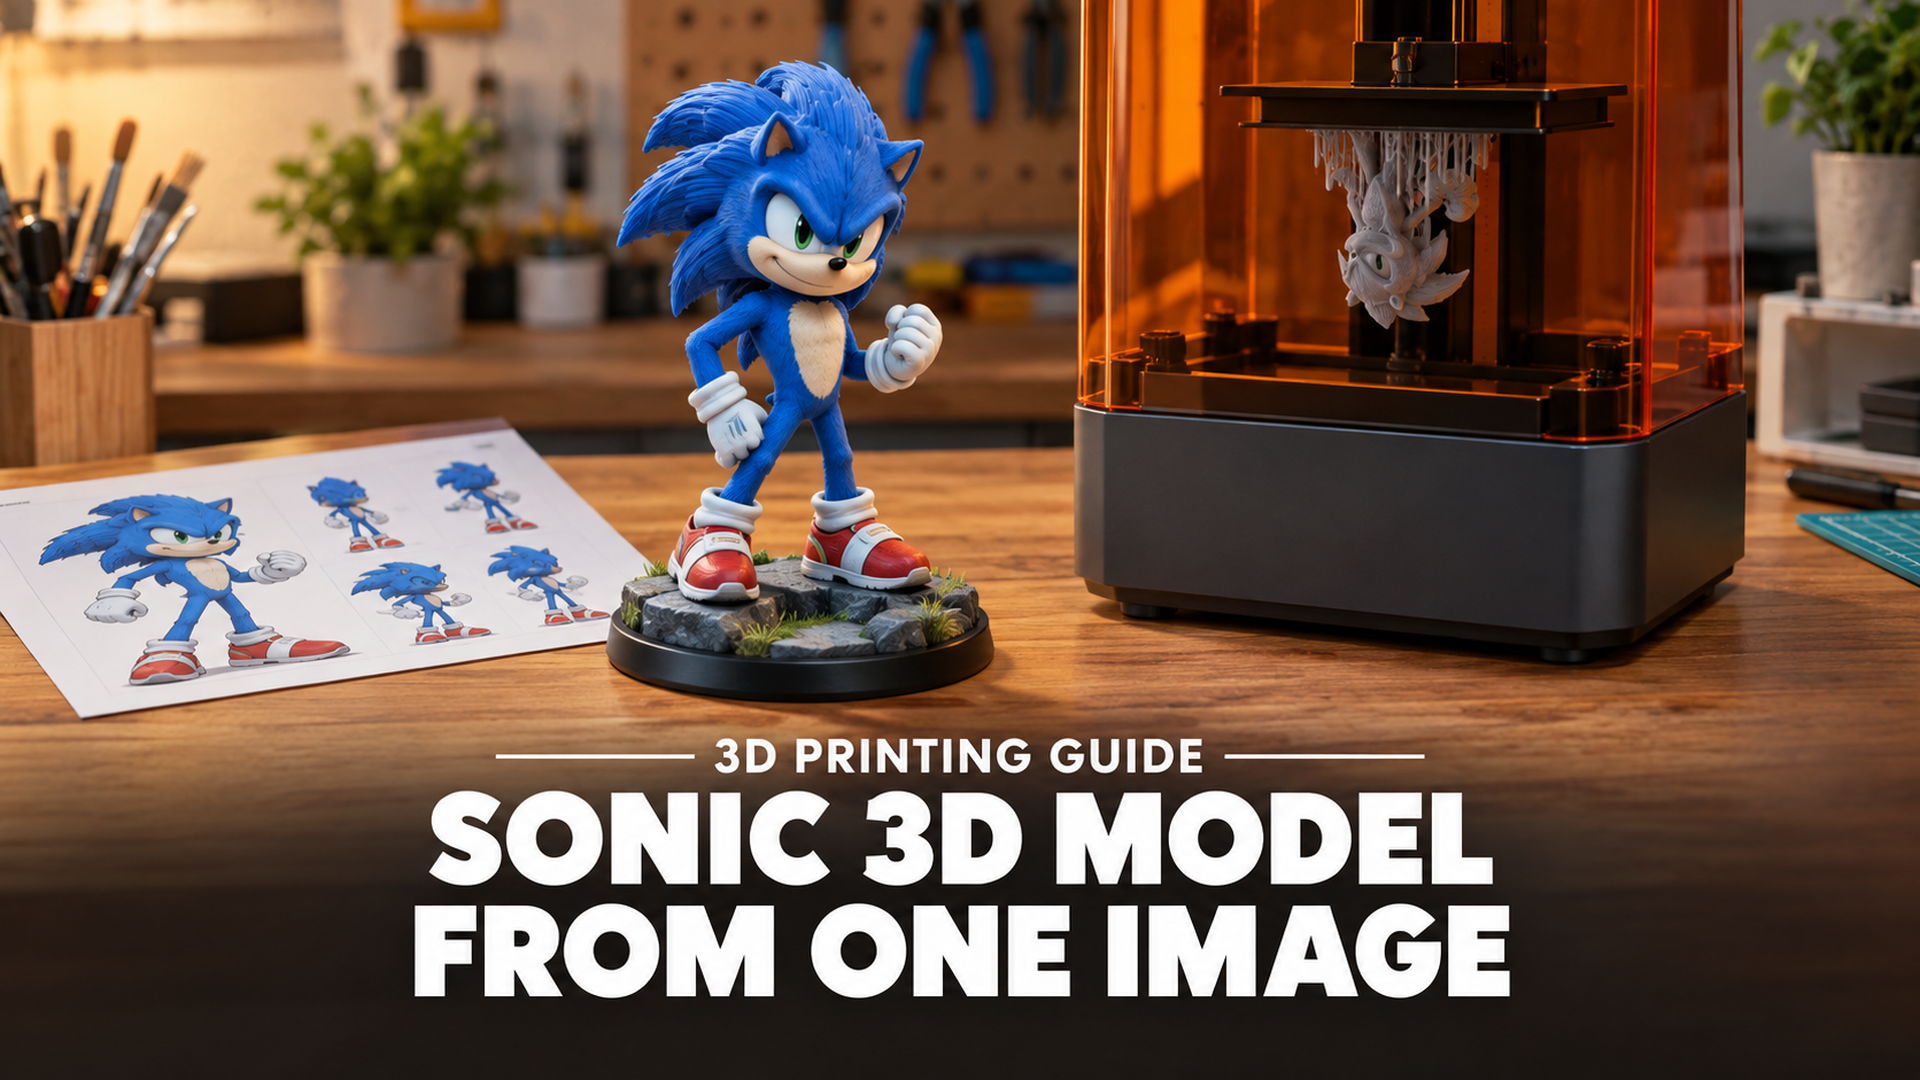
Sonic 3D Model: Make a Fan-Quality Figure From One Image
Quick Summary
- Most free Sonic 3D model files come from ripped console assets, which are optimized for rendering and arrive with open edges the slicer cannot interpret
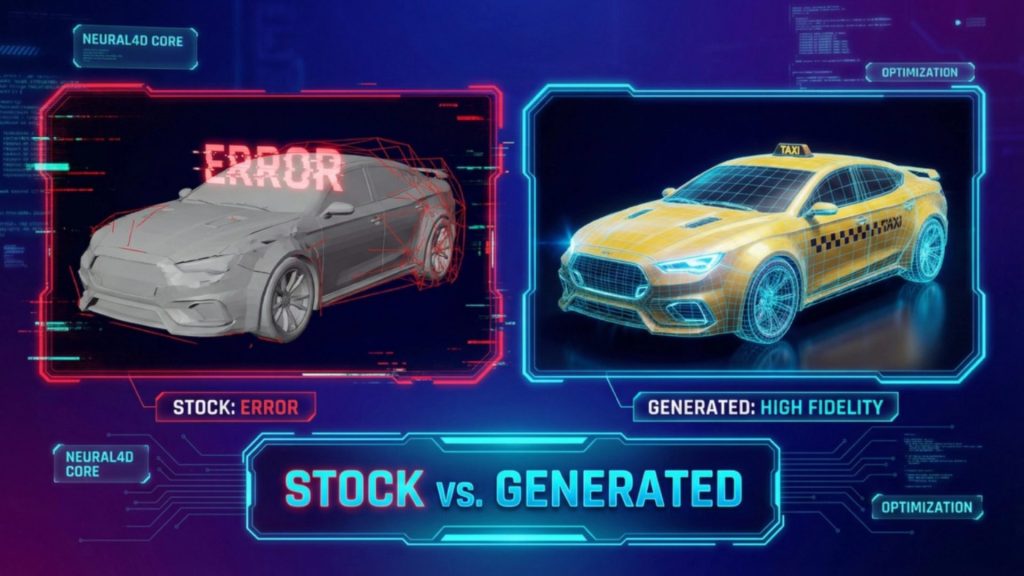
- Generating from a single reference image produces a closed mesh instead of a shell you have to repair first
- Two reference images work better than one, and a clean front view beats a dramatic action shot every time
- Personal printing and selling printed figures are different legal situations, and the download sites never explain the difference
A Sonic 3D model is easy to find and surprisingly hard to use. Search for one and you land on galleries with hundreds of files, download a model that looks perfect in the preview window, then watch your slicer reject it with a wall of manifold errors. The problem is not the file. It is where the file came from. This guide covers the three ways people get a Sonic model, what actually goes wrong with the free ones, and how to generate a closed, printable mesh from a single reference image in about 90 seconds.
- Part 1: Where Sonic 3D Model Files Come From
- Part 2: Why Ripped Sonic Files Break in the Slicer
- Part 3: How to Make a Sonic 3D Model From One Image
- Part 4: Fixing a Sonic 3D Model That Came Out Wrong
- Part 5: Printing, Scaling and Licensing Your Model
- Part 6: Sonic 3D Model Questions
- Start With One Image
Part 1: Where Sonic 3D Model Files Come From
There are three routes to a Sonic model, and they fail in different ways. Knowing which route a file came from tells you what you are about to deal with before you waste an afternoon on it.
| Source | Typical quality | Main problem | Best for |
|---|---|---|---|
| Ripped console or mobile game assets | Screen-accurate surfaces, incomplete solids | Open edges and inverted normals from render optimization | Reference, rendering, modding |
| Fan repositories and model galleries | Varies wildly between uploads | Inconsistent topology, unclear or missing license | Finding a rigged model for animation |
| Generated from a reference image | Closed solid mesh, clean topology | Proportions need one or two correction passes | Printing, and original characters |
The first route is the one most people take, because it is free and the models look right. Ripped assets are extracted from a shipping game, so the character matches the official design exactly. They are also the single most common reason a print fails.
The second route is a lottery. A repository listing may contain a fully rigged Blender-ready character next to a decimated mesh with no UVs, and nothing on the page tells you which is which. If you only need something to look at, this is fine. If you need something to manufacture, you are gambling.
The third route is newer, and it is the one that solves the printing problem. Instead of sourcing a file, you build the geometry yourself from an image. That inverts the difficulty: you spend a few seconds choosing a good reference instead of several hours repairing a bad download. The same approach works for characters that do not exist yet, which matters if you are working on an original character rather than the official design.
Worth knowing: if your goal is a game or animation asset rather than a physical print, a rigged repository model is often the faster path. Generation is the better fit when the output has to be a closed solid, or when the character you want does not exist yet.
Part 2: Why Ripped Sonic Files Break in the Slicer
A sliced print needs one thing above all: a surface that fully encloses a volume, so the software can tell inside from outside. Game assets are not built that way, and they were never meant to be.
When a character is modeled for a game, every polygon costs rendering time. If the player will never see the underside of a shoe or the inside of a glove, that geometry is simply left open. The technique is called backface culling, and it is a sensible optimization for real-time rendering. It also means the model is not a solid. It is a set of surfaces that happen to look correct from the camera angle the game uses.
Load that into a slicer and the software stops. It calculates toolpaths by determining which regions are solid material, and an open boundary makes that determination impossible. You get one of three outcomes: the mesh is rejected outright, the missing volume is filled in ways you did not intend, or the print starts and collapses partway through when the slicer’s guess was wrong.
The second defect is inverted normals. A normal is the vector that tells software which side of a polygon faces outward. In ripped files these frequently point inward, so the slicer reads solid material as empty space. Repairing either defect means opening the file in modeling software, locating the holes, bridging them by hand, and recalculating the exterior. For a character with dozens of open boundaries, that is an evening of work before you have changed anything about the model itself.
This is the same failure mode that shows up across licensed characters. The watertight Super Mario 3D model guide walks through the identical problem on a different franchise, and the underlying cause is the same in both cases.
Part 3: How to Make a Sonic 3D Model From One Image
The workflow below assumes you want a physical figure. If you want a game asset, the same four steps apply and only the export format changes.
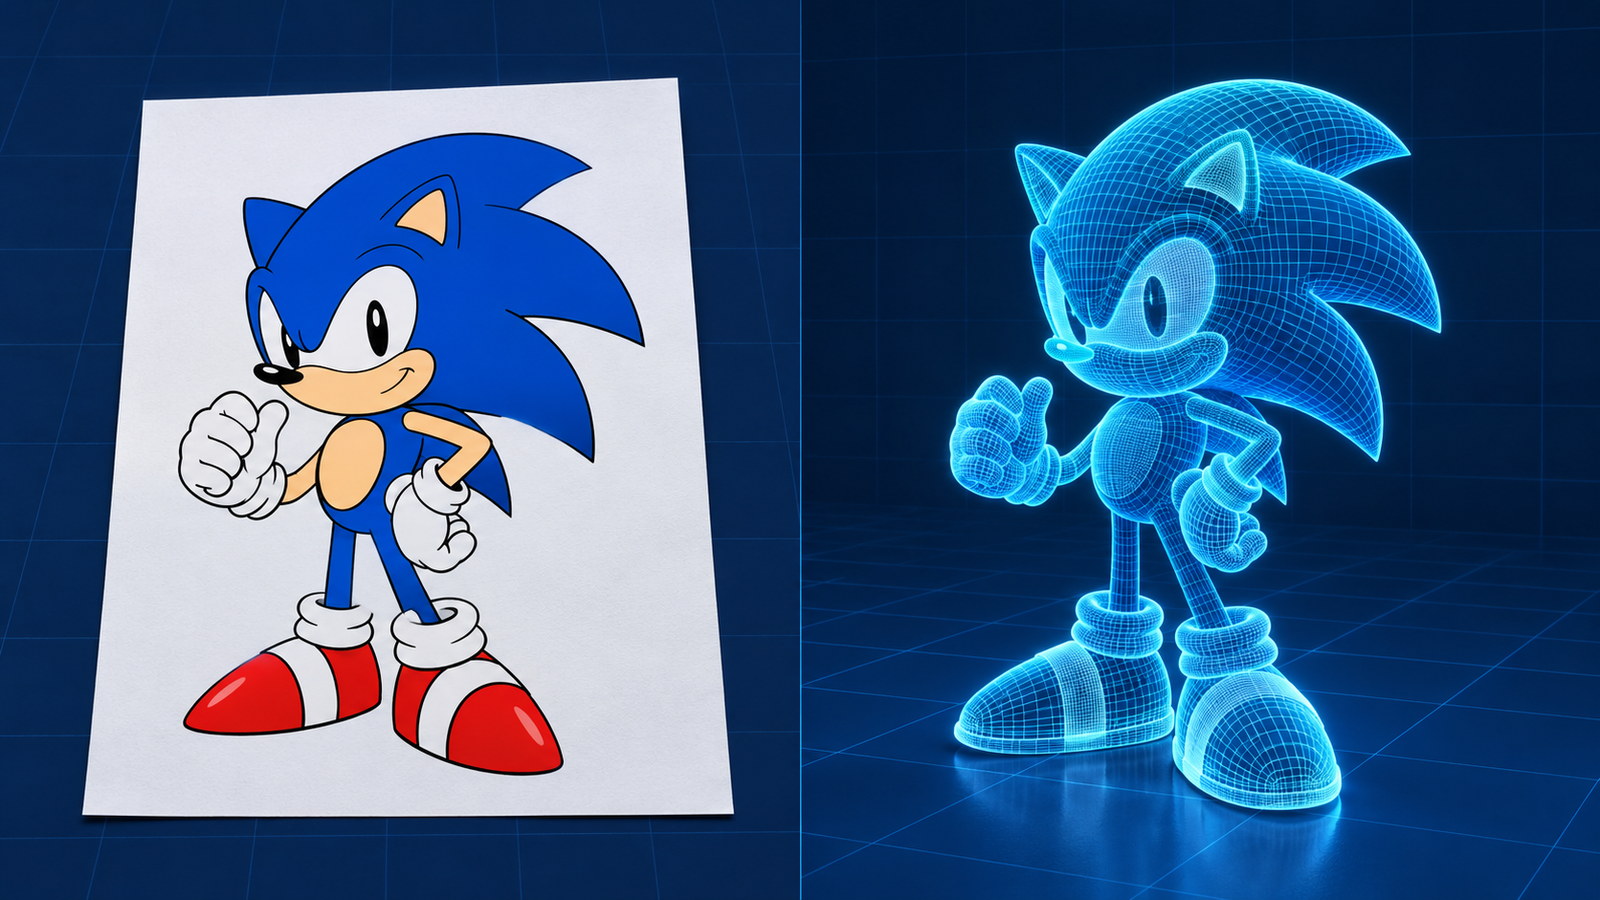
Step 1: Choose a reference image that survives 3D conversion
The reference image determines more of the final quality than any setting in the tool. A generation model reconstructs geometry from what it can see, so anything hidden from the camera has to be inferred.
- Front view over action shot. A three-quarter action pose looks better as a poster and converts worse as geometry. Limbs overlap the torso, and the model has to guess where the arm actually ends.
- Even lighting over dramatic lighting. Hard shadows read as surface detail and can be reconstructed as geometry that is not there.
- Plain background over busy background. A clean silhouette helps the model separate the subject from everything behind it.
- Full body in frame. Cropped feet become inferred feet, and inferred feet are usually wrong.
If you are generating an original character rather than the official design, this is the step where you control the outcome. Change the pose, the color scheme, or the silhouette in the reference, and the geometry follows. A turnaround sheet with a front view and a side view, combined into a single reference, will beat any single image because it gives the model two angles to work from.
Step 2: Generate the base mesh
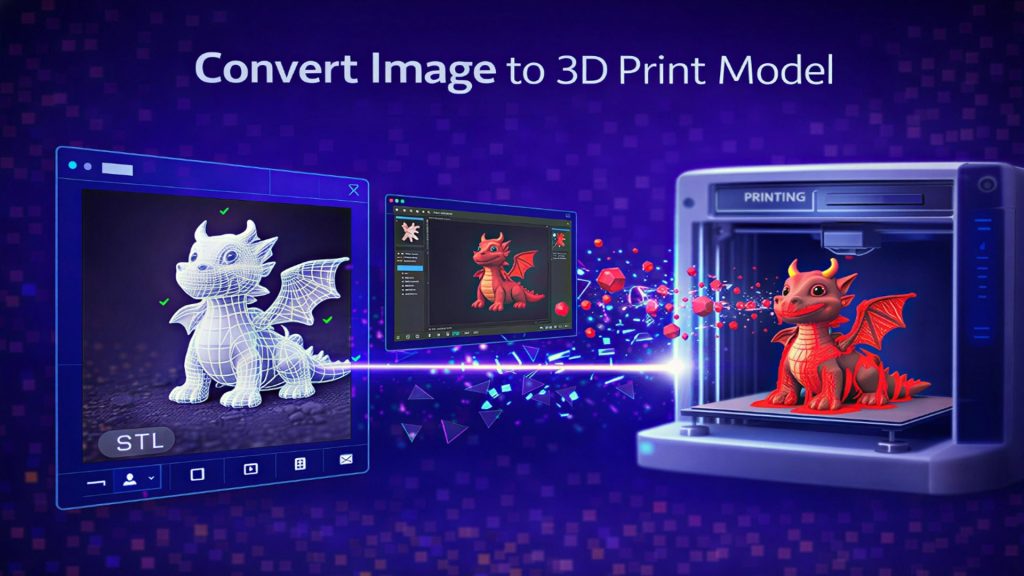
Open the Image to 3D feature, upload the reference, and start the generation. Neural4D runs a single image through 360 degree inference to reconstruct the full volume rather than extrapolating a surface, which is why the output arrives as a closed solid instead of an open shell.
Base mesh generation takes about 90 seconds for the geometry. Adding PBR materials is a separate pass and takes longer, so if you are printing in a single color, you can skip straight to export. The result is a quad-dominant mesh with clean topology, which matters later: a mesh with sane edge flow is far easier to edit and to slice.
Step 3: Correct the proportions with conversational editing
First-pass geometry is usually correct in structure and slightly off in proportion. The head is a little large, the quills sit too far forward, the legs are too short. This is normal and expected, and it is where most people give up on AI generation because they expect a perfect first result.
Neural4D-2o lets you describe the correction in plain language instead of moving vertices. Instructions like “make the head smaller relative to the body” or “shorten the legs and widen the stance” apply directly to the model you generated. You keep iterating in conversation until the silhouette matches what you had in mind. Note that this conversational editing applies to models generated in Neural4D, so it is not a repair tool for a ripped file you imported from elsewhere.
Order of operations: fix the silhouette before you add materials. Changing proportions after you have textured the model wastes the texture pass, because the UV layout has to be rebuilt.
Step 4: Export STL for printing or GLB for a game engine
Export depends entirely on where the model is going.
- For 3D printing: export as STL and take it into your slicer. If you want to combine this with other parts or scale precisely, OBJ and GLB are also available. The convert an image to an STL file guide covers the format tradeoffs in detail.
- For a game engine: export GLB or FBX. Both carry materials and are accepted by Unity and Unreal without conversion.
- For further editing in Blender: GLB imports cleanly. Watch the polygon count if the model is headed for a real-time scene, because a print-resolution mesh will be far denser than a game needs.
Before exporting, run through the official guide on how to prepare and export models for 3D printing. It covers format selection and slicer import in the order you actually need them.
Turn One Image Into a Printable Figure
Upload a reference. Get a closed mesh. No repair pass in between.
Part 4: Fixing a Sonic 3D Model That Came Out Wrong
Most disappointing results fall into three categories, and each has a specific fix.
The silhouette is wrong. This is nearly always a reference problem, not a model problem. If the character came out too round or too thin, the reference image was probably shot from an angle that emphasized that dimension. Swap in a straighter view and regenerate. It is faster than trying to push the existing mesh into shape.
The model is right but the details are soft. Fine details like glove cuffs, shoe buckles, and facial features need resolution to survive. If they blurred, you either need a higher-resolution reference or the geometry needs a material pass to read correctly. For printing, remember that features thinner than your nozzle or layer height will not reproduce regardless of how the mesh looks on screen.
The pose is unstable for printing. A running pose looks great and prints badly, because the contact area with the build plate is tiny and the center of mass sits outside it. Rather than adding a heavy support structure, the cleaner fix is to regenerate in a more neutral pose. A standing or crouched pose prints as one piece and needs fewer supports.
Part 5: Printing, Scaling and Licensing Your Model
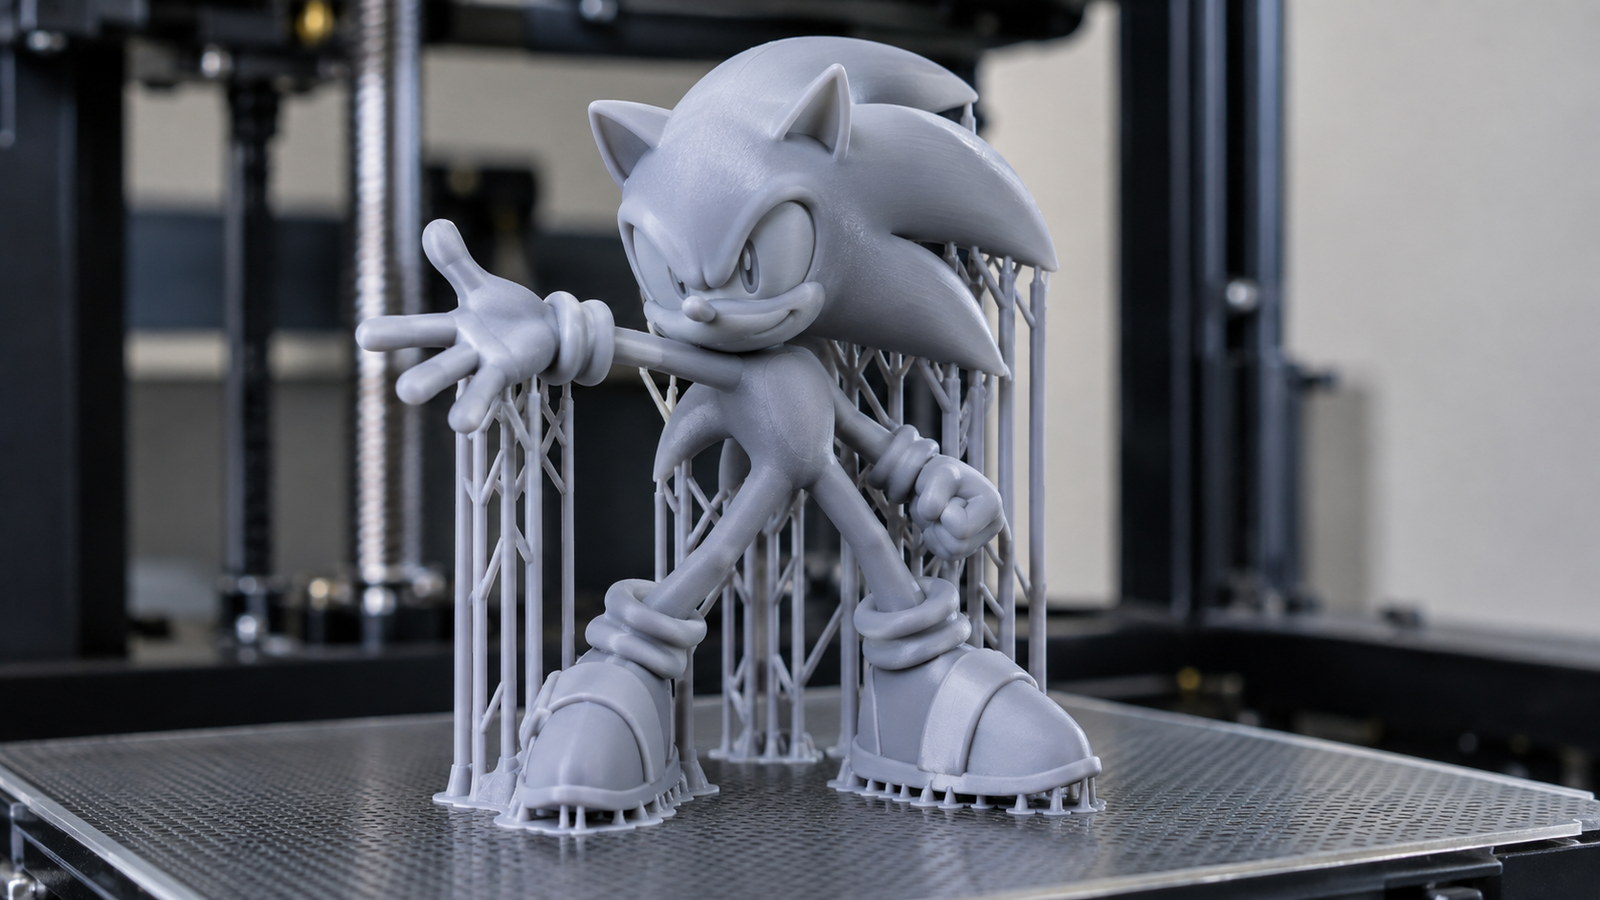
Scaling. A character figure reads best between 100 and 150 mm tall on a resin printer, or 150 to 200 mm on FDM. Below 80 mm, facial features and quill detail start to disappear. Above 250 mm, you are looking at a multi-part print with joints or alignment pins, because a single-piece tall figure has a large footprint and long print time for a failure risk you do not need.
Orientation and supports. Angle the figure back roughly 15 to 20 degrees so the supports land on the back rather than the face. Overhangs beyond about 45 degrees need support. Quills and outstretched arms are the usual culprits, and they are also why a neutral pose saves you an hour of cleanup.
Materials. Standard resin gives the sharpest detail for a display figure. For FDM, matte PLA hides layer lines better than a glossy finish and takes primer well. If you plan to paint, grey primer over a light-colored filament gives the most predictable base.
Licensing. This is where most guides go quiet, and it is worth being direct about it. Sonic the Hedgehog is a SEGA property, and the models on public repositories are third-party uploads whose actual license status is frequently unclear. Printing a figure for your own shelf is a different situation from selling that figure, and selling unlicensed character models is where companies enforce their rights. Marketplaces do run takedowns for unlicensed character merchandise. The practical guidance is straightforward: keep licensed-character prints personal, and if you want to sell, generate original characters instead of reproducing an existing design. That is the same distinction the generate a Spider-Man 3D model guide draws for a different franchise.
For commercial work, original characters are the safer and more interesting route. You control the silhouette, you can build a consistent roster in one style, and you do not inherit somebody else’s license problem. This is exactly the workflow that conversational editing is built for.
Part 6: Sonic 3D Model Questions
Why does my Sonic STL file fail to slice?
The file is almost certainly a ripped game asset with open edges. Game models leave unseen surfaces unmodeled to save rendering cost, so the mesh does not enclose a volume. Slicers need a closed solid to calculate toolpaths, so they either reject the mesh or fill it incorrectly. Check for non-manifold errors in your slicer’s repair panel, and if there are many, generating a fresh mesh is faster than repairing the one you have.
Can I use a Sonic 3D model for commercial projects?
Sonic is a SEGA property, so commercial use of the character requires a license from SEGA. Printing a figure for yourself is a different situation from selling printed copies, and selling unlicensed character merchandise is where enforcement actually happens. If you need a commercially safe model, generate an original character instead. You keep full rights to what you generate, and you avoid the license question entirely.
How long does it take to generate a Sonic 3D model?
Base geometry generation takes about 90 seconds. Adding PBR materials is a separate step and takes longer, so a fully textured model takes more than that. Printing is separate again from generation: a 120 mm resin figure typically runs several hours depending on layer height, and an FDM print of the same figure usually runs longer.
Can I make an original Sonic-style character instead of Sonic himself?
Yes, and this is the more flexible option. Upload a reference of your own character design and the geometry follows that design rather than the official one. Fans who want an original character have historically had to commission a modeler or learn character modeling, so generation removes the main barrier. It also means you can build a set of characters in one consistent style.
What file format should I export for printing or for a game engine?
Export STL for 3D printing, since nearly every slicer accepts it and it carries geometry without ambiguity. Export GLB or FBX for game engines, because those formats carry materials and are read natively by Unity and Unreal. If you plan to keep editing the model in Blender, GLB is the most convenient starting point.
Start With One Image
The reason free Sonic models are frustrating is not that the people who made them did poor work. It is that game geometry was built for a screen, and a printer needs a solid. Once you stop trying to repair a surface that was never meant to close, the whole problem disappears.
Pick a clean front view, generate the base mesh, spend your time on proportion corrections rather than hole patching, and export. If the character matters to you commercially, design your own. You will get a better model and a simpler legal position.
Build Your Character From a Single Reference
Upload an image, refine the proportions in conversation, and export a closed mesh for print or for a game engine.