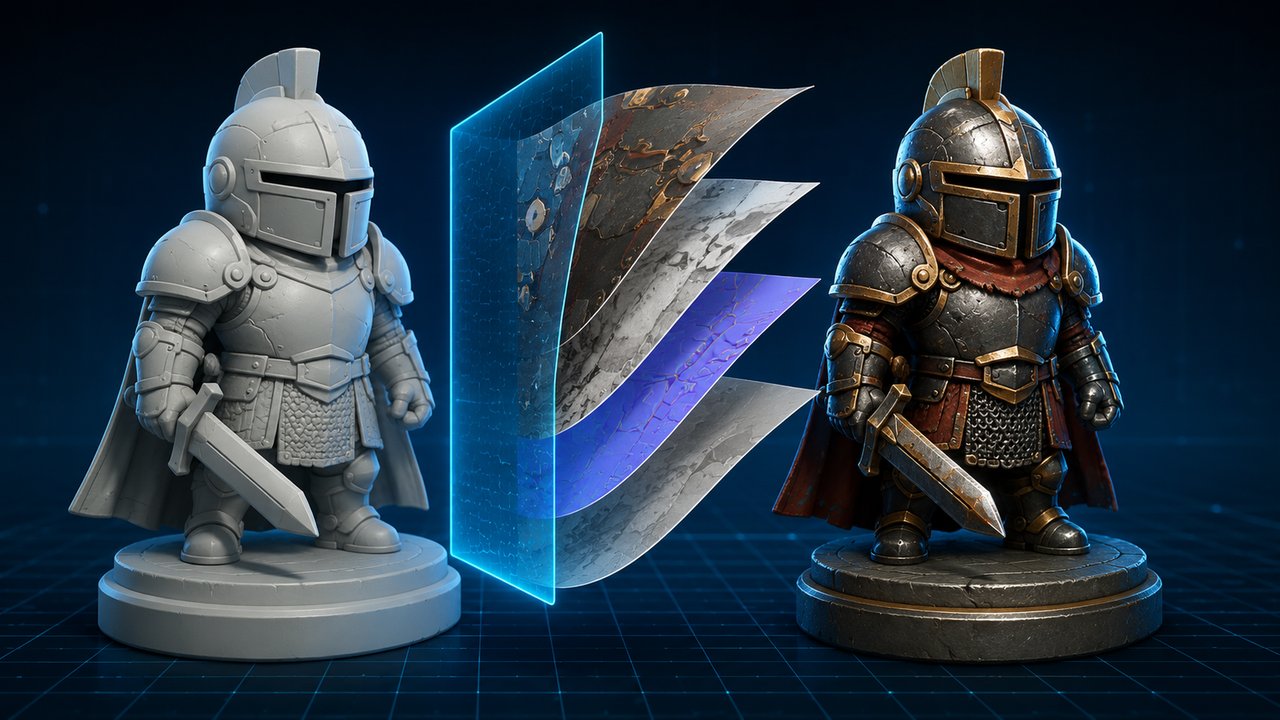
How to Add Texture in Blender: Step by Step Tutorial
Quick Summary
- Adding a texture in Blender means connecting an image (or a set of PBR maps) into a material, and the mesh needs UV coordinates so the image knows where it goes.
- The fastest path is to add an Image Texture node, link its color into the Base Color of a Principled BSDF shader, and set the UV map as the texture coordinate.
- For realism you can stack PBR maps, normal, roughness, and metallic, into the same shader instead of using one flat image.
- If a texture shows as pink or will not display, the cause is almost always a missing image file, a wrong color space, or a viewport display setting, all quick fixes.
- Neural4D’s AI Texture generates and applies a matching PBR material from a reference image or a text prompt, which removes most of the manual wiring covered in this tutorial.
The fastest way to learn how to add texture in Blender is to wire one image into a material, understand what each connection does, and then layer on PBR maps and shortcuts. This tutorial covers the complete workflow: the difference between a texture and a material, adding an image texture, hooking up PBR maps, fast UV options, troubleshooting, and an AI path that skips most of the manual setup. By the end you will know how to add texture in Blender for a model, a single face, or a full PBR material stack, and when to automate the process.
Table of Contents
- Texture vs Material: What You Are Actually Adding
- How to Add an Image Texture in Blender (The Basics)
- How to Add a PBR Texture in Blender
- How to Add a Texture Without UV Unwrapping: 3 Fast Shortcuts
- How to Fix a Texture That Will Not Show in Blender
- How to Create Textures in Blender: Procedural, Painted, and AI
- AI Texture Generation: Skip the Manual Work HOT
- Common Questions on Adding Textures in Blender
- Add a Production-Ready Texture Faster
Texture vs Material: What You Are Actually Adding
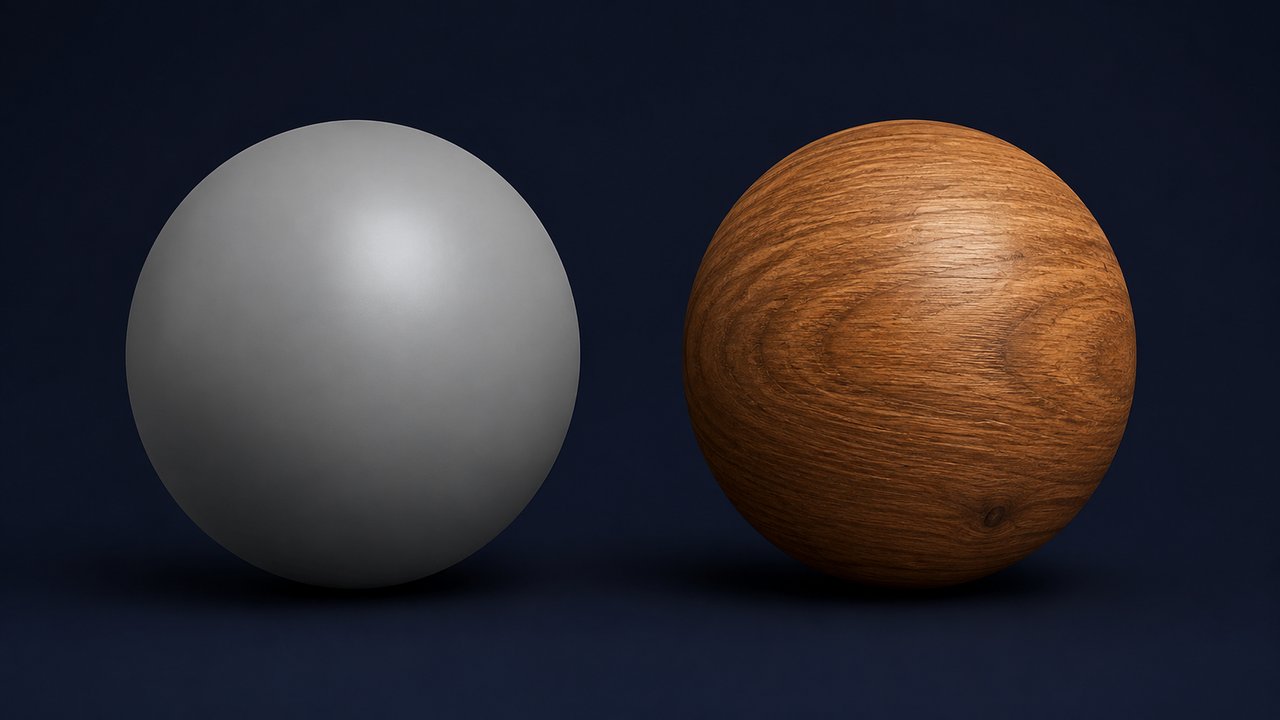
Before you add anything in Blender, it helps to separate two words that beginners use interchangeably. A material is a collection of settings on the surface of a model: its base color, roughness, metallic value, and so on. A texture is an image (or a procedural pattern) that feeds values into those settings. When people search for how to add a texture in Blender, they almost always mean the same thing: get an image to show up on the model’s surface.
Think of it this way. The material is the recipe and the texture is an ingredient. A material can exist with no texture at all, a flat color like a grey plastic sphere. The moment you connect an image to the material’s base color, the flat surface becomes a wood grain, a metal panel, or a face. Everything you do in the rest of this tutorial is about making that connection, and then telling the image exactly where on the mesh it belongs.
How to Add an Image Texture in Blender (The Basics)
This is the core workflow for how to add a texture in Blender, and it works the same way in every recent version. You will use the Shader Editor, the window where a material is built from connected nodes. If your texture is already on the model, this is the part that shows you what is actually happening under the hood.
Step 1. Switch to the Shading workspace
At the top of Blender, open the Shading workspace. The viewport splits into two areas: the 3D view on one side and the Shader Editor on the other. Select your object in the 3D view. The Shader Editor shows a node called Principled BSDF connected to a Material Output node. That Principled BSDF node is the material, and right now it uses a flat default color.
Step 2. Add an Image Texture node
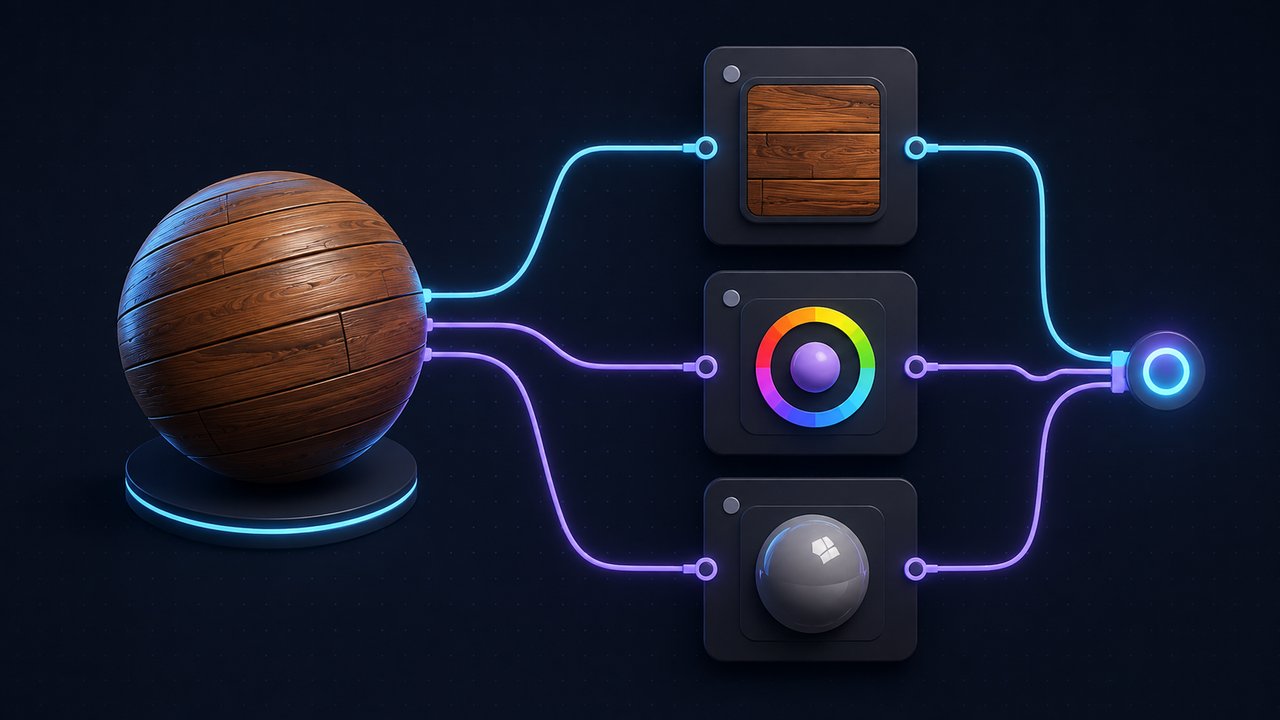
Inside the Shader Editor press Shift+A, choose Texture, then Image Texture. A new node appears with a blank thumbnail. Click its folder icon to load your image file, for example a wood grain JPG. You now have a texture node that carries both the pixels and the file path. Keep the Color Space set to sRGB for color maps; you will change it to Non-Color later for normal and roughness maps.
Step 3. Connect the color into Base Color
Drag from the yellow Color output on the Image Texture node to the yellow Base Color input on the Principled BSDF node. The flat surface changes immediately in the viewport if you are in Material Preview or Rendered view (tap Z and pick Material Preview). That single connection is the whole trick behind how to add texture in Blender.
Three more connections cover the rest of the material. The Image Texture node also has a Alpha output, useful for transparent textures like cutout leaves. Its Vector input is where the UV coordinates plug in, which you will see below. And you can duplicate the Image Texture node for each PBR map instead of replacing the image each time.
Step 4. Set the texture coordinate to UV
Press Shift+A, add Input, then Texture Coordinate. Connect its UV output to the Vector input on the Image Texture node. Without this, the image still uses the object’s default UV map, but being explicit keeps the link stable if you add more nodes. If you have not unwrapped the mesh, the texture may look stretched; the next sections fix that.
How to Add a PBR Texture in Blender
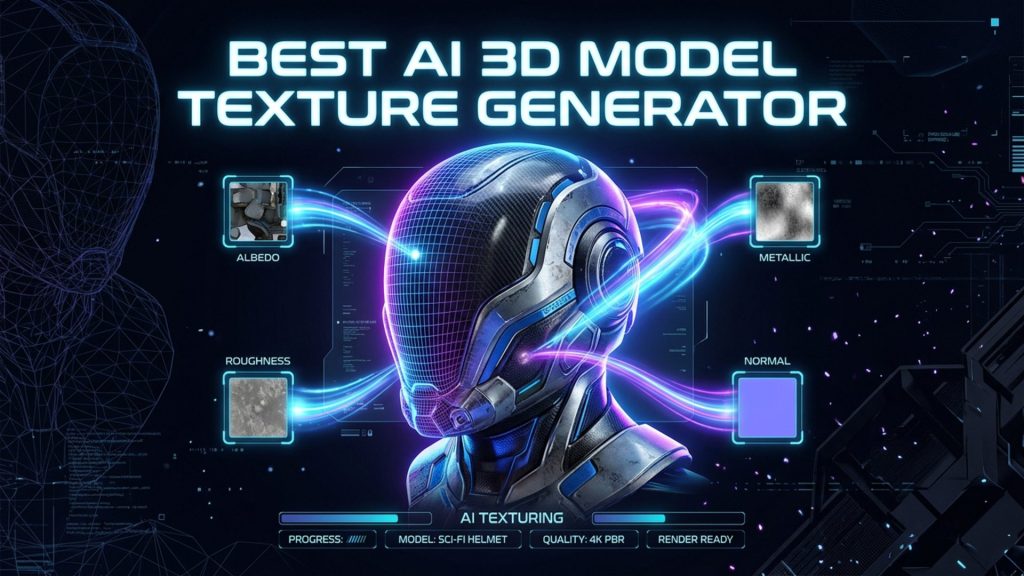
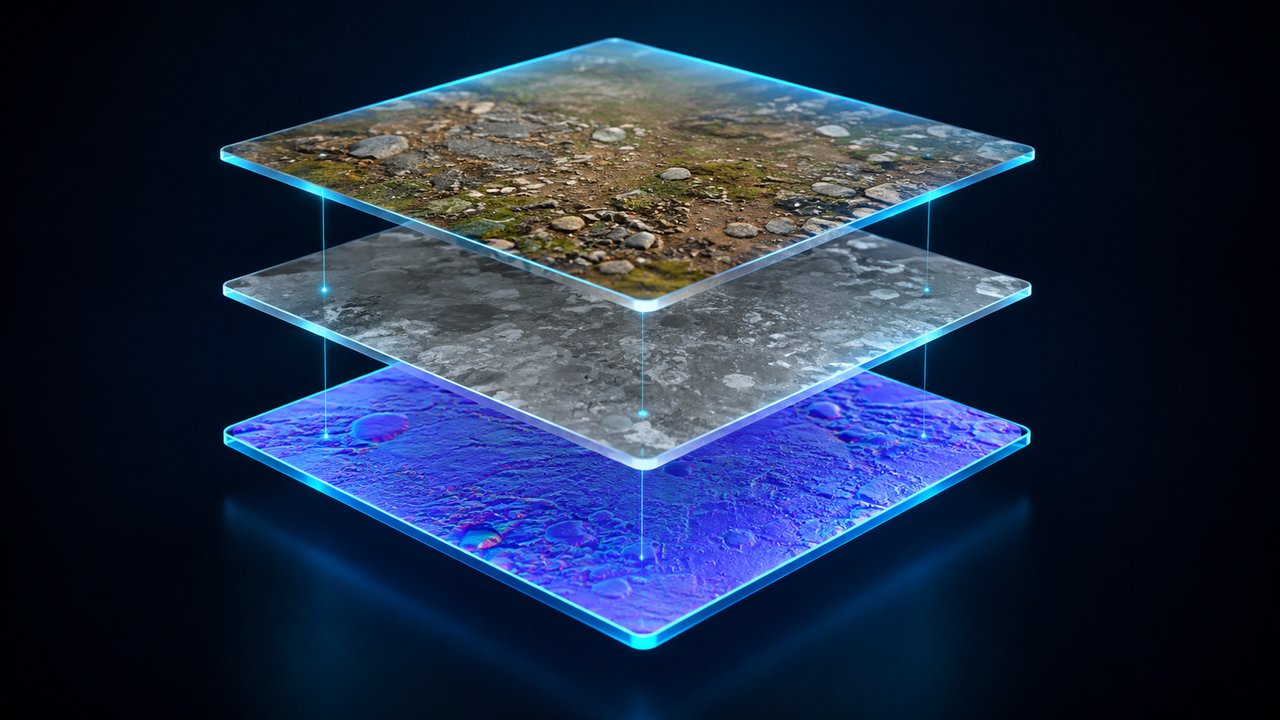
A single image makes a model flat and painted. PBR (physically based rendering) textures make it look like a real object by feeding four maps into the shader: Base Color for the colors, Roughness for how light scatters, Metallic for how conductive the surface is, and Normal for the small surface relief. This is the standard pipeline when you add a texture in Blender for game assets, product shots, or anything that needs to catch light.
PBR texture sets usually ship as separate files with names like wood_albedo.png, wood_normal.png, and wood_roughness.png. Load them the same way as before, with one important difference: for every map except the base color, set the Color Space of the Image Texture node to Non-Color. Color spaces exist to render pixels correctly, and data maps like normal and roughness are not colors, so they must be flagged Non-Color or the shader reads wrong values.
Wire the PBR stack
Add four Image Texture nodes and load the four maps. Connect Base Color into Base Color. Connect Roughness (with its own node set to Non-Color) into the Roughness input. Connect Metallic into Metallic. For the normal map, add a Normal Map node (found under Shift+A, Color, Normal Map) between the image and the shader, and connect the image’s Color output to the Normal Map’s Color input, then the Normal Map’s Normal output into the Principled BSDF Normal input. If you prefer, the Node Wrangler Ctrl+Shift+T shortcut imports and wires the entire stack at once.
The result reads as a physically believable material: the base color sets the look, the roughness kills the plastic sheen, the metallic makes metal look like metal, and the normal map adds bumps without adding geometry. To see the difference, switch between a plain color-only material and the PBR stack in Rendered view.
How to Add a Texture Without UV Unwrapping: 3 Fast Shortcuts
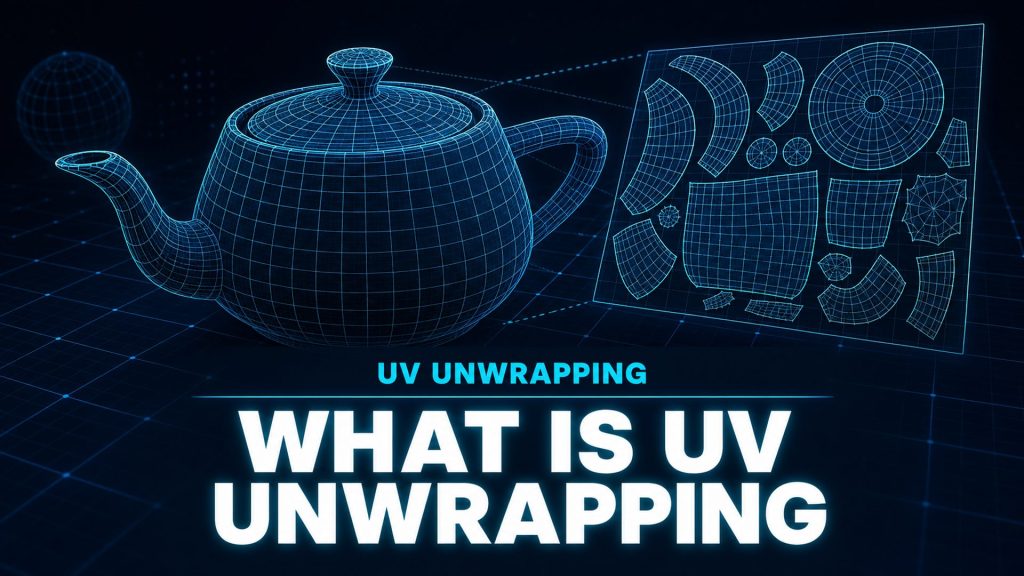
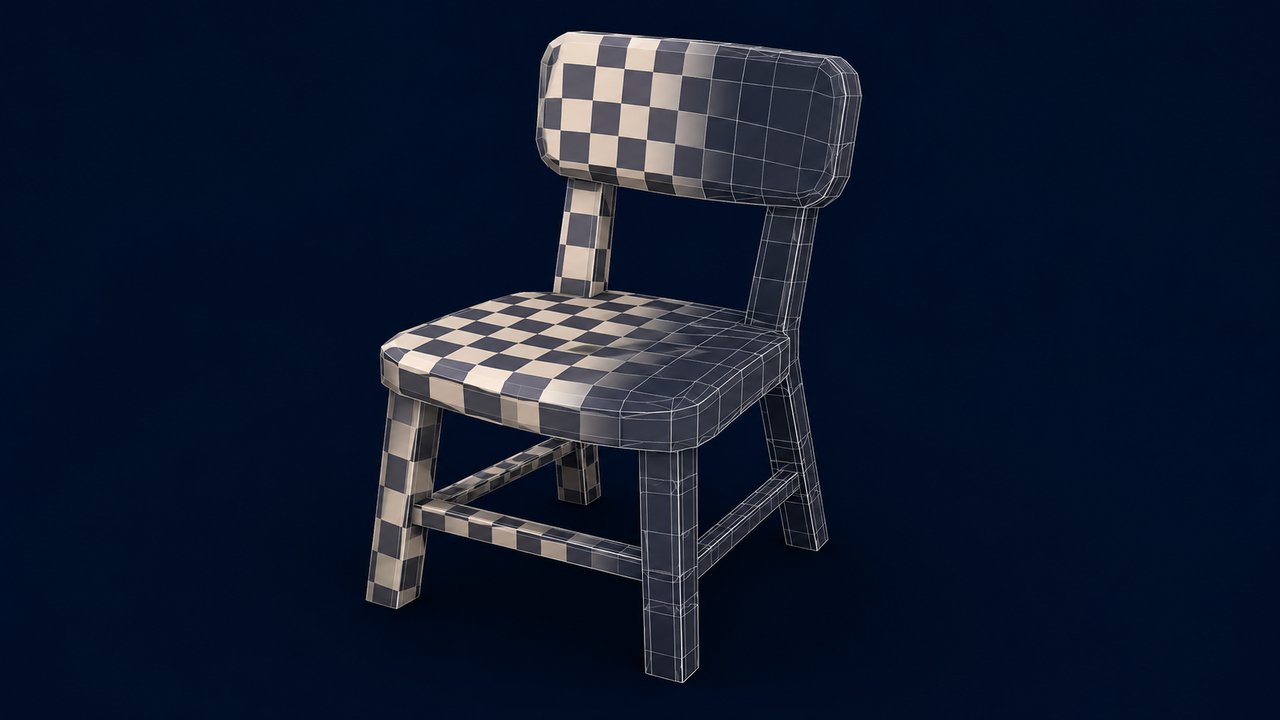
Every image texture needs UV coordinates, the 2D positions that tell the image where each point of the mesh sits. A clean, hand-made UV unwrap gives you full control, but it is the slowest part of texturing. If you need to understand the full process first, our guide to UV unwrapping in Blender covers it in detail. When you only need the texture to look reasonable quickly, three shortcuts remove the manual unwrap almost entirely.
1. Let the texture repeat with Box projection
Add a Texture Coordinate node and a Mapping node. Feed the texture’s Vector into a Mapping node, and set its projection to Box. Box projection projects the image onto the mesh from six directions and blends the seams, which works surprisingly well on rocks, wood, and other surface materials where a little repetition is invisible. Adjust the Mapping node’s scale to change the tile size.
2. Use Smart UV Project
For a quick unwrap, select the mesh in Edit Mode, press U, and choose Smart UV Project. Blender cuts the mesh into islands and lays them out automatically with sensible defaults. It is not as elegant as a manual unwrap and can stretch on curved surfaces, but it gets a texture on a model in seconds when you add a texture in Blender and just need a usable result.
3. Enable the Lightmap Pack for a uniform fill
Under the same U menu, Lightmap Pack packs the islands densely for a single texture sheet with even density, which suits assets that will be baked or displayed in real time. It trades clean seams for uniform pixel density, and it is the fastest option when the exact seam placement does not matter.
How to Fix a Texture That Will Not Show in Blender
The most common reason people abandon a texturing attempt is a model that looks plain despite a connected image. Almost every case falls into one of four fixes, and they are all fast.
You are in the wrong viewport mode
Textures only render in Material Preview and Rendered view. If you are in Solid view, the model looks grey no matter what is connected. Tap Z and choose Material Preview to confirm the texture is actually wired correctly.
The texture shows as pink or magenta
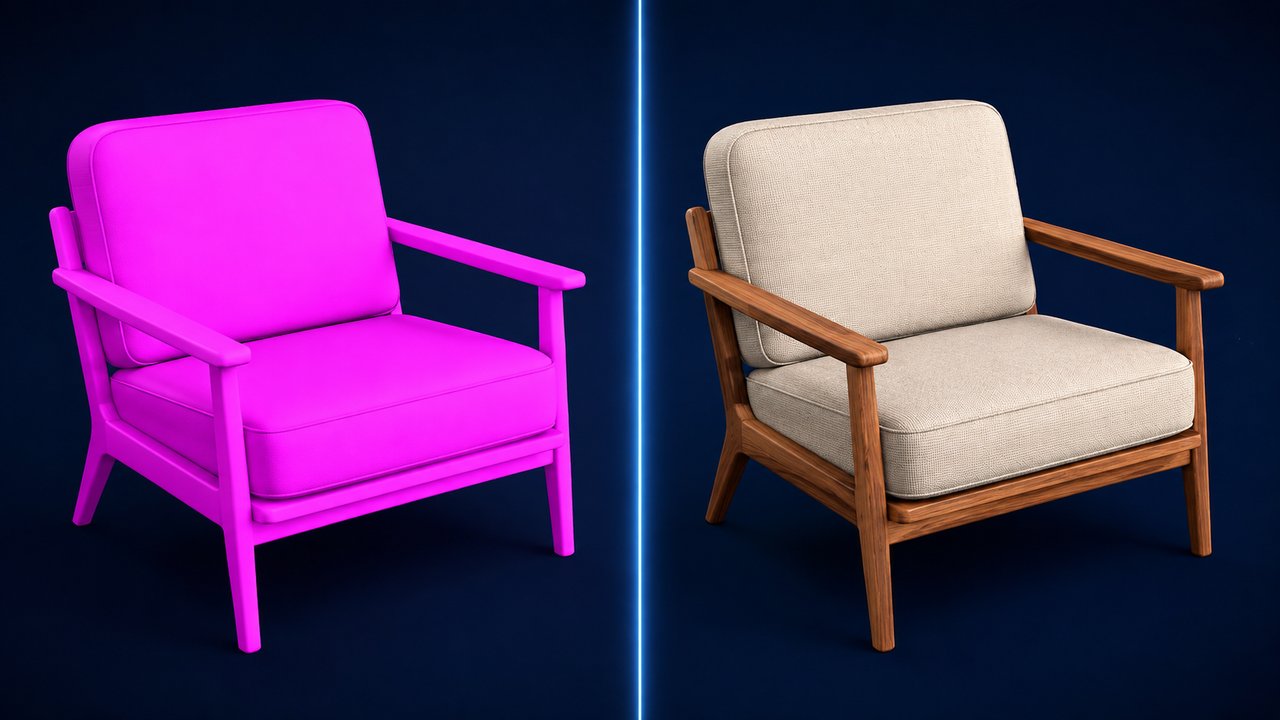
A solid pink material means Blender cannot find the image file. The most common cause is a texture that was packed or referenced from another computer, so the file path broke. Open the Image Texture node and click the folder icon to reload the image, or pack it into the file with File, External Data, Pack Resources. A pink material is a missing file, not a broken node.
The image is there but the mesh looks flat
This is usually a UV problem. Without UV coordinates the image has nothing to map to, so it defaults to stretched or blank. Select the mesh, enter Edit Mode, press U, and choose Smart UV Project, then check the viewport again. If only part of the model shows the texture, the mesh has multiple materials and the image is connected to just one of them.
The texture is blurry or low resolution
Your image file may be small, or the UV islands are stretched across it unevenly. Check the image dimensions, and if you used a small JPG, use a larger texture or enable the Lightmap Pack for even density. For real-time engines, also confirm that texture filtering is enabled in the shading settings.
How to Create Textures in Blender: Procedural, Painted, and AI
So far every step assumed you already have an image. When you search for how to create textures in Blender, three different approaches come up, and each fits a different project.
Procedural textures: no image file needed
Blender can generate textures from math instead of pixels. Press Shift+A in the Shader Editor and add Texture, Noise Texture or Checker Texture, then feed them through color ramps and math nodes into the shader. Procedural textures never stretch, scale infinitely, and take up almost no memory, which makes them ideal for placeholders, terrains, and materials you want to tweak endlessly. They are harder to control precisely than a painted image.
Texture painting: draw directly on the model
Switch the top-left mode to Texture Paint. Blender creates an image texture you can paint on with brushes directly in the viewport, like drawing on the model itself. Texture painting shines for organic detail, dirt, scratches, and characters, and it combines naturally with a UV unwrap. The tradeoff is that hand-painting takes real time.
AI-generated textures: describe it, get the maps
The newest path removes the image search and the node wiring entirely. AI texture tools generate a matching PBR material from a reference photo or a plain text prompt, and the mesh gets a finished, realistic surface without downloading a texture set. For a rundown of the leading options and how they compare, see our guide to the best AI 3D model texture generators. This is the fastest route when you need a material for a production asset and do not want to hunt for a seamless texture or assemble a PBR stack by hand.
AI Texture Generation: Skip the Manual Work
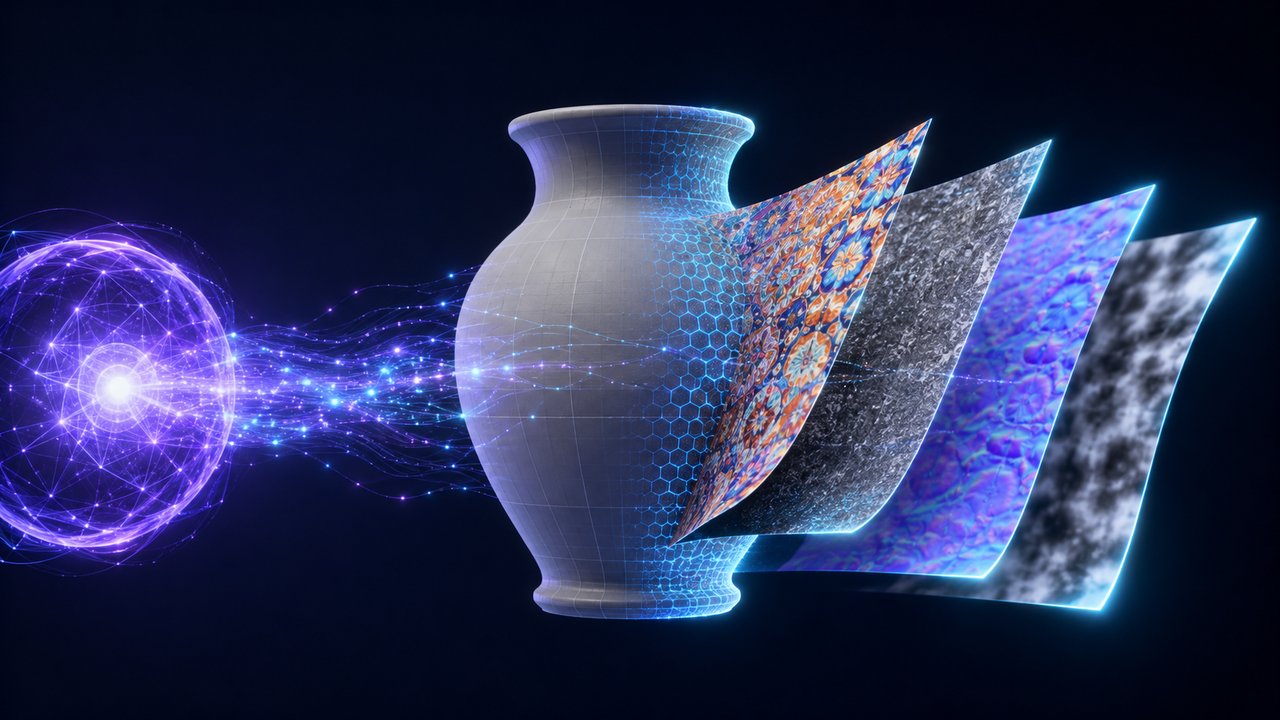
Adding a texture in Blender by hand, from finding a usable image to wiring a PBR stack, is a solid skill and a real time cost on every asset. AI texture generation removes most of it: you describe the material or drop in a reference image, and the tool reads the surface features, gloss, roughness, metalness, and reflection, then applies a matching PBR-compatible texture to the mesh. Instead of building a shader network for each object, you get a production-ready material in one step.
The preparation requirements stay the same as any texturing job. The model needs a clean, closed mesh so the texture wraps predictably, and it needs UVs if you plan to tweak the maps later. A broken or messy mesh will fight you no matter which method you use, which is why retopologizing AI models before texturing makes a real difference in the final look.
Where Neural4D fits is at the very start. Neural4D’s Direct3D-S2 engine outputs watertight meshes with stable topology, so a model generated in the 3D Studio is already a clean base for texturing. From there you can add a texture in Blender with a traditional image or PBR stack, or use Neural4D’s AI Texture to generate and apply a matching material directly. It works from a reference photo or a text prompt, costs 20 credits per generation, and supports models created inside the Studio, so the whole loop, generate a model, texture it with AI, export, fits before Blender even opens. For a walkthrough of the feature, see the guide on using AI Texture to apply materials to a mesh.
Texture a Model in Seconds Instead of Hours
Generate a clean, watertight model, then let AI apply a matching PBR material from an image or a text prompt.
Free 50 credits every week, no credit card required.
Common Questions on Adding Textures in Blender
There is no import command for textures in the usual sense. Instead you add an Image Texture node in the Shader Editor, click the folder icon, and load the image file from disk. Blender references the file by path, so if you move the file later, the texture goes pink until you reload it. To embed the image into the .blend file, use File, External Data, Pack Resources.
Select the face in Edit Mode, then assign a new material slot in the Material Properties panel and click Assign. Give that material its own Image Texture node. Each material slot can carry a different texture, so the face shows only its assigned image. Keep the UV islands for that face inside the 0 to 1 square so the image maps cleanly to it.
Pink means Blender cannot find the image file, almost always because the file path broke or the image was never loaded. Open the Image Texture node and reload the image with the folder icon, or pack the file into the project with File, External Data, Pack Resources. Pink is a missing file, not a broken node connection.
Yes, a proper unwrap is what gives every vertex a stable 2D position for the image. Without it the texture stretches or defaults to a flat projection. You do not always need a hand-made unwrap though: Smart UV Project gives a usable layout in one click, and Box projection lets a texture repeat on the surface with no manual unwrap at all.
Use procedural textures. Add a Noise Texture or Checker Texture node in the Shader Editor and feed it through color ramps and math nodes into the shader. Procedural textures never stretch, scale infinitely, and take no file storage, which makes them great for placeholders and terrain. For hand-drawn detail instead, Texture Paint mode lets you paint directly on the model.
Yes. Any AI-generated model can be textured in Blender with the same image texture and PBR steps in this tutorial, as long as the mesh is clean and watertight. If the model was created inside Neural4D’s 3D Studio, you can skip straight to AI Texture, which generates and applies a matching PBR material from a reference image or text prompt directly on that mesh.
Add a Production-Ready Texture Faster
Knowing how to add texture in Blender now gives you a clear ladder. Wire a single image into the Base Color of a Principled BSDF for the basics. Stack PBR maps for materials that catch light like real surfaces. Use Box projection or Smart UV Project when you need speed, and troubleshooting the pink or flat result is a four-check list, not a mystery. The manual path teaches you exactly how a texture becomes a surface.
For production work the time argument becomes hard to ignore. Every asset needs a texture, and the manual loop of finding a seamless image, unwrapping, and wiring a PBR stack repeats on every model. That is why AI texture generation is the fastest path to a finished asset: a clean model, a reference photo or a sentence, and the material is applied. Once you know how to add texture in Blender and where the AI shortcut fits, the process gets faster with every asset. From here, the next step for an animated character is the rigging workflow, so our tutorial on how to rig a model in Blender picks up where texturing leaves off.
Start With a Model Built for Texturing
Generate a watertight model in Neural4D, then apply a matching PBR texture with AI in seconds.
Exports to FBX, GLB, OBJ, USDZ, STL, and BLEND.