
How to Rig a Model in Blender: Step by Step Tutorial
Quick Summary
- Rigging a model in Blender means building an armature, a skeleton of bones, inside the mesh so it can be posed and animated.
- Building a manual armature bone by bone and using the Rigify add-on are the two standard paths; both end with automatic weights and weight painting.
- Automatic weights give a solid first pass at skinning, and weight painting fixes the spots where bones pull the mesh the wrong way.
- Neural4D’s AI auto rigging generates a clean skeleton and skin weights in one step, which removes most of the manual setup covered in this tutorial.
The fastest way to learn how to rig a model in Blender is to build one armature by hand, understand what each bone does, and then decide whether to automate the process. This tutorial covers the complete workflow: building a manual skeleton, using the Rigify add-on, and using AI auto rigging for the fastest path to an animation-ready asset. By the end you will know how to rig a model in Blender from scratch and know exactly where each method saves or costs you time.
Table of Contents
- What Is Rigging and Why Does a Model Need a Skeleton?
- How to Prepare Your Model Before Rigging
- Method 1: Build a Manual Armature Bone by Bone
- Method 2: Auto-Rig with the Rigify Add-on
- Method 3: Skip the Rigging with AI Auto Rigging HOT
- How to Fix Weight Painting So Deformation Looks Natural
- How to Rig and Animate in Blender: Next Steps
- Common Questions on Rigging a Model in Blender
- Build Your Next Animated Character Faster
What Is Rigging and Why Does a Model Need a Skeleton?
Rigging is the process of placing a digital skeleton, called an armature, inside a 3D model. The skeleton is made of bones, and each bone acts like a joint that can rotate and slide. When you move a bone, the mesh around it moves too, which lets you pose a character, walk it forward, or make it wave instead of manually moving every vertex.
Without a rig, a character is a single frozen object. You can rotate the whole mesh, but you cannot bend an elbow or turn a head. An armature gives the model internal structure so the parts can move independently while staying connected. The first time you try to rig a model in Blender, the armature concept is the part that takes the longest to make instinctive; once it clicks, the rest of the workflow follows logically.
A bone does not pull the whole mesh at once. Blender assigns each vertex a weight, a number from 0 to 1, that decides how much each bone controls it. A vertex with full weight on the forearm bone follows the forearm; a vertex near the elbow splits its influence between the upper arm and forearm so the bend looks smooth. The sum of this control data is called skinning, and it is the part of rigging that takes the most practice.
Blender’s official manual describes the armature as the object that makes animation possible. You can find the full reference at the Blender Armatures documentation.
How to Prepare Your Model Before Rigging
Knowing how to rig a 3D model in Blender is only half the challenge; the other half is giving the armature a mesh that is clean enough to deform well. An armature will not fix broken geometry; it will only make the problems visible when the bones move. Spend ten minutes preparing the model and you will save an hour of weight painting later.
Check the scale and apply transforms
Select the mesh, press Ctrl+A, and choose Apply All Transforms. This resets scale and rotation to their defaults. A scaled object can distort automatic weights, because Blender calculates bone influence in world space and a stretched mesh throws that math off. The character should be roughly life-sized, about 1.6 to 1.8 meters tall for a humanoid, and centered near the world origin.
Check the pose
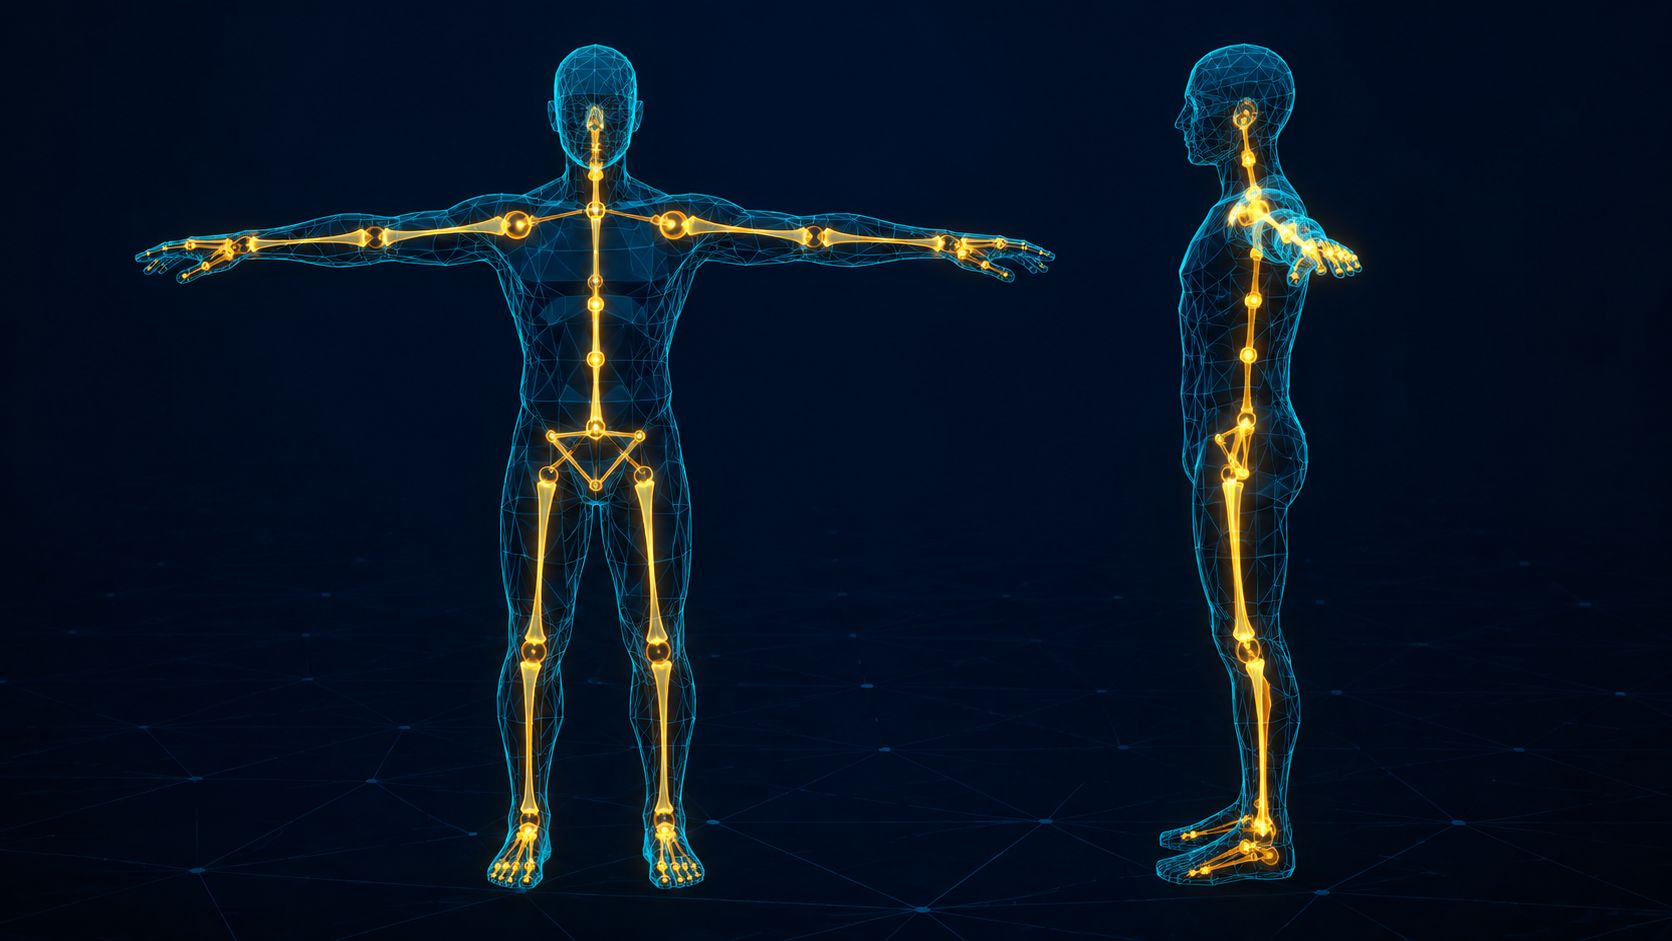
A character in a relaxed T-pose or A-pose, with the arms out and the legs separated, rigs far better than a character standing with arms pressed against the body. In a neutral pose the arm bones sit clearly inside the arm mesh, so automatic weights assign them cleanly. If the model was generated by AI or imported from elsewhere, set it to a symmetric neutral pose before you build the skeleton.
Check the topology
The mesh should be a single object with no internal faces or holes. For animation, extra edge loops around the elbows, knees, and shoulders help the mesh bend without pinching. If you are working with a dense AI-generated mesh, a retopo pass before rigging makes a large difference in how the final deformation looks. See our guide on retopologizing AI 3D models in Blender if you need a cleaner base mesh.
Method 1: Build a Manual Armature Bone by Bone
The manual path is the most complete way to learn how to rig a model in Blender. Building every bone yourself teaches you exactly how rigs work, and it is also the right choice for non-humanoid characters where no template skeleton fits. For a humanoid it takes longer than the automated options, but the control you gain is worth the time on your first attempt.
Step 1. Add the armature
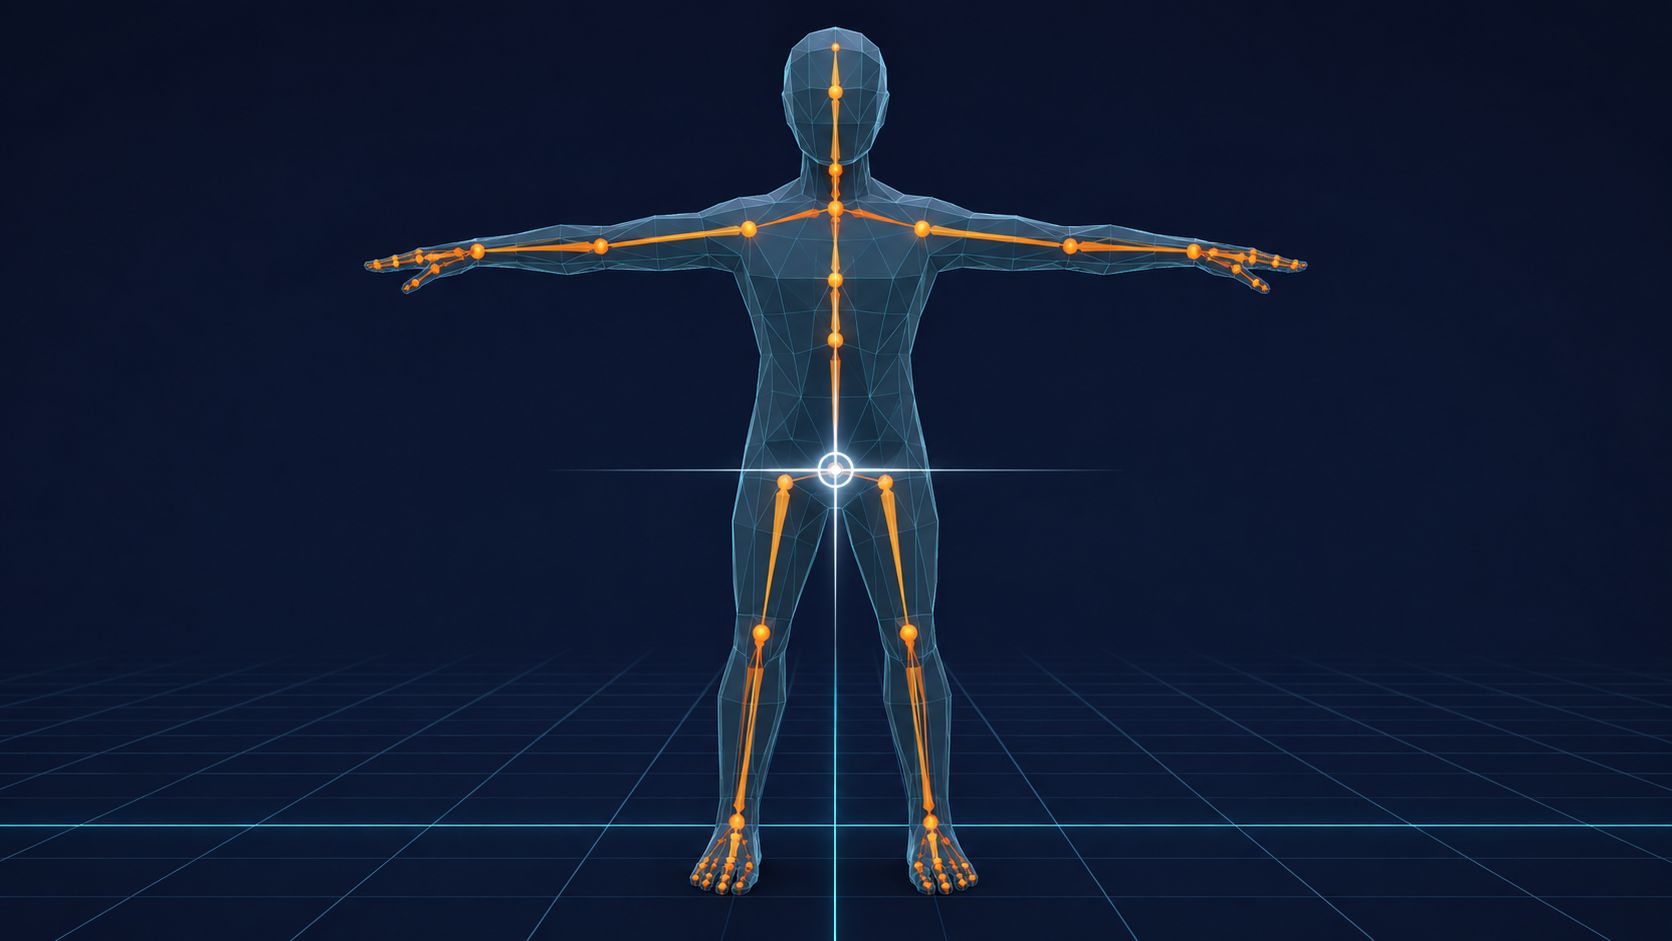
Go to Object Mode, press Shift+A, choose Armature, and select Single Bone. A single bone appears with a ball at each end. The orange ball is the root, and the far end is the tip. Name the armature object, for example Armature, and then enter Edit Mode with Tab to begin shaping the skeleton.
Step 2. Build the bone hierarchy
Position the first bone inside the hips. In Edit Mode, grab the bone with G and move it until the root sits at the hip joint and the tip points up the torso. Press E to extrude a new bone from the tip for the spine, and keep extruding for the neck and head.
For the legs, extrude down from the hips to the knees and then to the feet. For the arms, extrude from the shoulders to the elbows and then to the wrists. Select a bone, press G to move it into place, and always recheck the joints so each bone connects the way a real body does.
Step 3. Name every bone
Name each bone by the body part it controls: Head, Spine, Upper_Arm.L, Lower_Leg.R. The .L and .R suffixes tell Blender which side a bone belongs to, which enables mirroring and lets external tools understand the rig. Clear names matter more than you expect when you come back to a rig months later or hand it off to someone else.
Step 4. Parent the mesh with automatic weights
Return to Object Mode. Select the mesh first, then shift-select the armature so it is the active object. Press Ctrl+P and choose With Automatic Weights. Blender creates an armature modifier on the mesh and generates vertex groups that map each vertex to the nearest bones. Move a bone in Pose Mode and the mesh should follow.
Automatic weights are rarely perfect on the first pass. Arms may pull the torso, or the head may follow the spine instead of the neck. That is normal and it is why weight painting exists. Test the whole rig in Pose Mode, note every spot that deforms wrong, and fix them in the weight painting section below.
Method 2: Auto-Rig with the Rigify Add-on
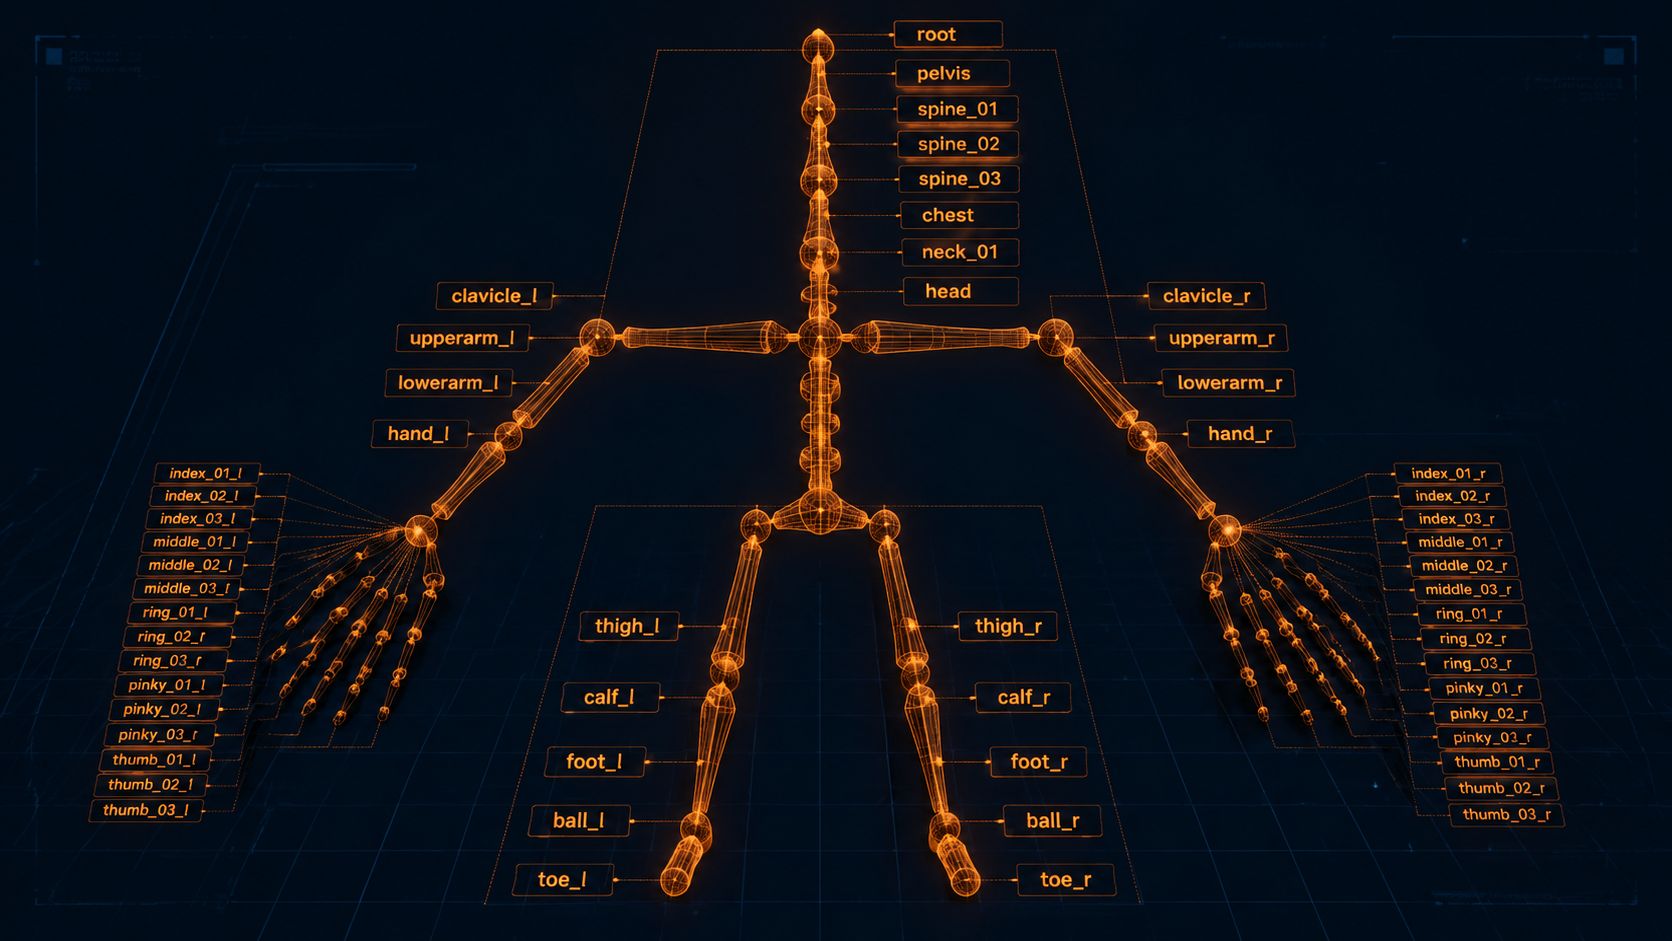
Rigify is a built-in Blender add-on that turns a generic human skeleton template, called a metarig, into a full control rig with inverse kinematics, finger controls, and pole targets. Knowing how to rig a character in Blender with Rigify is the standard skill for humanoid characters that need to be animation-ready without building every constraint from scratch.
Step 1. Enable the add-on
Open Edit, then Preferences, then the Add-ons tab. Search for Rigify, tick the checkbox to enable it, and click Save Preferences. It ships with Blender, so there is nothing to download.
Step 2. Add and align the metarig
Press Shift+A, choose Armature, and pick Human Meta-Rig. The template looks like a simple orange skeleton. Enter Edit Mode and move the joints so they line up with your character’s anatomy: the shoulders at the real shoulders, the elbows at the real elbows, and the knees at the real knees. Viewing from the side while dragging each joint gives the clearest picture of the fit.
Keep the metarig symmetric. If the character is slightly asymmetric, align the center line first and let the left and right sides mirror from it. Blender’s symmetrize tool, under Armature, copies one side to the other when the bones carry .L and .R suffixes.
Step 3. Generate the rig
Select the metarig and switch to the Armature Properties tab. Scroll to the Rigify section and click Generate Rig. Rigify produces a second armature with a full set of controls: IK handles for the arms and legs, a waist control, and individual finger bones. The generated rig is what you animate with, and the original metarig can be hidden or deleted once the new rig is tested.
Step 4. Bind with automatic weights
With the generated rig active, select the mesh first, shift-select the rig, press Ctrl+P, and choose With Automatic Weights. Pose the rig and check the deformation at the shoulders, knees, and hips, then move to weight painting for any area that needs a manual pass.
Rigify shines for humanoid characters a professional animator will push around. The tradeoff is setup time: aligning the metarig carefully is the slow part, and the generated rig has far more controls than a beginner needs for a simple project.
Method 3: Skip the Rigging with AI Auto Rigging
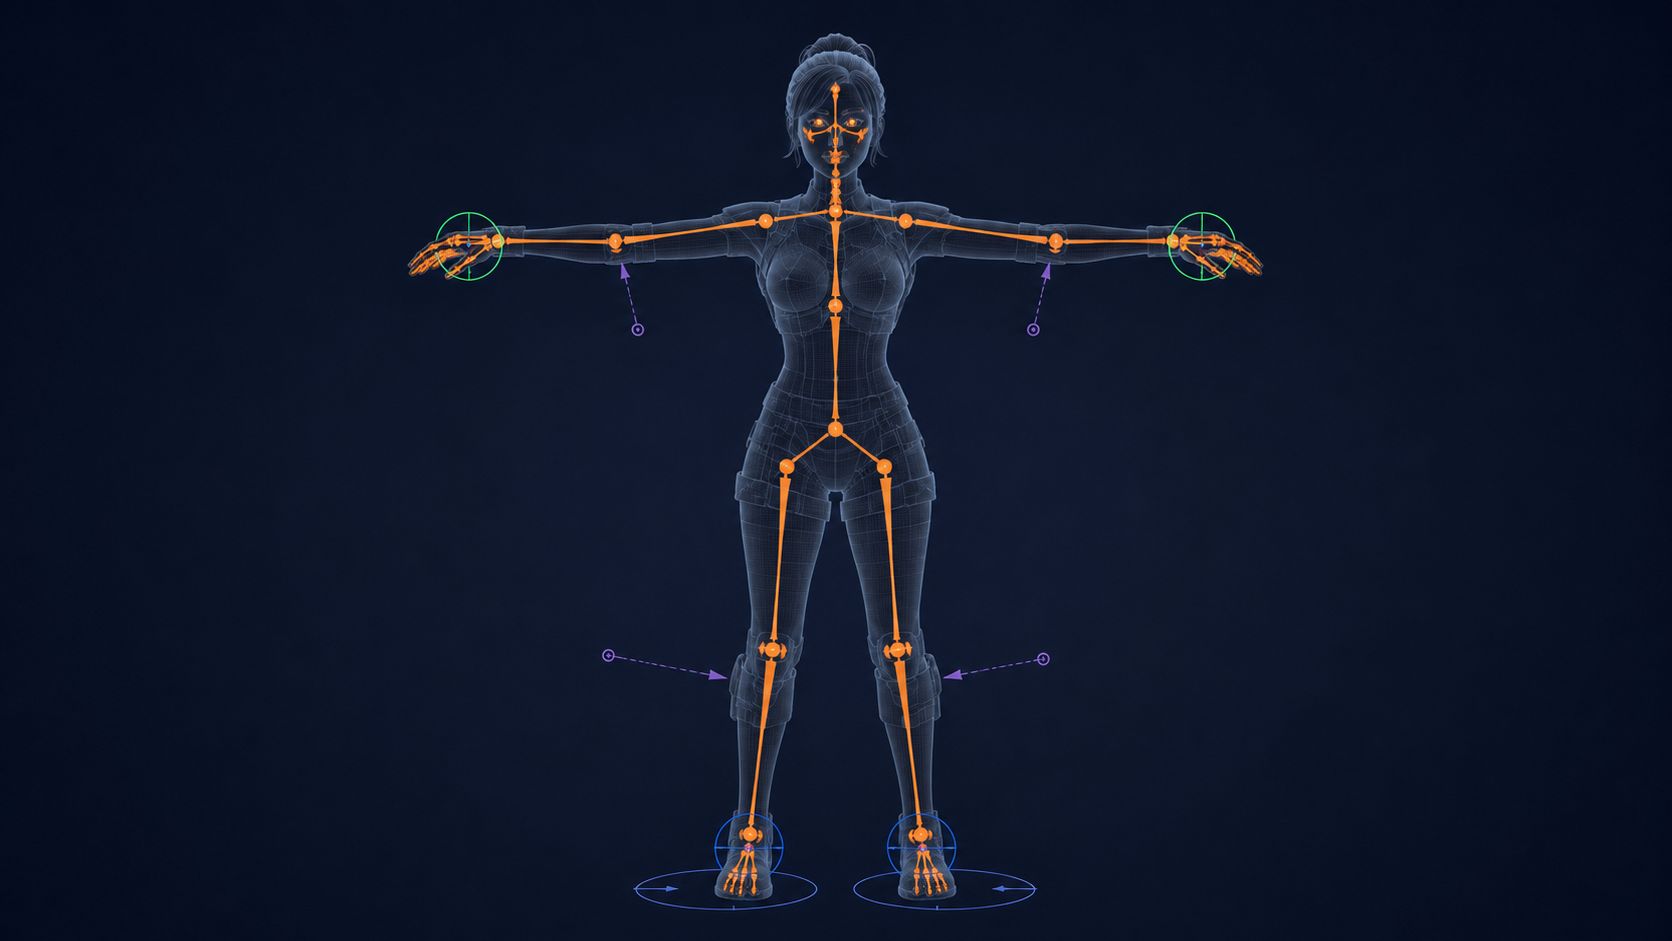
Manual rigging and Rigify both carry a real cost: time. A full character can take hours to rig by hand, and aligning a metarig takes care even with an add-on. AI auto rigging removes most of that setup by reading the model’s geometry and placing the skeleton automatically.
The fastest way to rig a 3D model in Blender, or to skip Blender’s rigging workflow entirely for batch work, is to use an AI auto rigging tool. Auto rigging detects the joints and proportions of a character, generates a clean bone hierarchy and skin weights, and delivers an animation-ready asset without a weight painting session. That is the right approach when you need many characters quickly: a game full of NPCs, a batch of avatars, or a production pipeline where every saved hour compounds. A generated old man 3D model is a useful test case, because elderly faces expose topology problems that smoother characters hide.
The preparation requirements are the same as any rigging method. The model needs to be a single watertight mesh in a symmetric neutral pose, centered at the world origin, with a poly count that fits real-time engines. A character that passes those checks will auto-rig cleanly; a broken mesh will not, no matter which tool you use.
Where Neural4D fits in this workflow is at the very start. Neural4D’s Direct3D-S2 engine, developed from research at Nanjing University and DreamTech, outputs natively watertight meshes with stable topology. Because the models are already watertight, symmetric, and neutral-posed, they line up exactly with what auto rigging expects. You generate a character with Image to 3D, export it, and apply Neural4D’s AI auto rigging to get a clean skeleton and skin weights in a single step, without the manual bone-by-bone work covered in Methods 1 and 2. For the full checklist of what makes a model ready for this step, see the guide on preparing 3D models for auto rigging and animation.

Rig a Character in Seconds Instead of Hours
Generate a clean, watertight character, then let AI place the skeleton and skin weights for you.
Free 50 Power every week, no credit card required.
How to Fix Weight Painting So Deformation Looks Natural
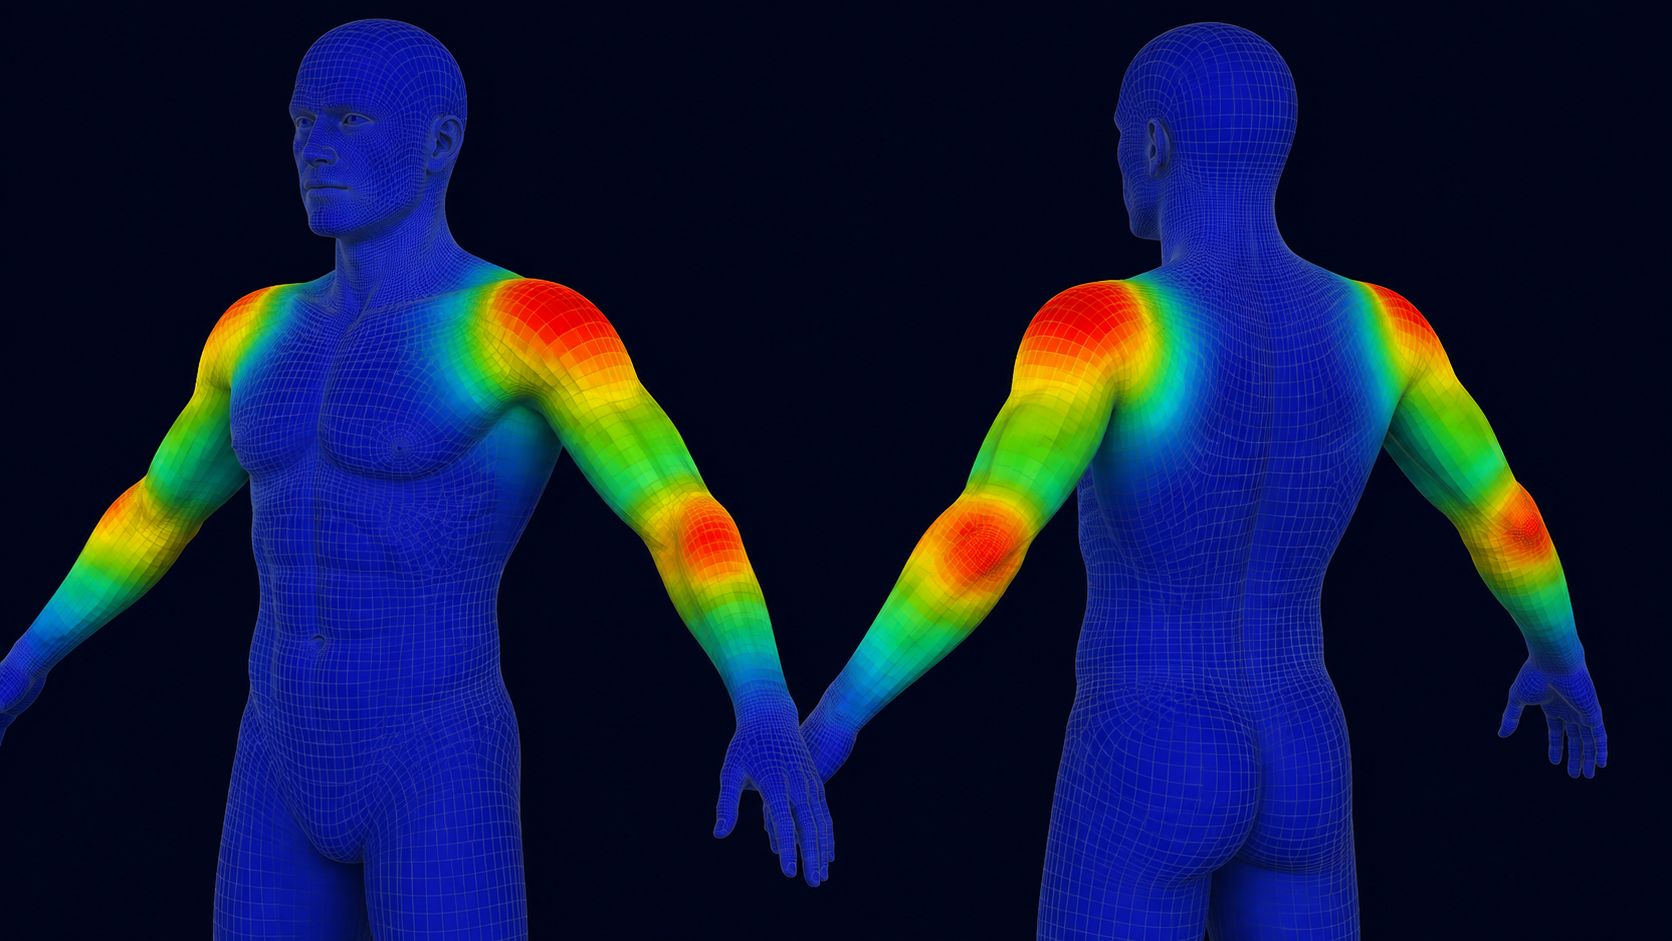
Weight painting is where a rig stops looking like a puppet and starts looking like a body. This step applies whether you learned how to rig a model in Blender by hand or used Rigify; every bind with automatic weights needs a refinement pass. The goal is a smooth gradient of influence so the mesh bends instead of collapsing.
Enter Weight Paint mode
Select the mesh and switch the mode dropdown to Weight Paint. The model turns blue, and the colors show bone influence: red means fully controlled by the active bone, blue means no influence, and the in-between colors show partial weight. Hold Alt and click a vertex to see which bone is active, or pick the bone from the vertex groups list on the right.
Fix the joints that pinch or tear
Rotate a bone in Pose Mode and find the spots where the mesh crushes or stretches oddly, usually at the knees, elbows, or shoulders. Select the mesh, enter Weight Paint mode, and choose the bone that should control the area. Paint at full strength over the vertices that must follow the bone, then switch to a lower strength for the transition zone so the influence fades smoothly into the neighboring bone.
Two fixes solve most weight problems. First, the Subtract brush removes weight that leaked onto the wrong bone, which happens often at the shoulder where the arm bone grabs the neck mesh. Second, the Blur brush smooths a hard edge between two bones so the joint bends like skin instead of snapping like a hinge.
Clean up the vertex groups
When the paint looks right, check the Vertex Groups panel under the mesh’s Object Data Properties. Any bone that should not control the character can be selected and removed. Blender’s Normalize All operation under Weights rescales the groups so every vertex’s weights sum to one, which prevents double-deformation artifacts.
How to Rig and Animate in Blender: Next Steps
Once you know how to rig a model in Blender and the weights are clean, the character is ready to move. The next step is animation, and the workflow depends on what you are building.
For a game or interactive scene, export the rigged model as an FBX file. FBX preserves the bone hierarchy, vertex weights, and any baked animations, and it imports cleanly into Unity, Unreal, and Godot. Check the export panel for the correct axis convention, since Unity expects Y-up while Unreal prefers Z-up. If the character came from Neural4D’s auto rigging, the export follows Mixamo’s standard bone naming, which Unity and Unreal recognize without remapping.
For animation inside Blender, switch to the Animation workspace, select the armature, and pose it with keyframes. Press I over the viewport to key a control bone, move the timeline, pose again, and key again. The weight painting you finished is what makes those posed frames look like a living character.
If the model came from an AI generator, there is one more consideration before animating: the mesh quality. A dense, unstructured base mesh deforms poorly regardless of rig quality. The guide on cleaning up an AI-generated mesh before rigging covers the fixes that protect deformation quality, and the comparison of Blender vs Maya for AI-assisted 3D workflows helps you decide where in the pipeline to rig.
Common Questions on Rigging a Model in Blender
Yes. Automatic weights give you a working rig without any manual painting, and Rigify’s generated rig binds the same way. The weights will not be perfect, so expect to do at least a small weight pass at the knees and shoulders for anything you plan to animate seriously. AI auto rigging is the option that eliminates most of the manual paint pass.
Not always, but it helps significantly. A model with clean edge loops at the joints deforms smoothly, while a dense triangulated mesh can pinch and tear when bones bend. If the model is a high-poly sculpt or an AI-generated mesh with no deformation-friendly loops, a retopo pass that adds rings around the elbows and knees gives a much better base for skinning.
FK, forward kinematics, moves each bone in order from the root: you rotate the upper arm, then the forearm, then the hand. IK, inverse kinematics, moves the chain from the end: you place the hand and the elbow and shoulder follow automatically. Most production rigs, including the one Rigify generates when you rig a model in Blender with the add-on, offer both modes and let you switch per control.
The mesh is probably not parented to the armature. Check that the mesh has an Armature modifier in its Modifier Properties panel, and that the armature object is named correctly in that modifier. Also confirm the mesh has vertex groups. If both exist but nothing moves, make sure you are in Pose Mode on the armature, not Object Mode, since bones only deform the mesh in Pose Mode.
Yes, and a manual armature is usually the right tool. A quadruped, creature, or mechanical prop needs a bone hierarchy you place yourself, because no humanoid template fits. Build the bones along the natural joint lines, name them with .L and .R suffixes where the model is symmetric, and use automatic weights the same way you would for a character. The workflow for how to rig a model in Blender is the same; only the bone placement differs.
Rigging in Blender has a real learning curve, but it is structured. The three concepts that take the longest to internalize are bone hierarchies, automatic weights, and weight painting. Most beginners spend a few hours on their first manual armature, then find the second one goes much faster. Rigify reduces setup time once the fundamentals are clear, and AI auto rigging removes most of the manual work entirely for those who prioritize speed over deep knowledge.
Build Your Next Animated Character Faster
Knowing how to rig a model in Blender now gives you three real choices with a clear tradeoff between time and control. Build a manual armature when you want to understand every bone. Use Rigify when you need a full control rig for a humanoid character. Use AI auto rigging when the priority is speed and you want an animation-ready asset without a weight painting session.
Whichever path you choose, the preparation is the same: a clean, symmetric, neutral-posed mesh with applied transforms. That single habit is what separates a rig that deforms beautifully from a rig you will rebuild. Once you know how to rig a model in Blender and which method fits your pipeline, the process gets faster every time.
Start With a Model Built for Rigging
Generate a watertight character in a neutral pose, then auto-rig it for animation in seconds.
Exports to FBX, GLB, OBJ, USDZ, STL, and BLEND.