Batman 3D Print: Complete Guide to STL Files, Settings, and Finishing
Quick Summary
- A Batman 3D print project starts with sourcing quality STL files from platforms like Cults3D, Printables, and CGTrader, where both free and premium options exist for figures, busts, and wearable cowls.
- FDM printing with PLA+ at 0.12mm layer height with tree supports works well for larger props and helmets, while resin printing at 0.03-0.05mm captures finer detail on miniature figures.
- Professional finishing requires a sand-fill-prime cycle, dry brushing for armor depth, and a matte clear coat. Post-processing accounts for roughly half the total project time.
- Neural4D’s Image to 3D and Text to 3D features let you generate a custom Batman model from a reference photo or text description, outputting a watertight STL ready for slicing in minutes.
Batman 3D print files are widely available across multiple platforms, but getting a clean print with professional results depends on choosing the right settings, materials, and post-processing workflow. This guide covers the complete process from finding quality STL files to applying the final paint coat.
- Part 1: Finding Batman 3D Print STL Files
- Part 2: Optimizing Print Settings for FDM and Resin
- Part 3: Post-Processing and Painting for a Professional Finish
- Part 4: Creating Custom Batman 3D Models with AIHOT
- Part 5: Common Questions on 3D Printing Batman Models
- Conclusion: Start Your Batman 3D Print Project Today
Part 1: Finding Batman 3D Print STL Files
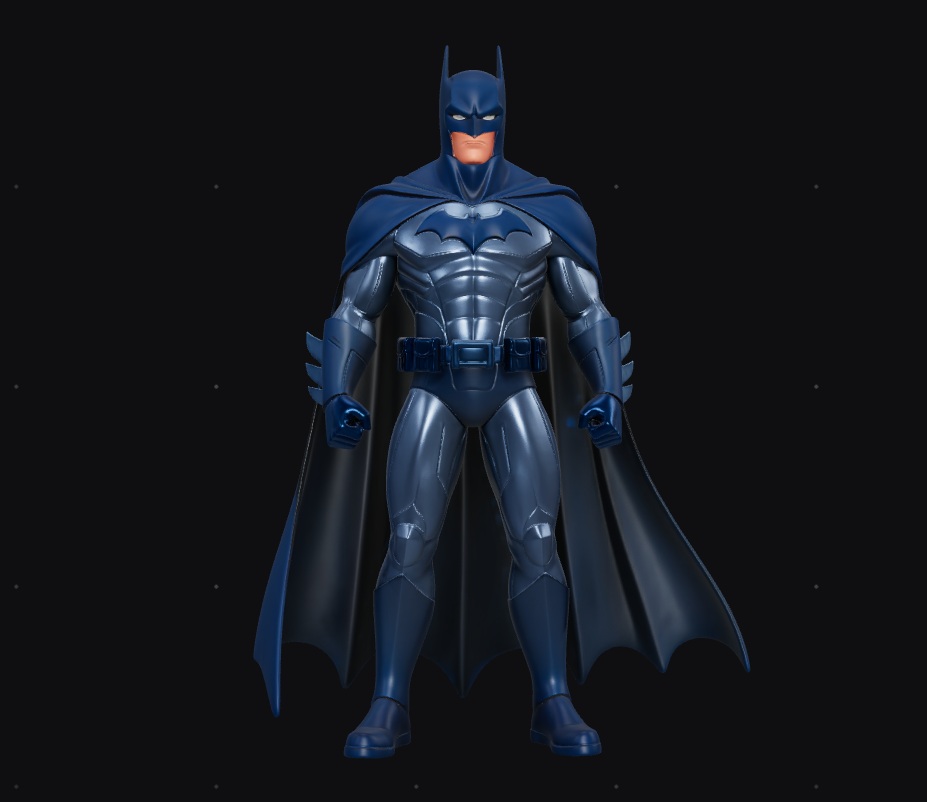
The first step in any Batman 3D print project is locating a high-quality 3D model. The STL file you choose determines the ceiling for your final print quality, so investing time in finding a clean, well-designed model pays off across the entire project.
Where to Find Batman STL Files
Several platforms host Batman 3D models for printing. Printables offers a growing collection of free models including flexi keychains and pre-supported busts. Cults3D carries premium sculpts with detailed surface geometry, often split into multiple parts for easier printing on smaller build plates. CGTrader and Pixup3D stock professional-grade STLs ranging from comic-style figures to screen-accurate cowls.
For wearable helmets, dedicated cosplay sources like Do3D and MyMiniFactory provide tested designs with pre-configured support settings. The Robert Pattinson “The Batman” cowl and the Batman Beyond helmet are among the most popular wearable options, each available in multi-part STL format optimized for both FDM and resin printers.
What to Look for in a Model File
A good 3D printable Batman model should be watertight (no holes in the mesh), have proper wall thickness for your chosen print method, and include logical part separation for multi-piece assemblies. Check community comments and photo makes before downloading. They reveal real-world print quality, support requirements, and common issues like thin cape edges or non-manifold geometry around the cowl ears.
Part 2: Optimizing Print Settings for FDM and Resin
Print settings directly determine whether your Batman 3D print looks like a collectible or a prototype. The right configuration depends on your printer type, the model’s intended use (display vs. wearable), and the level of detail you are targeting. For a complete overview of getting models print-ready, see this guide to preparing models for 3D printing.
FDM Settings for Larger Props and Helmets
For wearable cowls, busts, and larger figure parts, FDM printing with PLA+ is the most practical choice. A 0.4mm nozzle at 0.12mm layer height balances detail with print speed. Increase to 0.2mm layer height for structural parts like helmet bases where surface finish matters less.
| Setting | Display Figure | Wearable Cowl | Miniature Bust |
|---|---|---|---|
| Layer height | 0.12 mm | 0.16-0.20 mm | 0.08-0.10 mm |
| Nozzle | 0.4 mm | 0.4 mm | 0.2-0.3 mm |
| Infill | 12% gyroid | 20% gyroid | 10% rectilinear |
| Wall loops | 3 | 4-5 | 3 |
| Supports | Tree (auto) | Tree (manual painted) | Tree (auto) |
| Material | PLA+ or Matte PLA | PETG or PLA+ | PLA+ or Resin |
Tree supports are strongly recommended for Batman models. The cape overhang, cowl ears, and jawline geometry all benefit from organic support structures that minimize surface scarring. Paint supports to touch only the build plate where possible, and use a support Z distance of 0.2mm for cleaner removal.
Resin Settings for Detailed Figures
For smaller Batman miniatures and highly detailed busts, resin printing at 0.03-0.05mm layer height captures every surface detail. ABS-like resin offers a good balance of detail and durability for display pieces. Orient the model at a 20-30 degree tilt to minimize peel forces, and hollow large models with 2mm drainage holes. Pre-supported STL files save significant setup time and reduce the risk of print failures during long resin runs.
Part 3: Post-Processing and Painting for a Professional Finish
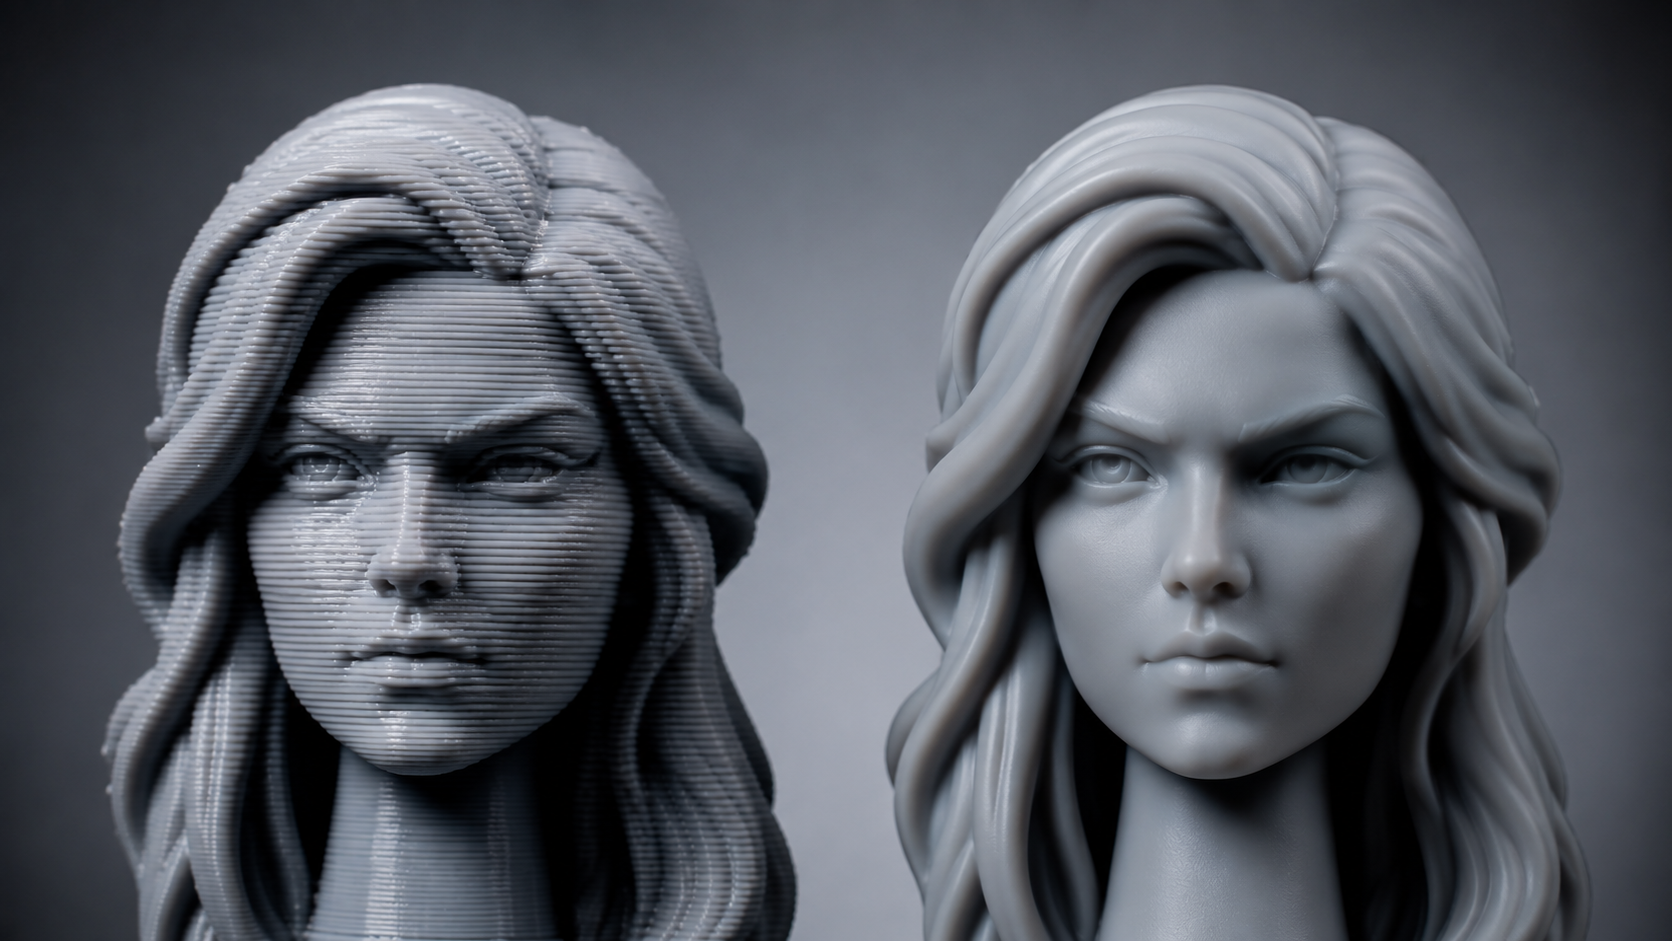
The single biggest difference between an average Batman 3D print and a display-quality piece is post-processing. Plan for roughly half your total project time to be spent on sanding, filling, priming, and painting. Skipping these steps leaves visible layer lines and a plastic sheen that undermines the model’s visual impact. The same finishing workflow applies to other character prints, such as this Darth Vader 3D print guide.
The Sand-Fill-Prime Cycle
Start with 120-grit sandpaper to remove support scars and major layer lines, then progress through 220, 320, and 400 grit. For seams between printed parts, apply automotive body filler putty in thin layers and sand flush after curing. Follow with two to three coats of high-build filler primer, wet sanding with 600 grit between coats. Repeat this cycle until the surface feels smooth to the touch with no visible lines.
Painting and Weathering
Prime with matte gray or black filler primer. For the base coat, use matte black spray paint applied in thin passes. Dry brush gunmetal gray or dark silver on raised edges of the armor plates and cowl to create depth. Apply a dark wash (black acrylic heavily thinned with water or mineral spirits) into recesses and wipe away the excess for shadow definition. Seal with a matte clear coat for a screen-accurate finish, or satin for a comic-book look. The official SOLIDWORKS Tech Blog publishes a multi-part series on high-quality finishing for 3D printed props that covers sanding, filler primer application, and weathering techniques in greater detail.
For wearable Batman cowls, add foam padding (3-10mm strips) at the forehead, cheekbones, and chin to distribute weight comfortably. Install dark tinted PETG or acrylic lenses for the eyes. A simple voice modulator circuit behind the mouth grille adds a functional upgrade that dramatically improves the cosplay impact.
Part 4: Creating Custom Batman 3D Models with AI
Downloading existing STL files is the fastest route to a finished print, but what if you want a specific pose, a unique variant, or a model that matches your exact scale requirements? AI 3D generation tools let you create a custom Batman model from scratch, giving you full control over the final design.
How Neural4D Fits Into the Workflow
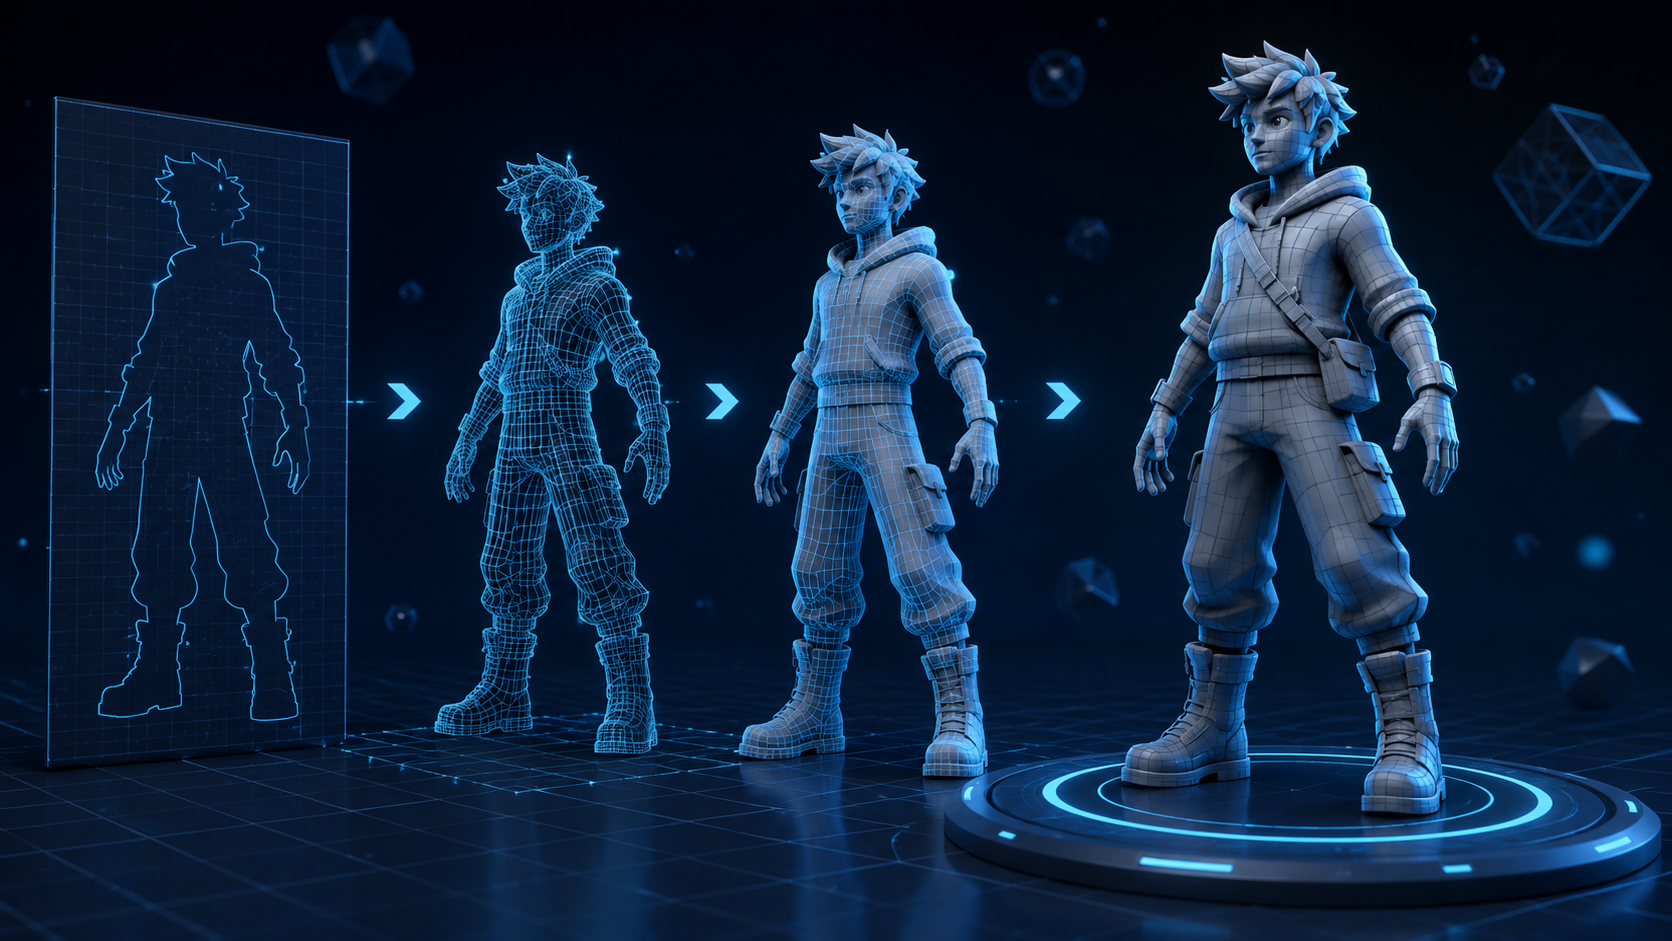
Neural4D’s Image to 3D feature converts a single reference photo into a production-ready 3D mesh. Upload a front and profile view of a Batman reference image, and the Direct3D-S2 engine reconstructs a watertight model with clean topology in about 90 seconds for the base mesh. If you need PBR textures (normal, roughness, metallic maps), select that option before generating. The system produces textured geometry in a single pass, with total time of 2 minutes or more depending on complexity.
For text-based generation, Neural4D’s Text to 3D feature builds a model from a written description. Describe the pose, costume style, and proportions, and the engine generates a printable mesh. The output exports directly as STL, OBJ, or GLB, bypassing the need to search through STL libraries for the exact model you have in mind. For a broader comparison of available AI tools in this space, check out best AI tools for 3D printing.
From AI Model to Print Bed
The key advantage of using Neural4D for a Batman 3D print is that the output is watertight by default. Unlike some AI generators that produce open meshes with non-manifold edges, Neural4D’s SSA (Spatial Sparse Attention) architecture ensures the geometry is closed and manifold-ready. You can export the STL and load it directly into your slicer without any mesh repair in Blender or Meshmixer.
Generate Your Custom Batman 3D Model
Upload a reference photo or write a description. Get a watertight STL in minutes, not days.
No credit card required • 50 free Power credits every week
After generating your model, you can refine the geometry using Neural4D-2o conversational editing, where you describe changes in natural language and the system adjusts the mesh accordingly. For example, “thicken the cape” or “widen the shoulder armor” applies the modification without manual sculpting. Note that this editing mode only works on models originally generated by Neural4D-2o, not on imported STL files from other sources.
Part 5: Common Questions on 3D Printing Batman Models
Q: Where can I find free Batman STL files for 3D printing?
Printables.com has free models including a Dark Knight flexi keychain and a pre-supported Batman bust. Cults3D offers both free and premium options. STL Finder aggregates results across multiple repositories so you can filter by license type. For reliable free sources, check the community rating and photo makes before downloading to confirm the model prints cleanly.
Q: What is the best filament for a Batman figure or helmet?
PLA+ is the best all-around choice for display figures and helmets. It prints easily, sands well, and takes paint without issue. For wearable cowls that need impact resistance, PETG is stronger and handles higher temperatures. For highly detailed miniature busts, ABS-like resin produces the smoothest surface finish with minimal layer visibility.
Q: How long does it take to 3D print a Batman cowl?
A full wearable Batman cowl printed on an FDM printer at 0.16mm layer height typically takes 60-80 hours. Splitting the model into separate parts (forehead, jaw, back of head) and printing them simultaneously on multiple printers reduces that to 20-30 hours of wall clock time. Resin cowls print faster per part but often require more assembly steps afterward.
Q: Can AI generate a Batman model that is ready for 3D printing?
Yes, but the output quality depends heavily on the AI engine. Neural4D’s Image to 3D produces watertight, manifold-ready meshes that load directly into slicers without mesh repair. Many other AI 3D generators produce open geometry with holes or non-manifold edges that require cleanup in Blender or Meshmixer before printing. Always check your AI-generated model for watertightness in the slicer preview before committing to a print.
Q: Do I need a resin printer for Batman miniatures, or will FDM work?
FDM printers with a 0.2mm nozzle and 0.08mm layer height can produce good results on Batman miniatures up to about 100mm tall, but you will see visible layer lines after printing. For figures smaller than 75mm or highly detailed busts with complex surface geometry, resin printing at 0.03-0.05mm captures the cowl detail, armor texture, and cape folds more accurately with minimal post-processing.
Q: How do I prevent support scars on the cape and cowl surfaces?
Use tree/organic supports and enable “support on build plate only” so no supports touch the model’s visible surfaces. Orient the model chin-up so the cape overhang faces upward and the flat back of the cowl sits on the build plate. Setting support Z distance to 0.2mm (or twice your layer height) makes support removal cleaner. After removal, sand the contact points starting at 220 grit and progress to 400 before priming.
Q: What paint works best on 3D printed Batman props?
Rust-Oleum matte black filler primer is the standard base for most 3D printed Batman props because it fills fine layer lines while priming. For the top coat, water-based acrylics (Citadel, Vallejo, or Army Painter) work well for hand-painted details and weathering. Montana Gold or Molotow spray paints provide durable finishes for larger surfaces. Always seal with a matte varnish to protect the paint during handling or cosplay wear.
Conclusion: Start Your Batman 3D Print Project Today
A Batman 3D print project is one of the most rewarding builds in the maker community: you go from a digital STL file to a physical collectible or full wearable cowl that you designed and finished yourself. The workflow has three stages: sourcing or generating a quality model, dialing in your print settings, and investing time in post-processing, and each stage directly affects the final result.
For makers who want full control over their model, Neural4D’s Image to 3D and Text to 3D features remove the biggest bottleneck: finding the perfect STL file. You can generate a custom model from a photo or description and get a watertight Batman 3D print ready mesh in minutes, not hours. Every 50 Power credits are free every week, so there is no barrier to trying it on your next build.
Your Next Build Starts Here
Generate, download, and print a custom 3D model with Neural4D. No modeling experience needed.
Create Your Batman 3D Print Model
Free to start • STL/OBJ/GLB export • Watertight mesh guaranteed