Quick Summary
- A 3D printed toy story is the at-home workflow that turns a kid’s drawing into a real physical figurine using AI sketch to 3D and a desktop FDM or resin printer.
- Meshy, Sloyd, and Tripo are AI tools that accept hand-drawn input and output printable meshes in formats like STL, OBJ, GLB, and FBX.
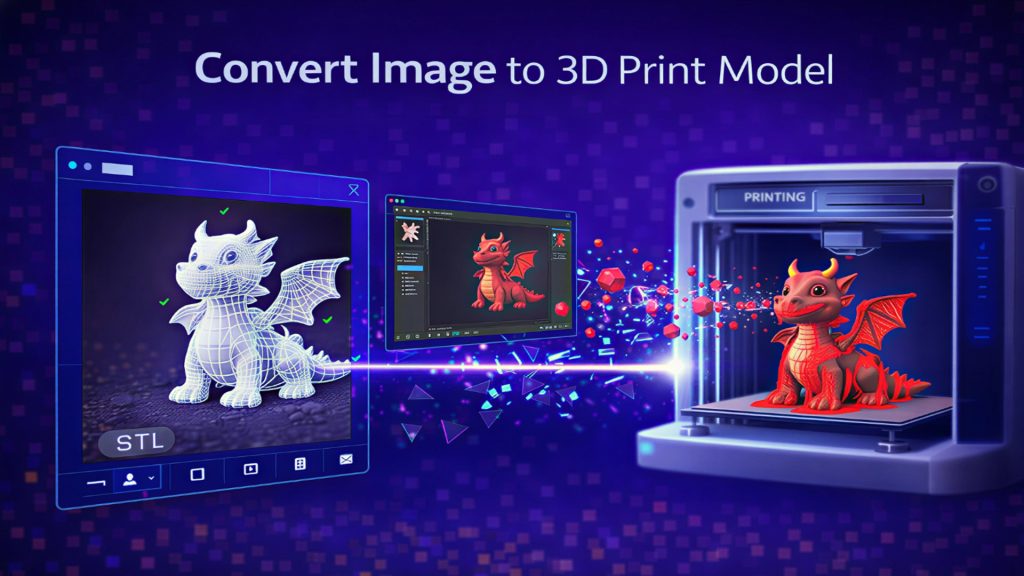
- Neural4D generates a watertight base mesh in roughly 90 seconds using its Direct3D-S2 architecture, producing geometry that drops straight into a slicer without manual hole-patching, the cleanest path from sketch to 3D printed toy.
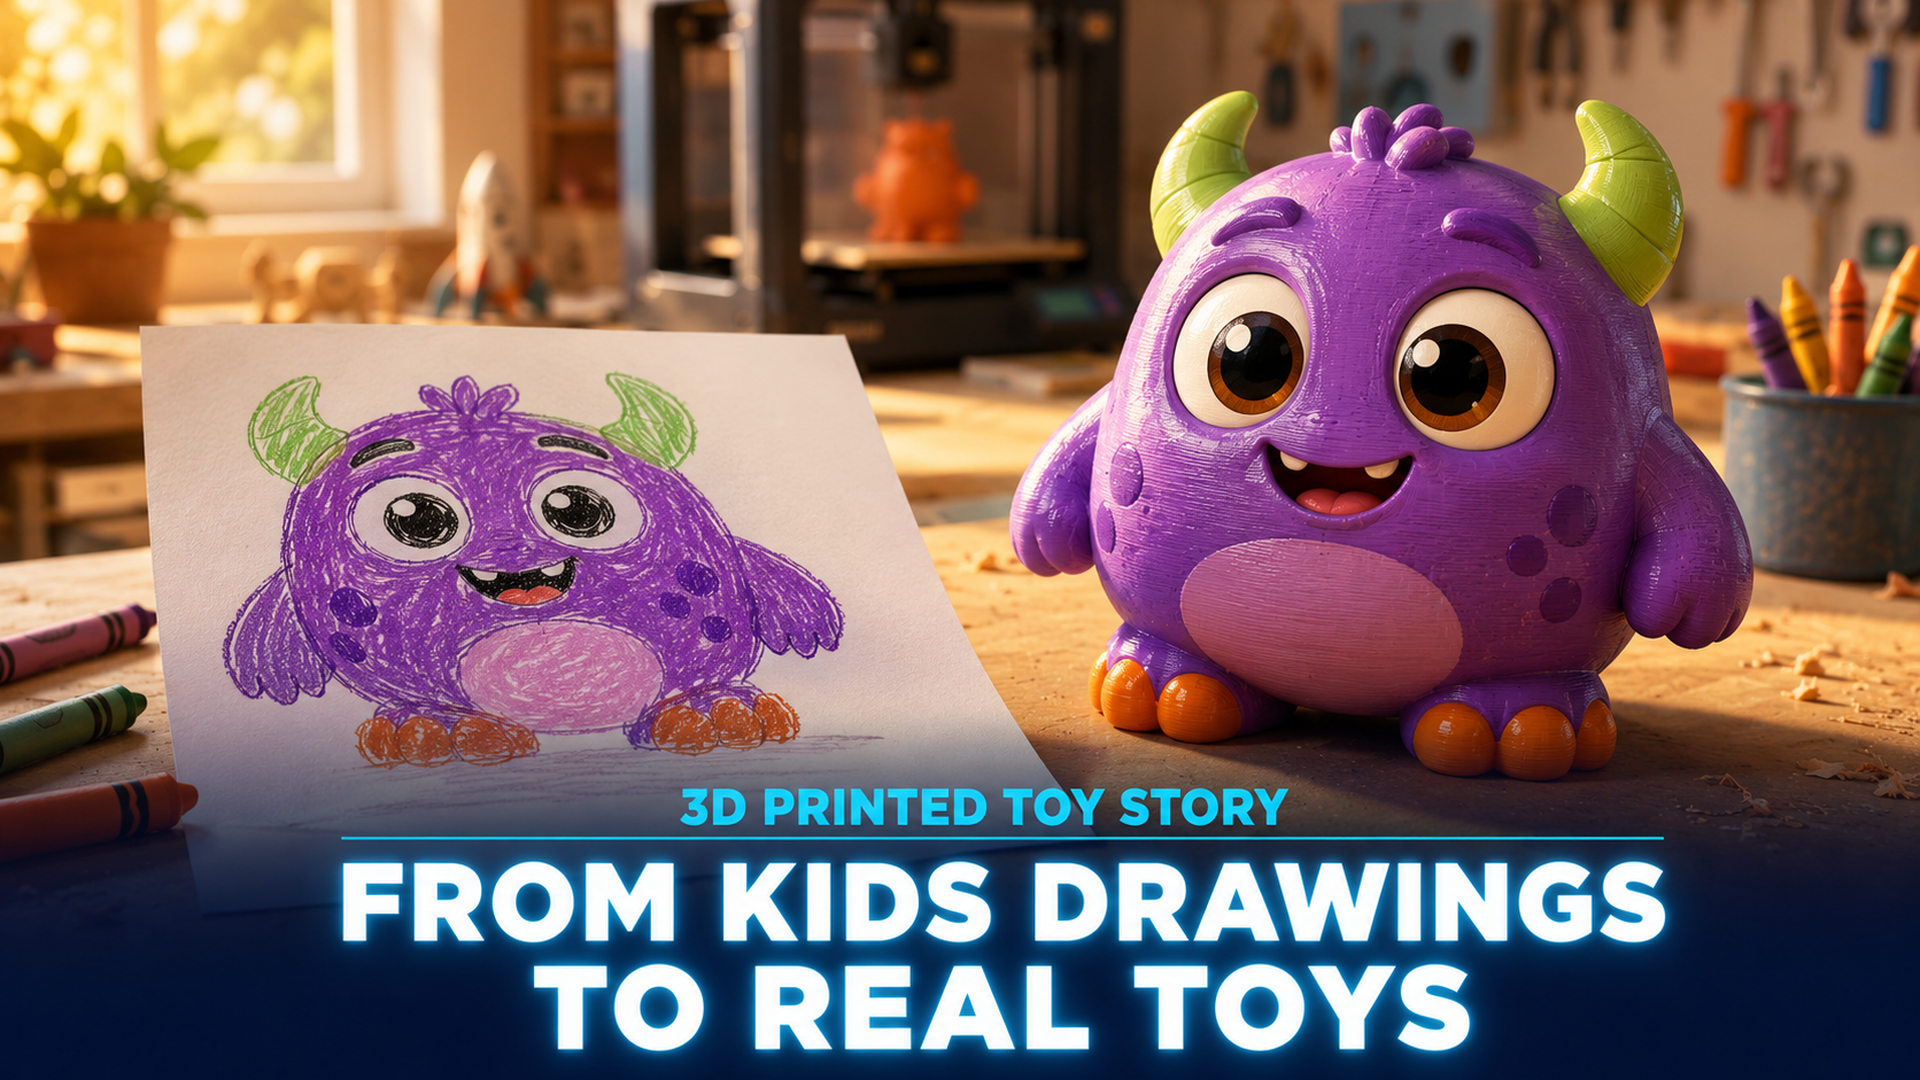
With Toy Story 5 hitting cinemas in June 2026 and a whole new generation of kids asking why their toys can’t really come alive, the answer in 2026 is closer than ever. A 3D printed toy story at home now starts with a crayon drawing and ends, in about the time it takes to refill a coffee cup, with a real figurine in your kid’s hand. This guide walks through the full pipeline, from photographing the drawing to pulling a finished printed toy off the bed of a 3D printer.
Table of Contents
- Part 1: Why a 3D Printed Toy Story Finally Feels Real in 2026
- Part 2: What You Need Before You Start Your 3D Printed Toy Story
- Part 3: The Sketch to 3D Workflow (the 90-Second Core)
- Part 4: From Mesh to a 3D Printed Toy Your Kid Can Hold
- Part 5: Where Neural4D Fits (and Honest Limitations)
- Part 6: Common Questions on 3D Printed Toy Story Projects
- Start Your Own 3D Printed Toy Story
Part 1: Why a 3D Printed Toy Story Finally Feels Real in 2026
The Toy Story films have always sold one fantasy: a toy with a soul, an inner life that turns on the moment you leave the room. With Toy Story 5 back in theaters this summer, parents have started asking a more practical version of that question. Could a kid’s actual drawing become a real toy, on a real shelf, that the kid can actually hold? In 2026 the answer is a literal 3D printed toy story you can produce in an afternoon.
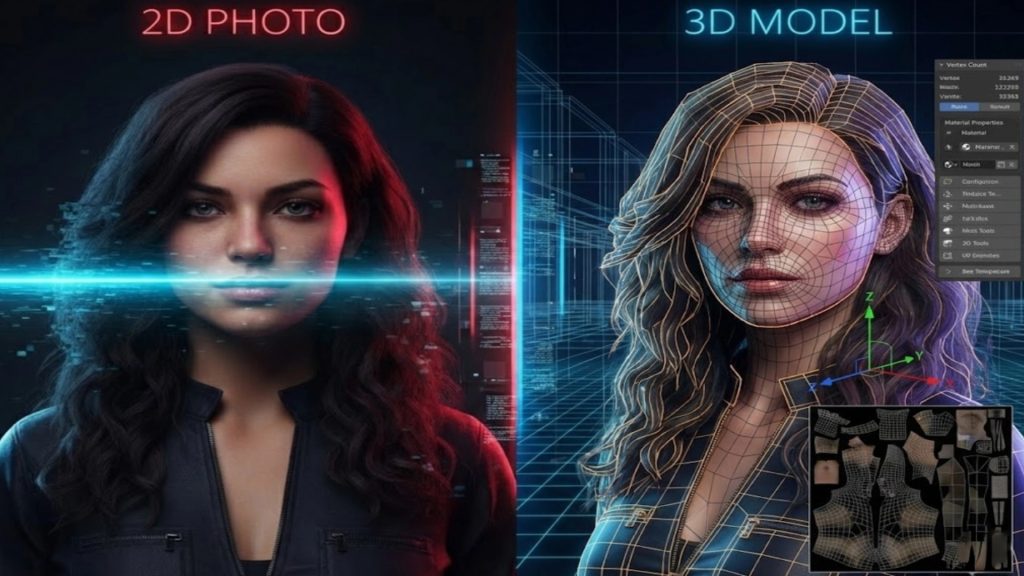
Two years ago the honest answer was no, not without a CAD license, a few weekends, and patience for broken meshes. In 2026 the answer is yes, in under an hour, with a phone and a free AI tool. AI 2D to 3D AI systems trained on millions of paired images and 3D meshes now reconstruct volume from a single flat sketch with no UV unwrapping or vertex pushing required. The interesting part is that the input quality bar is shockingly low. The model handles crayon, marker, ballpoint pen, even a stick figure on the back of an envelope.
This guide is built for parents and makers who want a real workflow for their own 3D printed toy story, not a marketing demo. Every step that follows is something you can do today.
Part 2: What You Need Before You Start Your 3D Printed Toy Story
The shopping list for a 3D printed toy story project is short. Four items, three of which most households already own.
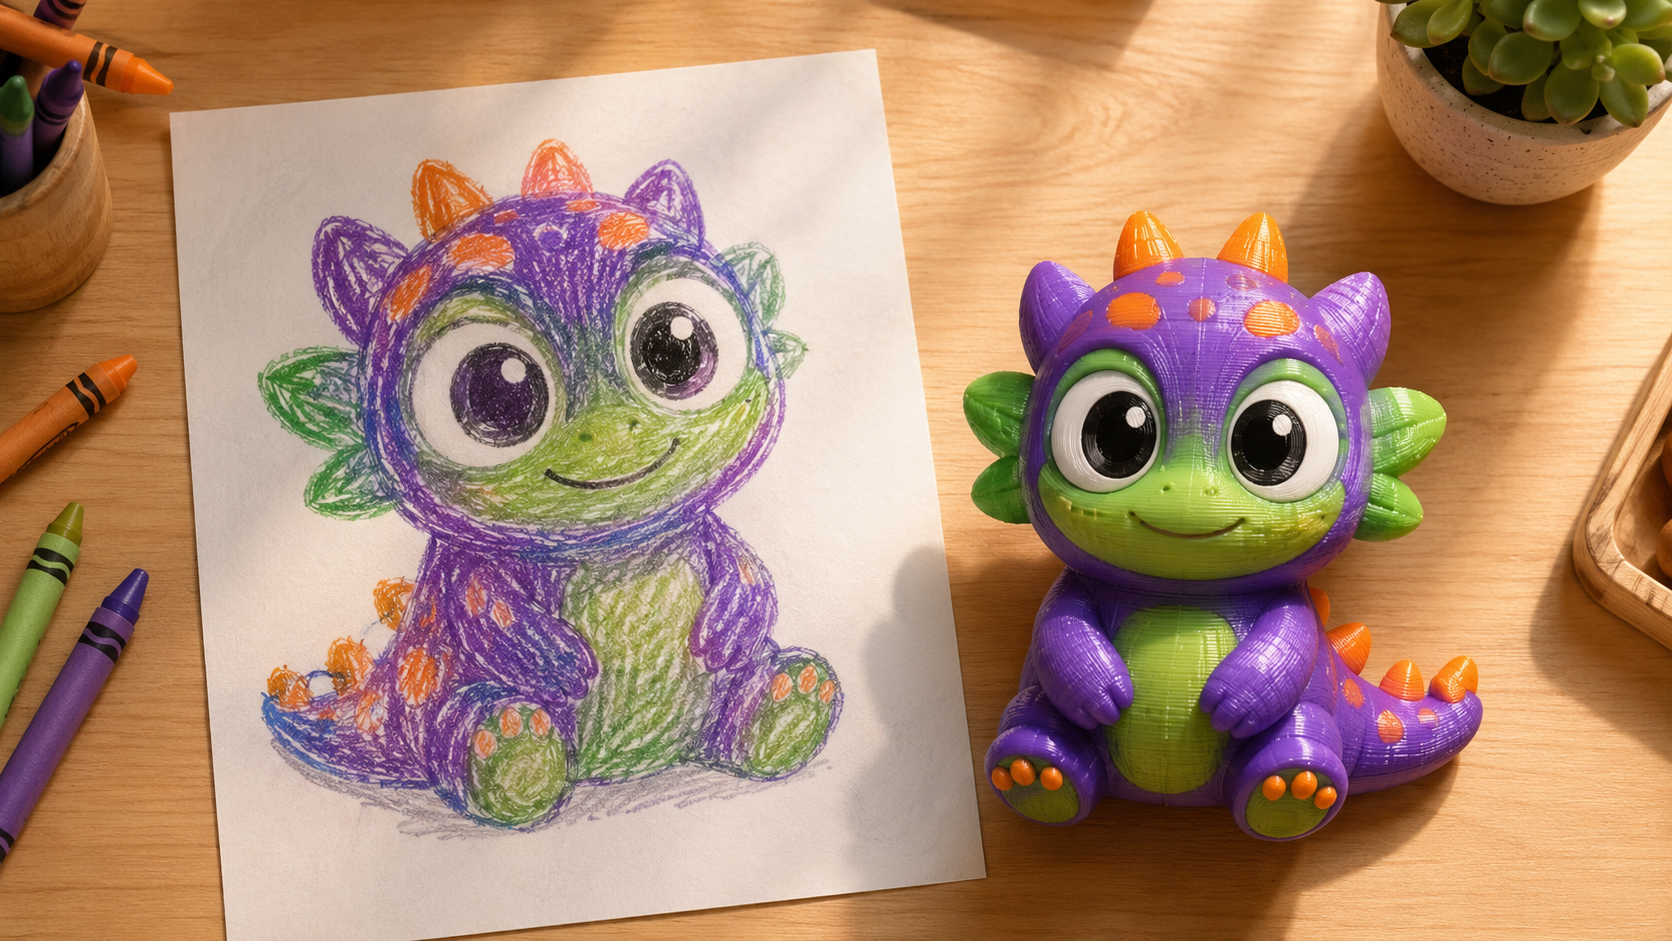
The drawing
Crayon, marker, colored pencil, or a tablet sketch all work. The four rules that actually matter for a clean drawing to 3D model conversion are: dark lines on a light background, a single subject (not a whole scene), no heavy shading (the AI reads dark patches as geometry), and the subject drawn roughly front-facing with arms and legs visible.
A phone camera
Any phone from the last five years has enough resolution. The drawing should fill the frame, lit by an overhead lamp or natural daylight, with no shadows from the photographer.
An AI sketch to 3D tool
Any of several browser-based tools accept a sketch and output a 3D mesh. The Neural4D Sketch to 3D feature handles the conversion, alongside Meshy, Sloyd, and a handful of others compared in Part 5.
Optional: a 3D printer or print-on-demand service
A FDM printer in the $200-$400 range with PLA filament will print most figurines under 10 cm tall. No printer at home? Services like JLC3DP, Treatstock, or local maker spaces will print an STL for $5-$15.
Part 3: The Sketch to 3D Workflow (the 90-Second Core)
This is the part that genuinely surprised me the first time. The whole AI step takes about a minute and a half. The detailed walkthrough in our step by step sketch to 3D conversion guide shows each click. The high-level pipeline:
Step 1: Photograph or scan the sketch
Lay the drawing on a plain table, take an overhead photo with the drawing filling about 80% of the frame. If you crop afterwards, crop in your phone’s photo app, not inside the upload box of the AI tool. Post-cropping inside the tool can cut your subject out of frame if the AI’s auto-detect misreads the edges.
Step 2: Upload to an AI image to 3D tool
Open the AI tool, select Image to 3D, and drag the photo in. The tool will show a preview with the background masked. If the AI keeps a stray shadow as part of the figure, just retake the photo with better lighting. This costs nothing and saves a regeneration credit.
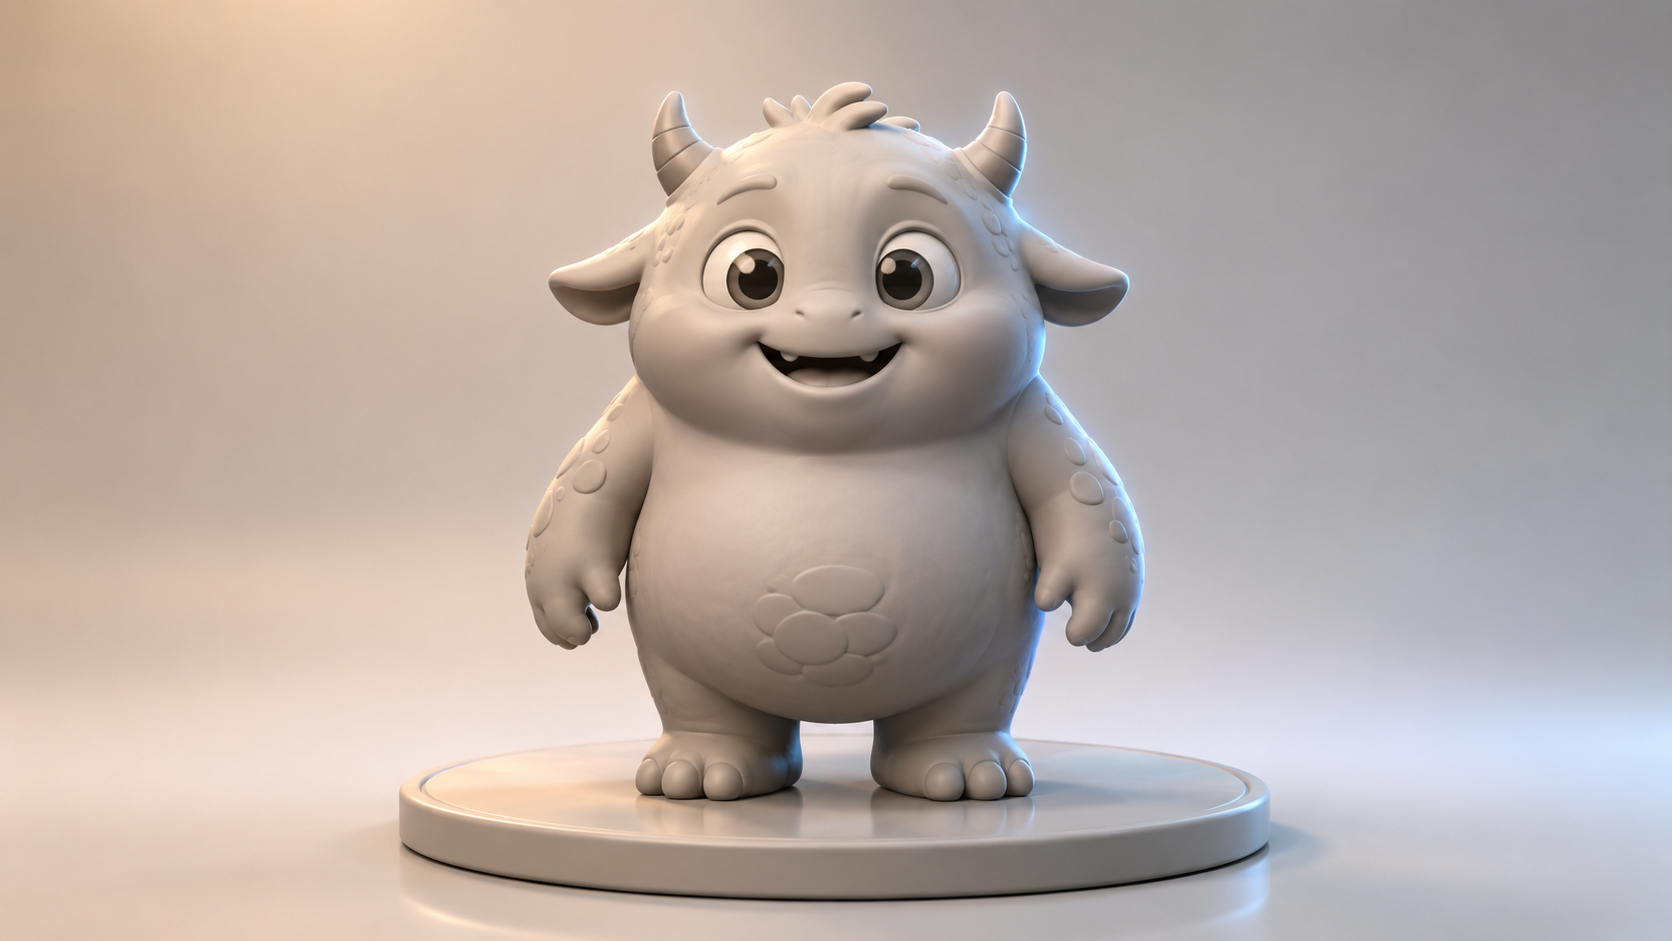
Step 3: Generate the mesh
Click Generate. Neural4D’s Direct3D-S2 architecture, presented at NeurIPS 2025 by the Nanjing University and DreamTech research team, processes the full volume rather than estimating depth from the front. This means the back of the toy gets a real, reasonable surface instead of a flat plate. A textured production-ready GLB takes 2 minutes or more, and the base untextured mesh lands in roughly 90 seconds.
Step 4: Regenerate or export
If the model has a problem (a missing leg, an awkward arm fusion), use one-click regenerate with the same input. The probabilistic nature of these models means the second attempt is often dramatically better at zero extra effort. Export STL for 3D printing, GLB for AR or web preview, OBJ for editing in Blender. Converting images to STL for 3D printing covers the format choice in more detail.
Start Your 3D Printed Toy Story Today
Upload your kid’s drawing, get a printable mesh in under two minutes.
Free plan includes 50 Power per week, enough for several full toy generations.
Part 4: From Mesh to a 3D Printed Toy Your Kid Can Hold
An STL on a hard drive is not a toy. The print stage is where most family projects fail, almost always because of slicer settings that were written for engineering parts, not figurines. A successful 3D printed toy story lives or dies at the slicer. The settings below work for a 6-10 cm cartoon-style figure printed in PLA.
| Setting | Value for child-safe figurine | Why |
|---|---|---|
| Filament | PLA (food-safe certified preferred) | Non-toxic, low warp, easy to print. ABS releases fumes that aren’t ideal in a child’s room. |
| Layer height | 0.16 mm to 0.20 mm | Finer than 0.16 wastes hours. Coarser than 0.20 shows stripes on faces. |
| Infill | 15-20% (gyroid pattern) | Enough to survive being dropped, light enough that the toy isn’t a hand-fatiguing brick. |
| Wall thickness | 1.2 mm to 1.6 mm (3-4 perimeters) | Below 1.2 mm, thin features like ears or horns snap on first impact. |
| Supports | Tree supports, on-build-plate only | Less material, easier removal, no scarring on the figurine’s back. |
Post-processing for a real toy
Raw PLA prints have visible layer lines. For a toy that survives a 5-year-old, the post-processing pass takes 20 minutes per figure. Sand layer lines with 220-grit then 400-grit. Spray a thin coat of filler primer (light grey, $8/can at any hardware store). Paint with kid-safe acrylics. Seal with a matte clear coat so paint does not flake off in a backpack.
Safety check for small kids: Any printed figure with parts smaller than 3 cm is a choking hazard for children under 3. Scale the model up in your slicer or skip parts like detached weapons or accessories.
Part 5: Where Neural4D Fits (and Honest Limitations)
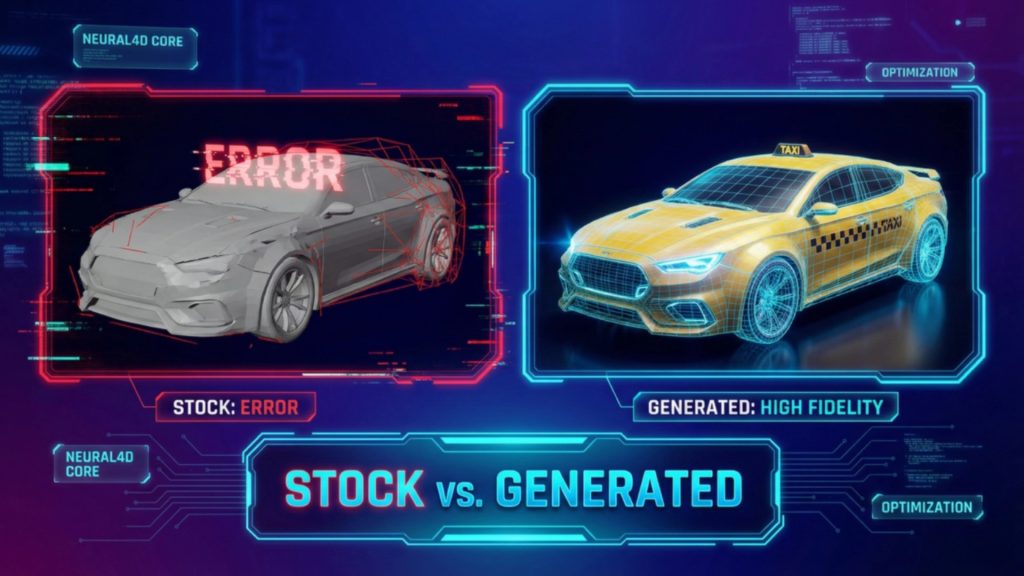
Several Sketch to 3D tools convert a drawing into a 3D model. Most produce something. The differences show up at the slicer stage, when “looks fine in the browser” becomes “fails at print hour seven because of a hole in the mesh.” Here is how Neural4D compares to the common alternatives for the kid drawing to toy use case. A broader survey of the best AI image to 3D tools covers comparison criteria in more detail.
| Tool | Base mesh time | Watertight for 3D print | Best for kid drawings? |
|---|---|---|---|
| Neural4D | ~90 seconds | Yes (Direct3D-S2 outputs manifold geometry) | Strong. Handles crayon and stick figures, watertight STL straight to slicer. |
| Meshy | ~60-90 seconds | Usually, manual repair sometimes needed | Good. Free tier limits resolution. |
| Sloyd | ~30 seconds | Mixed, simple shapes only | Limited. Designed for game props more than freeform figures. |
| Tripo | ~90 seconds | Sometimes, depending on input | Decent for clean sketches, struggles with messy lines. |
Honest limitations of the workflow
A sketch to 3D pipeline is not magic. Drawings with overlapping bodies (two characters fused at the arm) confuse every model on the list. Tiny details like individual fingers or eyelashes often merge into blobs at print scale below 5 cm. And the AI cannot read intent: a kid who drew a “robot with a jetpack” in a flat side profile will get a toy where the jetpack is fused to the back as a single piece, not a separate accessory. Compared to printing a clean reference like a Master Chief 3D print from official renders, kid sketches give the model far less geometric signal to work with. How AI image to 3D works goes deeper into why these failure modes happen.
Part 6: Common Questions on 3D Printed Toy Story Projects
Stick figures work, but the resulting toy will be stick-figure-shaped, with cylindrical arms and a sphere head. The model reconstructs what is on the page, not what the child meant. If you want a fuller-bodied toy from a stick figure, ask the child to draw a “puffy” version, or use the AI to generate a richer reference image first and feed that into the 3D step.
Private personal use at home is generally low-risk. The moment you sell the print, list it on Etsy, or post it on TikTok with hashtags that tag the original IP, you are in trademark and copyright territory. The safe default for a 3D printed toy story project: copy-of-Buzz on the kid’s shelf is fine, copy-of-Buzz at a craft fair is not. When in doubt, use the kid’s original character design instead, which is also far more meaningful as a keepsake. If your kid specifically wants a licensed figure for personal display, our dedicated walkthroughs for a Naruto 3D print or a One Piece 3D print cover the same workflow with a reference photo instead of a sketch.
This is almost always a symptom of the input photo, not the AI. The three most common causes are heavy pencil shading the model read as extra mass, a busy background that bled into the figure mask, and a side-profile drawing the model could not infer depth from. Retake the photo against a plain white sheet, ask the child to redraw with a marker instead of a pencil, and use a roughly front-facing pose. Regeneration after fixing the input fixes the model.
For a single toy, print-on-demand wins on cost. A 6 cm PLA figure printed by a service like JLC3DP or Treatstock runs $5-$15 including shipping. A home FDM printer costs $200-$400 plus a $25 spool of PLA, which only breaks even after roughly 25-40 prints. The home-printer math flips when the child wants 10 toys instead of one, or when the gap between idea and “I can hold it” matters more than dollars.
Below 5 cm in any axis, FDM printers start losing details under 0.8 mm thick. Faces become smooth bumps, fingers fuse into mittens. For figurines that preserve drawing detail, scale to 7-10 cm minimum. Resin SLA printers extend the floor down to roughly 3 cm before details collapse, at the tradeoff of higher cost and more cleanup work.
Start Your Own 3D Printed Toy Story
The fantasy at the heart of Toy Story has always been that a toy is more than its plastic. In 2026 the path to your own 3D printed toy story, from a crayon drawing on paper to a real figurine on a shelf, is roughly ninety seconds of AI generation, two hours of printing, and one afternoon of painting. The AI pipeline removes the only step that used to need a professional: the 3D modeling itself.
Make Today’s Doodle Tomorrow’s 3D Printed Toy
Upload a sketch, get a watertight STL, print a toy your kid will remember forever.
No credit card. Free plan generates several full toys per week.