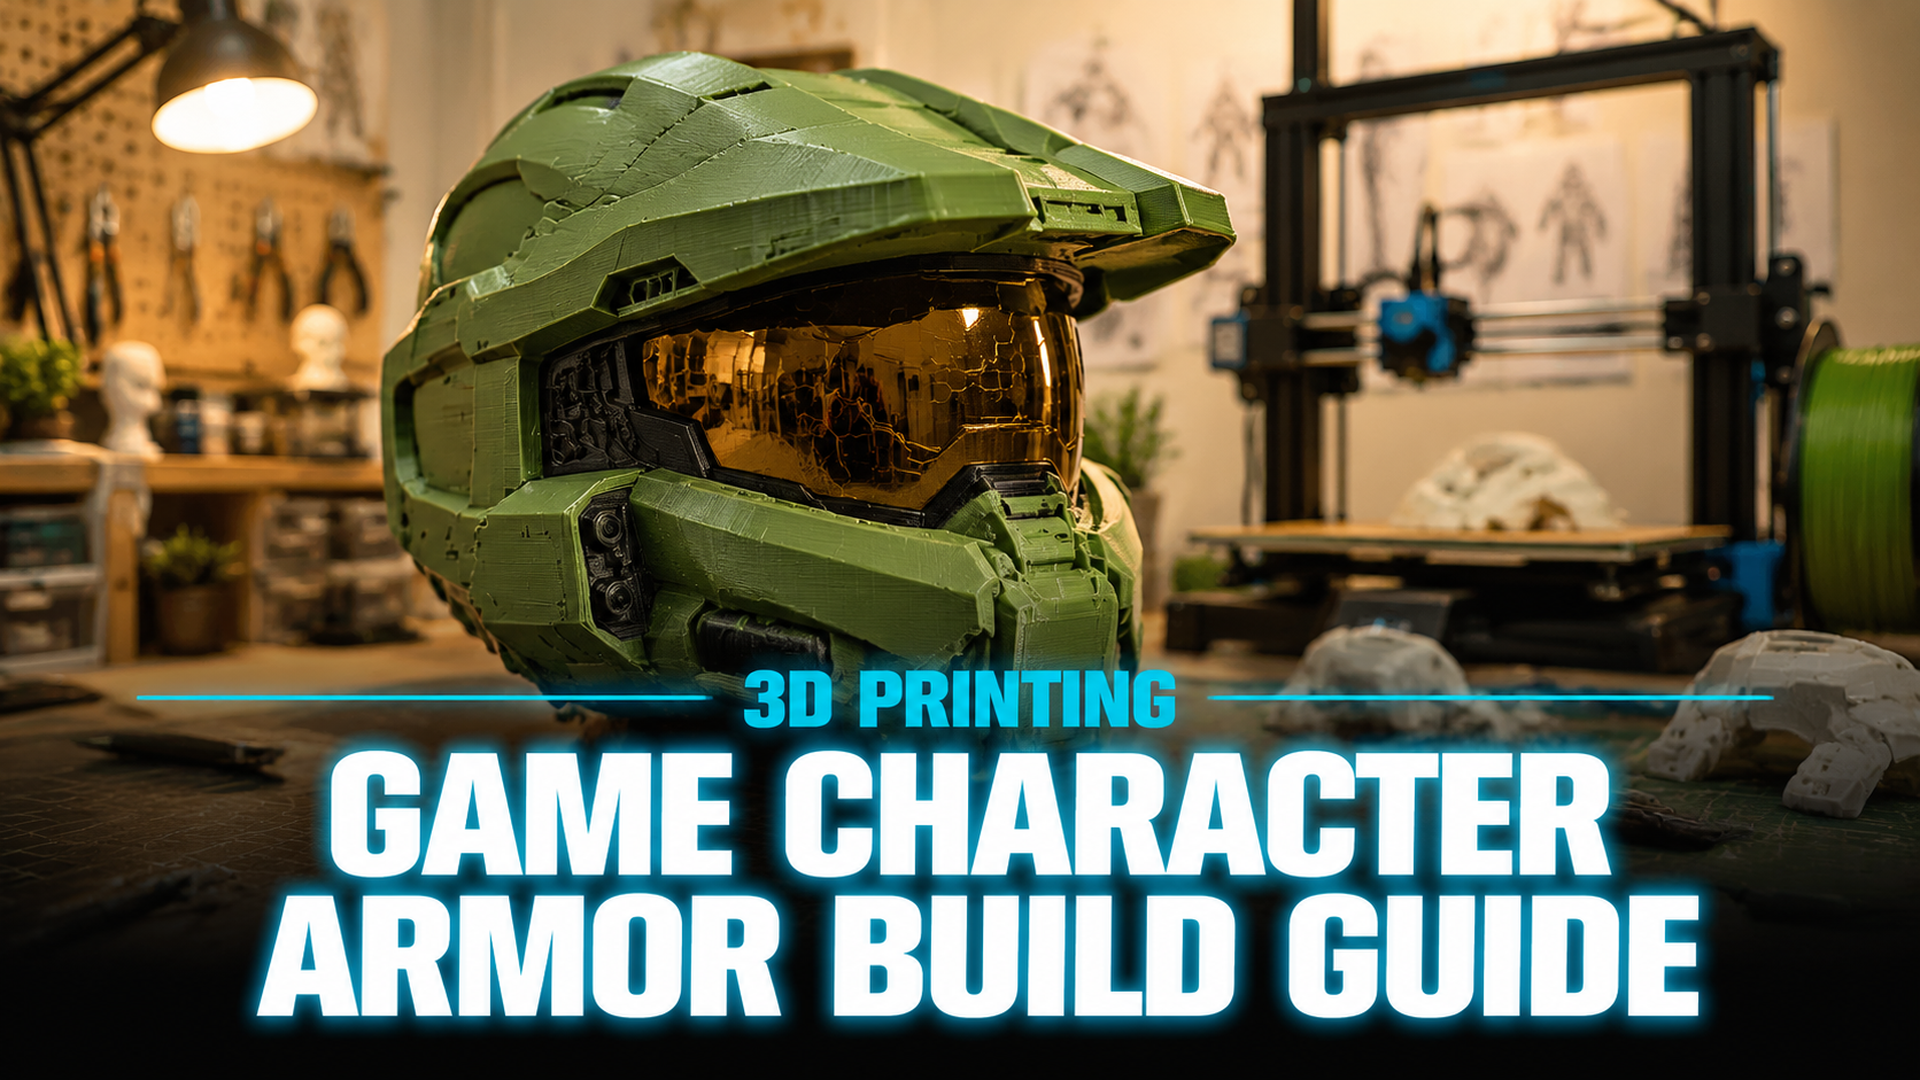
The Complete Guide to Master Chief 3D Print: From AI Design to Finished Armor
Quick Summary
- A master chief 3d print project transforms a video game icon into a physical cosplay or display piece using filament and finishing skills.
- Finding a clean STL file and preparing watertight geometry are the two most common failure points that derail builds before the first layer.
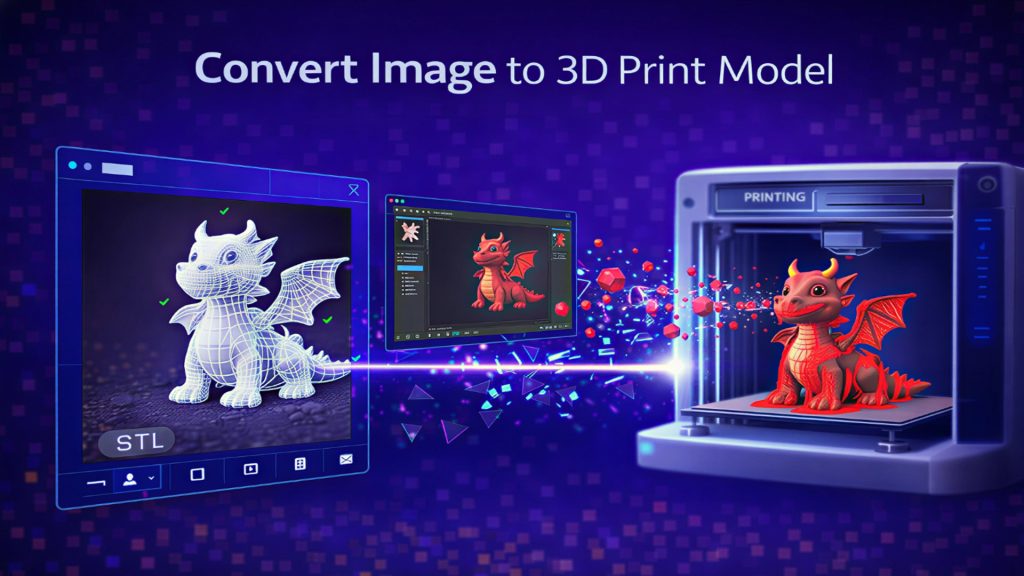
- Neural4D’s Image to 3D technology generates print-ready, watertight meshes from reference images, cutting the model preparation step from hours to roughly 90 seconds for an untextured base mesh.
Printing a Master Chief helmet or full armor set starts with a usable 3D model. Most STL files downloaded from public repositories contain holes, non-manifold edges, or poor topology that causes slicer errors and failed prints. Neural4D solves this by generating watertight, print-ready geometry from a single reference image.
Table of Contents
- Part 1: Why Master Chief 3D Printing Needs an AI Upgrade
- Part 2: Finding the Right Master Chief 3D Print Models
- Part 3: Preparing AI-Optimized Models with Neural4D
- Part 4: Slicing and Printer Settings for Halo Armor
- Part 5: From Print to Finish: Post-Processing Your Build
- Part 6: Common Questions on Master Chief 3D Printing
- Part 7: Build Your Master Chief Armor with Neural4D
Part 1: Why Master Chief 3D Printing Needs an AI Upgrade
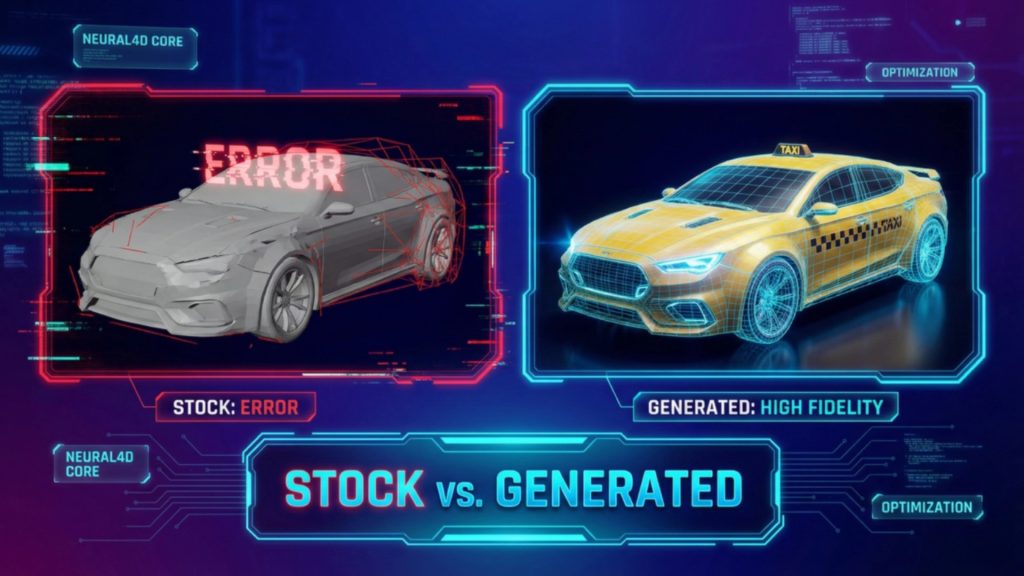
The Halo franchise has inspired more cosplay builds than almost any other video game series. Master Chief’s Mjolnir Mark VI armor is instantly recognizable, and the 3D printing community has responded with hundreds of STL files for helmets, gauntlets, chest plates, and full wearable suits. But there is a persistent problem that separates a successful build from a drawer full of failed prints: model quality.
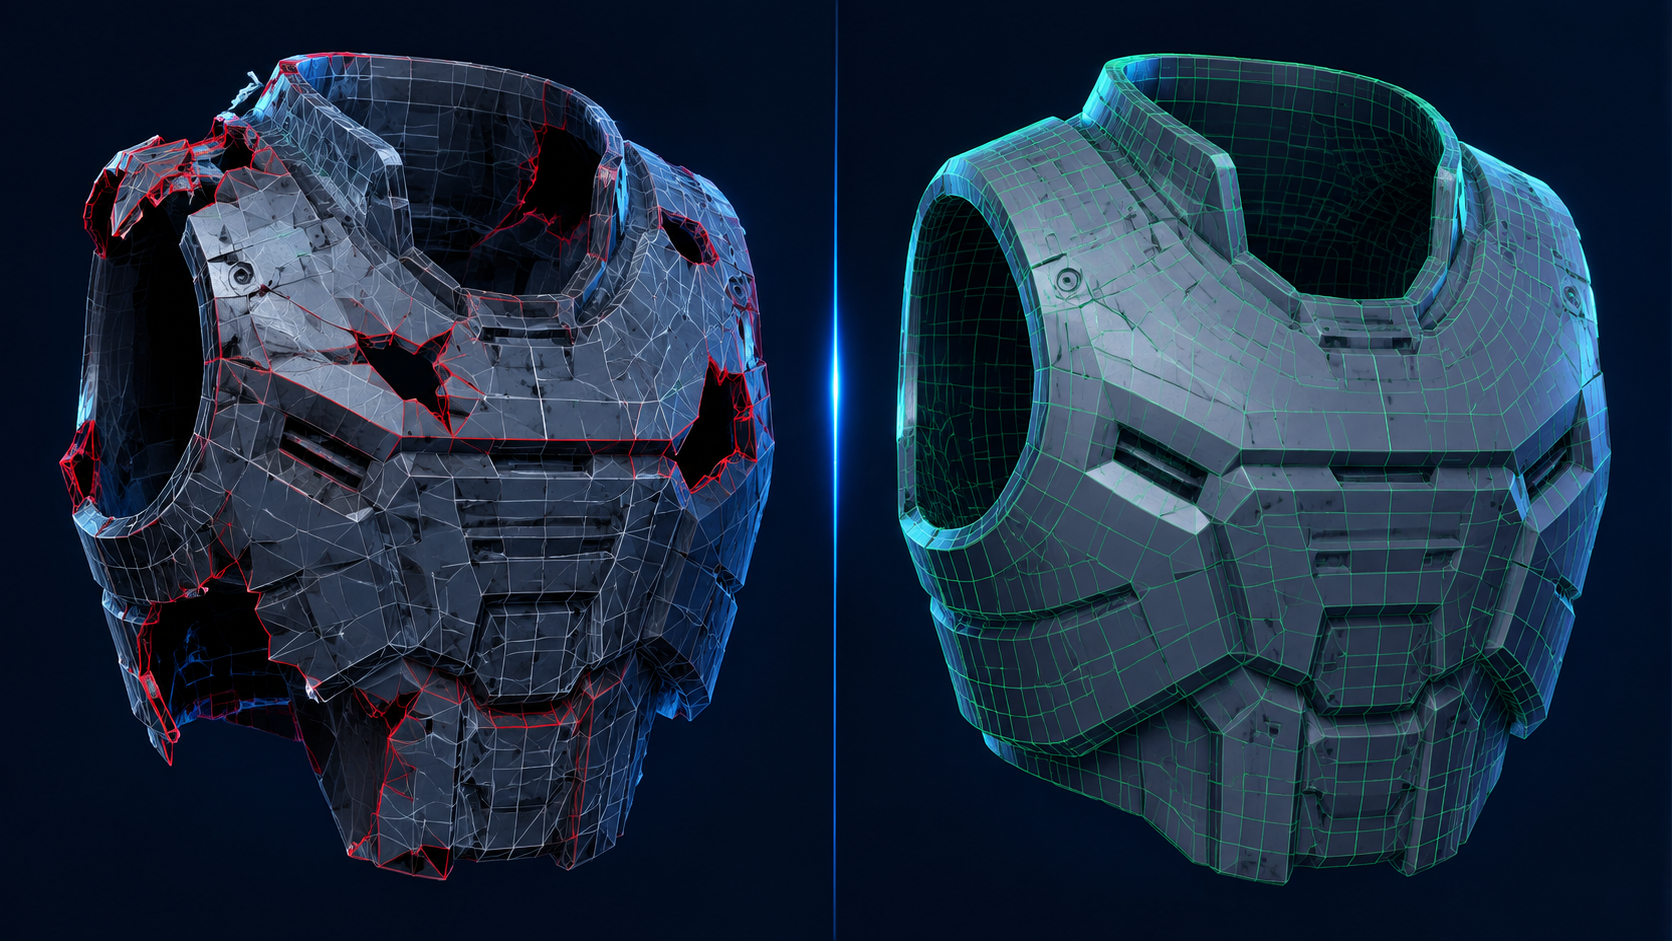
Most free STL files circulating on community sites were ripped directly from games or modeled by hobbyists. These files routinely contain non-manifold geometry, inverted normals, internal floating vertices, and wall thicknesses that slicers cannot interpret. A file that looks perfect on screen in Blender or Meshmixer can produce a basket of spaghetti on the print bed.
This is where AI-assisted model preparation changes the game. Instead of spending hours patching holes and repairing topology by hand, you can use a tool like Neural4D AI 3D generation platform to generate a watertight mesh from a reference image. The gap between “I want to print Master Chief” and “I am slicing a ready-to-print file” shrinks from days to minutes.
Part 2: Finding the Right Master Chief 3D Print Models
Before you fire up a slicer, you need a source file. Here is where the community gets most of its models and what to watch out for with each source.
Free STL Repositories
Printables, MakerWorld, Thingiverse, and Cults3D host dozens of Master Chief models ranging from articulated action figures to full-scale armor. The free tier is great for testing, but quality varies wildly. A model with 10,000 downloads can still have a hole in the helmet dome that causes the slicer to treat the entire model as open surface.
Premium File Vendors
Galactic Armory, Gambody, and Etsy sellers offer pre-supported, pre-optimized file packs. These are generally reliable because the seller has test-printed the model. You pay for the confidence that the STL will slice correctly. The trade-off is cost (typically $15-$30 per file) and a fixed design that you cannot easily modify without access to the original source. The same vendors also carry other character builds such as the Iron Man helmet 3D model guide, which follows a similar print-and-finish workflow.
AI-Generated Models
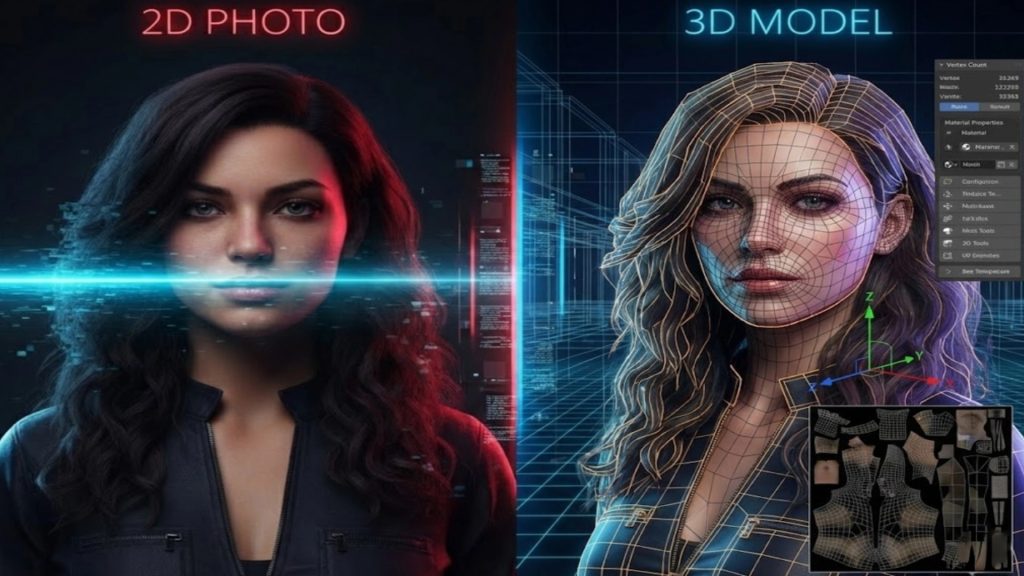
Neural4D’s Image to 3D feature gives you a third path: upload a reference photo or concept art and generate a custom mesh. This is especially useful when you want a specific variant of the armor (Halo Infinite style vs. Halo 3 style) or need to adjust proportions for your body measurements. The output is a watertight, manifold mesh ready for direct import into your slicer without any repair step.
Key distinction: Pre-made STLs give you someone else’s design. AI generation gives you a model built from your chosen reference, scaled and proportioned to your requirements. The geometry is computed from volumetric data, not stitched from a game rip, so you avoid the common non-manifold defect pattern entirely.
Part 3: Preparing AI-Optimized Models with Neural4D
Model preparation is where most Master Chief 3D print projects stall. You download a file, open it in your slicer, and get the red error overlay: “Model is not manifold.” What follows is a repair session that can take hours, sometimes requiring paid software like Netfabb or manual vertex editing in Blender.
Neural4D eliminates that entire phase. The workflow is simple enough that anyone can do it in under two minutes for an untextured mesh.
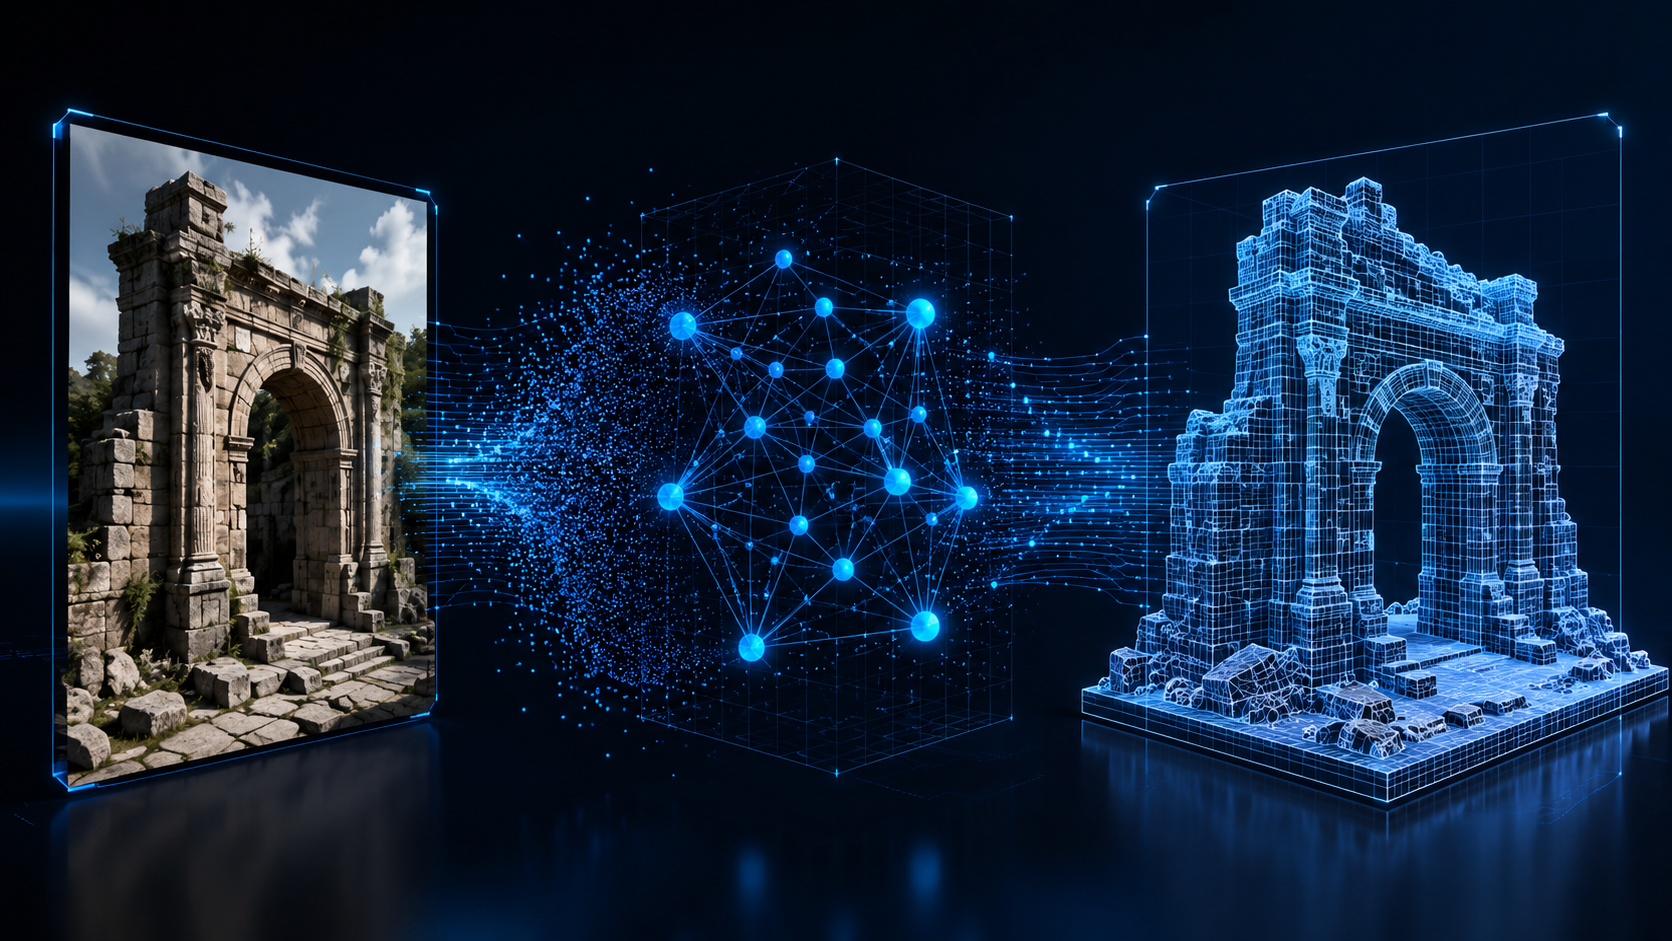
The generation workflow: Input a reference image (a front-facing or three-quarter view of Master Chief’s armor) into the Image to 3D studio. The Direct3D-S2 engine, which powers Neural4D’s geometry pipeline, processes the full volume using Spatial Sparse Attention. It does not just estimate a depth map and extrude a shell. It computes native volumetric geometry in 2048-cubed resolution, producing a mesh that is mathematically watertight. An untextured base mesh completes in approximately 90 seconds. If you need PBR textures (color, roughness, metallic maps), the total generation time is two minutes or more since the system calculates and bakes material data in the same pass.
After generation, you can use Neural4D-2.5 to fine-tune the model with natural language commands. Tell it “thicken the helmet visor area” or “smooth the shoulder pauldron surface,” and the system adjusts the geometry without requiring manual sculpting. If you need help preparing reference images, see our guide on how to convert an image to STL file for a complete walkthrough.
The export step gives you .stl, .obj, .glb, or .fbx. For 3D printing, .stl is the standard. The exported file drops directly into Bambu Studio, PrusaSlicer, Cura, or any other slicer with zero repair needed. You can explore more about the Neural4D Image to 3D tool to see how AI-generated meshes handle complex organic forms like the Mjolnir armor profile.
Generate Your Master Chief Model in Minutes
Upload a Halo reference image and get a watertight, print-ready STL. No modeling experience required.
50 free credits every week · No credit card required
Part 4: Slicing and Printer Settings for Halo Armor
A clean model file is half the battle. The other half is feeding it the right slicer settings. Master Chief armor pieces are large, visible, and structurally loaded. Unlike a desktop trinket, a helmet or shoulder piece needs to survive wear, handling, and post-processing.
Layer Height and Wall Count
For wearable armor, 0.2 mm layer height is the sweet spot between speed and surface finish. Going lower (0.12 mm) adds print time without meaningful improvement for parts that will be sanded and painted anyway. Set wall count to at least 3 perimeters, and consider 4 for helmet domes that take impact pressure from handling.
Infill Pattern and Density
Gyroid infill at 15-20% provides excellent structural support without excessive weight. A helmet printed at 25% gyroid is stiff enough to hold its shape during sanding and painting. Avoid grid or rectilinear infill on curved helmet surfaces; the crossing lines create internal stress points that can crack under clamp pressure.
Support Strategy
Tree supports (available in Bambu Studio, PrusaSlicer, and Cura) are the standard for armor printing. They contact the model at fewer points than traditional linear supports, which means less scarring on the visible surface. Orient the helmet so the dome is on the build plate and the neck opening faces up. This minimizes support material on the smooth outer surface where sanding is hardest.
Recommended Material Comparison
| Material | Best For | Strength | Post-Processing | Notes |
|---|---|---|---|---|
| Neural4D AI Mesh | Any armor piece | Watertight output | Minimal | Pre-optimized for slicing |
| PLA+ | Display pieces, short wear | Medium | Easy to sand | Brittle under impact |
| PETG | Wearable helmets | High | Moderate | Best balance for cosplay |
| ABS/ASA | Durable armor | Very high | Acetone smoothing | Requires enclosure |
Part 5: From Print to Finish: Post-Processing Your Build
The print is done. Now the real work begins. Post-processing a Master Chief 3D print takes longer than the print itself, which is normal and expected for cosplay-grade armor.
Support Removal and Surface Prep
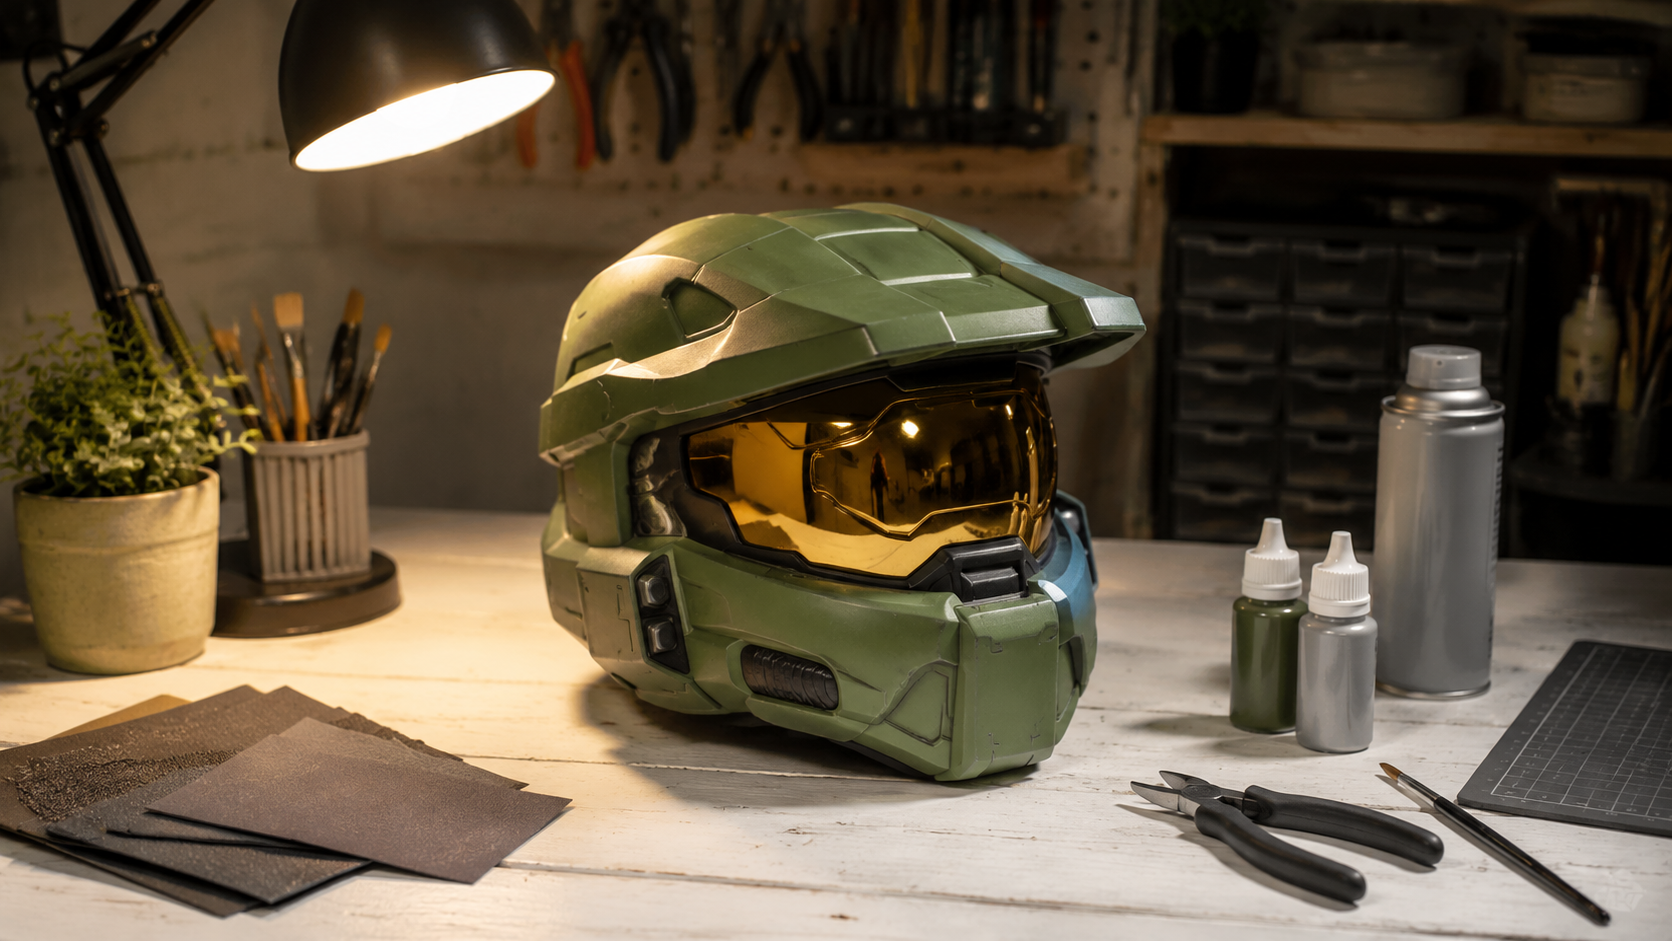
Remove tree supports with flush cutters, taking care not to gouge the surface. Sand support contact areas starting at 120 grit and working up to 400. Apply a high-build automotive filler primer in thin coats, sanding between each coat with 220 grit. This fills layer lines and creates a uniform surface for paint.
Assembly and Seam Filling
Multi-part helmets need seam welding. Use a plastic welding stapler for the strongest bond, or a soldering iron to weld spare filament across the seam. Fill remaining gaps with two-part epoxy putty or wood filler, then sand flush. For large seams (common on helmets printed in halves), Bondo auto body filler is faster and harder than wood filler, though it generates more dust.
Painting the Mark VI Scheme
Master Chief’s armor is olive green with dark undersuit sections and metallic weathering. The community standard is a Krylon Satin Olive base coat or a matching olive acrylic airbrush color. Pre-shade panel lines with dark gray before the main color. After the base coat cures, apply a black acrylic wash to recesses, then dry brush silver metallic paint on edges for the battle-damaged look that defines the Spartan aesthetic.
The Visor
The gold visor is the single most defining visual element of a Master Chief helmet. Vacuum-formed PETG with gold mirror film produces the best result. A simpler alternative: cut a motorcycle visor to shape or apply gold car-window tint film over a clear PETG preform. Mount the visor from the inside using E6000 adhesive, hiding the bond line behind the helmet rim. The same post-processing techniques apply to other character prints such as the Darth Vader 3D print guide, where helmet finishing and paint weathering are equally critical.
Part 6: Common Questions on Master Chief 3D Printing
Q: Is there a free Master Chief 3D print STL file available?
Yes. Printables.com, MakerWorld, and Cults3D host free Master Chief STL files ranging from miniature figures to full armor sets. Quality is inconsistent: check the comments section for test-print photos before downloading. Files with visible test prints are far more likely to slice correctly than untested uploads.
Q: Can Neural4D generate a Master Chief helmet model from a photo?
Yes. Upload a clear reference image of the armor variant you want (Halo Infinite, Halo 3, etc.) into the Image to 3D studio. The Direct3D-S2 engine produces a watertight mesh from that reference. You can then fine-tune proportions using Neural4D-2.5 with natural language commands before exporting the STL for printing.
Q: How long does it take to 3D print a Master Chief helmet?
A full-size Master Chief helmet printed at 0.2 mm layer height typically takes 13 to 20 hours on an FDM printer running at standard speeds. A Bambu Lab X1C in sport mode can finish a helmet in roughly 13 hours. Printing at 0.12 mm layer height adds roughly 40% more time for marginal surface improvement that sanding would achieve anyway.
Q: What filament type works best for wearable Master Chief armor?
PETG is the community consensus for wearable armor. It offers better layer adhesion and impact resistance than PLA+ without requiring an enclosure like ABS. For display-only pieces or short convention wear, PLA+ is perfectly adequate and easier to sand. Avoid standard PLA for any piece that needs to bear structural load or flex during wear.
Q: How do I correctly size a Master Chief helmet to fit my head?
Measure your head circumference at the widest point (typically across the brow and back of the skull). Most helmet files include a sizing ring or test slice: print this small ring first and verify it fits before committing to the full helmet. Account for padding thickness and any undersuit or balaclava you will wear underneath. When in doubt, scale up by 3-5% — foam padding fills extra space but you cannot add material to a helmet that is too small.
Q: What is the hardest part of a Master Chief 3D print build?
Most builders report that achieving a smooth, seam-free helmet surface and fitting the gold visor correctly are the two most difficult stages. The helmet requires extensive sanding, filling, and primer work to hide layer lines and assembly seams. The visor demands precise cutting and mounting — a misaligned visor immediately breaks the illusion regardless of how good the paint work is. Expect to spend roughly 60% of your total build time on these two steps alone.
Part 7: Build Your Master Chief Armor with Neural4D
The path from “I want to print Master Chief” to “I am wearing finished Spartan armor” has always been blocked by model quality issues that beginners cannot diagnose and experts are tired of fixing. AI-generated geometry removes that blocker entirely.
Neural4D’s Image to 3D tool gives you a master chief 3d print workflow that starts with a reference image and ends with a slicer-ready STL. No manual mesh repair. No non-manifold errors. No hours wasted on a file that looked good in preview but fails at layer one.
Whether you are building a full Mark VI suit for a convention or printing a desktop figure of gaming’s most iconic Spartan, the hardest step is the first one. Neural4D makes that step take seconds instead of hours. For more character printing inspiration, check out the Chainsaw Man 3D model guide which covers a similar AI-to-print workflow for another popular character.
Start Your Spartan Build Today
Upload a reference image and get a watertight, print-ready 3D model in minutes. No modeling skills needed.
50 free credits every week · No credit card required