Naruto 3D Print Guide: How to Start Printing Figures in 2026
Quick Summary
- Resin printers deliver the best detail for Naruto figures, but FDM works well for larger models with proper settings
- Free Naruto STL files are widely available on platforms like Printables, MakerWorld, and Cults3D, but selling printed figures requires caution around IP law
- Layer height of 0.04-0.05mm (resin) or 0.12-0.16mm (FDM) with tree supports produces the cleanest anime figure prints
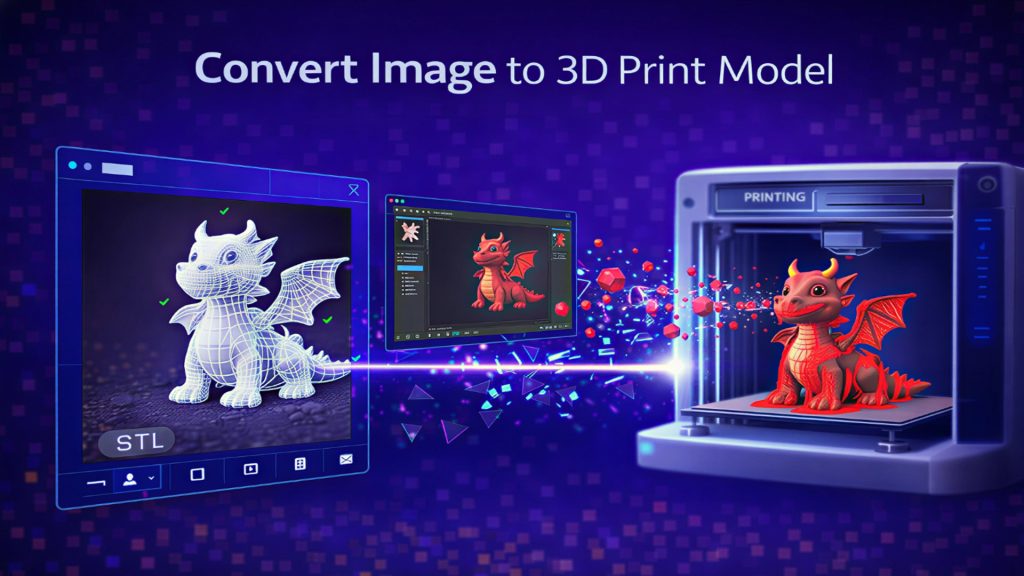
- Neural4D can generate a clean watertight base model from a 2D Naruto image in about 90 seconds, skipping the need to repair broken fan-made STLs
- Post-processing with sanding, priming, and acrylic painting transforms a raw print into a display-quality figure
- Whether you are planning your first naruto 3d print or upgrading your technique, matching printer type to figure size is the key decision
3D printing a Naruto figure starts with choosing the right printer type and finding or generating a clean STL file. FDM versus resin for anime figures, where to find naruto 3d print files legally, and the print settings that separate a display-quality figure from a failed print all determine your final result.
| H2 Section | What It Covers |
|---|---|
| Part 1 | FDM vs. Resin for Naruto Figures |
| Part 2 | Where to Find Naruto STL Files and Legal Considerations |
| Part 3 | Print Settings for Anime Figure Success |
| Part 4 | Post-Processing and Painting Your Naruto Print |
| Part 5 | Where Neural4D Fits in Your Workflow |
| FAQ | Common Questions on 3D Printing Naruto Figures |
| Part 7 | Start Printing Your Own Naruto Figure Today |
Part 1: FDM vs. Resin for Naruto Figures
The single most important decision in any naruto 3d print project is printer type. FDM (Fused Deposition Modeling) and resin (SLA/DLP) produce dramatically different results for anime figures, and picking the wrong one for your goal means either wasted material or a figure that hides all the character details under visible layer lines.
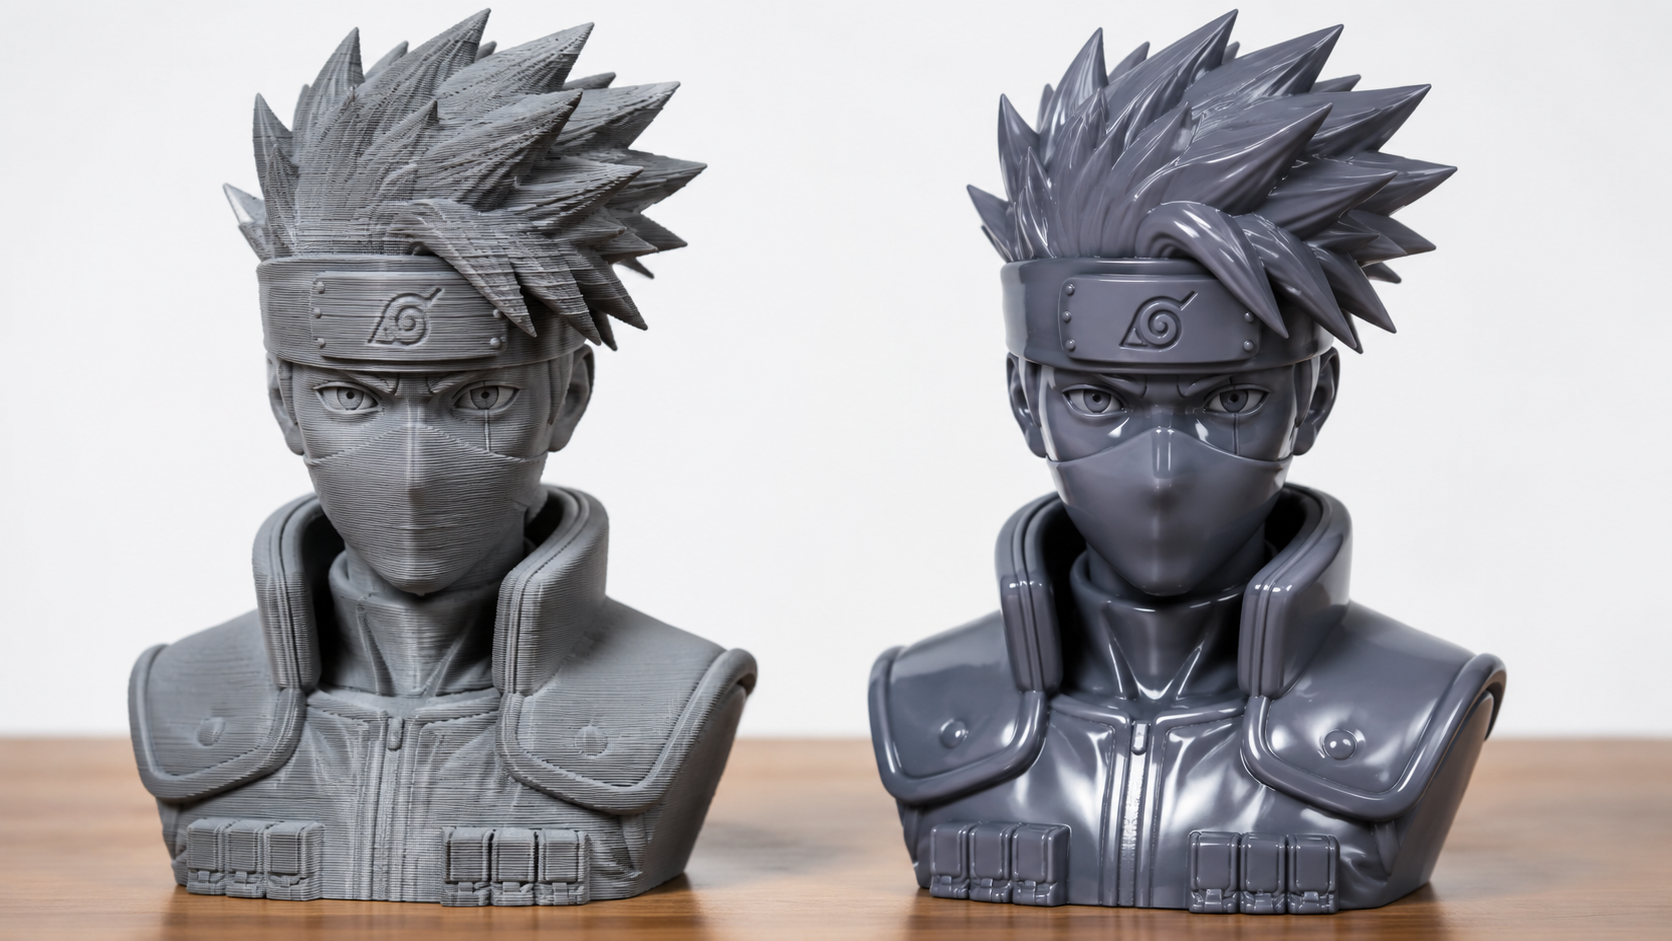
Resin printers excel at the sharp edges, spiky hair, and fine facial features that define Naruto characters. A standard layer height of 0.04-0.05mm captures the headband plate engraving, the whisker marks on Naruto’s cheeks, and the sandal straps without visible stepping. The downsides are post-processing time (washing, curing, dealing with toxic resin) and smaller build volumes that limit you to figures under roughly 20 cm unless you split the model.
Resin at a glance
Layer height: 0.02-0.05mm | Build volume: typically 120-200mm per side | Post-processing: wash + UV cure, 10-20 minutes | Best for: detailed figurines under 20 cm
FDM printers handle larger Naruto figures and props more practically. A 30 cm Naruto standing pose uses around 250-350 grams of PLA filament and prints in one piece on a standard bed slinger. The trade-off is visible layer lines at 0.12-0.16mm that need sanding or filler primer to smooth out. For fans who want a shelf-centerpiece figure at the lowest cost per gram, FDM with a 0.25mm nozzle and slow print speed (40-50 mm/s) delivers surprisingly good results.
FDM at a glance
Layer height: 0.1-0.16mm | Build volume: typically 220-300mm per side | Post-processing: sanding + priming, 30-60 minutes | Best for: larger figures, props like kunai, budget-friendly builds
If you are just starting your first naruto 3d print and want the best detail out of the gate, a resin printer like the Elegoo Mars or Anycubic Photon series is the safer choice. For larger characters (think Kurama or a full-height Naruto with base) or budget-conscious makers, FDM with a small nozzle and post-processing elbow grease produces results that match well at display distance.
Part 2: Where to Find Naruto STL Files and Legal Considerations
Sourcing a printable Naruto model is where most beginners get stuck. The top SERP results for naruto 3d print are collection pages on Printables, MakerWorld, Cults3D, and Creality Cloud, each hosting hundreds of fan-made STL files ranging from simple chibi busts to full-height standing figures. Most are free to download for personal use.
The legal situation is clear but often misunderstood. Under copyright law, printing a Naruto figure for personal display falls under fair use or private copying exceptions in most jurisdictions. The line is crossed when you upload the STL file to a public repository, share it on social media, or sell the printed figure. In 2026, several high-profile cases involving 3D printed anime figures (including a legal analysis from China’s Southern Daily) have clarified that distributing unlicensed fan models of copyrighted characters constitutes infringement even when no money changes hands.
Platforms like MakerWorld and Printables operate under DMCA safe harbor and remove listings when rights holders file takedowns. Popular Naruto models are frequently pulled and re-uploaded under different names, which makes finding stable downloads frustrating. For reliable sources, check dedicated 3D printing communities on Cults3D (search the “Naruto” tag) or Creality Cloud, where creators often label their files as “fan art for personal use only.”
For similar anime character print projects, see our Chainsaw Man 3D print guide which covers comparable print orientation and support strategies for spiky-haired anime figures.
Part 3: Print Settings for Anime Figure Success
Getting a successful naruto 3d print comes down to three variables: layer height, support strategy, and orientation. Ignore any one of these and you will find Naruto’s spiky hair fused into an unprintable overhang or his signature orange jacket riddled with support scarring.
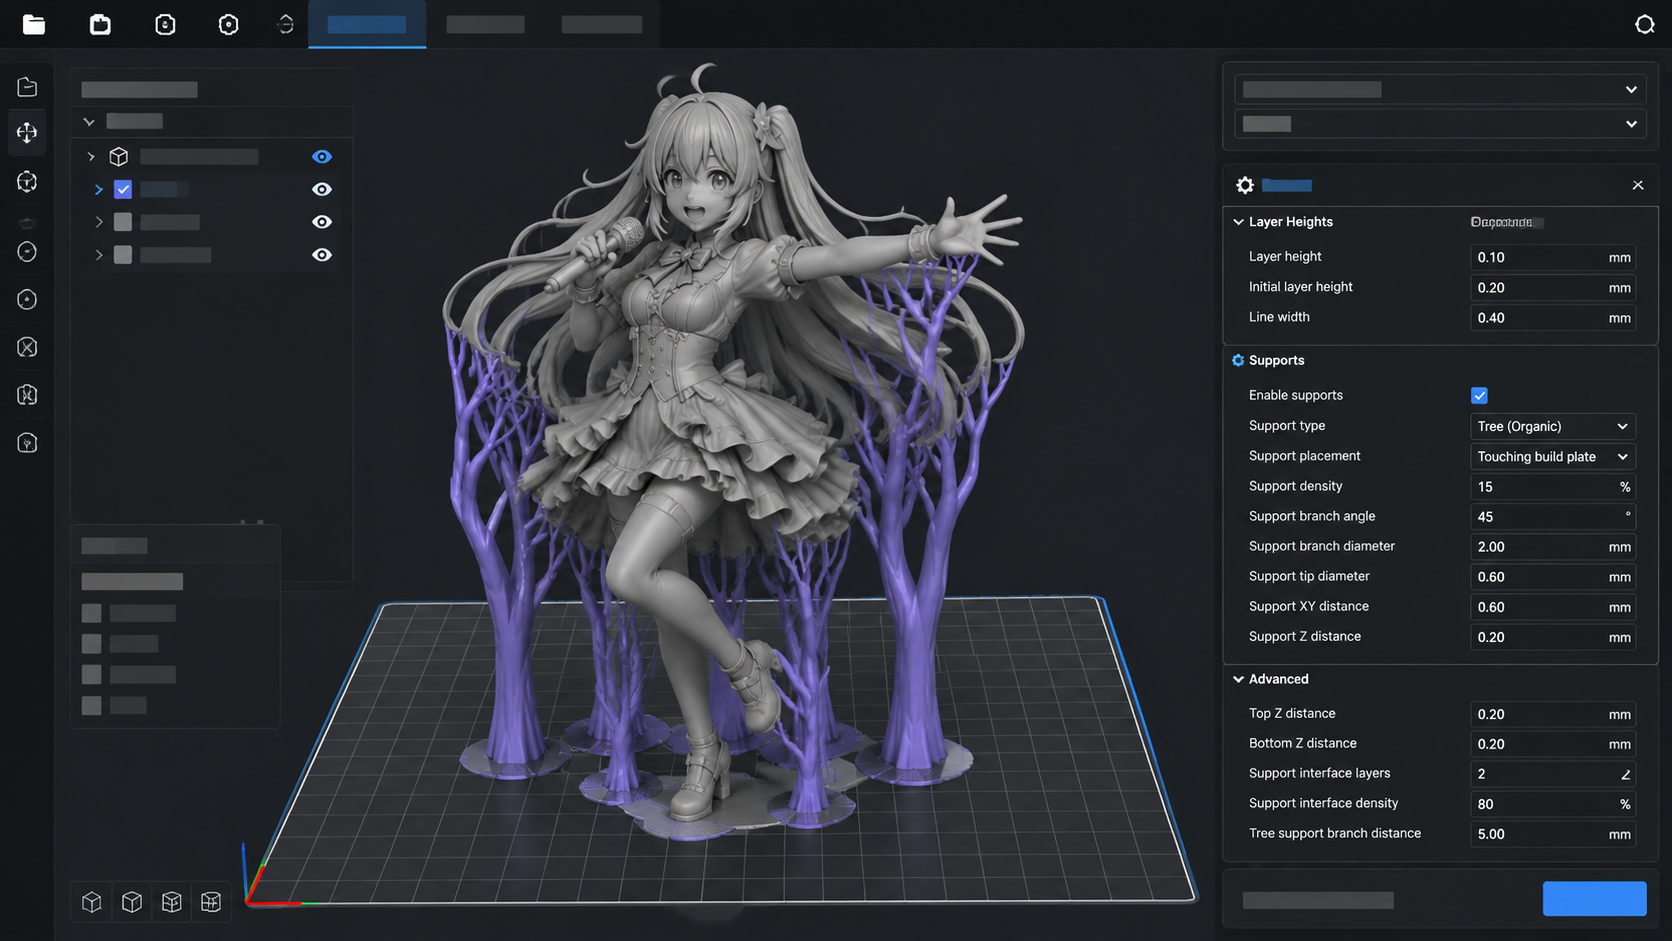
Layer height. For resin, 0.04mm is the sweet spot for capturing face detail while keeping print time under 6-8 hours for a 15 cm figure. Pushing to 0.02mm improves the headband and eye area noticeably but doubles print time. For FDM, 0.12mm with a 0.25mm nozzle is the ceiling for acceptable detail. Anything above 0.16mm on a standard 0.4mm nozzle will turn Naruto’s face into a pixelated mask.
Supports. Anime figures are support-heavy because of floating hair spikes, outstretched arms, and raised collars. Use tree/organic supports in your slicer (both Cura and Bambu Studio support them). Angle the model 30-45 degrees backward on resin builds to reduce the suction force that causes layer separation. On FDM, enable support roof interfaces at 100% density with a 0.1mm gap so they peel off cleanly from the hair spikes.
Orientation. Never lay an anime figure flat on its back. Tilt it 20-30 degrees off vertical. This reduces the visible layer line pattern on the face and chest, and it moves the support contact points to the back of the model where scarring is less visible. For figures with large flat bases, print the base separately and glue it after to avoid warping.
For detailed guidance on comparable character builds, check the similar character print settings we covered in our Iron Man helmet guide, particularly the orientation and support roof strategies that transfer directly to anime figure printing.
Part 4: Post-Processing and Painting Your Naruto Print
A raw print fresh off the build plate rarely looks finished. Support nubs, layer lines, and the dull color of raw resin or filament hide all the work you put into the settings. Post-processing is where a naruto 3d print becomes a display piece.
Support removal. Use flush cutters for resin prints and hobby snips for FDM. Work from the tip of hair spikes inward to avoid snapping thin features. If a support left a divot, fill it with UV resin (for resin prints) or white Milliput (for FDM) and sand flush after curing.
Sanding and smoothing. For FDM prints, start at 150 grit and work up to 400 grit. Focus on the face, headband, and jacket folds. A coat of automotive filler primer fills the remaining layer lines in one spray pass, then wet sand at 600 grit for a glassy smooth surface. Resin prints need minimal sanding, just hit the support scars with 400 grit dipped in water.
Painting. Acrylic hobby paints (Citadel, Vallejo, or Army Painter) are the standard for anime figures. Naruto’s color palette is straightforward: bright orange for the jacket, navy blue for the pants, sandal brown for the ninja sandals, yellow for the hair, and black for the headband. Use a dark brown wash over the whole figure after base coating to bring out the crease detail, then drybrush the raised areas with the base color to restore brightness. A final matte varnish seals the paint and protects against handling.
For more finish-level detail on character prints, the post-processing tips from our Darth Vader 3D print article cover filler priming and wash techniques that apply directly to anime figure painting.
Tired of Fixing Broken STL Files?
Skip the mesh repair nightmare. Generate a clean, watertight Naruto base model from any reference image in under 2 minutes.
Try Neural4D Image to 3D for Free
No credit card required. Export STL directly for your slicer.
Part 5: Where Neural4D Fits in Your Workflow
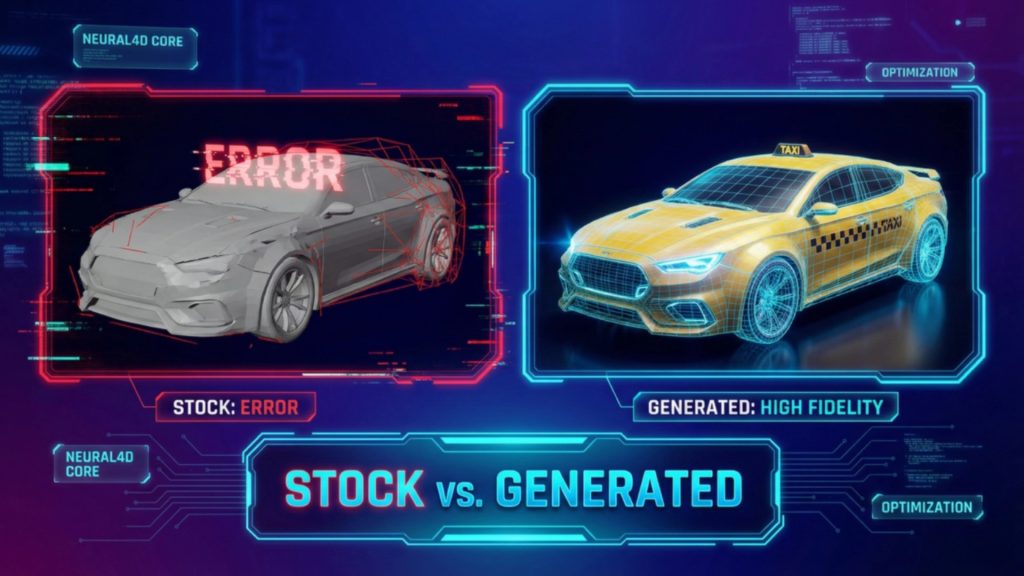
Finding a clean STL for popular anime characters is an exercise in patience. The files you download from fan repositories often have non-manifold geometry, inverted normals, and hidden holes that cause slicer errors, failed supports, or prints that split apart at layer 200. Neural4D sidesteps this entirely.
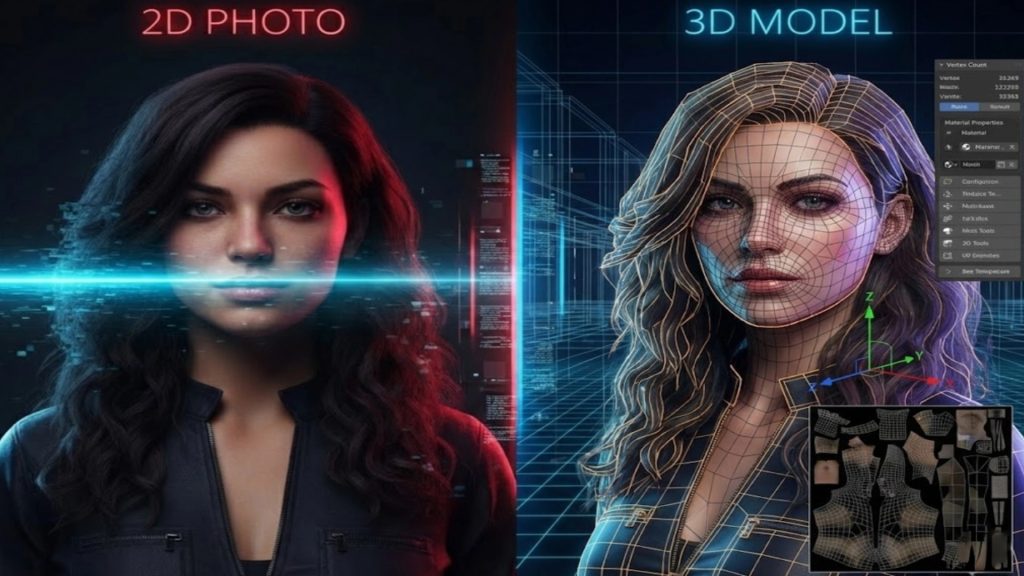
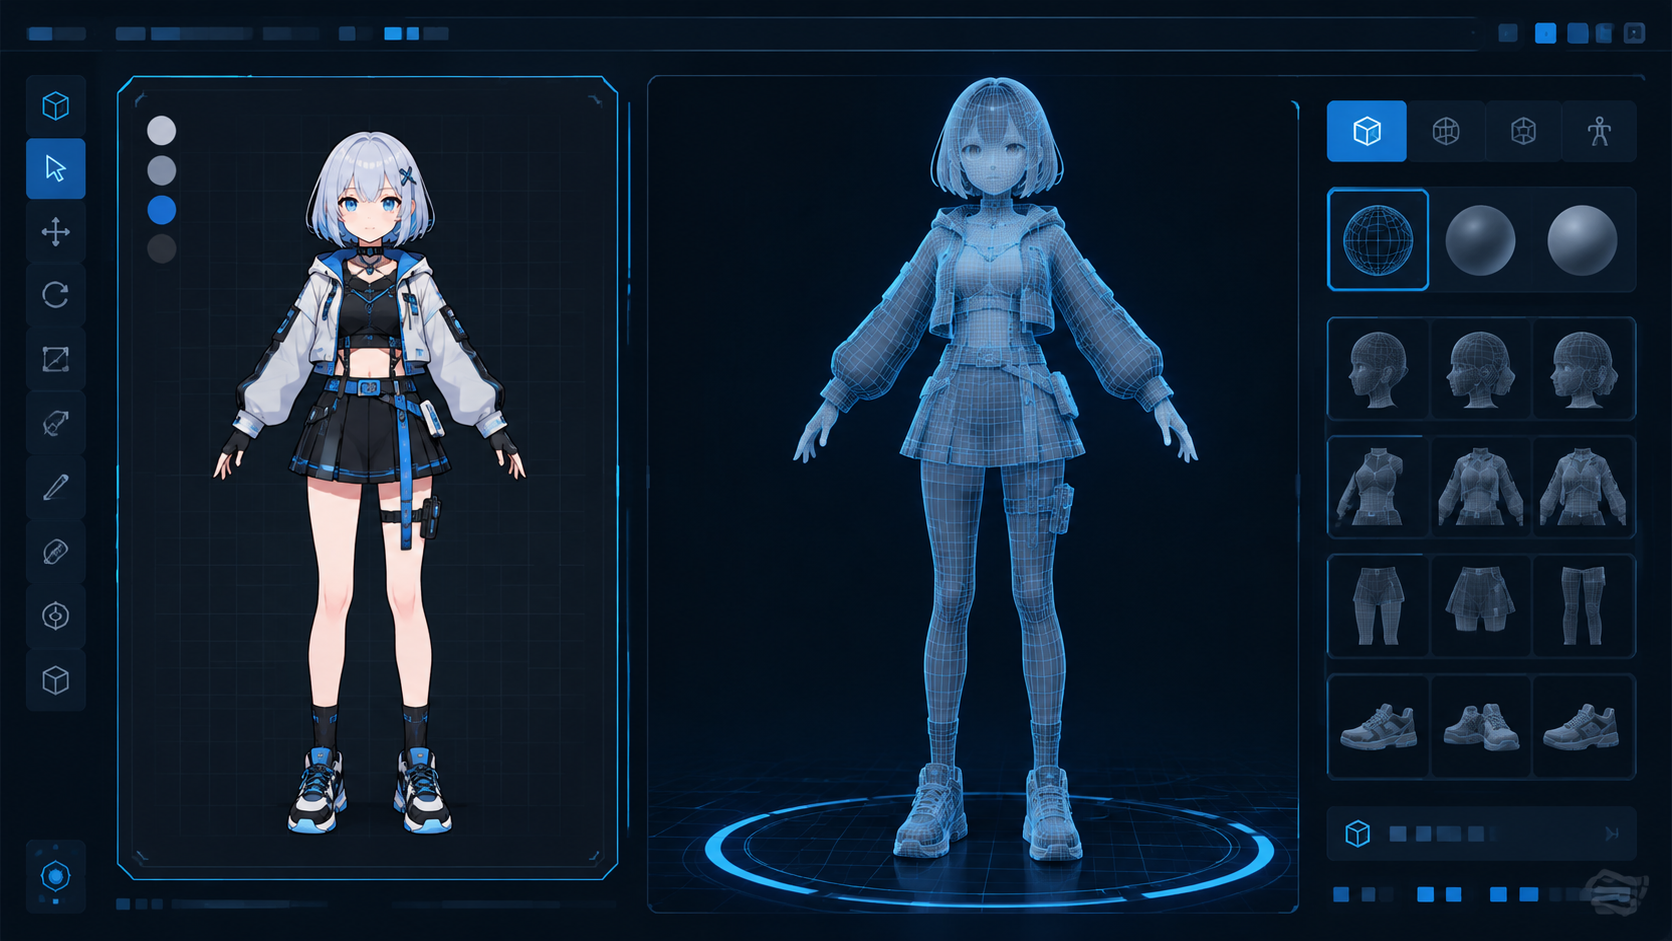
Instead of hunting for a “clean enough” fan model, upload a reference image of the character into Neural4D’s Image to 3D studio. The Direct3D-S2 engine generates a watertight triangular mesh from a single 2D image. An untextured base mesh takes roughly 90 seconds. If you enable PBR textures (normal, roughness, metallic maps), the full textured GLB is delivered in 2 minutes or more in a single generation pass, no manual triggering required.
Neural4D workflow for 3D printing figures:
Input (reference image) → Generate (Direct3D-S2, ~90s base mesh) → Regenerate via Neural4D-2.5 (optional, natural language adjustments) → Export as STL or GLB → Import into slicer
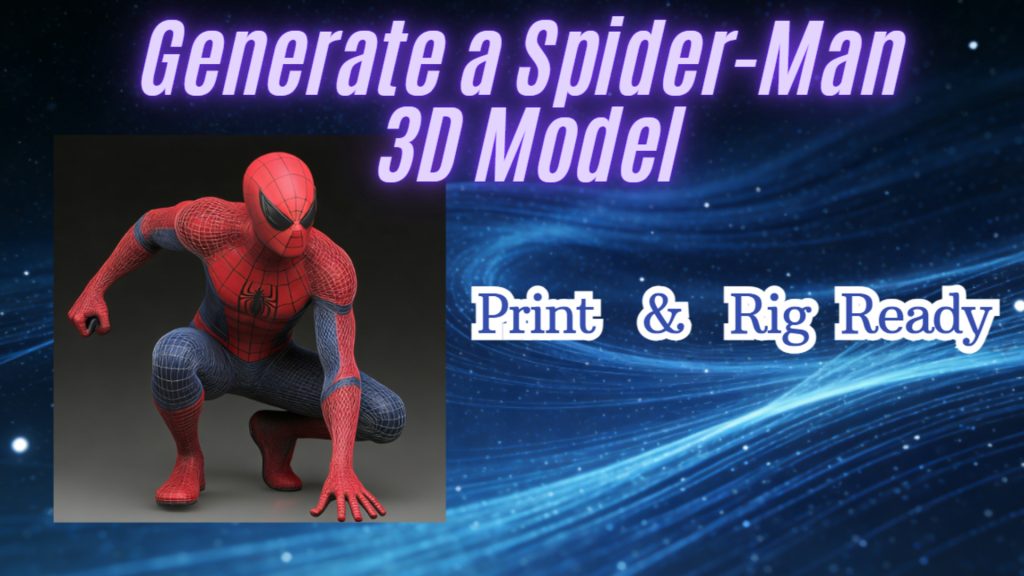
The key distinction: Neural4D generates clean geometry from the start. It does not import, repair, or retopologize models from other generators. If you have a broken STL from a different source, Neural4D is not a fix tool, it is a replacement for the whole sourcing step. This is particularly valuable for Naruto fans who want a specific pose or outfit that no existing STL covers just upload a 2D drawing or screenshot and generate a custom pose that matches what you visualize.
For workflow reference, see how to convert an image to STL for custom model bases, which covers the export settings that produce slicer-ready files.
Part 6: Common Questions on 3D Printing Naruto Figures
Q: Can I sell 3D printed Naruto figures?
Selling 3D printed figures of Naruto characters without a license from IP holders (Shueisha, Studio Pierrot) is copyright infringement in most jurisdictions. This applies regardless of whether you designed the model yourself or downloaded it from a fan site. Personal printing and display is generally accepted as fair use, but the moment money exchanges hands, you enter infringement territory. A few Etsy sellers operate in a gray area with heavily modified original designs that reference the Naruto aesthetic without copying specific character designs, but this carries legal risk.
Q: What is the best layer height for a Naruto figure on an FDM printer?
0.12 mm with a 0.25 mm nozzle produces the best balance of detail and print time for FDM. At this setting, the layer lines on Naruto’s face are barely visible from 30 cm away and sanding them down takes 5-10 minutes per section. Going to 0.08 mm sharpens the headband engraving but adds roughly 60% more print time. For standard 0.4 mm nozzles, stick to 0.12 mm and plan for extra sanding on the face and haird sections.
Q: Do I need supports for a Naruto standing pose?
Yes, unless the model is specifically designed as a support-free print. Naruto’s spiky hair creates overhangs that cannot print without supports on either FDM or resin. His raised collar and outstretched arms also require support. Tree supports (Cura) or organic supports (Bambu Studio) are strongly recommended because they touch the model at fewer points and leave smaller scars, especially on hair spikes where support removal is most visible.
Q: Is resin or FDM better for small Naruto character details?
Resin is strictly better for small details. The headband plate text, whisker marks, sandal straps, and eye pupils are all features below 1 mm that FDM struggles to render cleanly. At 0.04 mm layer height, a resin printer reproduces these details at near-injection-mold quality. FDM can handle them at 0.08 mm with a 0.25 mm nozzle, but the result requires sanding and primer to look clean up close. For a 10-15 cm figure the detail difference between resin and FDM is immediately visible.
Q: Where can I download free Naruto STL files that won’t get taken down?
No public platform can guarantee Naruto STLs will stay up, since the IP is owned by Shueisha and subject to DMCA enforcement. That said, Printables and MakerWorld have the most active communities and fastest re-upload cycles when files are removed. Creality Cloud hosts a smaller but more stable collection. For the most reliable access, download files soon after they appear and store them locally. Avoid depending on a single public link for a project you plan to print weeks later.
Q: How do I remove layer lines on a 3D printed Naruto face?
For FDM prints: one coat of automotive filler primer, let it dry for 24 hours, then wet sand at 400 grit followed by 600 grit. Repeat on any spots where lines are still visible. For resin prints: the layer lines are usually not visible at 0.04 mm, but if they are, a quick pass with 800 grit wet sandpaper followed by a clear gloss coat eliminates them entirely without losing detail. Avoid heavy sanding on resin faces, as you will erode the whisker marks and eye shapes.
Q: Can Neural4D convert a 2D Naruto drawing into a 3D printable file?
Yes. Upload a front-facing or 3/4 view reference image to Neural4D’s Image to 3D studio, and the Direct3D-S2 engine reconstructs it as a watertight mesh. The output is a closed manifold STL that passes through your slicer with zero repair steps. For best results, use a clear image with good contrast between the character and the background. Line art and anime screenshots work, but photographic reference images produce more dimensionally accurate geometry. Export as STL for direct slicer import.
Q: What post-processing steps make a naruto 3d print look painted and smooth?
The full sequence: (1) remove supports and sand support scars at 400 grit, (2) apply filler primer in thin coats, (3) wet sand at 600 grit, (4) base coat the full figure in the lightest color (orange for Naruto’s jacket) using an airbrush or rattle can, (5) hand-paint detail areas (headband, eyes, sandal straps, collar) with acrylics, (6) apply a dark brown or black wash to fill the crease lines, (7) drybrush raised areas with the original color, (8) seal with matte varnish. The wash and drybrush steps make the biggest difference between a flat painted figure and one that reads as a professionally finished collectible.
Part 7: Start Printing Your Own Naruto Figure Today
3D printing a Naruto figure is no longer a complex multi-tool workflow reserved for experienced makers. The combination of accessible resin printers, community STL repositories, and AI model generation means a beginner can go from zero to a painted display figure in a weekend. The critical decisions are picking the right printer type (resin for detail, FDM for size), setting your layer height and supports correctly, and sourcing a clean model that will not fail halfway through the print.
For anyone starting their first naruto 3d print, the fastest path to a successful result is skipping the broken STL hunt entirely and generating the base model directly from a 2D reference using a tool built for watertight output. That eliminates the single biggest failure point in anime figure 3D printing: bad source geometry.
Generate Your Naruto Figure in Under 2 Minutes
Upload a reference image and let Neural4D create a watertight, print-ready 3D model. No modeling skills needed.
Start Your First Naruto 3D Print Model
Free to try. Export STL directly for your slicer.