How to Set Up Blender MCP with Codex, ChatGPT Desktop and Claude
Quick Summary
- Choose a Blender MCP project first. This guide configures the community
mcp-for-blenderserver; Blender’s official connector uses a separate installation. - Install uv, set up the matching Blender add-on, and connect one local MCP client.
- Codex and ChatGPT Desktop share the same Codex configuration. Claude Desktop uses an
mcpServersJSON object. - Verify the connection with a scene query, a named cube and a material change before attempting a full scene.
- GPT-6 Astra is an optional model choice in a compatible OpenAI client. It does not replace the MCP client or Blender add-on.
To set up Blender MCP, connect your AI client to an MCP server and install that server’s matching add-on in Blender. The client launches the bridge, the add-on receives commands, and Blender performs the scene operations. The steps below cover Codex, ChatGPT Desktop and Claude Desktop separately so that you can use the right configuration format.
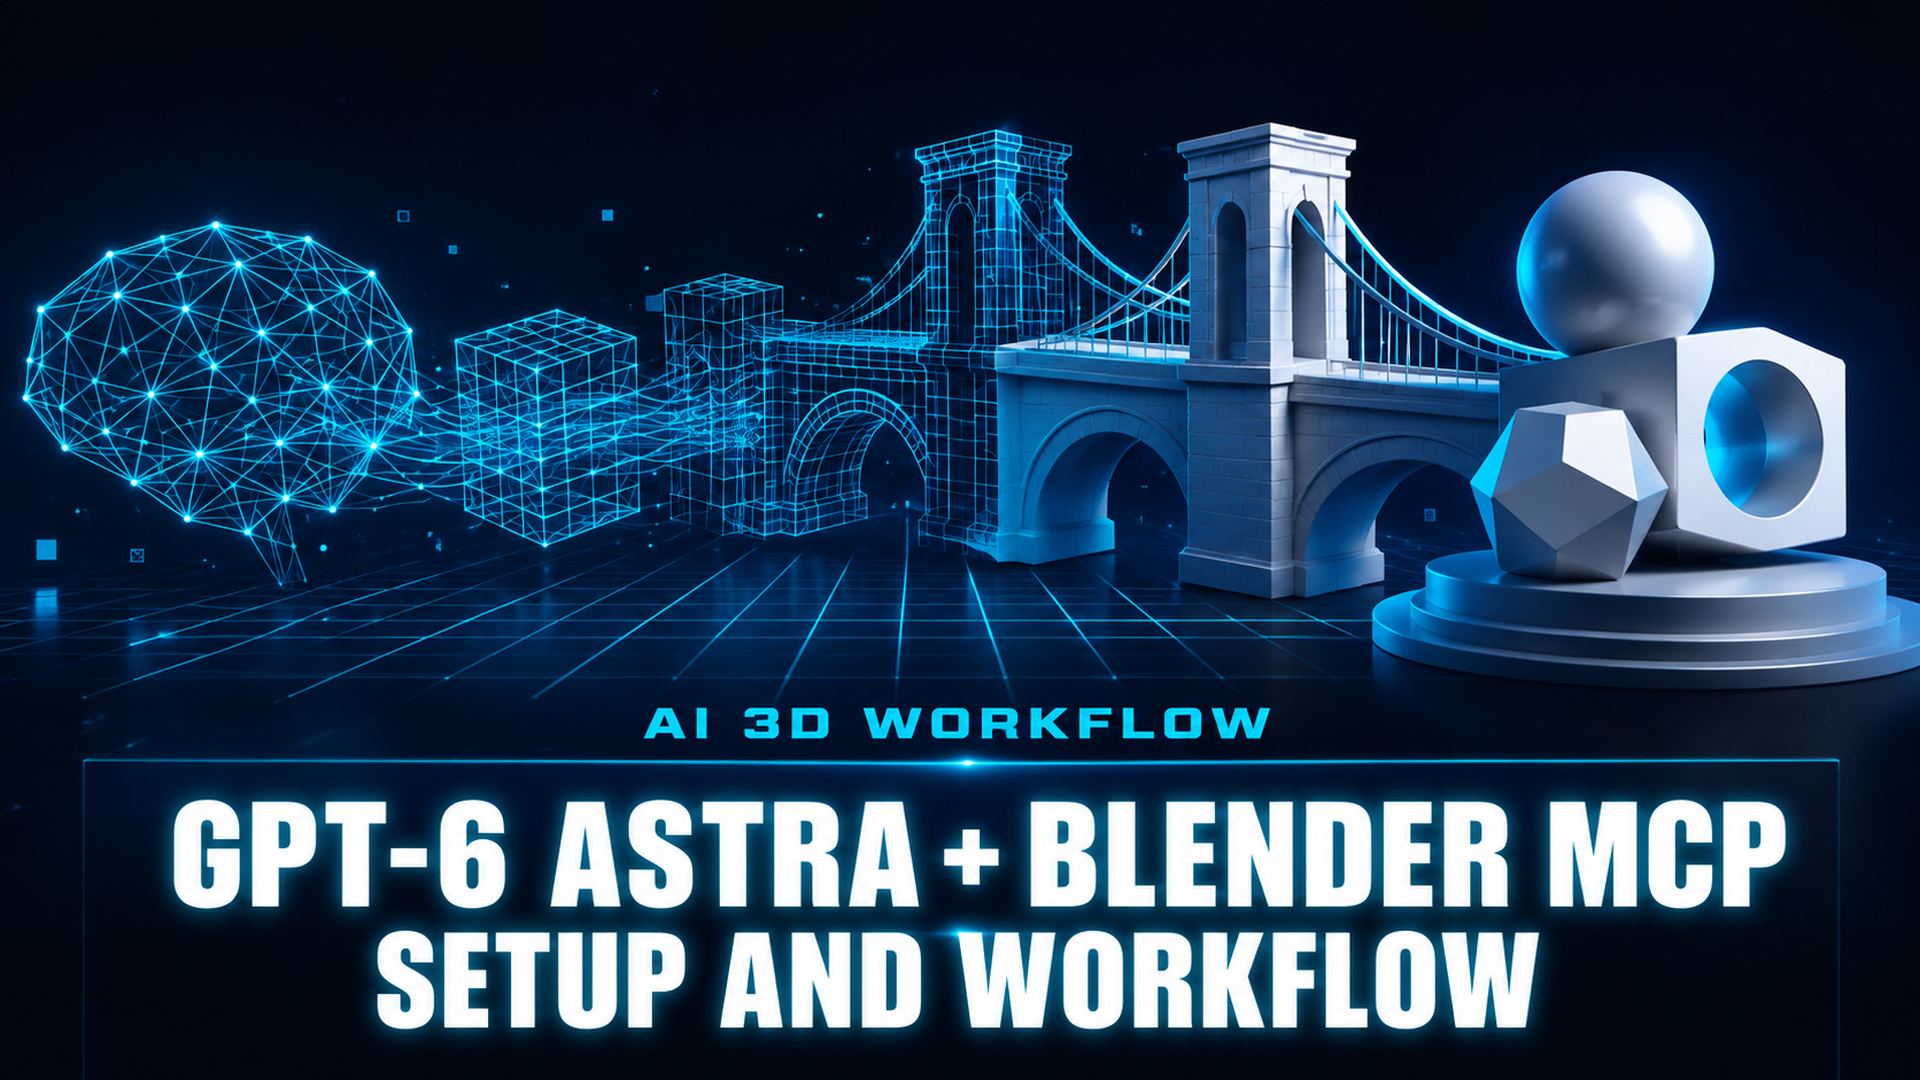
Documentation checked October 21, 2026. The configuration examples are based on the linked project documentation. Complete the connection checks in your own Blender session; the illustrations in this guide are conceptual images, not installation screenshots or evidence of a tested run.
Which Blender MCP Server Should You Install?
Blender MCP can refer to different projects. Their add-ons, installation packages and client settings are not interchangeable. Choose one route before copying any configuration.
| Route | Requirements and components | Use this guide for |
|---|---|---|
| Community MCP for Blender | mcp-for-blender, its matching add-on, and a local MCP client. The add-on declares Blender 3.0+; the server package requires Python 3.10+. |
The uvx, TOML and JSON examples below |
| Official Blender MCP server | The official extension plus its MCP server bridge and client integration. The current Blender Lab package requires Blender 5.1+. | The official-route note below, then the linked installation documentation |
The community project is maintained independently of Blender. Its current package name is mcp-for-blender; existing blender-mcp configurations remain compatible according to the upstream project. Check the add-on metadata and server package requirements for the release you install.
Using Blender’s official connector in Claude? Follow the Blender Lab installation instructions and Claude Academy’s Blender connector guide. Claude’s route starts at Customize > Connectors > Blender and also requires Blender’s extension. Do not substitute the community JSON below for that connector.
There is a version discrepancy in the documentation: Claude Academy lists Blender 4.2+, while the current Blender Lab package specifies 5.1+. Use the requirements of the actual package you download.
Blender MCP Requirements Before You Start
For the community route, prepare these components:
- Blender and a disposable project. Check the matching add-on’s Blender version requirement and save a separate
.blendfile for setup. - uv and uvx. These run the server package. Its Python requirement applies to the server environment, not an instruction to replace Blender’s bundled Python.
- One local MCP client. Choose Codex, ChatGPT Desktop with local MCP support, or Claude Desktop.
- Access to a model in that client. Use the models your account provides. Astra access is needed only if you specifically want to use Astra.
- A configuration backup. Merge new server entries into existing settings so that your other tools keep their configuration.
Install uv and the Blender MCP Add-on
1. Install uv and check that uvx is available
On Windows, use WinGet:
winget install --id=astral-sh.uv -eOn macOS, you can use Homebrew:
brew install uvFor Linux and other supported installation methods, follow uv’s installation documentation. uv also supports installation from PyPI; this guide uses the package-manager route to make the executable easier to locate.
Open a new terminal after installation and verify:
uv --version
uvx --version
2. Choose automatic setup or manual installation
The community project’s setup command detects supported clients, lets you select them, installs and enables the add-on, and backs up configuration files it changes:
uvx mcp-for-blender setupInspect the resulting client entry before adding another one. Fully quit and reopen the client, then open Blender. The current automatic setup enables the add-on’s startup behavior.
For manual installation, install the add-on first:
uvx mcp-for-blender install-addonIn Blender, open Edit > Preferences > Add-ons and enable Interface: MCP for Blender. Open the 3D Viewport sidebar with N, find MCP for Blender, and start its server if it is stopped. If detection fails, use the manual add-on installation instructions in the project’s add-on guide.

Configure Blender MCP for Your AI Client
Configure one client for the first connection test. If automatic setup already added blender, edit that entry rather than creating a duplicate. These examples use the community server.
Codex: register the server or edit TOML
Register the server from your terminal:
codex mcp add blender -- uvx mcp-for-blenderAlternatively, add the following table to ~/.codex/config.toml. If the CLI created it, edit the existing table. The environment settings enable script validation and disable telemetry; the timeout values are optional starting points for this example.
[mcp_servers.blender]
command = "uvx"
args = ["mcp-for-blender"]
env = { BLENDER_MCP_SAFE_MODE = "1", DISABLE_TELEMETRY = "true" }
startup_timeout_sec = 20
tool_timeout_sec = 120
Restart Codex and run codex mcp list to confirm registration. In an active Codex session, use /mcp to inspect the connection. Registration alone does not prove that the Blender add-on is reachable.
ChatGPT Desktop: add a local STDIO server
For the desktop app described in OpenAI’s MCP documentation, open Settings > MCP servers > Add server. Name it blender, choose STDIO, use uvx as the executable and mcp-for-blender as its argument, then save and restart.
The desktop app, Codex CLI and IDE extension share configuration on the same Codex host. If you already added the TOML entry above on that host, inspect it in the desktop app rather than adding another server. Availability can depend on the installed app and workspace settings.
ChatGPT in a browser has a different connection path. A hosted web session does not automatically read your local TOML file or reach the local Blender process. Use the supported plugin or remote MCP connection for that surface, with an explicitly configured route to the local machine when required. Do not paste localhost:9876 into a remote MCP URL field: that socket is not an HTTP MCP endpoint.
Claude Desktop: use the complete JSON structure
For the community server, open Settings > Developer > Edit Config. Merge a blender entry into your existing mcpServers object:
{
  "mcpServers": {
    "blender": {
      "command": "uvx",
      "args": ["mcp-for-blender"],
      "env": {
        "BLENDER_MCP_SAFE_MODE": "1",
        "DISABLE_TELEMETRY": "true"
      }
    }
  }
}
Keep other server entries, save valid JSON, and fully quit and reopen Claude Desktop. The outer mcpServers object is required. This configuration connects Claude’s available model to Blender; it does not select GPT-6 Astra.
If a desktop app cannot find uvx
A GUI app can have a different PATH from your terminal. In Windows PowerShell, find the executable with:
Get-Command uvx | Select-Object -ExpandProperty SourceIn Command Prompt, use where.exe uvx. On macOS or Linux, use command -v uvx. Put the returned absolute path in the existing command field. TOML literal strings can hold a Windows path without doubling its backslashes; JSON paths require escaped backslashes. Restart the client after changing it.
Save Your Work and Review Blender MCP Permissions
Both routes can execute code inside Blender. Use a disposable scene for the first connection, keep approvals enabled where your client supports them, and review file operations before running them.
- Keep the community socket local. Its default port is
9876; upstream documents that the socket has no authentication or encryption. Do not expose it to the public internet. - Use safe mode as a script check.
BLENDER_MCP_SAFE_MODE=1validates scripts. It is not a sandbox or a guarantee that every unsafe operation is blocked. - Choose telemetry settings deliberately. The examples set
DISABLE_TELEMETRY=true; also review the add-on’s preferences. - Save checkpoints. Keep the original project and work in a copy. For sensitive work, consider a separate environment, as Blender’s official guidance recommends.
Verify Your First Blender MCP Connection
Run these prompts separately. They are a short acceptance test you can perform after setup. Stop at the first failed step and resolve that layer before trying a larger task.
1. Read the scene without changing it
Use the connected Blender MCP tools to inspect the open scene. Report the Blender version, active scene name, object names and object types. Do not change anything.Pass condition: the client makes a tool call and returns values that match the scene in your open Blender window. A suggested Python script or an unsupported claim of success does not confirm the connection.
2. Create one named cube in your test scene
In the disposable Blender scene, create a cube named MCP_Setup_Test at the origin with dimensions 2 by 2 by 2 Blender units. Keep existing objects. If that name already exists, report it and stop. Report the new object's name and dimensions after creating it.Pass condition: the cube appears in the viewport and Outliner with the requested name and dimensions. The existing scene remains intact.
3. Change its material and verify the result
Assign a red material named MCP_Test_Red to MCP_Setup_Test. Leave its geometry and all other objects unchanged. Inspect the object again and report its material name and base color.Pass condition: the reported material matches Blender’s Material Properties. Use Material Preview to inspect the color; Solid shading can hide material changes.
4. Check a saved file before expanding the task
Save the test project to a location you choose, reopen it, and confirm that the cube and material remain. If your workflow needs GLB or FBX, export the test object and re-import it into an empty scene. Record the client, Blender and server versions alongside the result.
After those checks pass, try a small blockout in separate steps. Define dimensions, inspect the geometry, add materials, and only then add details such as window openings.
Blender MCP Not Connecting? Check These Layers
| Symptom | What to check | Next action |
|---|---|---|
spawn uvx ENOENT |
The client cannot locate the executable | Find uvx’s absolute path, update the command and restart the client |
Connection refused |
Blender is closed, the add-on is stopped, or host and port do not match | Open Blender, inspect the add-on status and check its port against the configured server |
| No Blender tools | Server startup, config format, duplicate entries or client permissions | Inspect the client log; confirm the server entry is enabled and the executable starts successfully |
| Works in Codex but not ChatGPT web | The web session has no configured path to the local server | Use the supported desktop route or configure the web surface’s supported connection separately |
| Claude rejects the configuration | TOML pasted into JSON, missing outer object or invalid punctuation | Use the complete JSON example, merge existing entries and validate the file |
| Python dependency error | The server environment selected by uv | Check the package requirement and upstream interpreter guidance before changing Blender’s Python |
| Timeout during a tool call | Task complexity, rendering load and client/server limits | Inspect Blender’s state, then retry a smaller step; adjust the relevant client timeout if needed |
| Unexpected or duplicate edits | Another client or a previous timed-out call may still be working | Use one client for the test and inspect the scene before repeating a write operation |
| Cube exists but is not visibly red | Viewport shading and the assigned material | Switch to Material Preview and inspect the object’s material slot |
A timeout does not prove that a write operation was cancelled. Query the scene before repeating object creation. Capture the exact error, client log and versions when reporting a failure; those details are more useful than a screenshot of a generic connection warning.
How to Use GPT-6 Astra with Blender MCP
GPT-6 Astra with Blender MCP uses the same connection described above. Astra is the model; Codex or another compatible local OpenAI client manages the tools. Select Astra through the model choices your account exposes after you have verified the server connection.
Keep model selection separate from the [mcp_servers.blender] table. If you configure a model in TOML, its setting belongs at the top level. Use the exact model identifier supported by your installed client and account; the Blender server does not grant model access.
For broader capability comparisons and examples, see GPT-6 Astra for 3D modeling. This page focuses on installation, connection and the checks needed before working on a scene.
| Method | How feedback reaches the model | Useful when |
|---|---|---|
| Copy and run a bpy script | You provide results, errors or screenshots | You need a short script and can review it before running |
| Computer-use tools | The client inspects the interface and images | The selected client supports the necessary screen interaction |
| Blender MCP | The server returns tool results from Blender | You want repeated scene queries and edits through a configured client |

Prompts for Blender MCP Scene Operations
Give the client an object, an operation and a measurable result. Keep inspection separate from destructive changes so you can review what the agent intends to modify.
| Task | Prompt example |
|---|---|
| Scene audit | List the five mesh objects with the most polygons. Report their names and counts without changing them. |
| Naming | Suggest descriptive names for the selected objects. Show the old and proposed names and wait for approval. |
| Materials | Find objects using the material named Glass. Report them before making any edits. |
| Camera | Frame MCP_Setup_Test from an isometric angle. Keep object transforms unchanged and report camera changes. |
| Export preparation | Inspect the selected object’s transforms, dimensions and material slots. Report anything that may affect a GLB export. |
Optional asset services have their own credentials and licensing terms. Add those integrations only after the basic connection works, and verify the license for each imported asset.
If the asset needs topology work, use the Blender retopology guide for AI 3D models to decide what to inspect before animation or further editing.
Check the Saved Project and Exports
A convincing chat summary does not verify a usable asset. Open the saved file independently and compare the result with the brief.
- Clean reopen: check that the project opens with its objects, materials and linked files intact.
- Scene structure: inspect dimensions, units, transforms, modifiers and object names.
- Materials and textures: check assignments and use packed or transferable file paths where appropriate.
- Exports: re-import the requested format into an empty project and compare scale, orientation and included objects.
Define pass conditions before the task. For the cube test, the object name, dimensions and material provide a compact checklist. For production work, add the required texture, topology and export checks. If a step fails, return to a saved checkpoint and reduce the scope.
For an FBX handoff, the FBX import guide for Blender explains the import side. For generated meshes, review AI model cleanup in Blender before treating the asset as ready for its destination.
Bring an N4D Asset into Your Blender Workflow
Blender MCP helps a client operate Blender. If you need a starting asset from a reference image, N4D Image to 3D provides a separate generation step. Generate the model, inspect the result, export it, and bring it into Blender for positioning, lighting and scene edits.

N4D supports exports including GLB, FBX, OBJ, USDZ, STL and BLEND. Within an N4D generation session, N4D-2o can refine the generated model. It does not provide a general repair service for arbitrary external meshes. Once exported, Blender remains the place to inspect and edit your local scene.
The video below shows the image to 3D generation stage. It does not demonstrate Blender MCP installation or client configuration.
Generate a starting asset for your Blender scene
Turn a reference image into a 3D model, inspect its geometry and textures, then export it for your Blender workflow.
Plan for Usage Limits and Longer Blender Tasks
Blender MCP does not determine the price of the model or optional asset services. Your client subscription, model usage and third-party integrations can each have separate limits. Check the current terms of the services you enable.
Keep the initial scene query and cube test short. For a larger project, separate geometry, materials, camera work and rendering into individual steps. A longer client timeout can help a slow operation, but it cannot override every server limit or recover a stalled Blender process.
Use saved checkpoints and ask for concise change reports. Reuse a verified starting scene when appropriate, and inspect the result after each write operation before requesting another one.
Blender MCP Setup FAQ
Can ChatGPT connect to Blender MCP?
ChatGPT Desktop with local MCP support can use the community server as a STDIO connection on its Codex host. A hosted web session uses a different supported plugin or remote connection path and does not automatically read local configuration. Check the installed app and workspace permissions.
How do I connect Codex to Blender MCP?
Install the matching community add-on, keep Blender open, and register the server with codex mcp add blender -- uvx mcp-for-blender. Restart Codex, inspect the MCP connection and run a read-only scene query before creating objects.
Do I need GPT-6 Astra or API access for Blender MCP?
Astra is optional. Use a model available in your chosen MCP client. Authentication, subscription limits and any API billing depend on that client and account; installing the Blender server does not grant model access.
Which Blender version does Blender MCP require?
The community add-on declares Blender 3.0 or newer and its server package requires Python 3.10 or newer. The current official Blender Lab package requires Blender 5.1 or newer. Claude Academy lists a different minimum, so check the package you actually install.
Why does Blender MCP report spawn uvx ENOENT?
The desktop client cannot find uvx. Locate the executable with Get-Command uvx in PowerShell, where.exe uvx in Command Prompt, or command -v uvx on macOS or Linux. Put its absolute path in the existing command field and restart the client.
Can I use Claude Desktop and Codex with the same Blender scene?
For initial setup, use one client at a time. Multiple clients can target the same scene and interleave their edits; a second client does not automatically receive an independent Blender session. Check the scene before repeating a timed-out write operation.
Can Blender MCP run headless or inside Docker?
Running the MCP bridge in Docker does not by itself make Blender headless. The matching Blender process and add-on still need to be available. Automatic add-on startup also differs from a manually started sidebar connection. Validate your exact unattended configuration before relying on it for rendering.
Start with a Verified Blender MCP Connection
Choose a server, install its matching add-on, configure one client, and verify a scene query before asking for edits. Once the named cube and material checks pass, save and reopen the project, then test the export format you actually need.
You can use GPT-6 Astra in a compatible OpenAI client when your account provides access. The same connection checks apply to other supported models: a working server entry, a reachable Blender session and a result you can inspect.