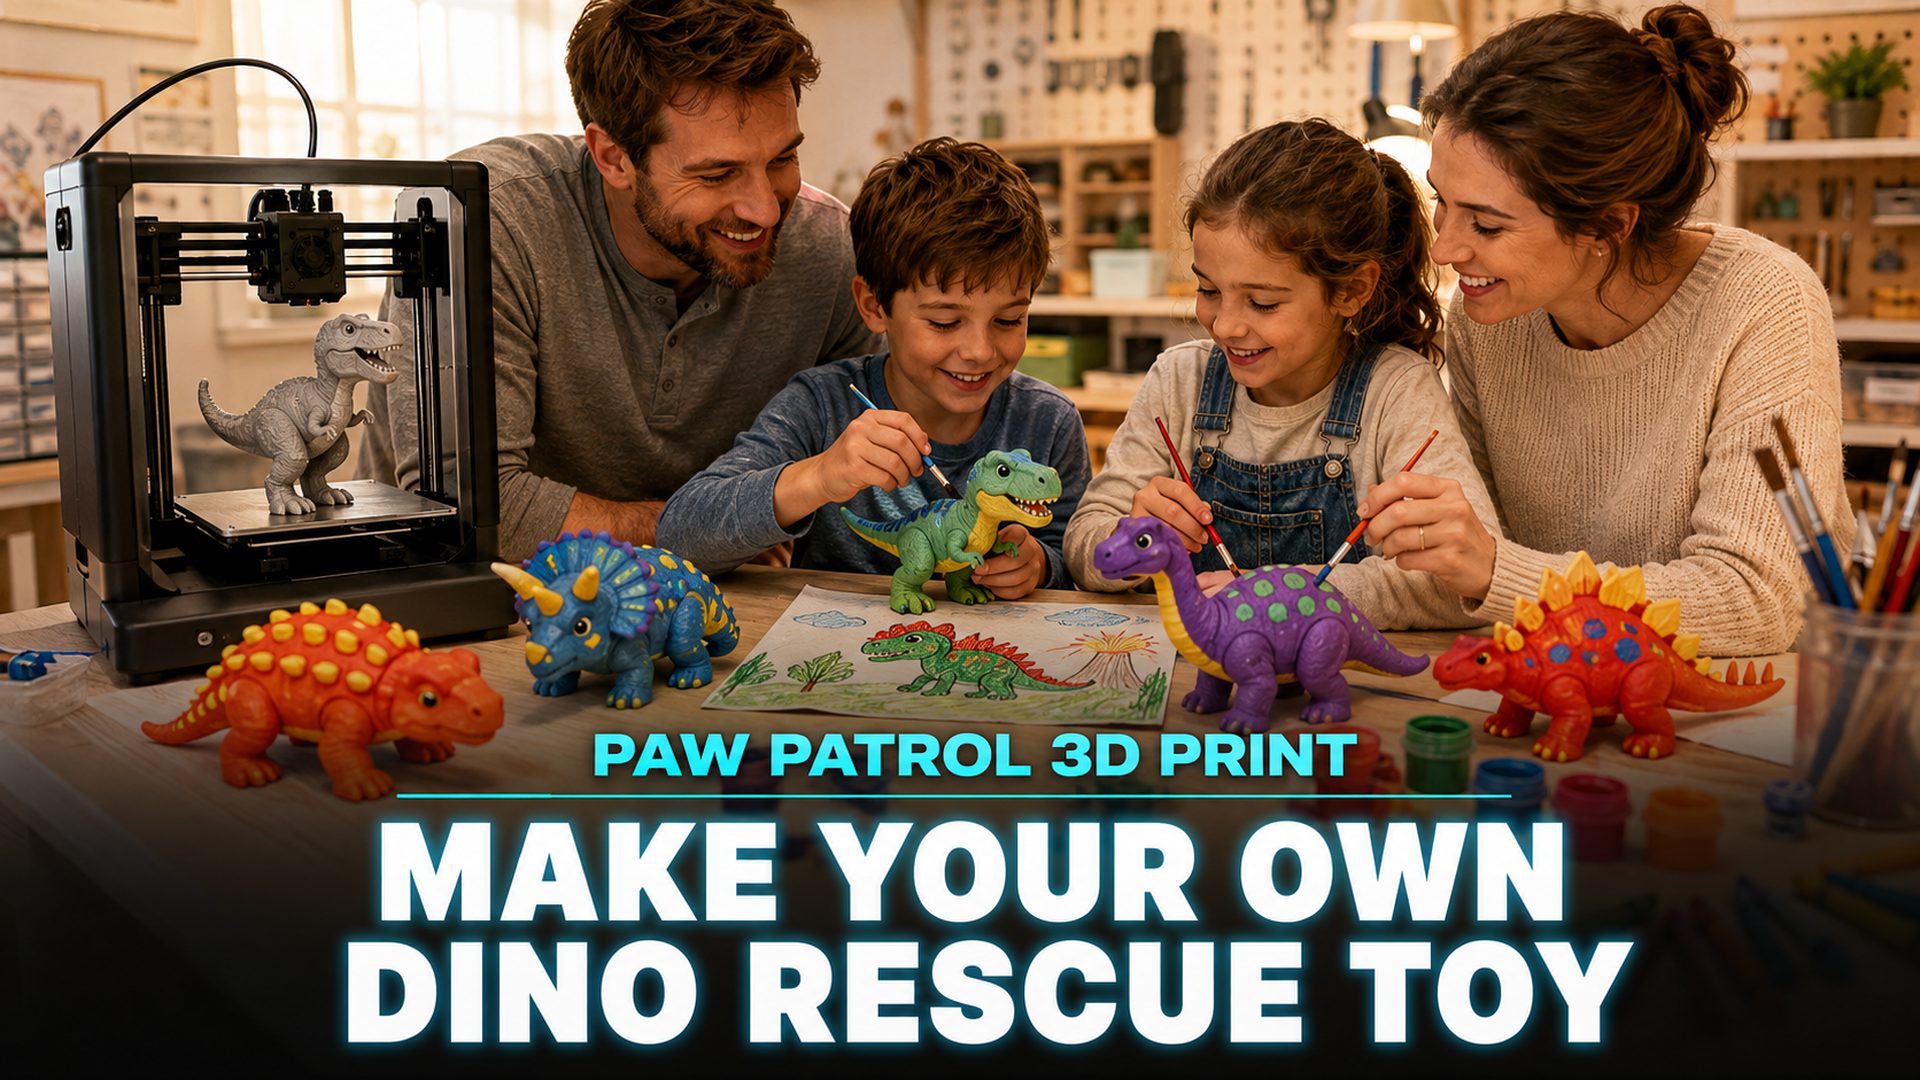
PAW Patrol 3D Print Ideas: A Parent’s Guide to Dino Movie Inspired Kids Toys
Quick Summary
- PAW Patrol 3D print projects let parents make Dino Movie inspired toys at home for a few dollars of filament instead of paying store prices for licensed merch.
- A three step workflow (concept, generate, print and paint) turns a kid’s own dinosaur drawing into a watertight, printable model with an AI image to 3D generator.
- Durable kids’ toys favor thick walls, moderate infill, and adult supervision for resin; PLA on an FDM printer is the family friendly default.
- Neural4D generates watertight 3D models from text or images that export straight to STL, which removes the most common cause of failed prints: hidden holes in the mesh.
PAW Patrol 3D print projects are having a moment: PAW Patrol: The Dino Movie opens in theaters on August 14, 2026, and the toy aisles are already feeling thin. This guide shows parents a repeatable three step workflow that turns the movie’s dinosaur energy into a printed toy your kid actually plays with, using Neural4D’s image to 3D and text to 3D instead of gambling on random STL downloads.
Part 1: Why the Dino Movie Made 3D Printing Suddenly Feel Personal
In PAW Patrol: The Dino Movie, a storm wrecks the pups’ ship and strands them on an uncharted island full of dinosaurs. They meet Rex, a pup who has lived there for years and understands every roar on the island. When Mayor Humdinger’s mining operation wakes a dormant volcano, the whole island needs dino-sized rescues, and Spin Master opens the film in theaters on August 14, 2026. That is where PAW Patrol 3D print projects come in: the moment the credits roll, a chunk of the audience is going to want a dino pup of their own.
The official PAW Patrol movie page describes the story as a series of high-stakes, dino-sized rescues, and that is exactly the energy kids carry home from the theater. A store shelf can sell them a toy. A printer in the garage can give them the scene they actually imagined: the volcano, the rescue, a pup standing next to a dinosaur twice its size, scaled to a hand that can hold it and painted in colors a five year old chose themselves.
There is a long tradition of parents printing recognizable characters at home. Our article on 3D printed Toy Story characters walks through the same impulse: kids recognize the toy, parents control the cost and the print quality, and the result is something the whole family had a hand in making. The Dino Movie just gave that impulse a fresh deadline.
Part 2: The Real Cost of Official Dino Movie Toys (And Why Parents Are Making Their Own)
Licensed toy pricing follows a predictable curve. A single Dino Movie figure runs about $12 to $20, a playset with a couple of dinosaurs climbs past $40, and the completist urge (one for each pup) turns a single store trip into a $100 decision. The price tag is not the real problem. The real problem is that the toy ends up under the bed two weeks later while the receipt is still on the counter.
| What you want | Store price | Material cost to print your own |
|---|---|---|
| Single dino pup figure | $12 to $20 | $0.50 to $2 of filament |
| Playset with a few dinosaurs | $40 to $60 | $3 to $6 |
| A full rescue crew and dinos | $90 to $120 | $10 to $20 |
The first instinct is to search for a ready-made file. Searching paw patrol stl or paw patrol 3d model pulls up hundreds of results across Printables, MakerWorld, Etsy, and Thangs. Some are genuinely excellent, but the category carries a quality lottery: auto-generated conversions, game rips, and files with non-manifold geometry that the slicer quietly refuses to repair. A model that looks fine in the browser can still print as spaghetti on the first layer.
The quality lottery is why more parents are skipping the download and generating their own model instead. When you design it yourself, you control the pose, the scale, and the printability from the start, and you stay clearly on the editorial-and-personal-use side of the copyright question. That is the PAW Patrol 3D print route this guide takes.
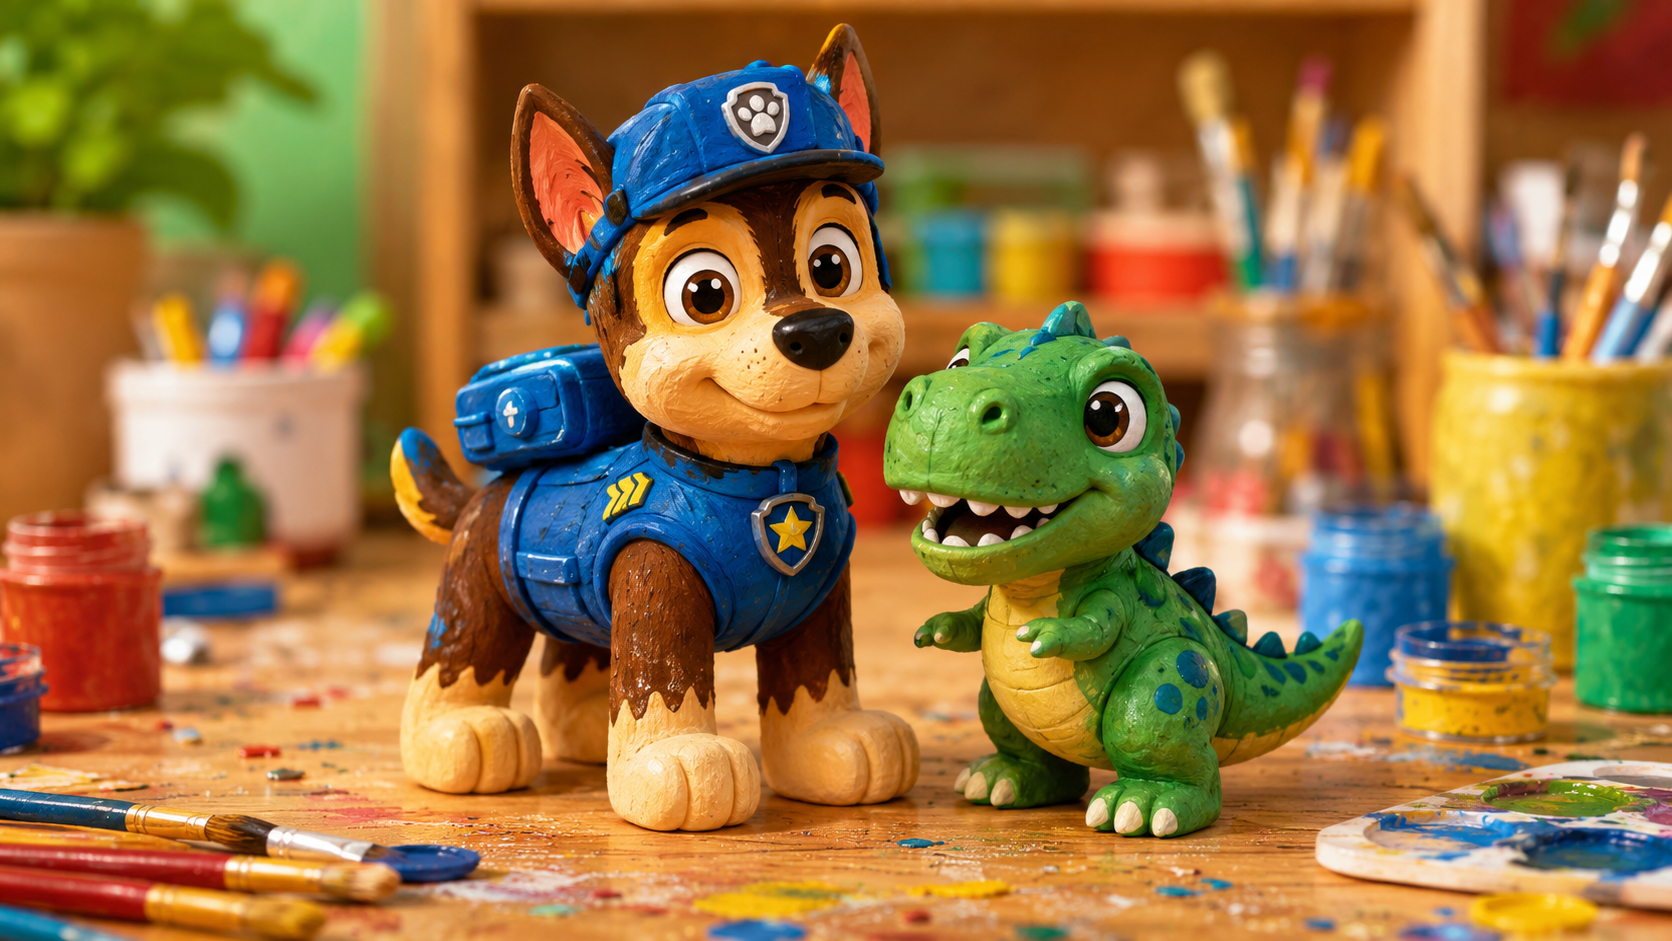
Part 3: How to 3D Print Your Own PAW Patrol Dino Toy in 3 Steps
The workflow below is the one we keep coming back to for family print nights. We call it the Parent’s DIY Dino Rescue Pipeline, and it has three stages: concept, generate, print and paint. It works with any slicer and any modern printer, and it keeps the whole project inside one weekend.
Step 1: Concept, build it from what the kid already drew
1Concept: gather the reference, a drawing or a spoken description of the dinosaur you want.
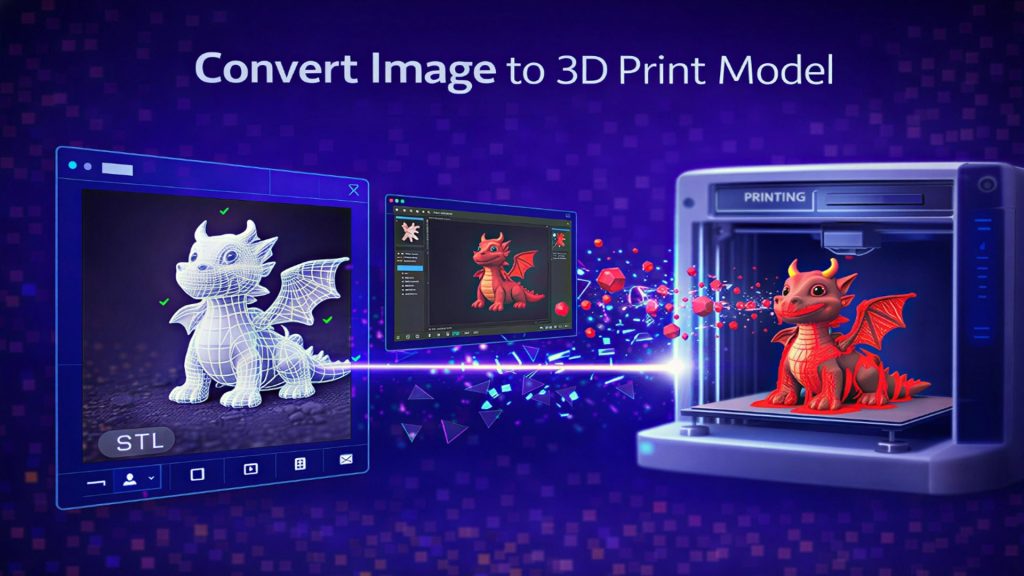
Start with something real. The most reliable concept is the kid’s own dinosaur drawing: a crayon Rex with an overlong neck, a volcano behind a pup, whatever they sketched while the credits rolled. A photo of that drawing is a perfect image to 3D input, because the child already made the creative decisions and the AI just has to honor them. Our guide on how to convert an image to STL explains the input requirements in more detail, including the lighting and background tips that make the first pass come out cleaner.
Prefer to skip the drawing? A text to 3D description works just as well: a small cartoon rescue pup dinosaur, chubby and friendly, standing pose, smooth rounded shapes, toy-safe proportions. Write the description in plain words and the model will follow.
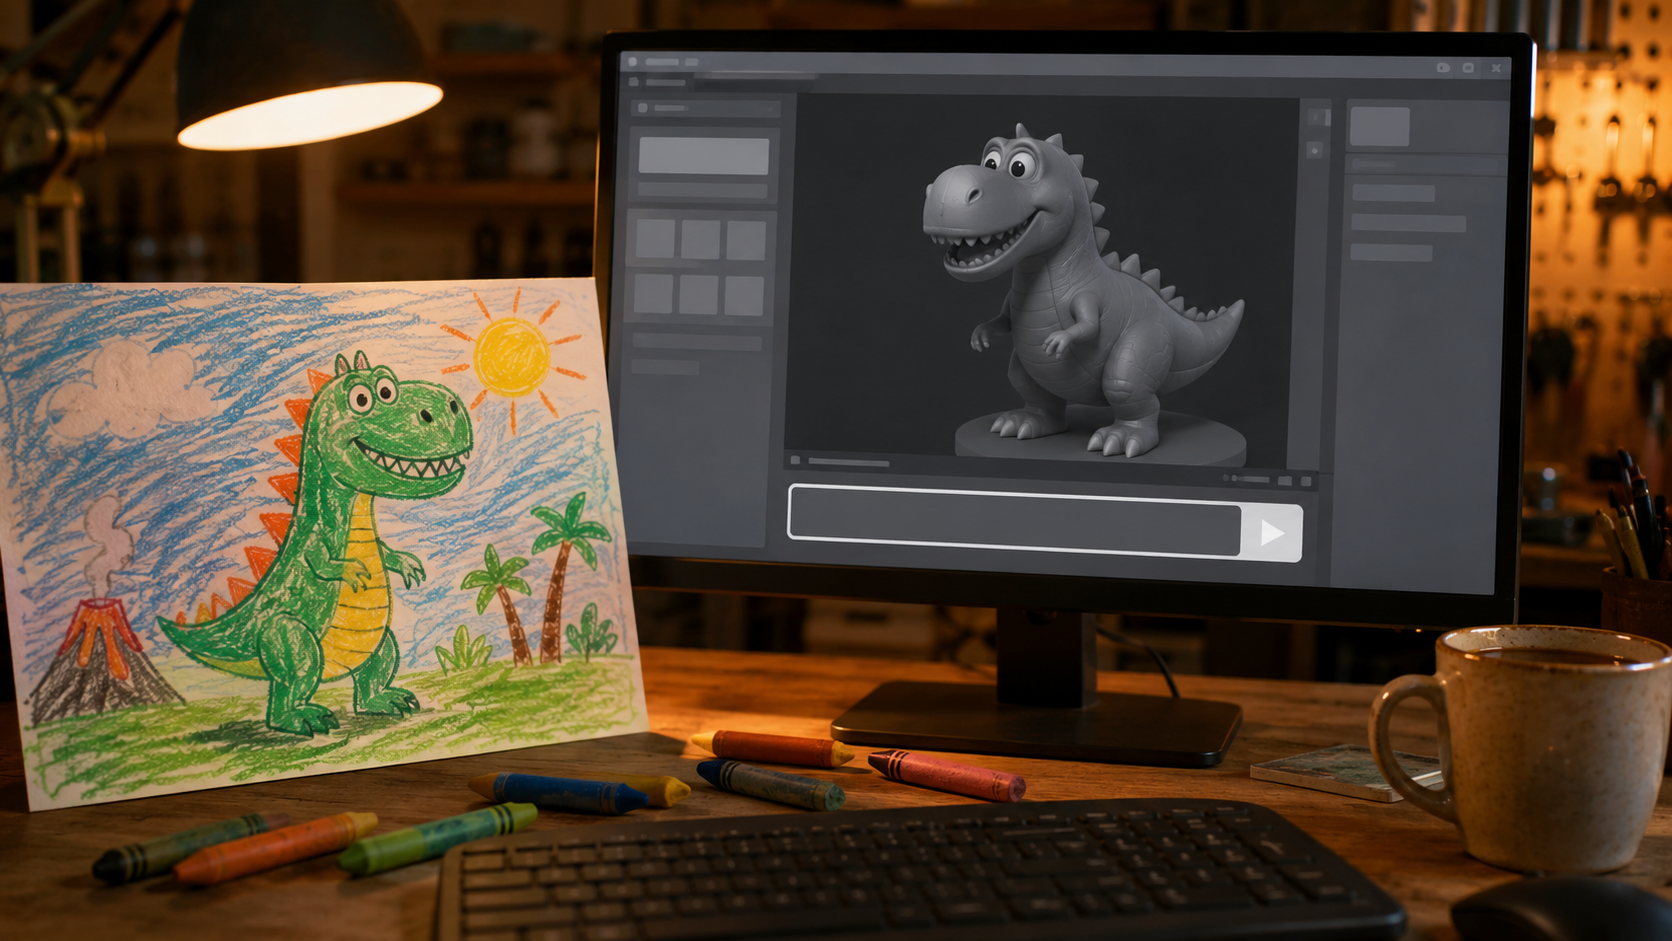
Step 2: Generate, let the AI build watertight geometry
2Generate: turn the reference into a watertight 3D model and export it as STL.
Load the drawing into an image to 3D generator, or type the description into a text to 3D prompt. The Direct3D-S2 engine inside Neural4D processes the full volume rather than just the visible silhouette, which is the difference between a model that prints first try and one that needs hours of hole patching.
For a base mesh with no textures, generation takes about 90 seconds. Add standard textures or full PBR maps and the total climbs to 2 minutes or more, because the mesh and the material maps are computed in a single pass. For a toy you are going to paint by hand anyway, the untextured base mesh is usually the right call.
Before you leave the studio, rotate the model in the viewer, check the geometry from every angle, and scale it to the size you plan to print. When it looks right, export the STL. Because the output is watertight, your slicer sees a closed solid instead of a mesh with holes, and the text to STL workflow is identical if you skip the image and type your idea instead.
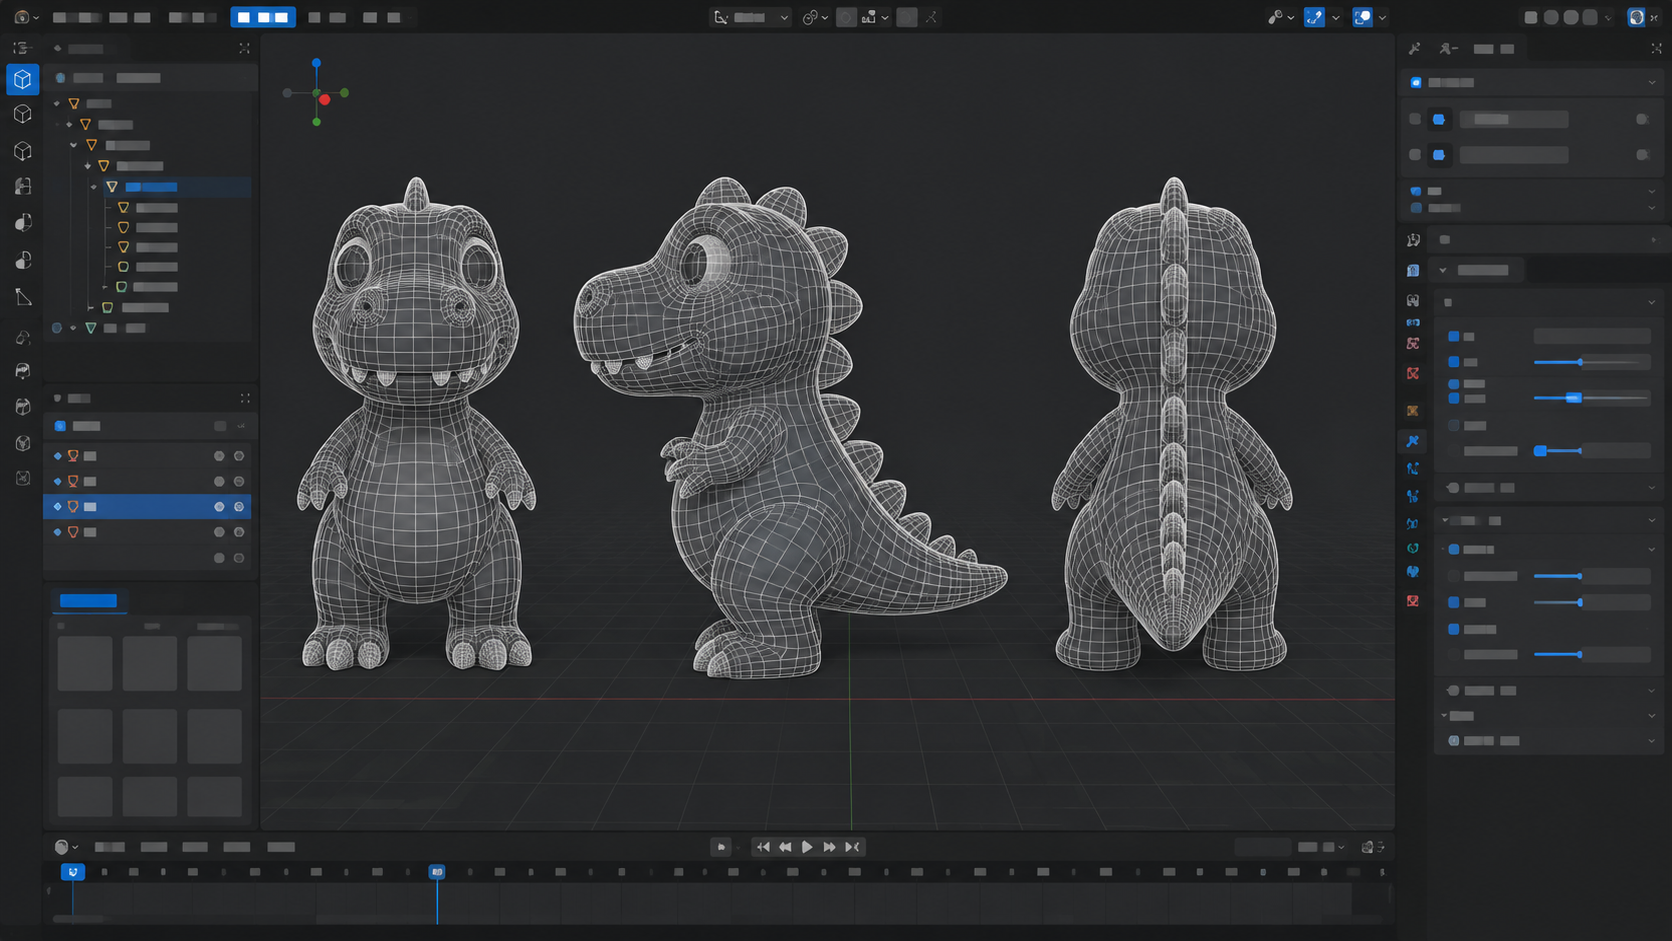
Step 3: Print and Paint, from slicer to shelf
3Print and Paint: slice, print, sand the layer lines, and let the kid take over with paint.
Drop the STL into your slicer, apply the settings in Part 4 below, and let the printer run. PLA is the default for good reason: it prints at low temperatures, has almost no odor, and finishes easily. When the print cools, remove the supports, sand the worst of the layer lines on the visible surfaces, and let the kid take over with acrylic paint.
One tip that saves paint jobs: hit the model with a coat of gray primer first. A single layer covers layer lines and gives acrylic something to grip, and from that point the kid’s paint becomes the whole personality of the toy.
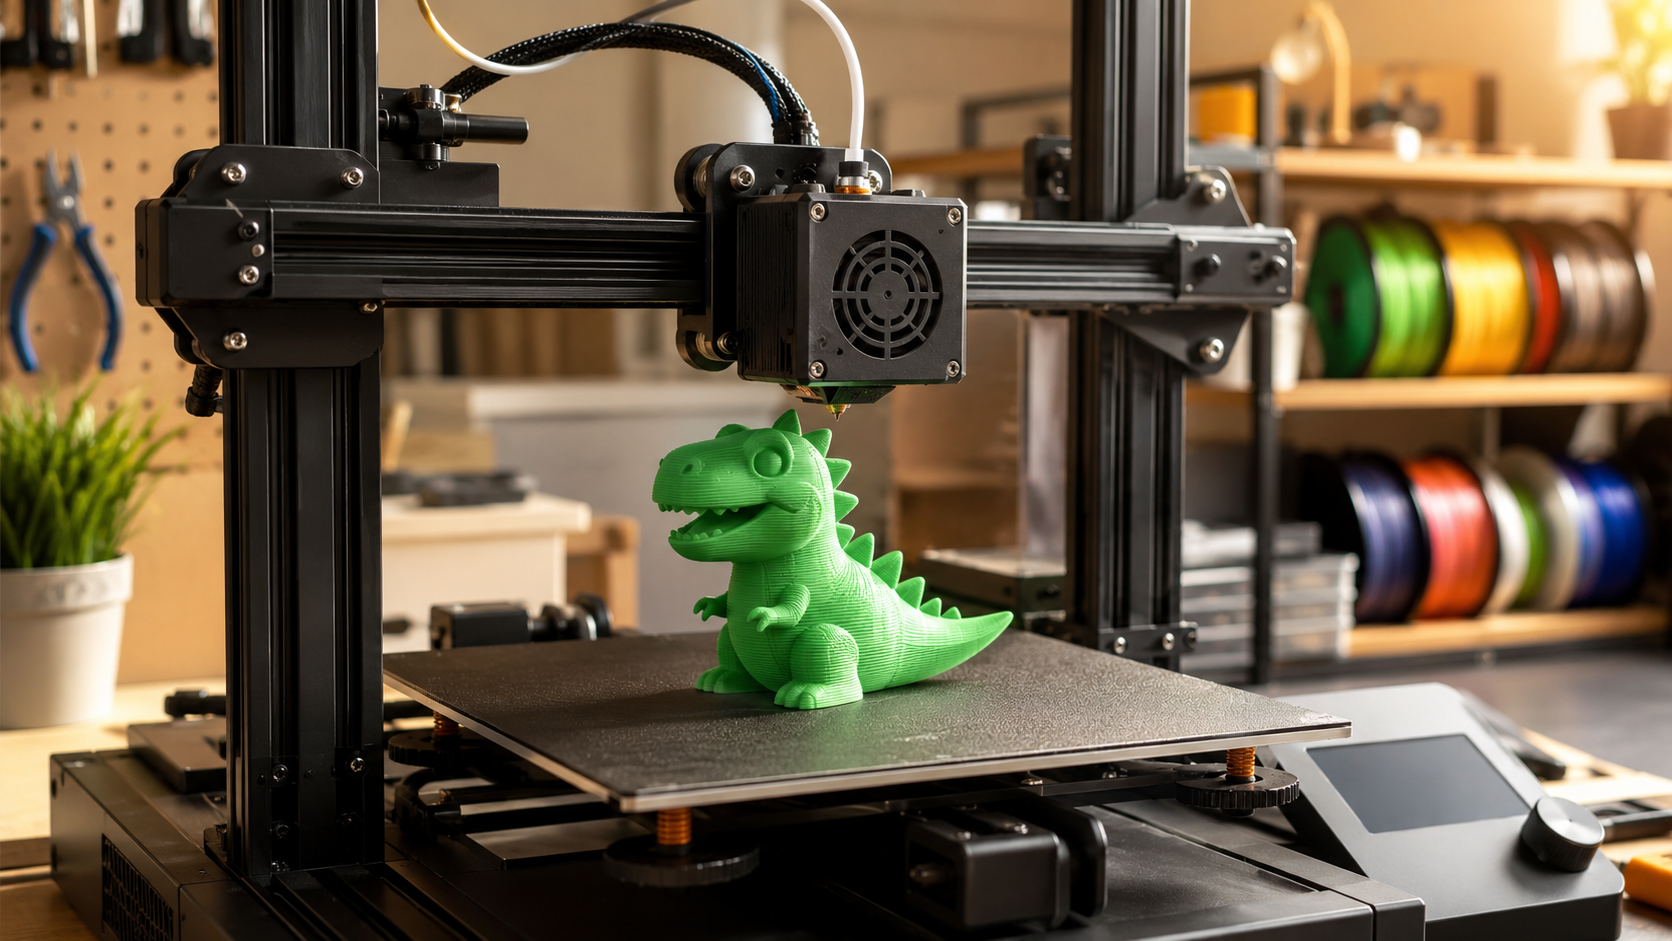
Follow the pipeline and a PAW Patrol 3D print stops being a gamble on a stranger’s file and becomes a straight path from crayon to shelf. For the first toy, that is usually enough. For the second, tweak one variable: a bigger scale, a different pose, a second dinosaur for the pack.
Start Your First PAW Patrol Style Print
Bring a drawing, get a printable model. No CAD skills required.
Free plan includes 50 Power a week, enough to test a handful of concepts.
Part 4: Print Settings That Actually Survive a 5 Year Old
Durability comes from walls and layer height more than from infill percentage. A toy with four perimeters and a 0.2 mm layer height survives a drop from a high chair. A toy with two perimeters and heavy infill does not, because infill adds weight while walls add crash resistance.
| Setting | Recommended | Why it matters |
|---|---|---|
| Layer height | 0.2 mm, or 0.16 mm for small parts | balances speed against visible layer lines |
| Wall count | 4 perimeters | a toy survives drops because of walls, not infill |
| Infill | 20% | enough strength without wasting filament |
| Supports | on for overhangs | dino tails and wide limbs are classic support territory |
| Print speed | 50 to 60 mm/s | fast enough for a weekend, steady enough to stay accurate |
FDM with PLA is the family-friendly path. Resin prints come out smoother, but uncured resin and resin fumes are not something a 5 year old should be anywhere near, so keep the resin stage strictly adult-managed if you only own a resin printer. If you are new to the difference, our overview of the types of 3D printing lays out how each technology works and which one suits a hobbyist family budget.
Size is a separate safety issue. Anything smaller than a large grape is a choking hazard, full stop. For children under 3, print no dino part smaller than about 40 mm (1.5 inches) in any dimension, or skip the tiny pieces entirely. The same wall-count thinking that keeps 3D printed tabletop miniatures from shattering applies here, and that article shows how far print quality has come on hobbyist machines.
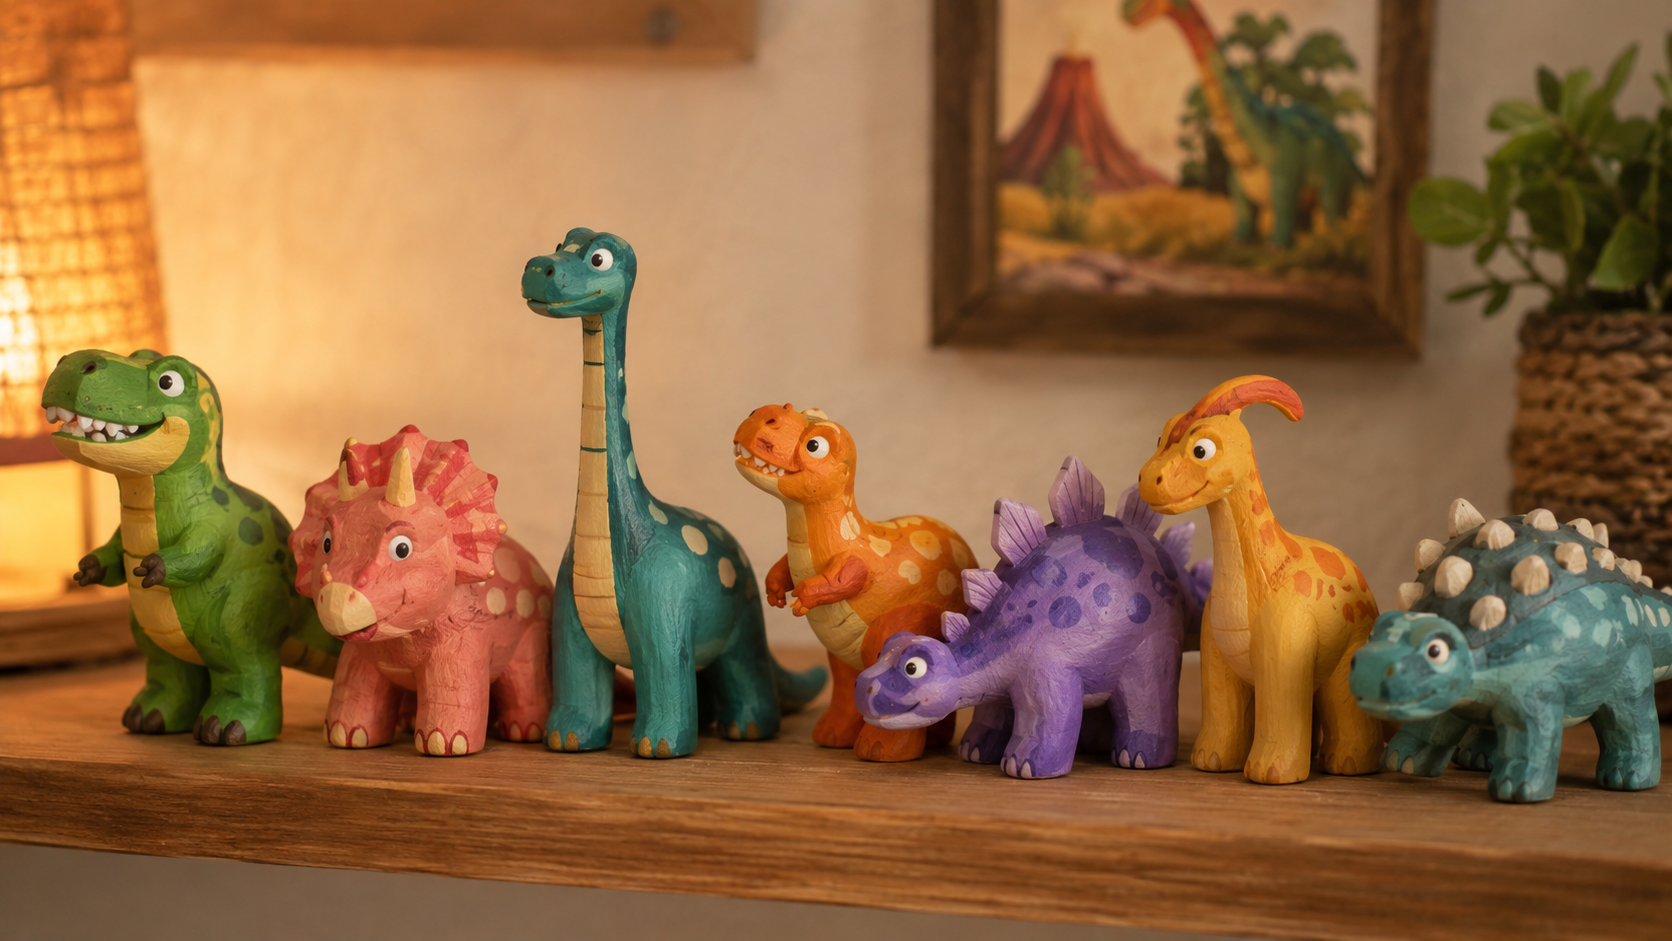
Between the safety floor and the print-quality floor, a PAW Patrol 3D print lands in a wide window. A dino pup around 80 to 120 mm tall is the sweet spot: big enough to survive the drop test, small enough to finish in a few hours, and exactly the size a kid can carry in one hand.
Part 5: Where Neural4D Fits in Your Kids’ Craft Weekend
Neural4D sits on the generate step of the pipeline, and it is built to remove the exact failure parents hit with downloaded files: geometry that will not print. That is what makes it the right tool for a PAW Patrol 3D print weekend, because the generate step stops being a waiting game and becomes the most reliable part of the whole project.
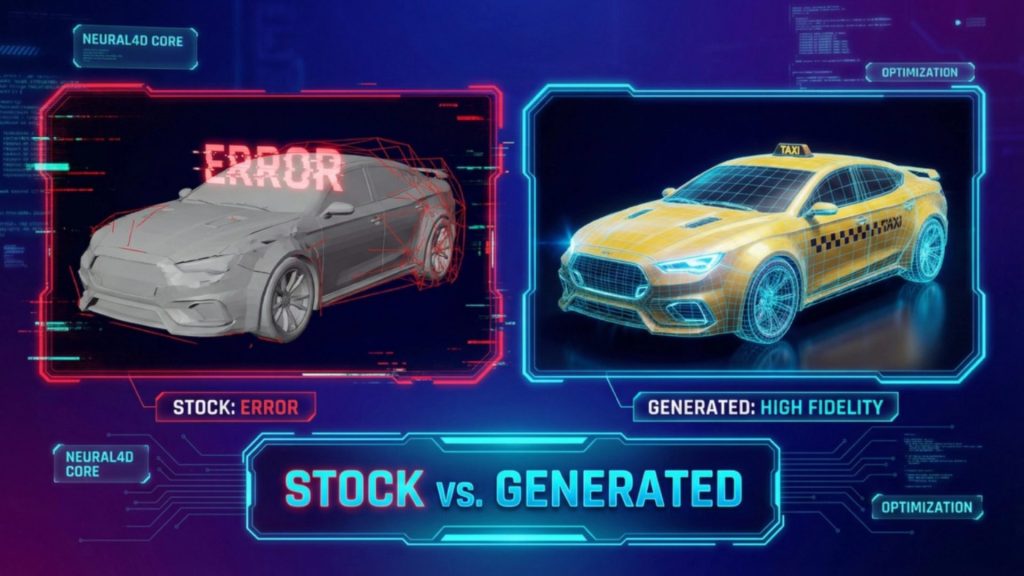
Two properties matter most for a print-first-time result. The first is watertight output. The Direct3D-S2 engine processes the full volume, so the exported STL is a closed solid that slices cleanly. The second is determinism. Spatial Sparse Attention (SSA) lowers the hallucination rate of probabilistic generators, so the model you preview is the model you print, not a surprise with an extra leg.
The hardware matters too, because it changes the craft-weekend math. Neural4D runs inference roughly 12 times faster than the industry standard, and its native geometry generation works at 2048 cubed resolution. For a parent that translates into one thing: a base mesh in about 90 seconds, and an STL in the slicer in the same session.
One honest limitation worth naming: Neural4D’s 3D features work on models the platform generates itself. It is not a repair tool for meshes downloaded elsewhere. That is by design, because the cleaner the output at generation time, the fewer repairs a parent ever has to think about. And when you start from a kid’s drawing in image to 3D, the result is your family’s own original design, which keeps the whole project on the personal-use side of the copyright line.
The AI image to 3D generator accepts a single photo or drawing and returns a printable model, which is the fastest route from crayon to filament.
Part 6: Common Questions About PAW Patrol 3D Print Projects
Q: Is it legal to 3D print PAW Patrol characters at home?
For personal, non-commercial use, making a toy for your own family from your own design is a normal hobbyist activity, the same space where fan-made gifts live. The line to stay on this side of is selling: reproducing and selling official character models, or selling prints that copy commercial designs, crosses into IP infringement because PAW Patrol is a trademarked Spin Master property. The workflow in this article stays safe by starting from your own drawing or text description, so the result is an original dino pup, not a copy of a store product.
Q: Where can I find free PAW Patrol printables for the Dino Movie?
Sites like Printables, MakerWorld, and Thangs host free and paid PAW Patrol inspired models, and searching paw patrol printables also surfaces coloring pages and party printables that have nothing to do with 3D printing. Two cautions before you hit download: check the model’s license, because many are personal-use only, and check the geometry, because free files frequently carry the hidden holes and thin walls that turn into failed prints. Generating from your own reference sidesteps both problems.
Q: My kid’s drawing is really rough, will image to 3D still work?
Yes, and rougher often works better than expected. The AI interprets the shapes it can see, so a scribbly dinosaur with a recognizable outline and a clear color blob for the body comes out as a chunky cartoon form, which is ideal for a kid-safe toy. Two practical tips: photograph the drawing flat with even lighting, and crop out the background so the subject fills the frame. If the first pass is off, regenerate with a slightly different prompt or trim the drawing to the most readable part.
Q: What’s the smallest printable size for a kid-safe figurine?
There are two separate limits, and parents often conflate them. The safety limit is a choking hazard: for children under 3, avoid any part smaller than about 40 mm (1.5 inches) in any dimension. The print-quality limit is independent: below roughly 10 to 15 mm, layer lines and print defects start to dominate the detail on an FDM machine, so a tiny figurine usually looks rough no matter how clean the model is. Between those two limits lies the practical window for a kids’ toy, and scaling the model up in the slicer is always easier than redesigning it later.
Q: Do I need PBR textures for a painted 3D print?
No. PBR (physically based rendering) textures describe how a surface responds to light in digital scenes, and they mean nothing to a physical print. For a toy you are painting by hand, print the untextured base mesh, which is also the fastest path out of the studio, and let the paint do the texturing. Skip the texture pass entirely unless you plan to use the model in a digital scene or a game.
Q: How do I make the dinosaur pose more dramatic like in the movie?
The movie’s dino rescues read as dramatic because of big diagonal poses: a rearing head, a tail swinging wide, one paw planted forward. You can steer an AI generator toward that with the prompt, using words like dynamic action pose, head raised, or tail lifted behind, or by sketching a rough stick figure of the pose and uploading it next to the reference. For image to 3D, a pose sketch changes the silhouette far more than a longer text description does, and the one-click regenerate button lets you retry until the pose feels right without starting over.
Turn a Drawing Into This Weekend’s Toy
The Dino Movie opens on August 14, and your kid is going to come home wanting something no store shelf quite has. That is the moment a PAW Patrol 3D print habit earns its place in the house: an original dino pup, sized to the hand that is going to carry it, painted in the colors a 5 year old actually wants. Three steps, one weekend, and a toy that did not exist in any aisle.
Whether you start from a drawing or a description, the generate step is where PAW Patrol 3D print projects succeed or fail, and that is exactly the step Neural4D is built for. It takes a kid’s scribble seriously, returns a watertight model, and hands you an STL in the same session. How to make PAW Patrol toys stops being a search you repeat and becomes a routine you can run any Saturday.
Turn Your Kid’s Next Dinosaur Drawing Into a Real Toy
Upload the drawing, get a watertight printable model in minutes. No CAD skills required.
Free plan includes 50 Power a week, renewed every Monday.
Share Your Creation
Tag @Neural4D and use #Neural4D to be featured on our channel.