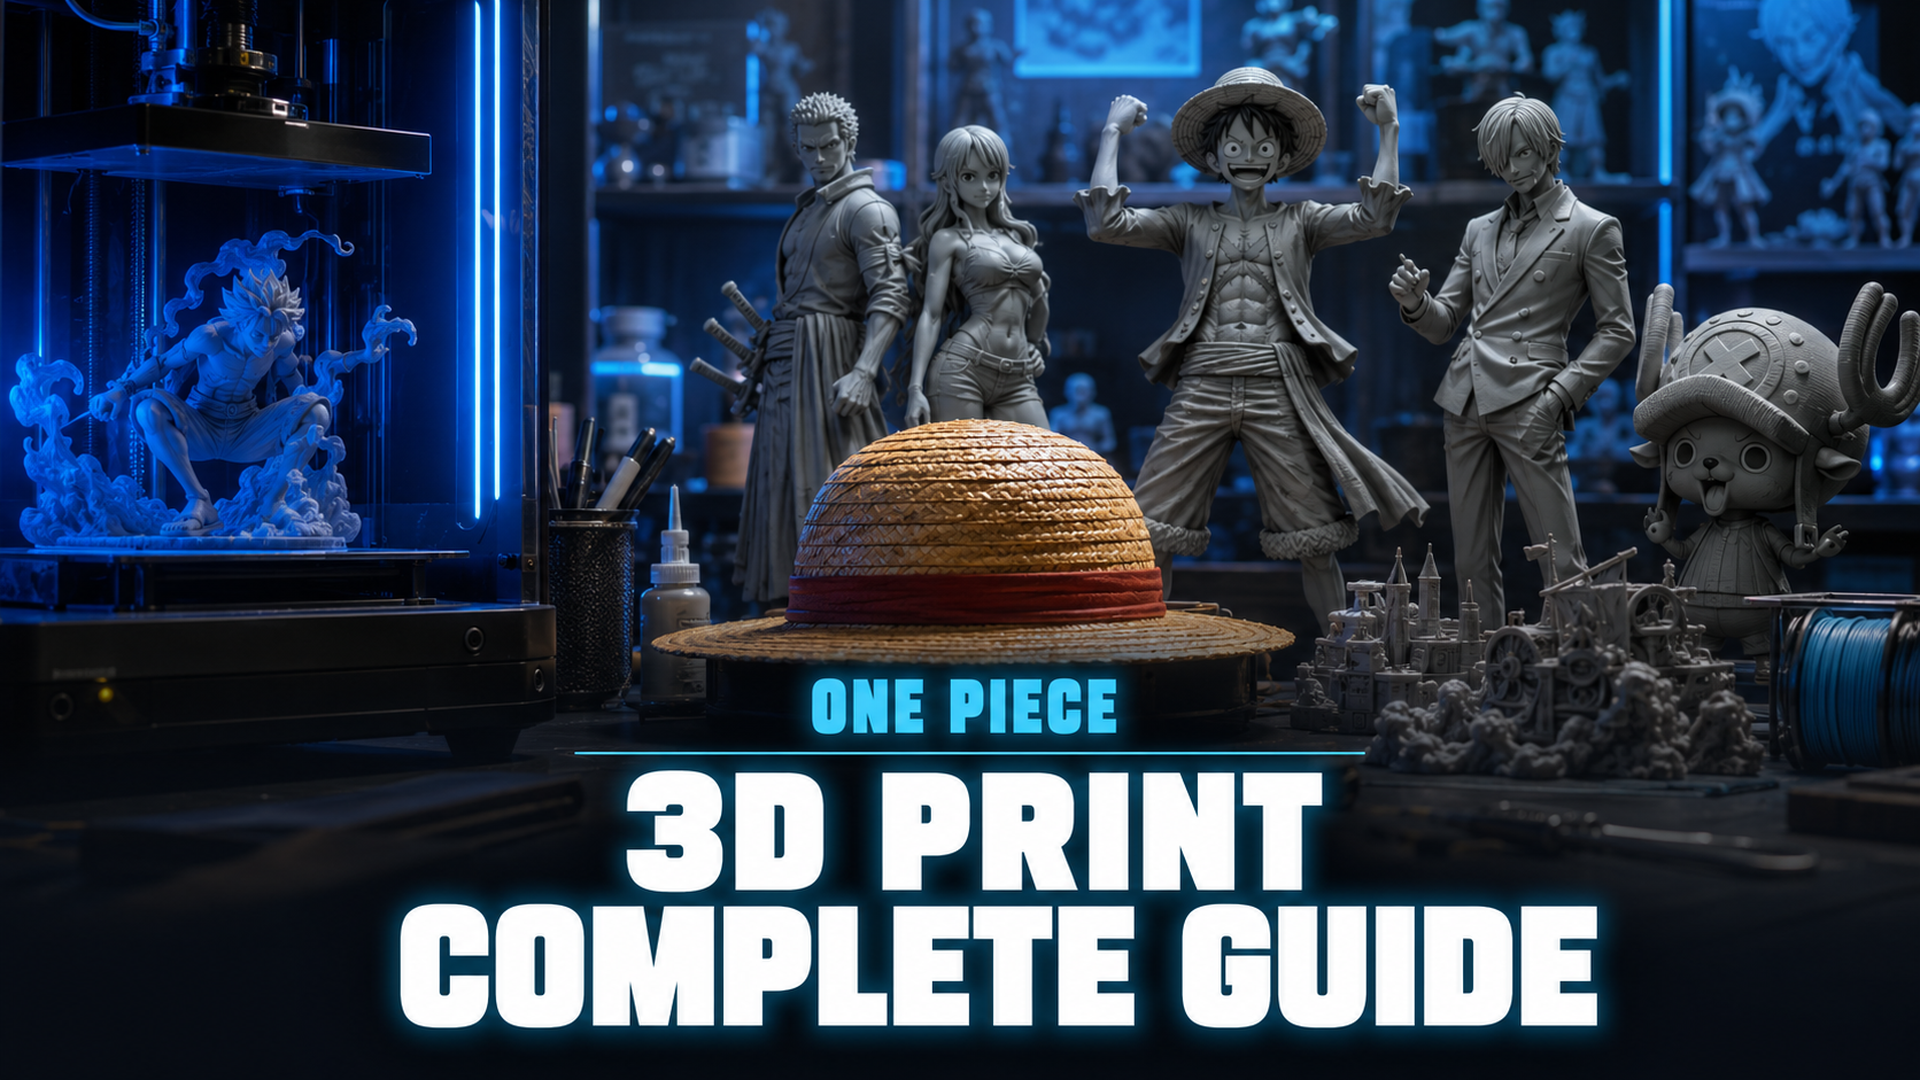
One Piece 3D Printing: Complete STL Guide for Luffy Figures and Anime Collectibles
Quick Summary
- One Piece is one of the most requested 3D printing subjects online, with Luffy being the single most popular character across all STL platforms
- Printables, Cults3D, MakerWorld, and Creality Cloud host thousands of free STL files for One Piece characters
- Luffy Gear 5 is the most popular printable character with 61+ models on Cults3D alone, ranging from chibi to life-size
- Resin printers deliver museum-grade detail for anime figures; FDM works best for larger props and statues over 30 cm
- Post-processing (sanding, priming, airbrushing) transforms a raw print into a display-quality collectible indistinguishable from store-bought figures
If you are searching for One Piece 3D print files in 2026, you will find thousands of free STL files spread across major 3D model repositories. The right printer settings, resin choice, and finishing techniques turn a raw download into a display-quality collectible that looks nothing like a mass-produced toy.
Table of Contents
- Part 1: Where to Find One Piece 3D Print STL Files
- Part 2: Best One Piece Characters for 3D Printing
- Part 3: Luffy 3D Print Settings for Resin and FDM
- Part 4: Resin vs FDM: Which Printer Works Best for Anime Figures
- Part 5: Painting and Finishing Your One Piece Prints
- Part 6: Common Questions on One Piece 3D Printing
- Part 7: Start Creating One Piece 3D Prints with AI
Part 1: Where to Find One Piece 3D Print STL Files
The first question every One Piece fan asks: where do I actually download the files? The answer is simpler than you might think. Five major platforms dominate the One Piece STL ecosystem, and each has its own strengths.
| Platform | Free Models | Best For | File Format |
|---|---|---|---|
| Printables.com | Hundreds | Curated quality, active community | STL, 3MF |
| Cults3D | Mixed (free + paid) | Largest collection, 61+ Gear 5 models | STL, OBJ |
| MakerWorld | Thousands | Bambu Lab optimized presets | STL, 3MF |
| Creality Cloud | Thousands | Pre-sliced profiles for Creality printers | STL, G-code |
| MyMiniFactory | Curated free + paid | Tribune-quality pre-supported models | STL, Lychee |
Printables has the strongest curation. Every model is manually reviewed before publishing, so you rarely run into broken meshes or non-manifold geometry. Cults3D has the largest raw quantity: a search for “Luffy Gear 5” returns over 60 models, from chibi desk ornaments to full-height battle statues. MakerWorld integrates directly with Bambu Lab printers and includes pre-tuned print profiles that save you the guesswork on supports and layer height.
Most models on these platforms are fan creations. They range from scanned adaptations of official merchandise to original sculpts by freelance anime character 3D model artists. Quality varies wildly, so check the comments and make-print ratio before committing filament or resin.
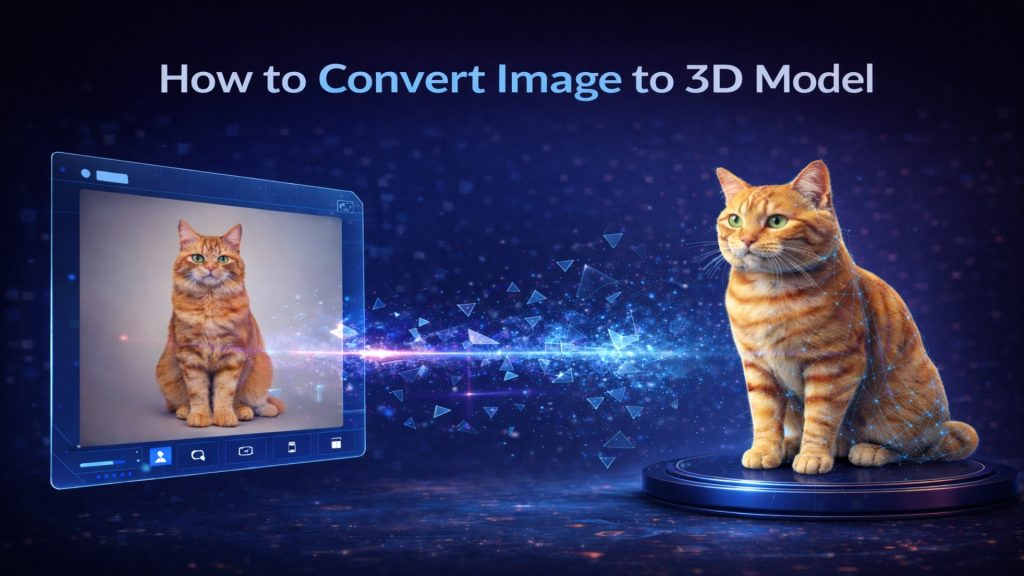
For users who want to create custom STLs rather than downloading existing ones, tools like Neural4D let you turn your images into STL files for printing directly from the browser.
Part 2: Best One Piece Characters for 3D Printing
Not every One Piece character translates well to 3D printing. Characters with simple, blocky designs print more reliably than those with thin protrusions, floating elements, or complex hair geometry. Here is how the main cast stacks up.
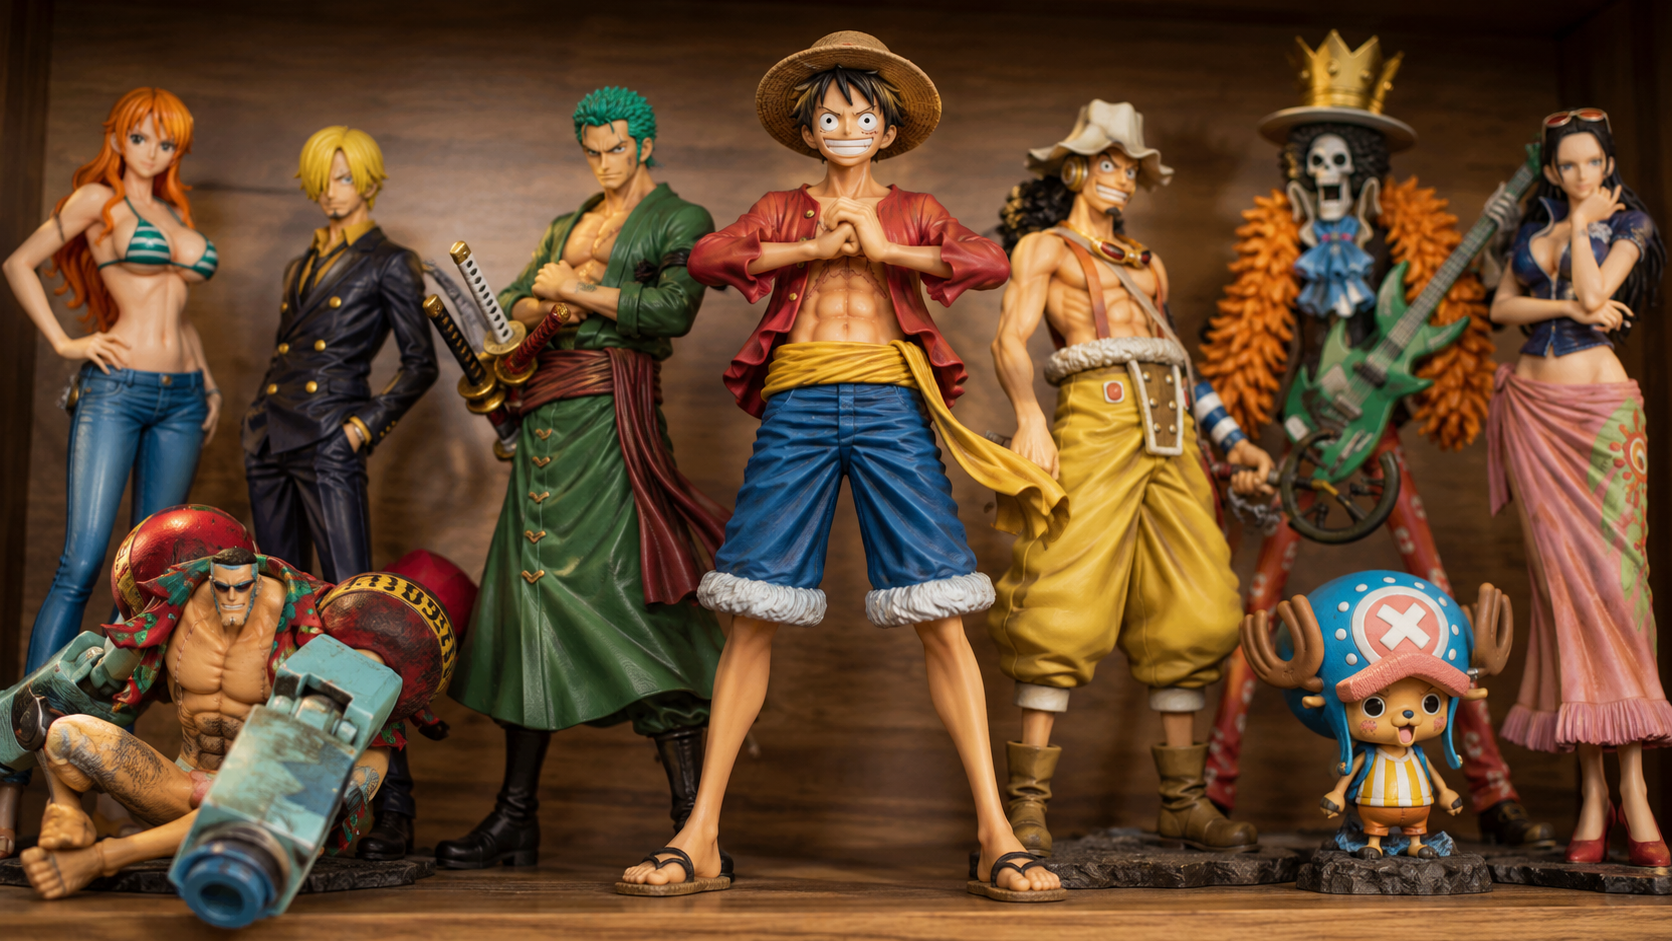
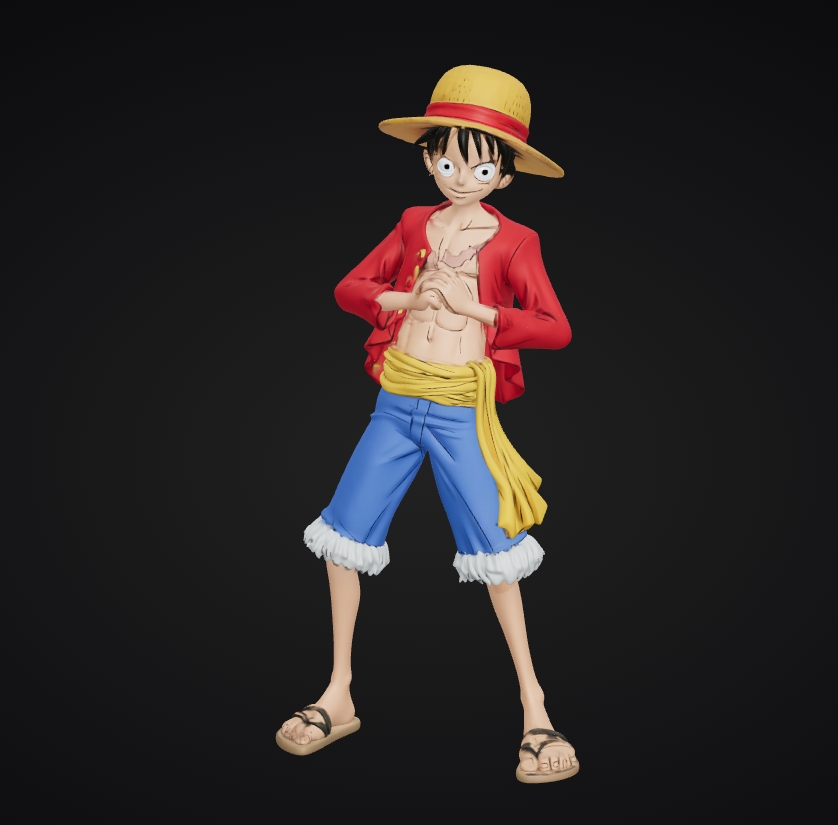
Luffy (All Forms)
Luffy is the most printed One Piece character by a wide margin. His Gear 5 form with the white hair and cloud-like scarf is the current favorite, followed by classic Gear 4 Boundman. The straw hat creates a natural support structure, making him FDM-friendly even at smaller scales. Most Luffy models are designed as single-piece prints with the hat acting as a built-in drip edge for supports.
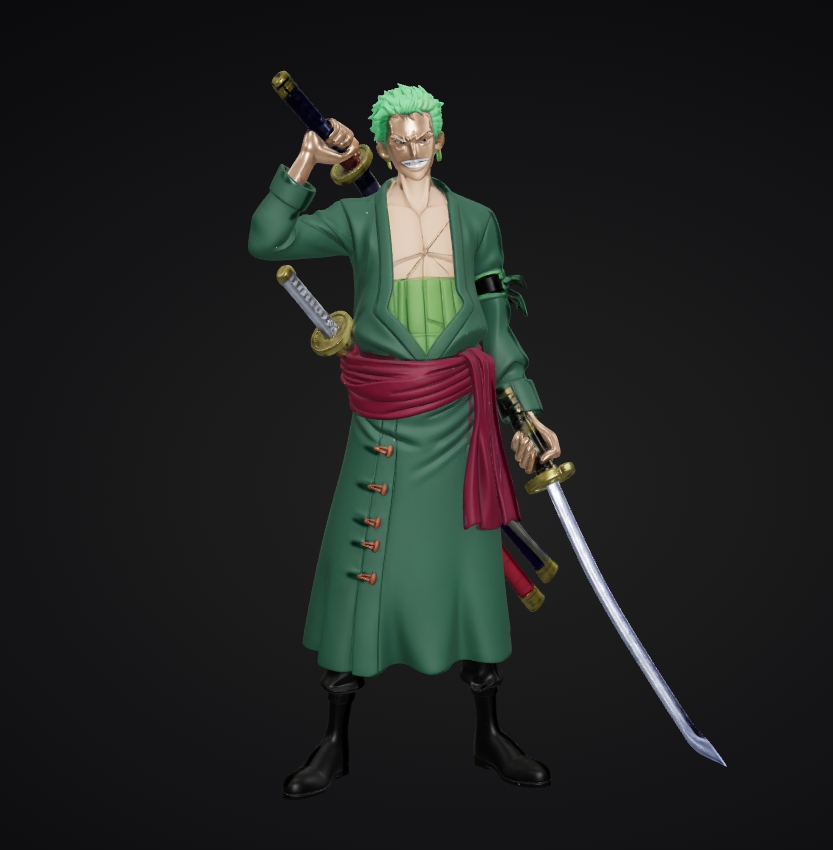
Zoro
Zoro ranks second but comes with a warning: the three-sword pose creates thin, breakable elements that need careful support placement. Resin is the better choice here. A 0.04 mm layer height on an 8K resin printer captures the sword blade details and muscle definition that make Zoro recognizable. If you are printing on FDM, scale him to at least 200 mm tall so the swords are thick enough to survive support removal.
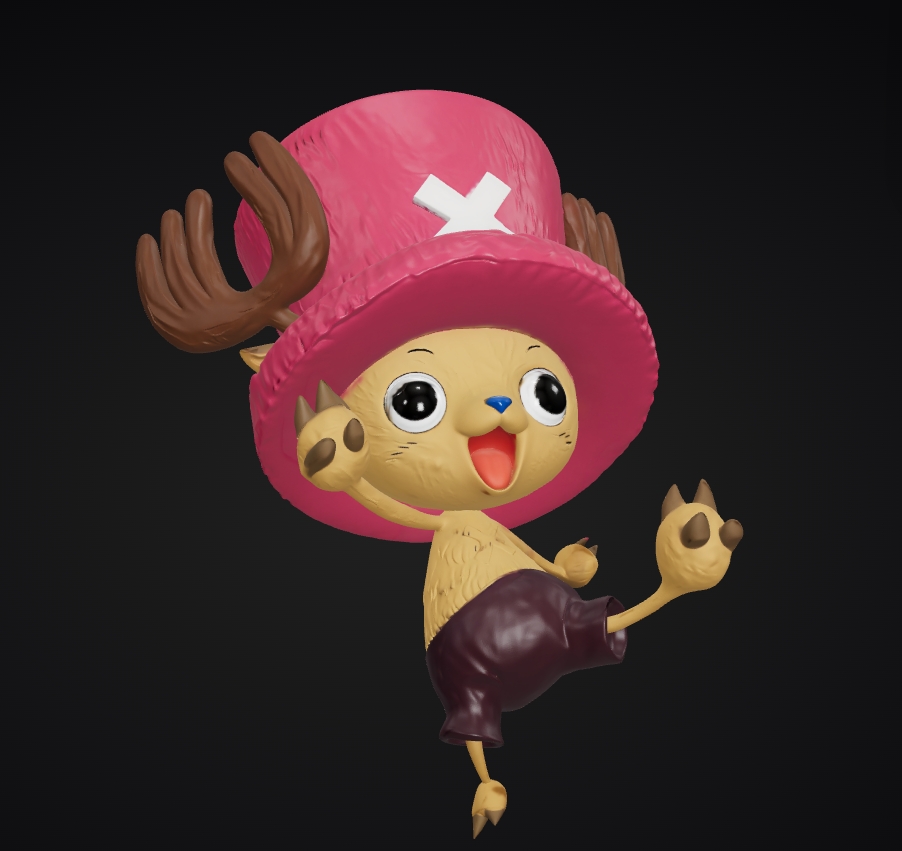
Chopper
Chopper is the most forgiving One Piece character for beginners. His chunky proportions, short limbs, and simple hat design mean you can print him on an entry-level FDM printer at 0.2 mm layer height with almost no post-processing. He also uses the least material: a 100 mm tall Chopper uses about 40 g of filament versus 120 g for a comparable Luffy.
Thousand Sunny and Props
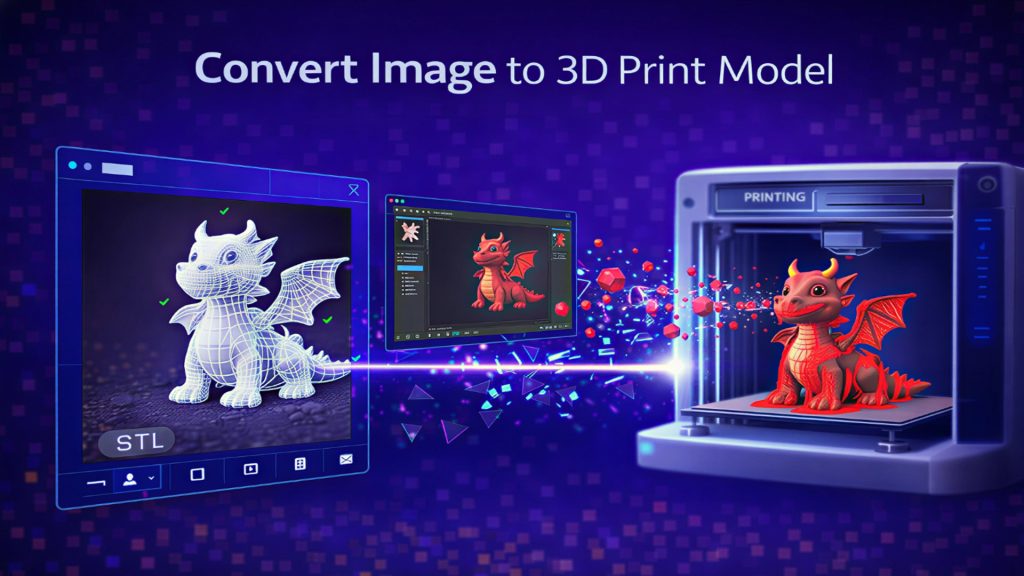
The Thousand Sunny ship and Devil Fruit props are popular alternatives to character figures. Sunny prints best in multi-part assemblies: hull separate from the lion figurehead, plus individual cannons. Devil Fruits (particularly the Gomu Gomu no Mi) are single-print-friendly and make excellent desk toys or keychains. For small props, AI tools that convert images into 3D printable models let you turn reference art into custom STLs without manual sculpting. If you are looking for more character printing references, the Zelda 3D print guide covers a similar pipeline for game characters.

Part 3: Luffy 3D Print Settings for Resin and FDM
Getting a Luffy figure that looks like Luffy comes down to three variables: printer type, layer height, and support strategy. Here are the tested settings that work.
Resin Printing (Recommended for Display Figures)
Resin is the gold standard for anime figure printing. An 8K mono LCD printer at 0.05 mm layer height produces surface detail that requires minimal sanding. Standard photopolymer resin (translucent or gray) captures the face contours and muscle lines of Gear 5 Luffy. For the white cloud scarf, use a flexible resin blend so the thin edges do not snap during support removal.
Key settings for Luffy on resin: 2.5-second exposure for standard resin, 45-degree tilt orientation to reduce suction cup effects under the hat, and medium-density tree supports at 0.3 mm contact diameter. If you use heavy supports, the hat brim will leave pockmarks that need filling.
FDM Printing (Best for Large or Functional Prints)
FDM handles Luffy at larger scales better than resin. A 300 mm tall Gear 5 statue printing in PLA at 0.12 mm layer height takes roughly 48 hours but costs under $8 in filament. The same figure in resin would require multiple build plates and cost 10x more in material. The tradeoff is visible layer lines on the face and hands, which requires filler primer and sanding to smooth out.
Most FDM Luffy profiles on MakerWorld use 0.16 mm layer height with 15% gyroid infill and a 5 mm brim. The brim is critical: Luffy’s extended arm pose creates a narrow contact patch with the build plate, and without a brim the print will tip over around hour 12.
Pro Tip for Luffy Gear 5
The cloud scarf around Luffy’s neck in Gear 5 form is the highest-failure zone on the model. In resin, tilt the model 30 degrees backward so the scarf edges print at an angle rather than flat. In FDM, enable “adaptive layer height” to drop to 0.08 mm for just the scarf section, keeping the rest of the body at 0.16 mm and saving 10+ hours of print time.
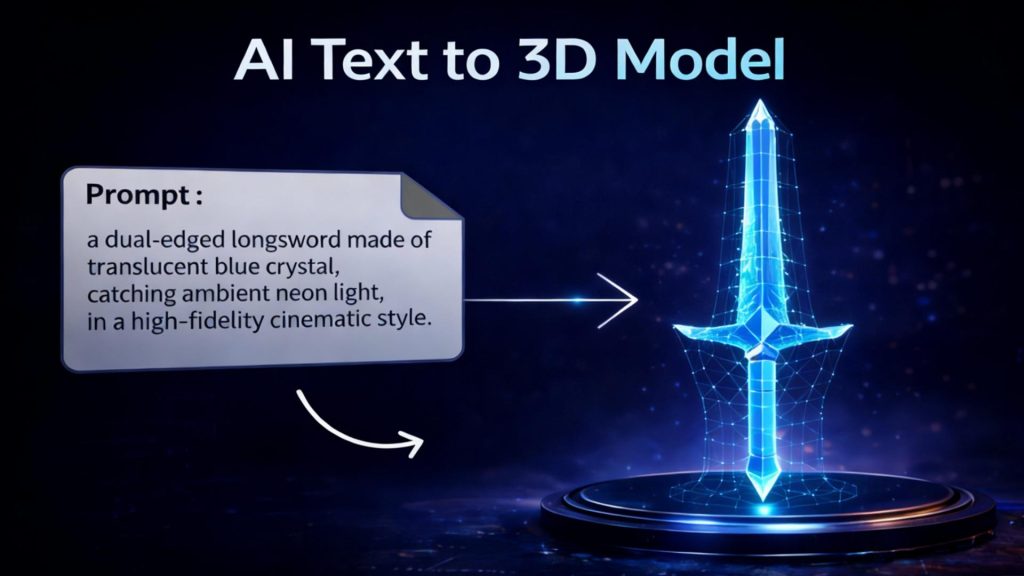
Turn Your Character Concepts into 3D Printable Models
Describe your ideal character in text or upload a reference image. Neural4D generates a watertight 3D mesh ready for STL export.
50 free credits every week No credit card required
Part 4: Resin vs FDM: Which Printer Works Best for Anime Figures
This is the most common point of confusion for new One Piece 3D print enthusiasts. The short answer: resin for detail, FDM for size. Here is how they compare on the factors that matter for anime figures.
| Factor | Resin (SLA/DLP) | FDM (Filament) |
|---|---|---|
| Detail capture | Exceptional (0.025-0.05 mm layers) | Good (0.1-0.16 mm layers) |
| Max figure height | Limited by build plate (~200 mm typical) | Large (up to 500 mm or more) |
| Cost per 150 mm figure | $3-5 in resin | $1-2 in PLA |
| Post-processing needed | Moderate (support removal + curing) | Heavy (sanding + filler primer) |
| Best One Piece use | Detailed busts, small figures, Zoro’s swords | Large statues, Thousand Sunny, props |
| Learning curve | Steeper (safety, exposure calibration) | Gentler (plug-and-play for PLA) |
Many collectors use both: a small resin printer for detailed character busts and an FDM printer for large display pieces. Industry guides from All3DP’s One Piece 3D print guide confirm that resin printing produces the surface quality needed for display-grade anime figures. If you can only buy one, start with a 10-inch mono LCD resin printer (around $200-300). It handles 90% of One Piece figure sizes up to a 200 mm tall Luffy with the detail level expected from a retail figurine.
For users interested in AI tools specifically designed for 3D printing workflows, Neural4D generates watertight STL files directly from text descriptions or images, skipping the manual modeling step entirely.
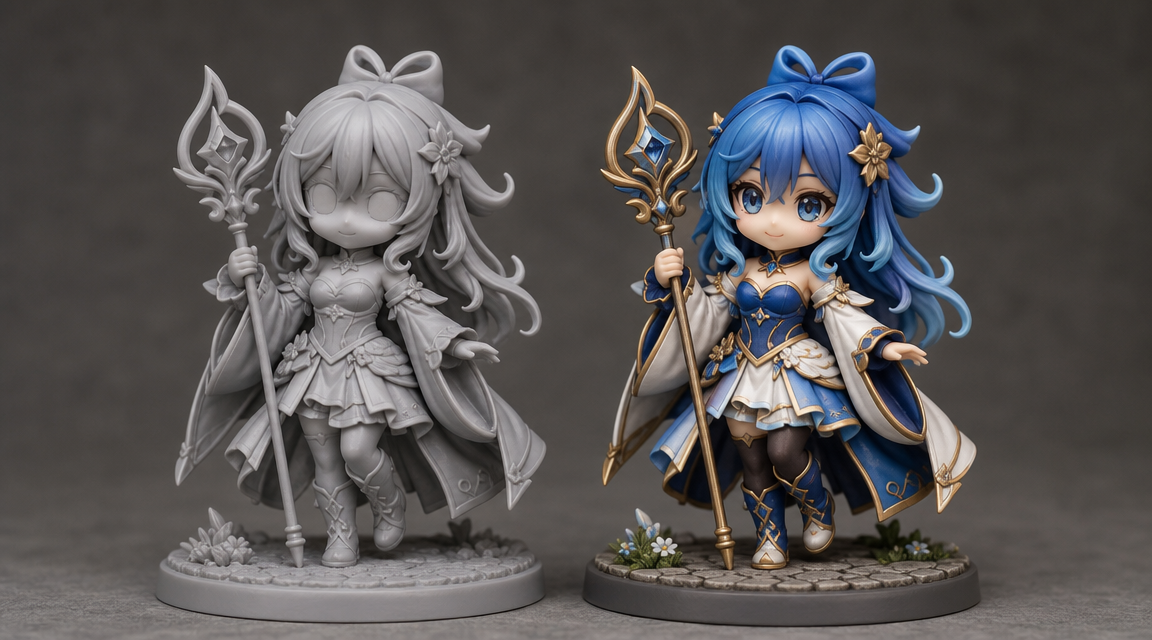
Part 5: Painting and Finishing Your One Piece Prints
A raw 3D print, even at high resolution, looks like a toy. Painting turns it into a collectible. The process is the same for resin and FDM, with one extra step for filament prints.
Step 1: Cleaning and Curing (Resin Only)
Wash your resin print in 99% isopropyl alcohol for 4 minutes, remove supports while the resin is still slightly soft, then cure under 405 nm UV for 6-8 minutes. Do not overcure: the white cloud scarf on Luffy Gear 5 becomes brittle after 10+ minutes of UV exposure.
Step 2: Sanding and Priming
For FDM prints, start with 120-grit to remove layer lines, work up to 400-grit, then apply two coats of automotive filler primer. For resin prints, a light 600-grit sanding on the support contact points is usually enough. Skipping the primer layer is the single most common mistake: acrylic paint will bead up on bare resin or PLA and you will fight it for every brushstroke. For a detailed breakdown of sanding and priming for props, the Mandalorian helmet 3D printing guide has an excellent section on achieving a flawless surface before painting.
Step 3: Base Coats and Color Blocking
One Piece characters have distinct color palettes. Luffy’s red vest, blue pants, and straw hat with a red ribbon. Paint the largest color areas first using thinned acrylics (two thin coats beats one thick coat). Mask off adjacent areas with liquid latex or low-tack tape for sharp color transitions.
Step 4: Washes and Highlights
A dark brown wash (1:10 paint-to-water ratio with a drop of dish soap) settles into Luffy’s abdominal muscles and hat straw texture, creating instant depth. Follow with a dry brush of the base color mixed 50% with white to pick out the raised edges. The cloud scarf on Gear 5 benefits from a light gray wash over white base.
Display Quality without the Price Tag
A professionally painted One Piece resin statue from studios like Tsume or Figurama costs $300 to $1,200. The same character printed at home with the right resin, sanded to 1000-grit, and airbrushed with Vallejo acrylics costs under $20 in materials and around 8 hours of labor. The finish quality is indistinguishable at arm’s length.
Part 6: Common Questions on One Piece 3D Printing
Q: Where can I find free One Piece STL files for 3D printing?
Printables.com and MakerWorld have the largest selection of free, high-quality One Piece STL files. Cults3D has more models overall but mixes free and paid listings. Filter by “free” on Cults3D to narrow results. Creality Cloud also offers free models with pre-configured print profiles. Avoid sites that require monthly subscriptions for “premium” One Piece files: the free tier on Printables already covers most popular characters including Luffy, Zoro, and Chopper.
Q: What is the best resin type for printing One Piece anime figures?
Standard gray photopolymer resin (ABS-like or 8K standard) works for 90% of One Piece figures. For Luffy’s Gear 5 cloud scarf or Ace’s flame effects, mix in 20% flexible resin (Siraya Tech Tenacious or Phrozen Flex) so thin parts bend instead of snapping. Avoid clear resins for character bodies: they yellow under UV curing and make surface defects more visible. Translucent resins work well for Devil Fruit props where you want a slight glow effect.
Q: Can I sell 3D printed One Piece figures online?
Selling 3D printed One Piece figures without a license from Toei Animation or Shueisha carries serious legal risk. Recent court rulings in China and the US have handed down criminal penalties for mass production and sale of unlicensed anime figure prints. Personal use and gifting are generally safe. Sharing STL files publicly (even for free) can still result in DMCA takedowns from platforms like Printables and Cults3D, which have automated copyright enforcement systems for major IPs.
Q: What layer height should I use for detailed anime figure printing?
For resin, 0.05 mm is the sweet spot balancing detail and print time. Dropping to 0.03 mm improves facial features but adds 60% more print time with diminishing returns. For FDM, 0.12 mm layer height with a 0.4 mm nozzle produces acceptable results for figures over 200 mm. If your FDM printer supports variable layer height (available on Bambu Lab X1C, Prusa MK4, or through Cura’s Adaptive Layers plugin), set the base layer to 0.16 mm and face details to 0.08 mm. This saves hours without sacrificing visible quality on the finished piece.
Q: How do I split large One Piece models for printing?
Most pre-supported One Piece models on Cults3D and MyMiniFactory already come pre-split into parts. For models you need to split yourself, use the “cut” tool in Chitubox, Lychee Slicer, or Blender. Place the cut along natural seams: at the waist under the belt line, at the neck where the scarf hides the seam, and at the wrist under the glove. Add 2 mm registration pegs (round connectors) so the parts align perfectly after printing. Super glue with accelerator creates a bond as strong as the surrounding material.
Q: What printer is best for One Piece figurines: resin or FDM?
This depends entirely on your goal. If you want one or two display-quality figures with smooth surfaces and fine detail, a mid-range resin printer like the Elegoo Mars 5 Ultra ($260) or Anycubic Photon Mono M7 ($300) delivers results comparable to injection-molded figures after painting. If you plan to print large props (the Thousand Sunny ship, life-size Luffy statues) or multiple figures for tabletop gaming, an FDM printer like the Bambu Lab A1 Mini ($300) or P1S ($500) gives you the build volume and material cost advantages. The real answer for enthusiasts is both: a resin printer for characters, an FDM printer for props and terrain.
Part 7: Start Creating One Piece 3D Prints with AI
That is the full pipeline for One Piece 3D print projects: finding STL files, choosing the right character and printer settings, and finishing your figure to display quality. The tools and knowledge to produce museum-grade anime collectibles at home are more accessible than ever. A properly tuned resin printer and a few hours of finishing technique can produce figures that match the quality of $500 retail statues at a fraction of the cost.
If you want to go beyond downloading existing STL files and create original characters or custom poses, Neural4D generates production-ready 3D models from a text description or reference image. The same approach that works for 3D printing collectible characters like Darth Vader applies here: describe what you want, get a watertight mesh, export an STL, and send it to your slicer.
Create Your Own One Piece 3D Printable Models
Design custom anime-style characters and turn them into STL files ready for printing. No modeling experience required.
Generate Your First 3D Model Free
50 free credits every week No credit card required