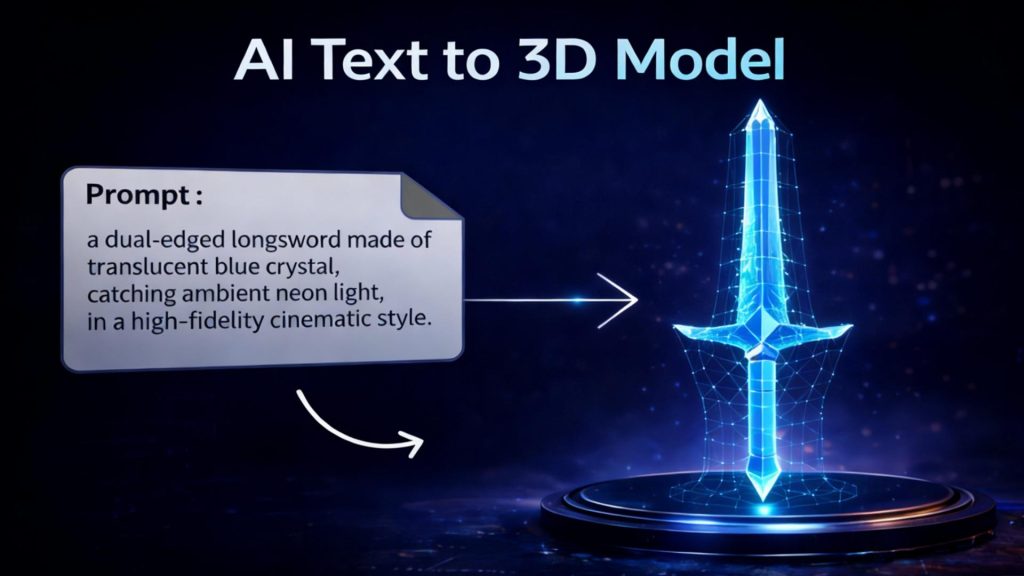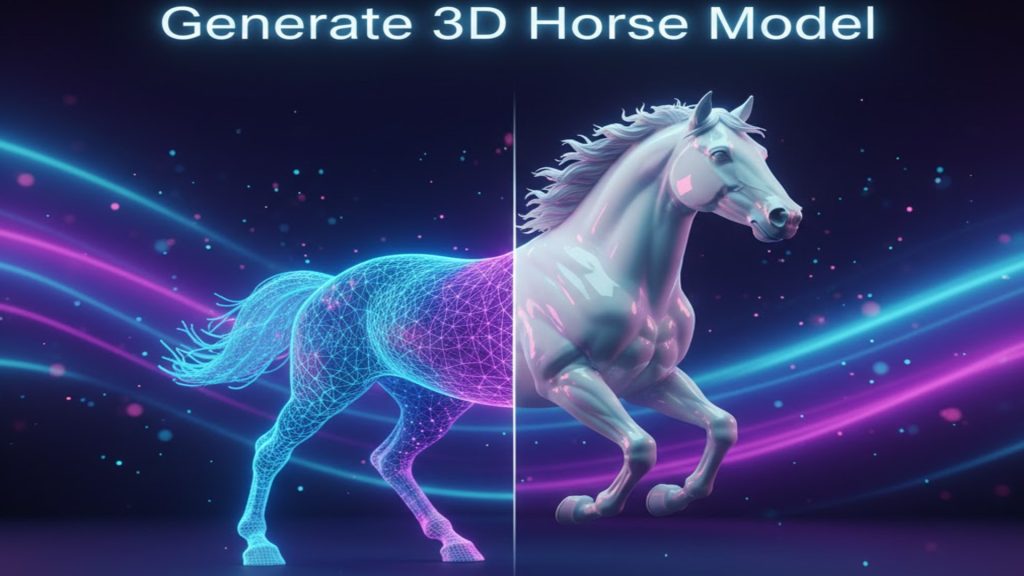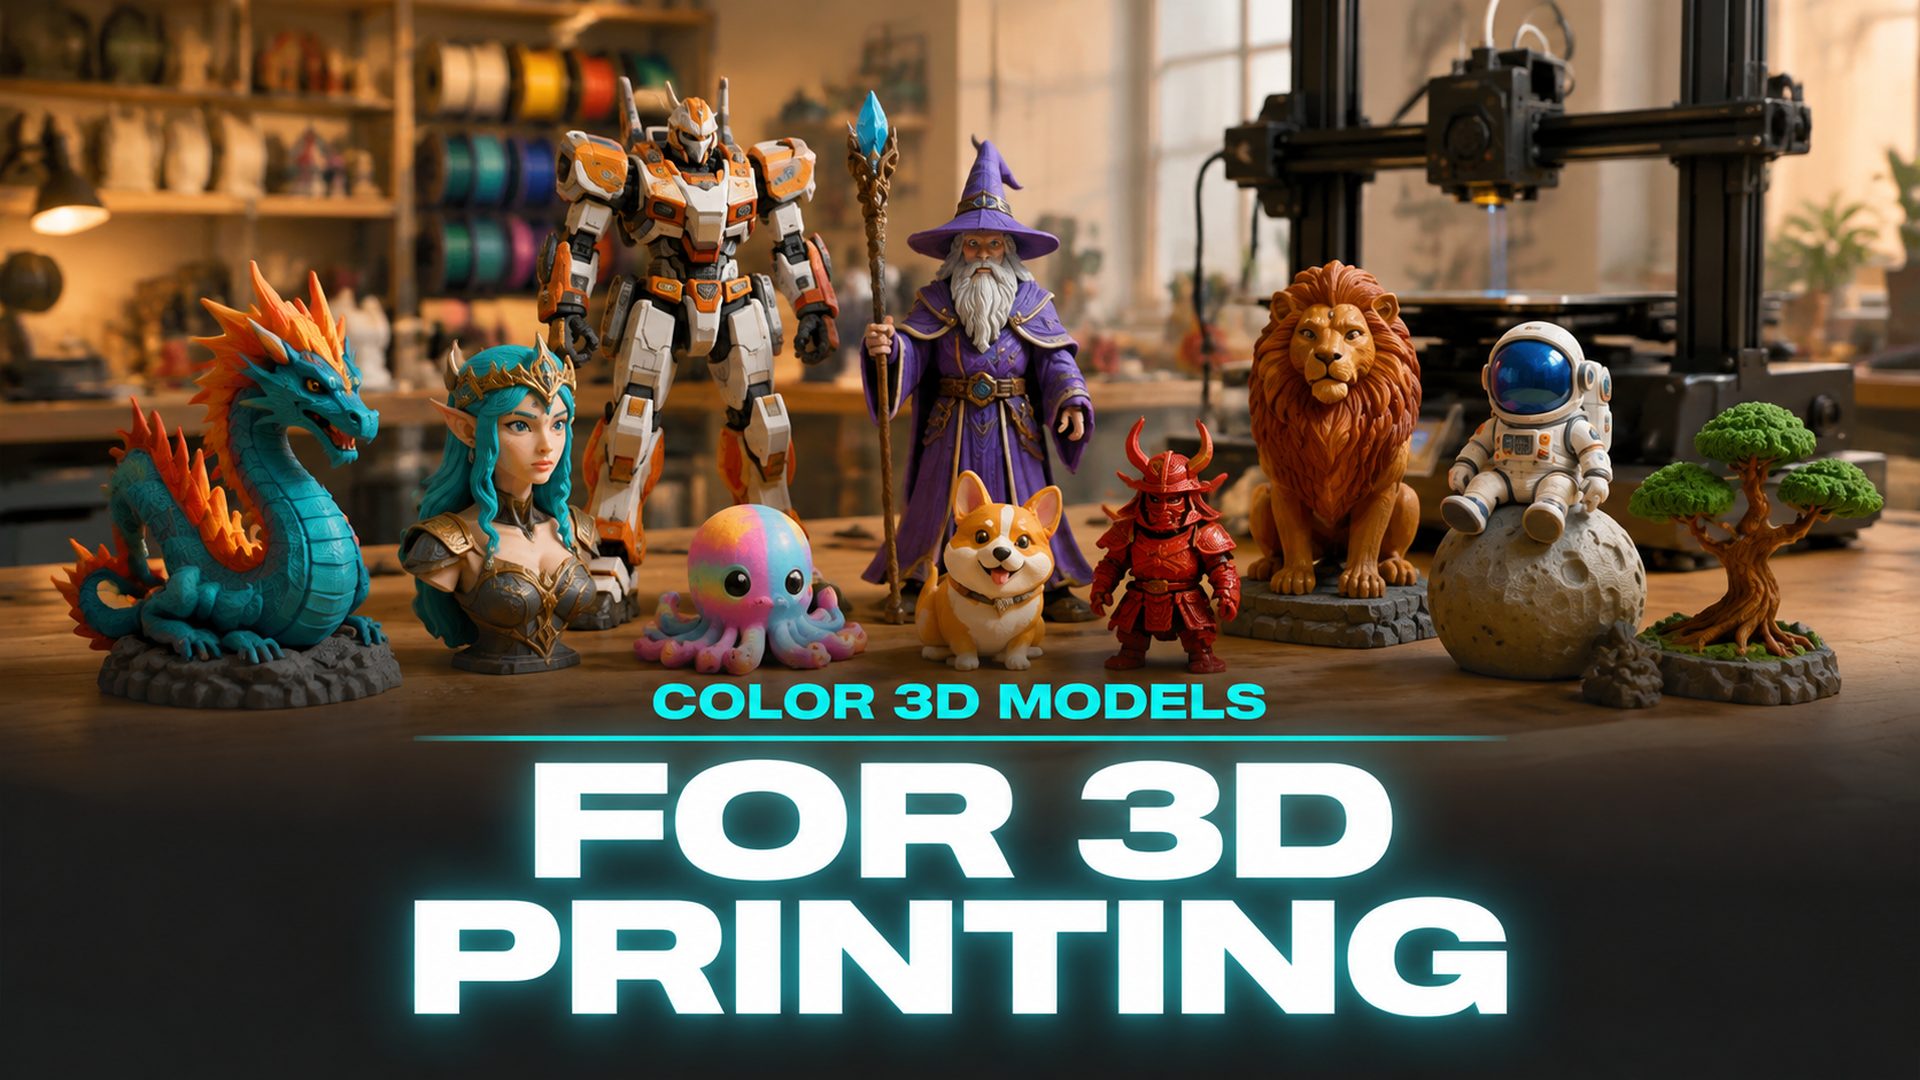
How to Color 3D Models for 3D Printing
Quick Summary
- How to color 3D models for printing comes down to a choice between coloring the model file before slicing or painting the finished part after printing.
- AI color separation tools such as Neural4D Multicolor detect color zones on a textured model and export a ready-to-print 3MF or GLB with a full palette.
- Slicer painting, Blender, manual filament swaps, AMS hardware, and hand painting cover the rest of the spectrum.
- Neural4D Multicolor needs no extra printer hardware and returns a color-ready file in one generation.
There are two very different answers to the question of how to color 3D models for printing. One camp treats color as a file problem: assign colors to the model before it reaches the printer. The other treats it as a finishing problem: print white, then paint. Both work, but they cost different amounts of time, hardware, and patience. This guide walks through six practical methods for how to color 3D models, from AI multicolor tools to hand painting, and shows which route fits which project.
On this page
- Why Color the Model Instead of Painting the Print
- Method 1: Use an AI Multicolor Tool HOT
- Method 2: Paint Colors in a Slicer
- Method 3: Assign Colors in Blender
- Method 4: Manual Filament Swaps
- Method 5: Use AMS or MMU Hardware
- Method 6: Paint the Printed Object by Hand
- How to Choose a Coloring Method
- Where Neural4D Fits
- Common Questions on Coloring 3D Models for Printing
- Start Coloring Your Next Print
Why Color the Model Instead of Painting the Print
Coloring a model file changes the data, not the object. The color travels with the mesh into the slicer, becomes part of the printed output, and stays consistent across repeats. Painting a finished print changes the surface after the fact, which gives you effects no file can carry, such as weathering and airbrush gradients, but it adds a slow manual stage to every single copy.
The two routes also differ in repeatability. A colored 3MF file prints the same palette every time you slice it. A hand painted model matches only as well as your hand did. If you plan to produce more than one copy, or if your model has sharp color boundaries like logos, zones, and trim, coloring the file first wins.
Color in the file world needs a format that stores it. STL, the most common printable mesh format, holds geometry only and carries no color. 3MF stores color alongside the mesh, and GLB stores vertex colors and textures, which is why multicolor print pipelines export 3MF or GLB rather than STL. Understanding that distinction is the foundation for every method below.
Method 1: Use an AI Multicolor Tool
The fastest way to color 3D models is to let AI do the color separation. Neural4D Multicolor takes a textured 3D model you generated in Neural4D, scans it for color zones, and produces a multicolor scheme you can adjust and export. You never touch a UV map, a slicer brush, or a paint bottle.
How Neural4D Multicolor works
1. Generate a textured 3D model in Neural4D. The Multicolor tool accepts platform-internal textured models only; local uploads are not supported in the first release.
2. Open Multicolor and choose a mode. Smart Coloring returns a 4 color scheme automatically. My Colors lets you save a personal palette of 1 to 8 colors and reuse it across models and sessions.
3. Adjust the result. Replace stock filament presets such as PLA Basic, PLA Matte, PETG, ABS, or TPU, or type a custom 6 digit hex value. The panel shows each color’s hex and its area share, sorted by size.
4. Export. Download a 3MF by default, or switch to GLB. The file carries the final palette, so it is ready for your slicer.
Each generation costs 30 credits, and failed or timed out jobs refund the credits. The workflow maps to the method people actually look for when they search how to make multicolor 3d models for 3d printing: automatic zone detection instead of manual selection, adjustable color counts, and a printable file on the other side.
Because the color is baked into the model, the output stays consistent whether you print one copy or a hundred. That makes this the strongest choice when a project needs repeatable multicolor output without buying new hardware.
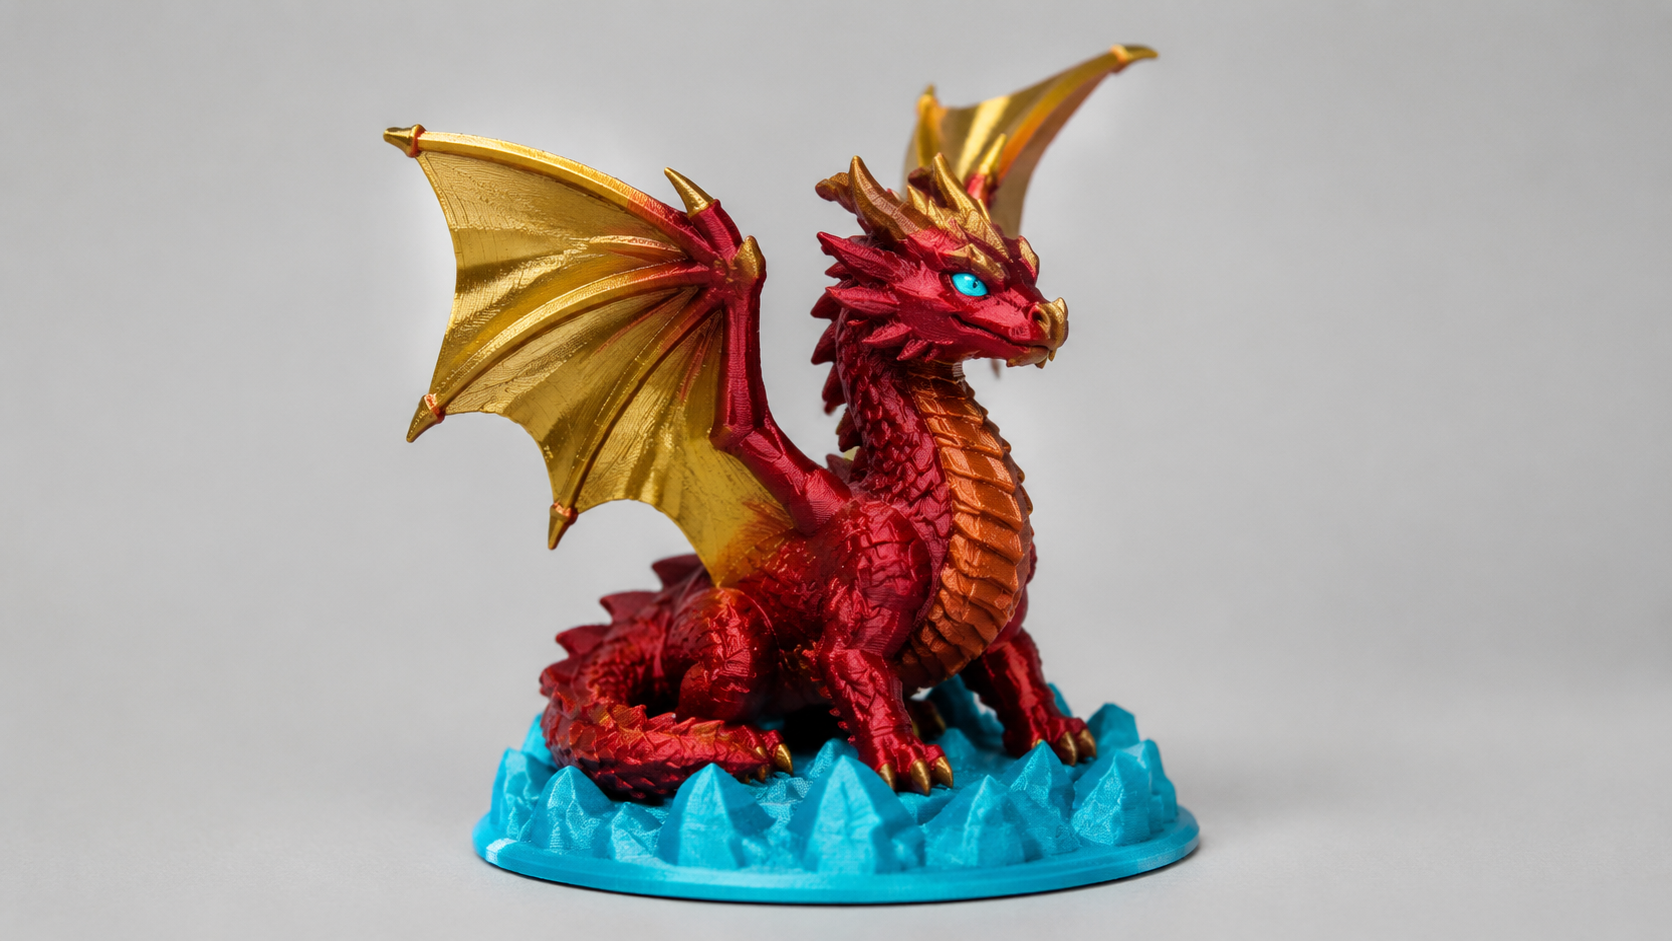
Color your next 3D print in minutes
Neural4D Multicolor turns a textured model into a color-ready 3MF without any printer hardware.
30 credits per generation. Credits are refunded on failure or timeout.
Method 2: Paint Colors in a Slicer
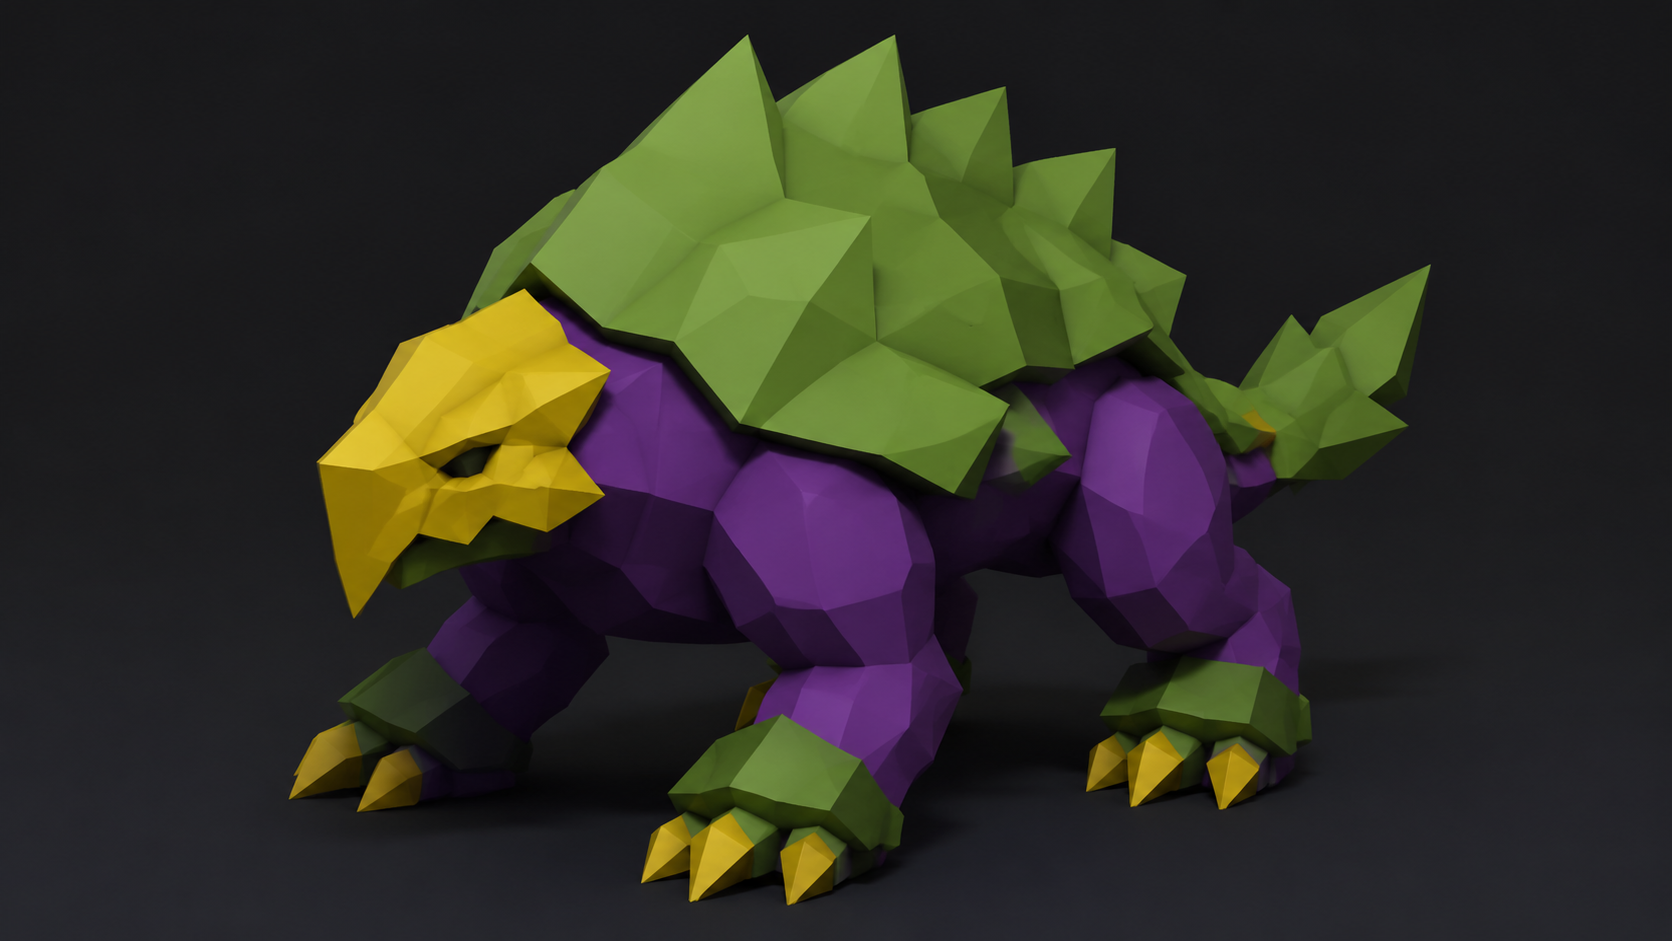
Slicers with color painting tools, such as PrusaSlicer and Bambu Studio, let you paint directly on the model surface in the slicing view. The tool splits the model into color regions automatically, then exports a multi-part file your printer or AMS can address.
This works on any printable mesh, which is its main advantage. You can color a model you found online without touching its topology. The cost is effort: every zone is painted by hand, and the resulting multi-color output generally needs a multi-material capable machine to print in one pass. On a single extruder, a sliced color file without AMS support degrades to filament swaps, which leads into Method 4.
Slicer painting is a solid middle ground when you want control over exactly where colors land and you already run a slicer with painting support. It is slower than AI separation for complex models, but it costs nothing extra beyond your current software.
Method 3: Assign Colors in Blender
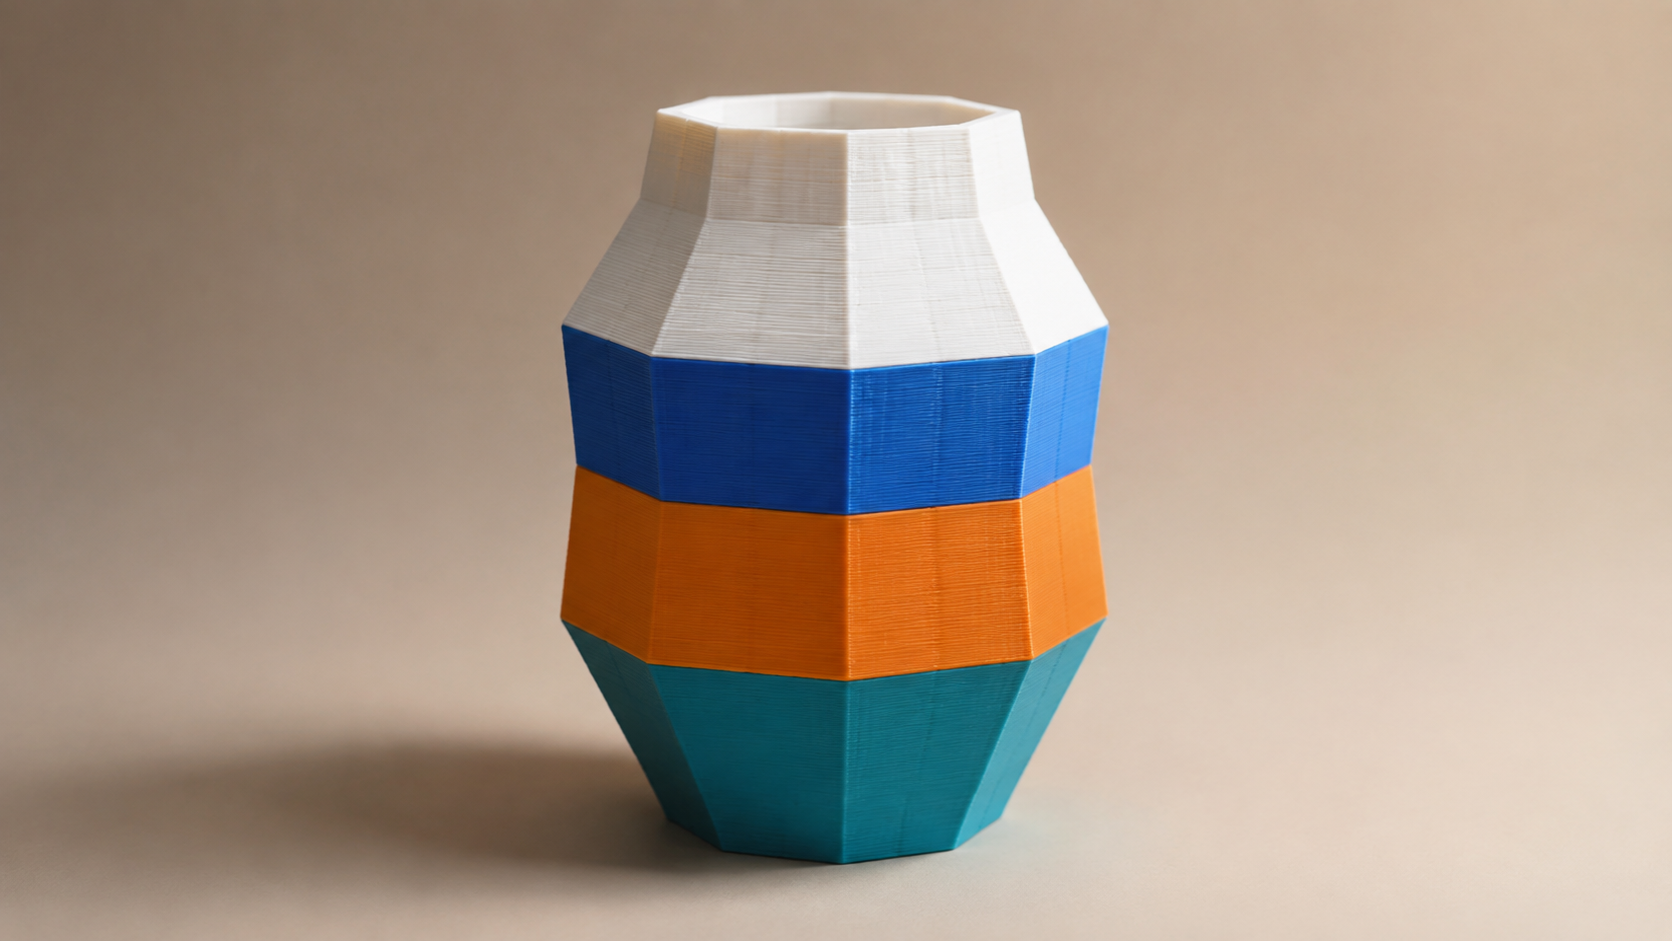
Blender gives full control through vertex colors and material slots, then exports the result as a colored 3MF. This is the classic manual pipeline for users who want the highest fidelity color placement and are comfortable working in a full 3D editor. It is how to color 3D models when precision over every color boundary matters more than speed.
The workflow involves unwrapping or shading your mesh, painting or assigning materials per face, and confirming the exporter writes color data. For models built around a clean topology, this is straightforward. For dense or complex meshes, it turns into a long session of material management. Keeping color intact when exporting 3D models is exactly where this process tends to break, so double check your export settings before slicing.
Choose Blender when you need fine artistic control over every color boundary and you already model there. If you only want a colored print and not a modeling project, the earlier methods finish faster.
Method 4: Manual Filament Swaps
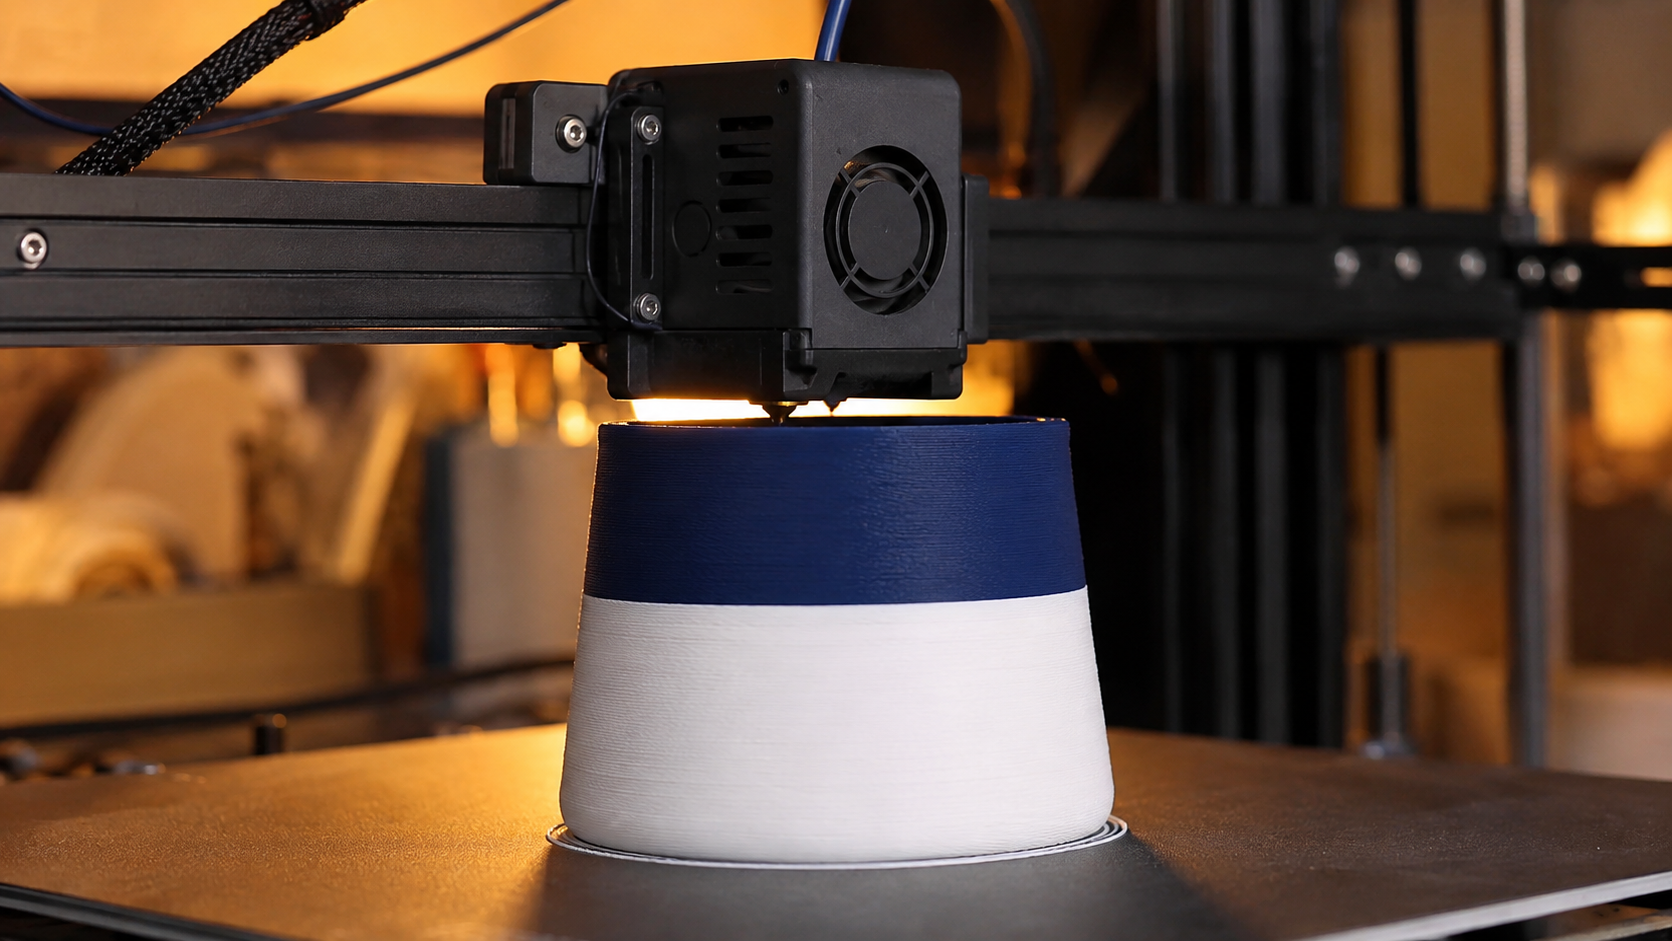
Manual filament swaps require no extra hardware. You insert a pause at a specific layer height in the slicer, swap the filament spool at the printer, and resume. PrusaSlicer calls this a color change marker, and Marlin and Klipper support it through M600 or a pause command.
The constraint is structural: color changes can only happen along whole layers. You get horizontal bands, such as a two tone base or colored lettering, but not side by side color zones within a layer. It is reliable, nearly free, and the slowest method to set up for more than a few color changes because every swap is a manual act.
Use manual swaps for simple two color prints where the color split follows a height line. For models with arbitrary color regions, the file based methods in Method 1 through Method 3 are more practical.
Method 5: Use AMS or MMU Hardware
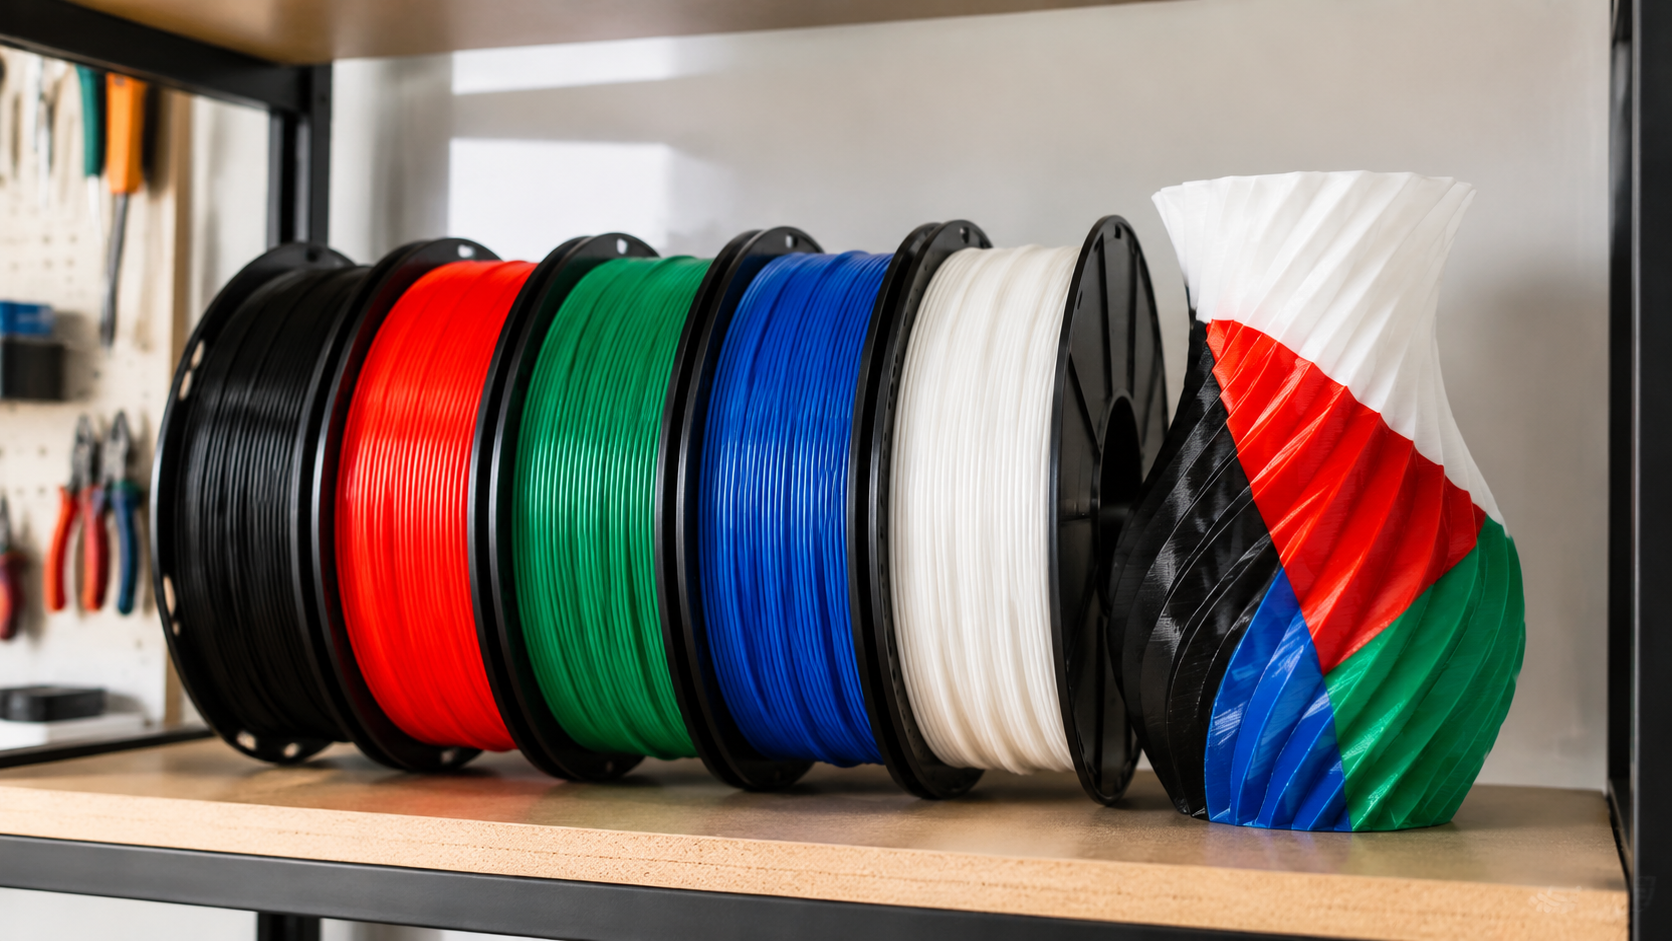
Automatic Material System (AMS) and Multi Material Upgrade (MMU) add-ons handle filament switching for you. The printer loads, unloads, and purges colors on its own, which makes side by side color zones practical. This is the setup most searches for multicolor 3d printing assume, and it is a hardware decision more than a model coloring decision.
The tradeoffs are cost and waste. AMS or MMU units add real expense, and every filament change purges material into a wipe tower or purge block. Dark to light transitions need generous purging to avoid color bleed. Filament waste scales with the number of color changes, which is a real line item on large prints. Prusa Research’s own dev diary for the MMU3 documents exactly this overhead, including comparative waste figures against other multi-material systems.
This method pairs well with file based coloring. A colored 3MF produced by a tool such as Neural4D Multicolor feeds directly into an AMS printer, and the palette you set in the file maps to the filament slots you load. If you already have the hardware, coloring 3D models in the file makes every slot assignment predictable.
Method 6: Paint the Printed Object by Hand
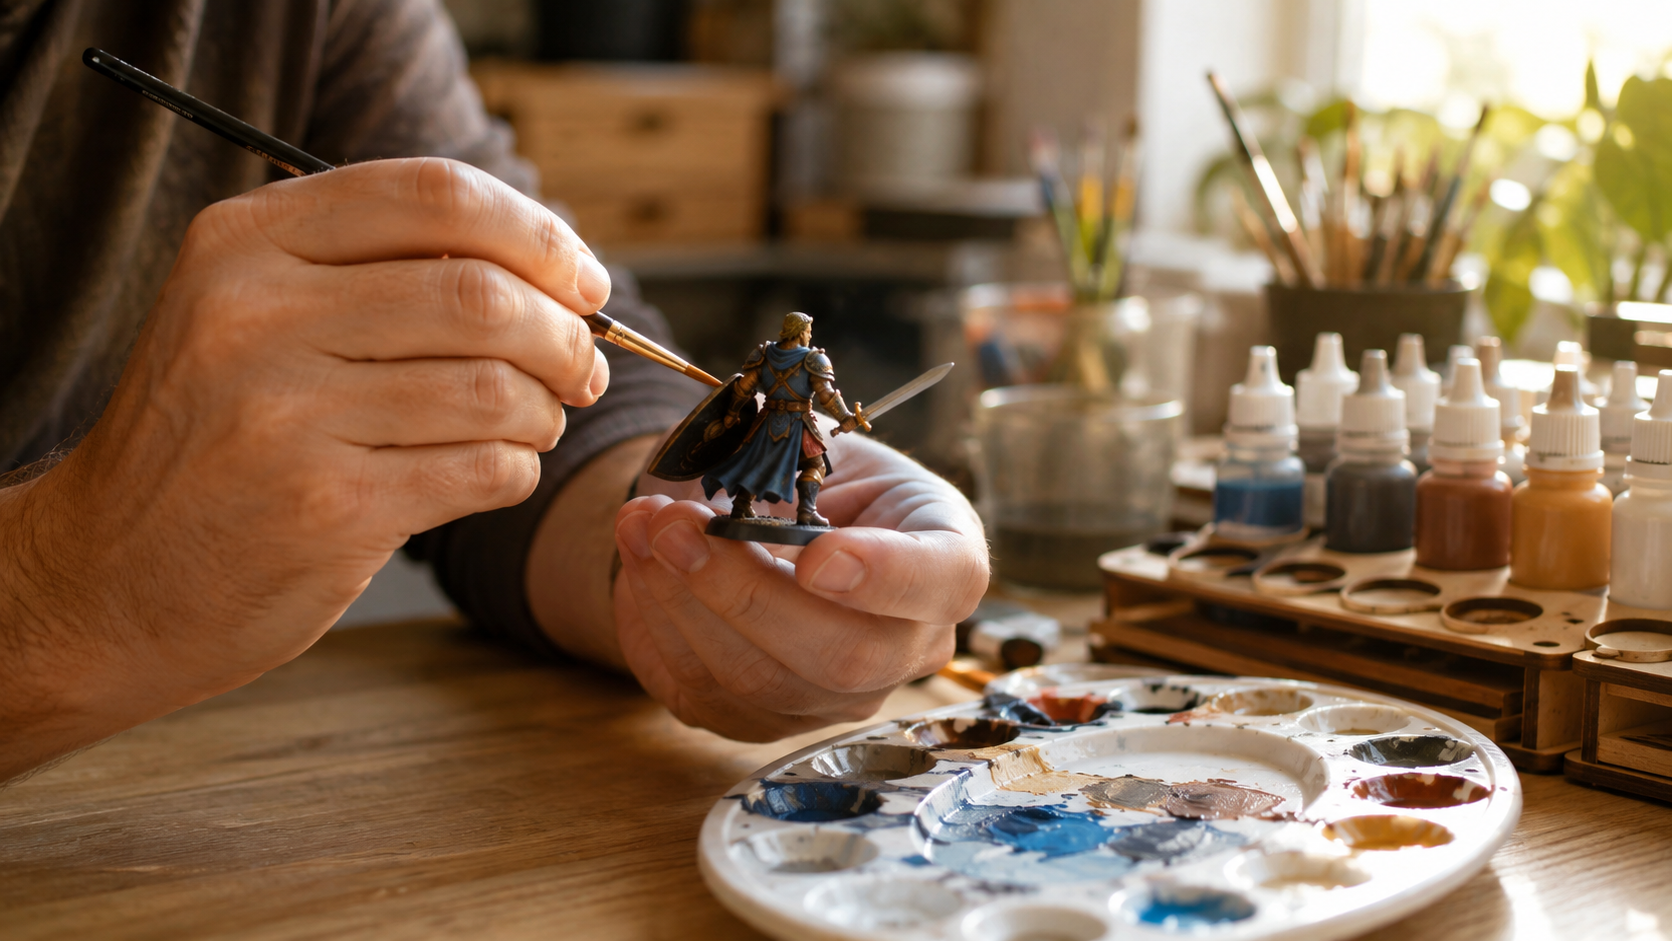
Hand painting uses acrylics, an airbrush, or markers on the finished part. It is the oldest approach and still the best for fine detail, weathering, and effects that no sliced file can express. Priming the surface first is the standard first step, and paint adhesion improves with a light sand.
The cost is time and skill. Every copy needs the full painting process again, results vary by hand, and complex color schemes on production runs become a bottleneck. For one off pieces with heavy artistic detail, hand painting is worth it. For repeatable product or fandom prints, it is the most expensive route per unit.
Hand painting and file coloring are not mutually exclusive. Many makers print a model colored in the file and add painted weathering on top. The question is where the color work should live, and for consistency that answer is usually the file.
How to Choose a Coloring Method
Pick the method that matches your time, hardware, and how many copies you need. There is no single best answer for how to color 3D models; the right choice depends on whether you value speed, control, or zero added cost. The table below compares the six routes side by side.
| Method | Color Zones | Hardware Needed | Skill Level | Best For |
|---|---|---|---|---|
| AI Multicolor (Neural4D) | Automatic | None | Beginner | Fast repeatable multicolor files |
| Slicer painting | Manual | Multi-material or swaps | Beginner | Control on any printable mesh |
| Blender vertex colors | Full control | None | Advanced | Artistic fidelity |
| Manual filament swaps | Horizontal bands | None | Beginner | Simple two color prints |
| AMS / MMU | Automatic | AMS or MMU unit | Intermediate | Complex multicolor at scale |
| Hand painting | Post print | Paint supplies | Intermediate | Detail, weathering, one offs |
If you want the fastest path from a model to a colored file, and you already generate textured models, AI color separation removes the manual stages entirely. If you are deciding between the best AI tools for 3D printing, the deciding factor is usually whether the tool exports a palette you can control, which is exactly what Multicolor does.
Where Neural4D Fits
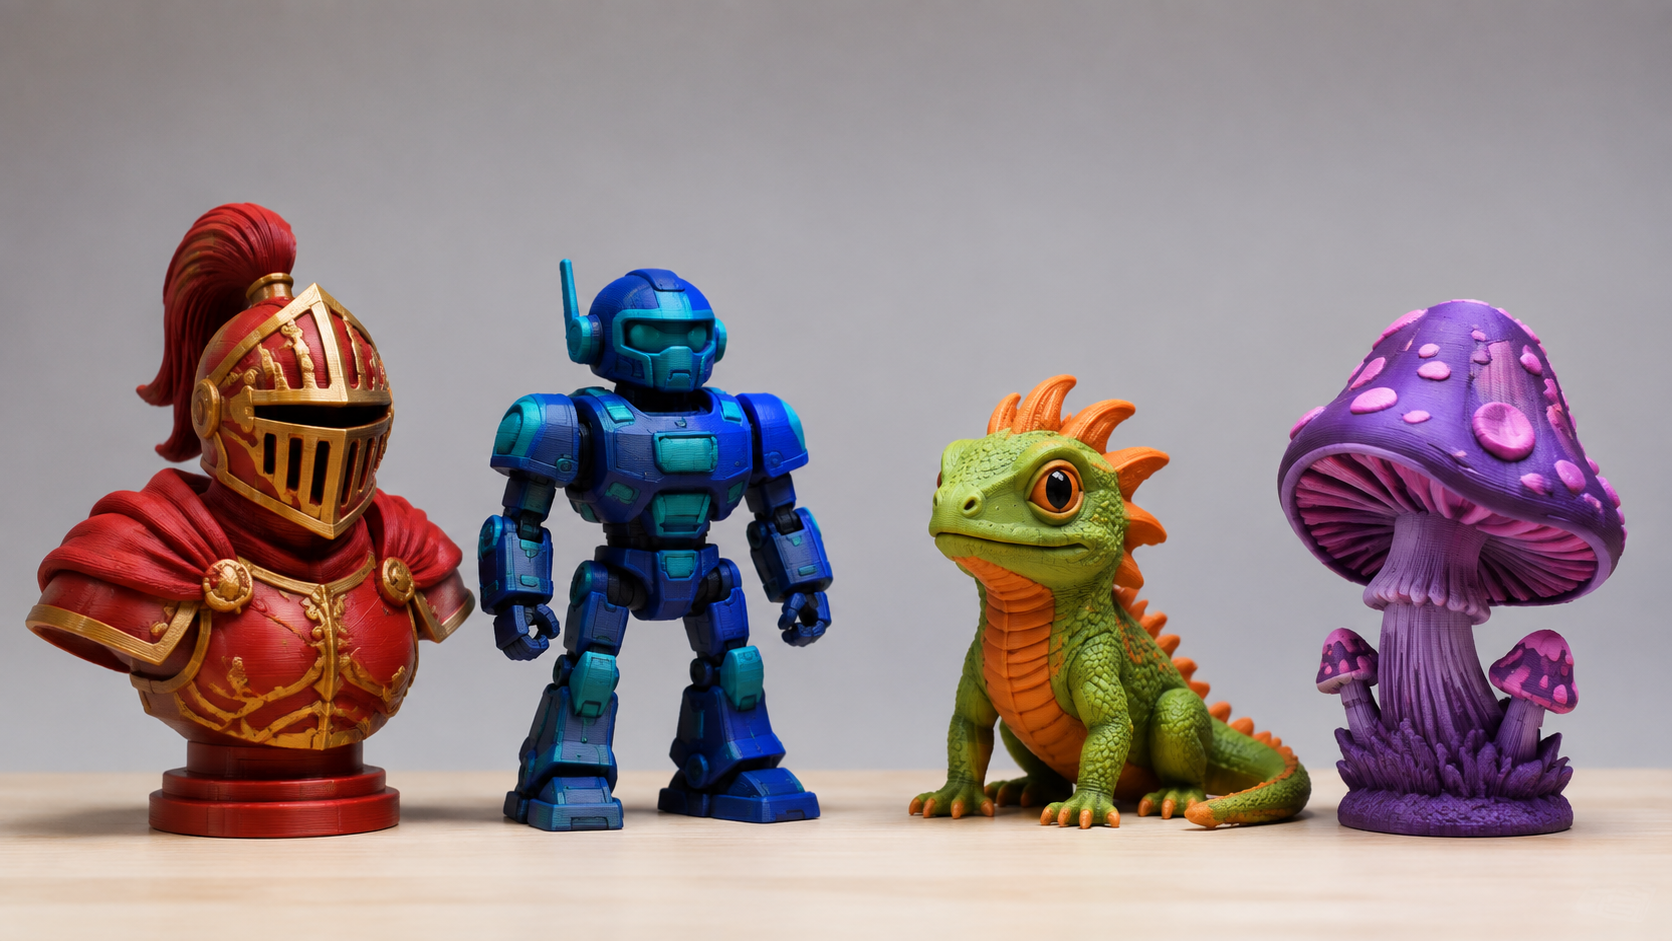
Neural4D produces watertight, production grade meshes that drop straight into a slicer, and Multicolor extends that pipeline one step further by resolving the color question before you ever slice. If you want to color 3D models without learning UV unwrapping or painting, this is the direct path: generate a textured model, let Multicolor detect the color zones, adjust the palette, and export a 3MF or GLB that keeps its colors in every print run.
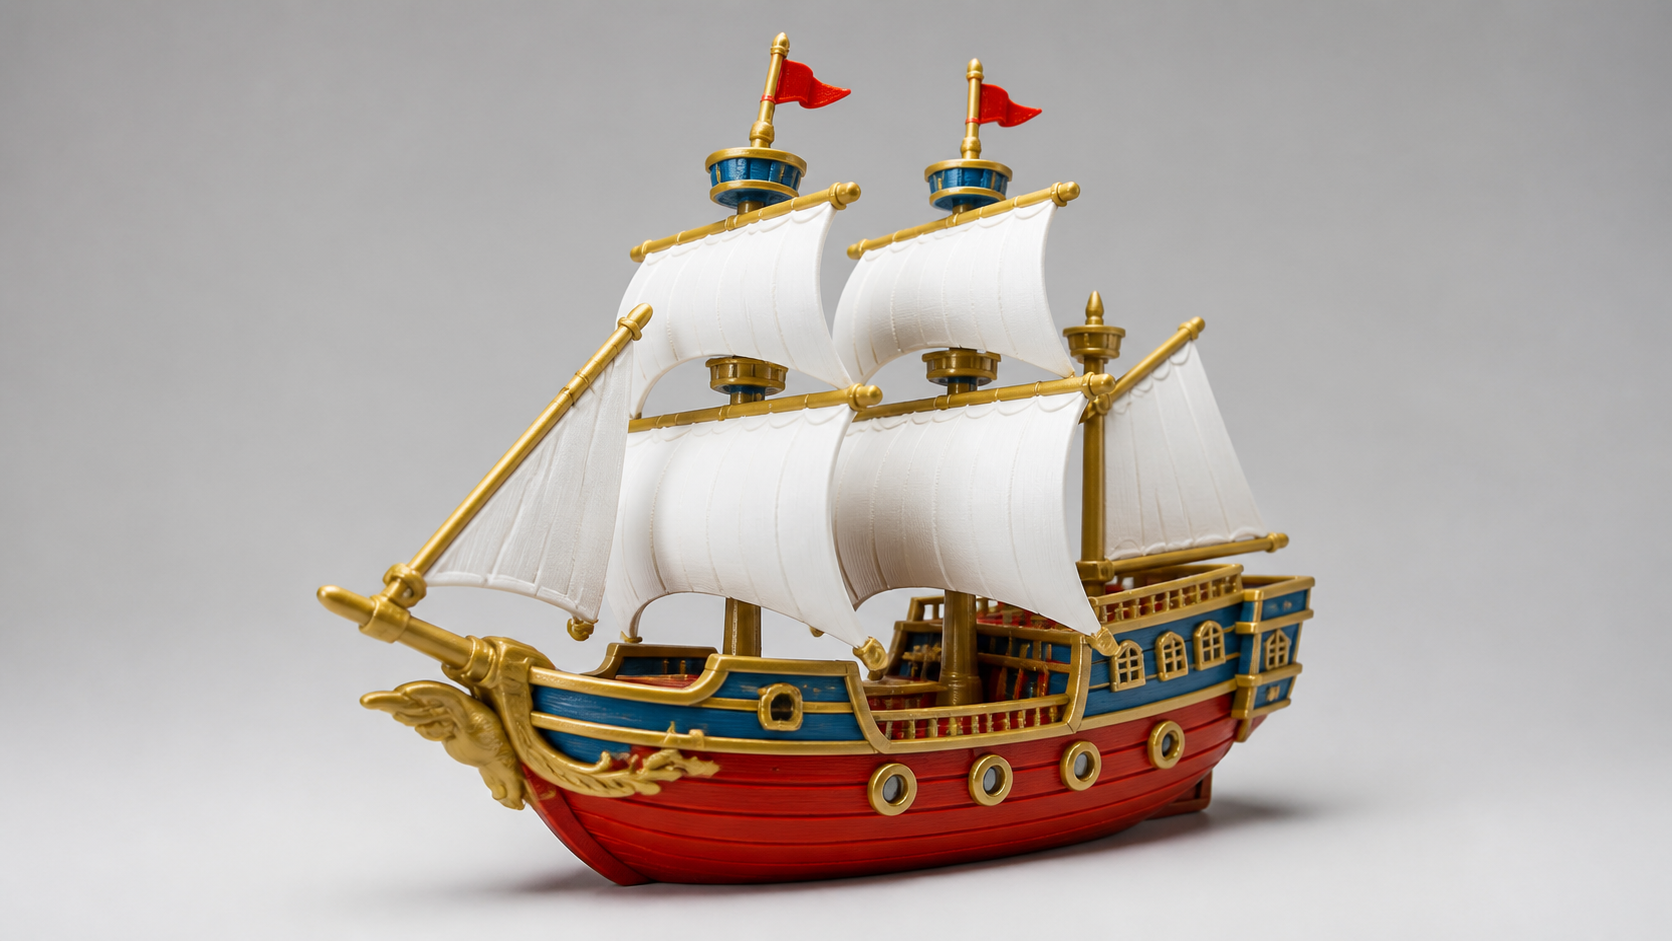
The texture requirement is deliberate. Multicolor reads existing color zones from the texture to build the palette, which is why the tool asks for a textured Neural4D model and why local uploads are not part of the first release. The Direct3D-S2 engine behind the platform is published research from a joint academic program (Nanjing University, DreamTech, Oxford University, and Fudan University), and the output stays watertight through export.
If your starting point is a photo rather than a prompt, you can turn an image into a 3D print model first, or use a dedicated image to STL converter, then apply texture and run Multicolor on the result. That covers the full path from a reference photo to a colored, printable file.
For context on where this fits the wider space, review the types of 3D printing and the AI for 3D printing workflow to see how color separation relates to other print planning decisions.
Common Questions on Coloring 3D Models for Printing
Q: Do I need a multi-color 3D printer to color 3D models?
No. Learning how to color 3D models for a single extruder printer is straightforward: coloring the model file before slicing, through AI color separation or slicer painting, works when you pair it with filament swaps. AMS or MMU hardware only becomes necessary if you want automatic side by side color zones in a single pass.
Q: Can an STL file store color?
No. STL stores geometry only, with no color data. To carry color into a slicer you need a format that supports it, such as 3MF, which stores color alongside the mesh, or GLB, which carries vertex colors and textures.
Q: How many colors can I use with Neural4D Multicolor?
Between 1 and 8 colors. Smart Coloring returns a 4 color scheme by default, and My Colors lets you save a personal palette of up to 8 colors that carries across models and sessions. You can also swap stock filament presets or enter a custom 6 digit hex.
Q: Why does Neural4D Multicolor require a textured model?
Multicolor detects existing color zones from the model’s texture to build the palette, so it needs a textured model to work from. In the first release it accepts platform-internal textured Neural4D models only, not local uploads.
Q: What is the difference between coloring the model and painting the printed object?
Coloring the model bakes color into the file, so every print from that file carries the same palette and colors are repeatable. Painting changes the finished surface and allows effects like weathering and gradients, but adds a manual stage to every copy.
Q: Does multicolor printing need AMS or MMU hardware?
Only for automatic color switching in a single pass. A colored 3MF from an AI tool can be printed on a standard machine with manual filament swaps, or routed to an AMS printer where the file’s palette maps to your loaded filament slots.
Start Coloring Your Next Print
How to color 3D models for printing resolves into one decision: keep the color work in the file or on the surface. For repeatable, sharp multicolor output, file based methods win, and AI color separation is the fastest entry point because it removes manual zone selection entirely.
Neural4D Multicolor sits at the top of that path. Generate a textured model, let the tool detect the color regions, adjust the palette across 1 to 8 colors, and download a 3MF or GLB that stays consistent across every print. No extra hardware, no painting session, no UV work.
How to color 3D models is a solved problem: pick the route that matches your hardware and your deadline, and start from the file side when you need color to repeat. Open the Neural4D Studio and color a textured model today.
Turn a textured model into a multicolor print file
Automatic color zone detection, 1 to 8 color palettes, and 3MF or GLB export from one tool.
Built on the Direct3D-S2 engine. Watertight output that drops into any slicer.
Share Your Creation
Tag @Neural4D and use #Neural4D to be featured on our channel.