Grand Central Station Interior 3D Model: Create It With AI in Minutes
Quick Summary
- Grand Central Station interior 3D model creation has shifted from weeks of manual modeling to minutes of AI inference with Image to 3D platforms like Neural4D.
- TurboSquid, CGTrader, and ArtStation offer pre-built models for purchase, but generating your own from reference photos gives full control over detail level, format, and licensing.
- Neural4D’s Direct3D-S2 architecture produces watertight geometry from a single photo, making architectural landmark modeling accessible without professional 3D software experience.
Creating a grand central station interior 3D model traditionally required days or weeks of manual work in Blender or Maya. AI-powered image to 3D generation now lets you build a detailed architectural model from reference photos in minutes. Here is exactly how to do it.
Contents
- Part 1: Why Grand Central Station’s Interior Is a 3D Modeling Challenge
- Part 2: How to Generate Your Grand Central Station Interior 3D Model,Step by StepHOT
- Part 3: Getting the Best Quality From Your Architectural 3D Model
- Part 4: What to Do With Your Grand Central Station 3D Model
- Part 5: Grand Central Station Interior 3D Model,Limitations and Tradeoffs
- Part 6: Common Questions on Grand Central Station Interior 3D Modeling
- Start Creating Your Grand Central Station 3D Model Today
Part 1: Why Grand Central Station’s Interior Is a 3D Modeling Challenge
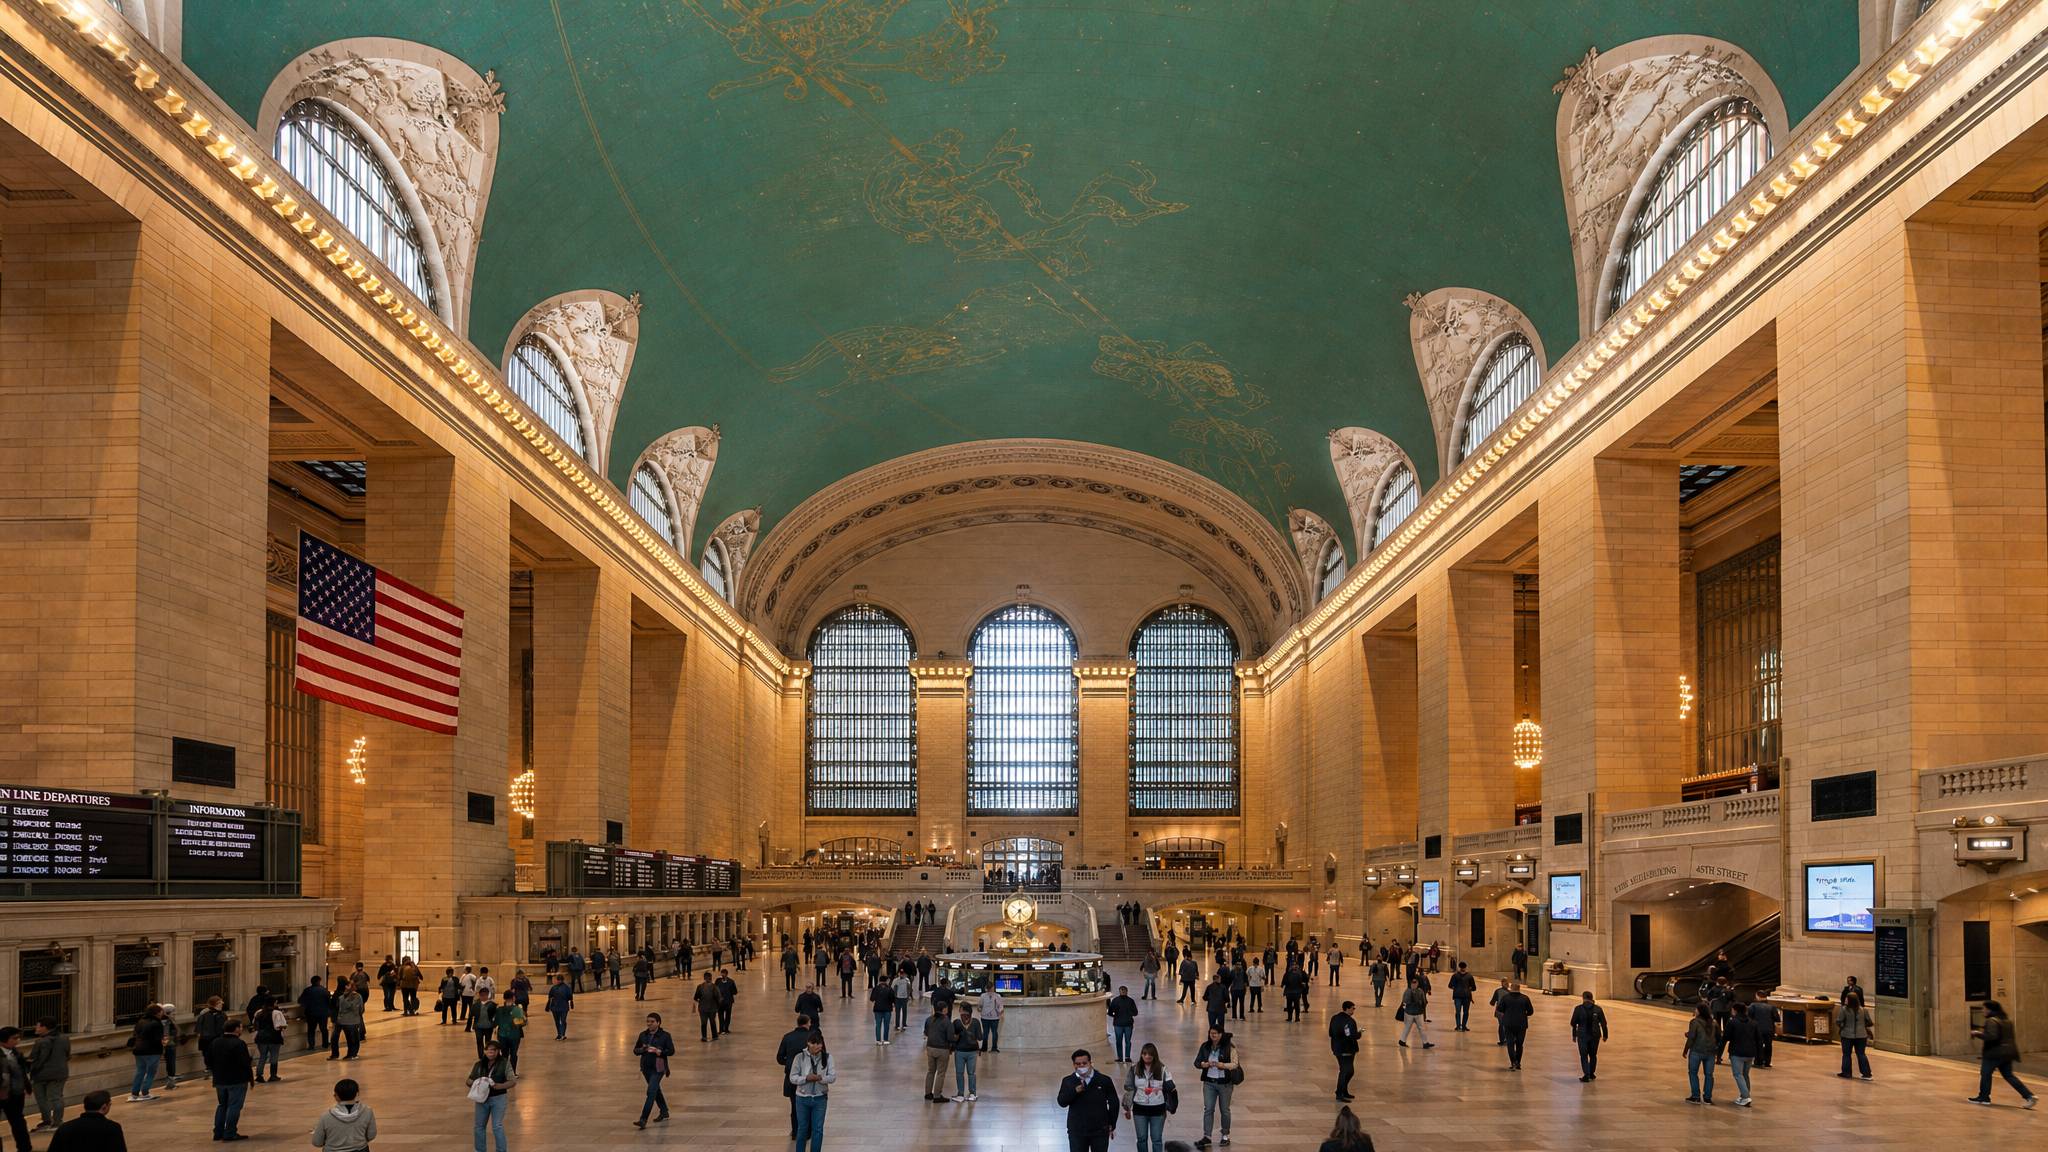
Grand Central Terminal in New York City is one of the most photographed interior spaces in the world. Its main concourse spans 200 feet long and 120 feet wide, capped by a barrel-vaulted ceiling decorated with the celestial zodiac mural. The space includes marble staircases, brass chandeliers, mezzanine balconies, information kiosks, and the iconic four-faced opal clock at the center of the main hall.
Modeling this environment in traditional 3D software is a serious undertaking. An experienced artist working in Blender or Maya needs 40 to 80 hours to build a high-detail Grand Central interior model with proper textures, lighting, and structural accuracy. The geometric complexity of the vaulted ceiling alone requires dozens of hours of edge-loop modeling and UV unwrapping.
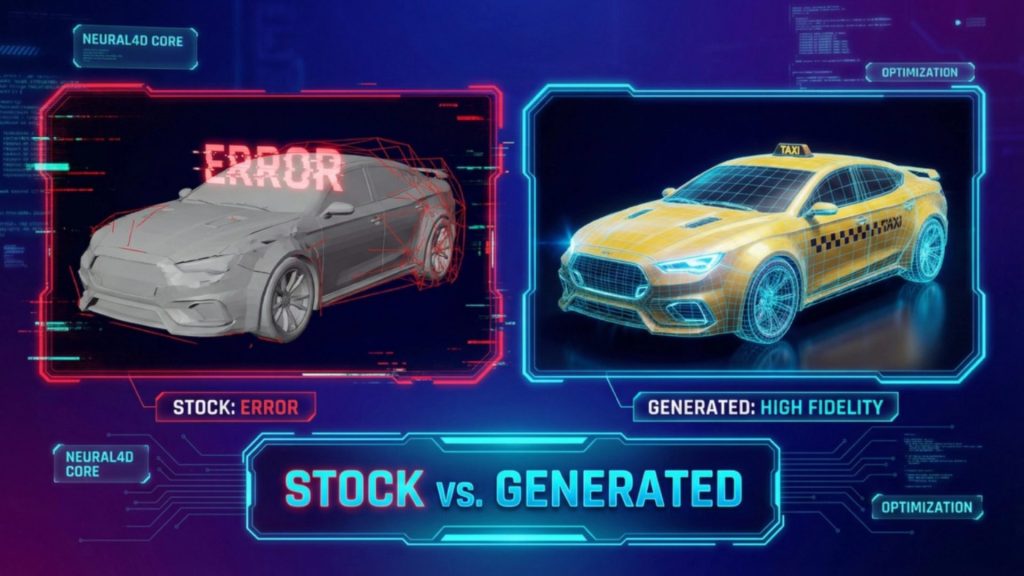
Traditional vs. AI modeling time comparison
Manual modeling (Blender/Maya): 40-80 hours for a detailed architectural interior.
AI generation (Neural4D Image to 3D): approximately 90 seconds for an untextured base mesh, 2+ minutes for a full textured model with PBR materials.
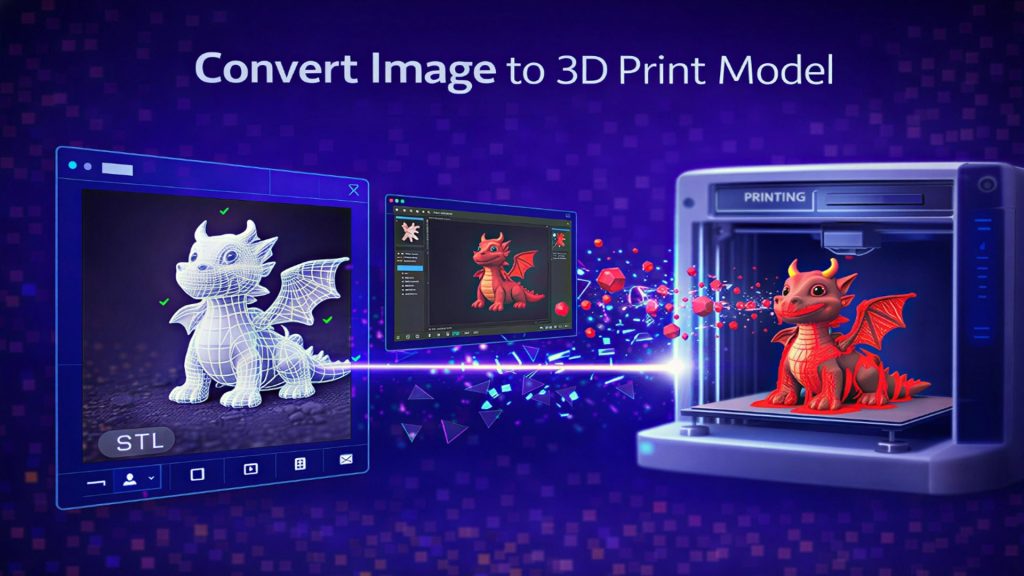
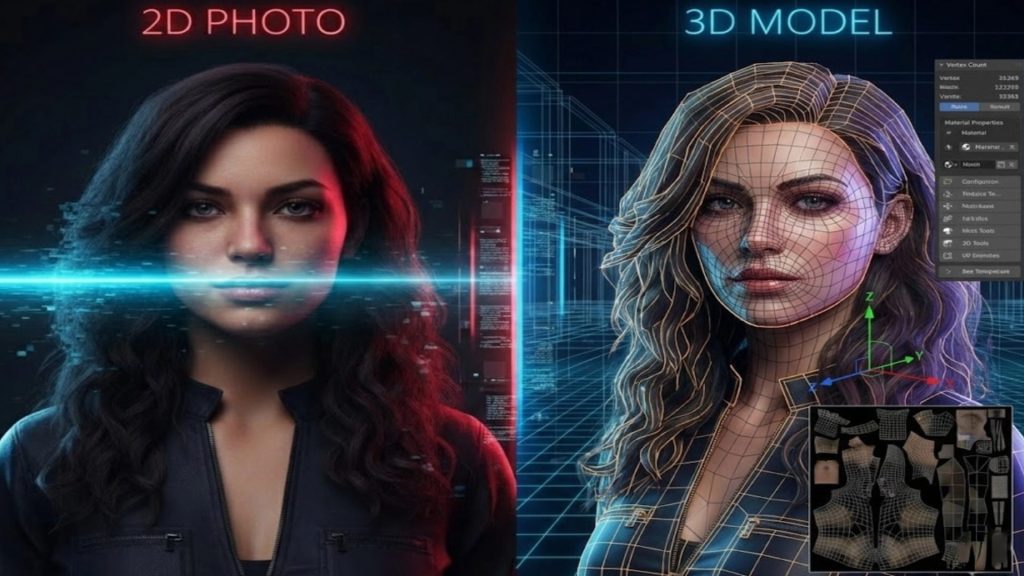
This is where AI image to 3D generation changes the equation. Instead of building geometry vertex by vertex, you feed reference photos of the actual space into a model like Neural4D’s Image to 3D feature, which reconstructs the volumetric structure using the Direct3D-S2 architecture. The result is a watertight mesh that captures the spatial layout and architectural form of Grand Central’s interior.
Part 2: How to Generate Your Grand Central Station Interior 3D Model,Step by Step
The entire workflow from reference image to downloadable 3D file takes under ten minutes. Here is each step explained so you can follow along with your own Grand Central photos.
Step 1: Source Reference Images of Grand Central’s Interior
The quality of your output depends directly on your input photo. For architectural interiors, the ideal reference image has these characteristics:
- Good ambient lighting without extreme shadows or blown highlights
- A perspective that shows the structural depth of the space (not a flat-on shot)
- Minimal foreground obstructions (people, temporary barriers)
- At least 1024px on the longest side for texture reference
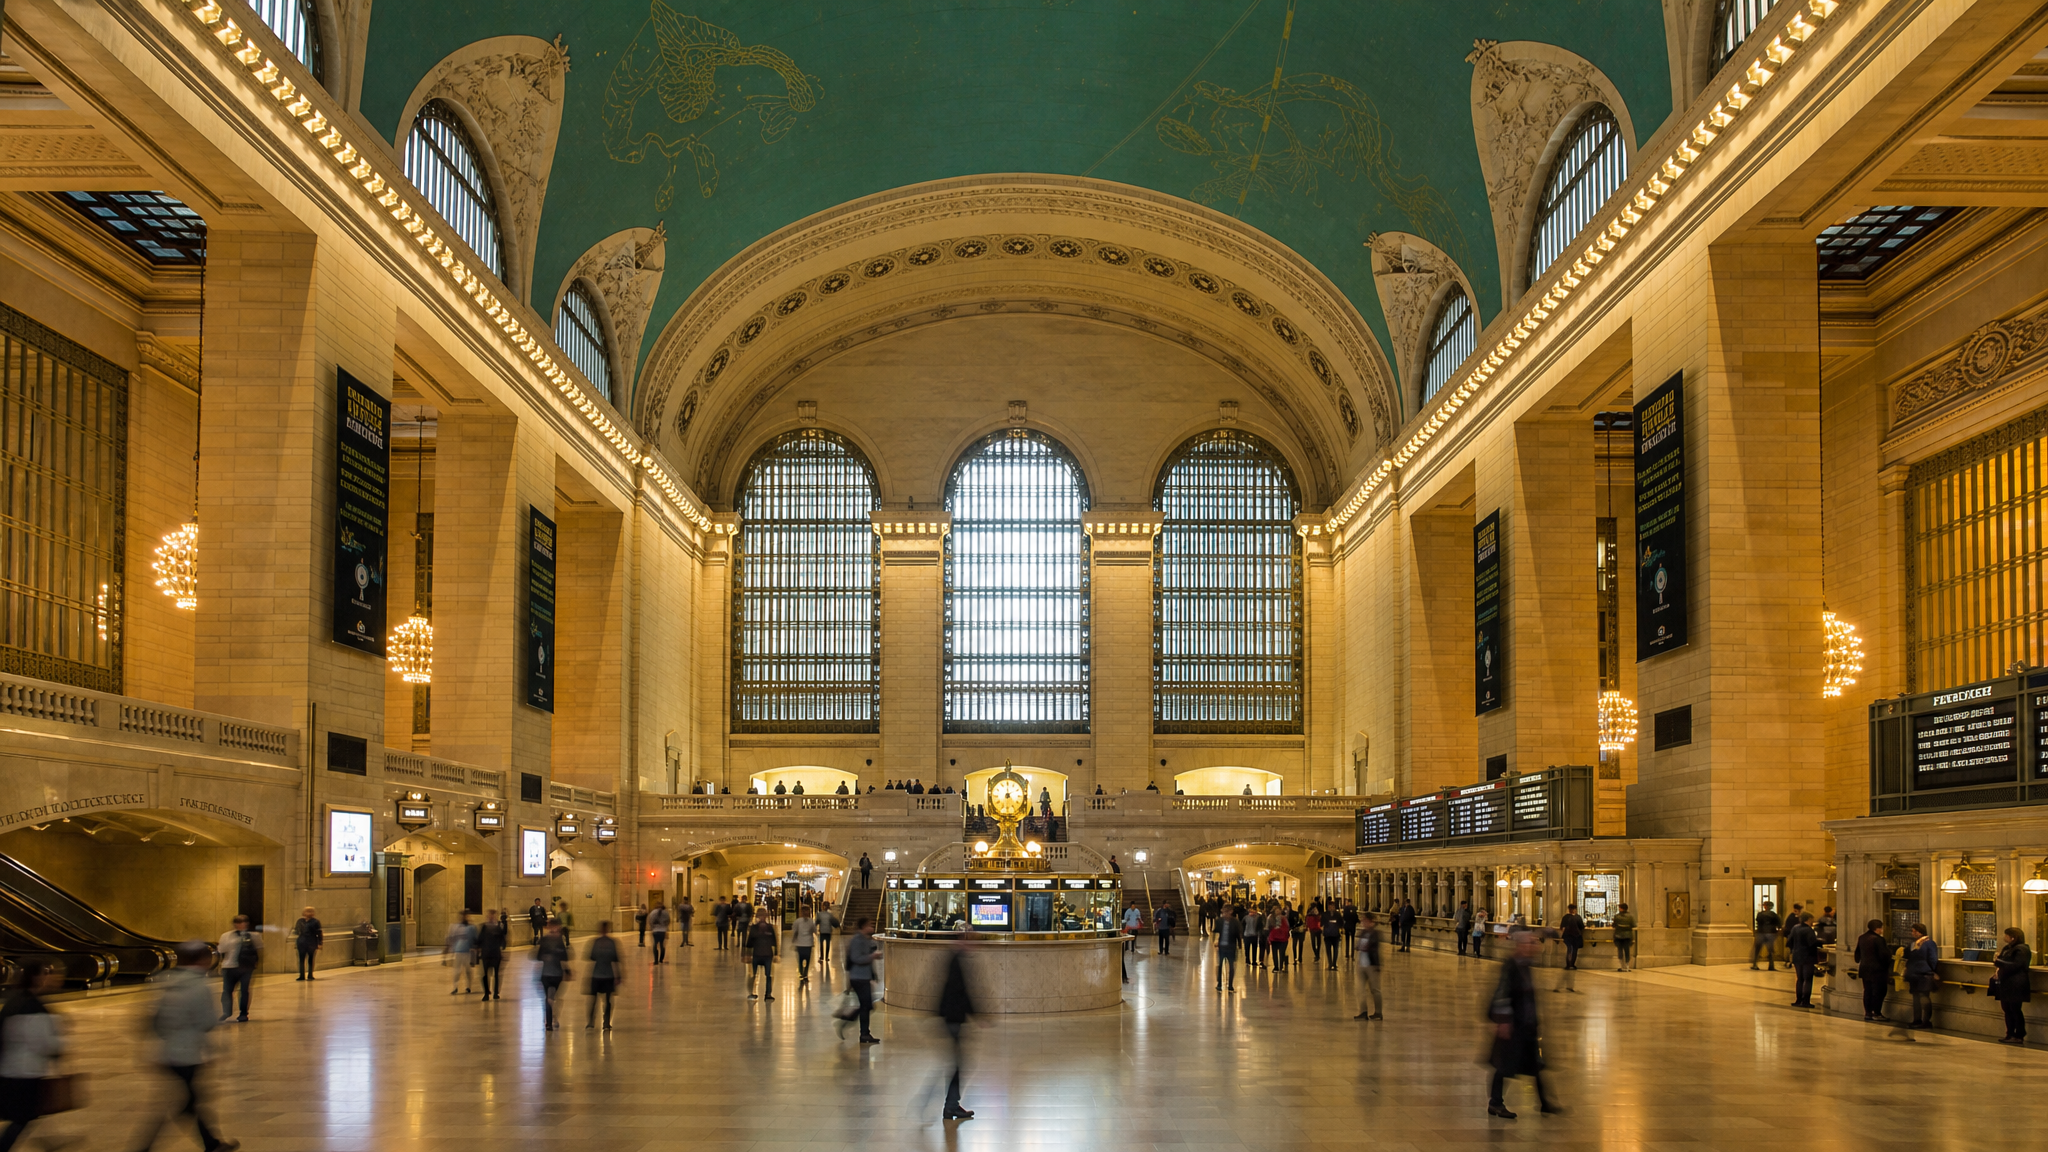
If you have access to Grand Central Terminal, take your own photo from the main concourse mezzanine level looking across the hall. If you cannot visit in person, use a high-resolution stock photo of the interior. The Direct3D-S2 engine works from a single image but benefits from clear visibility of the architectural structure.
Step 2: Upload Your Photo to Neural4D Image to 3D
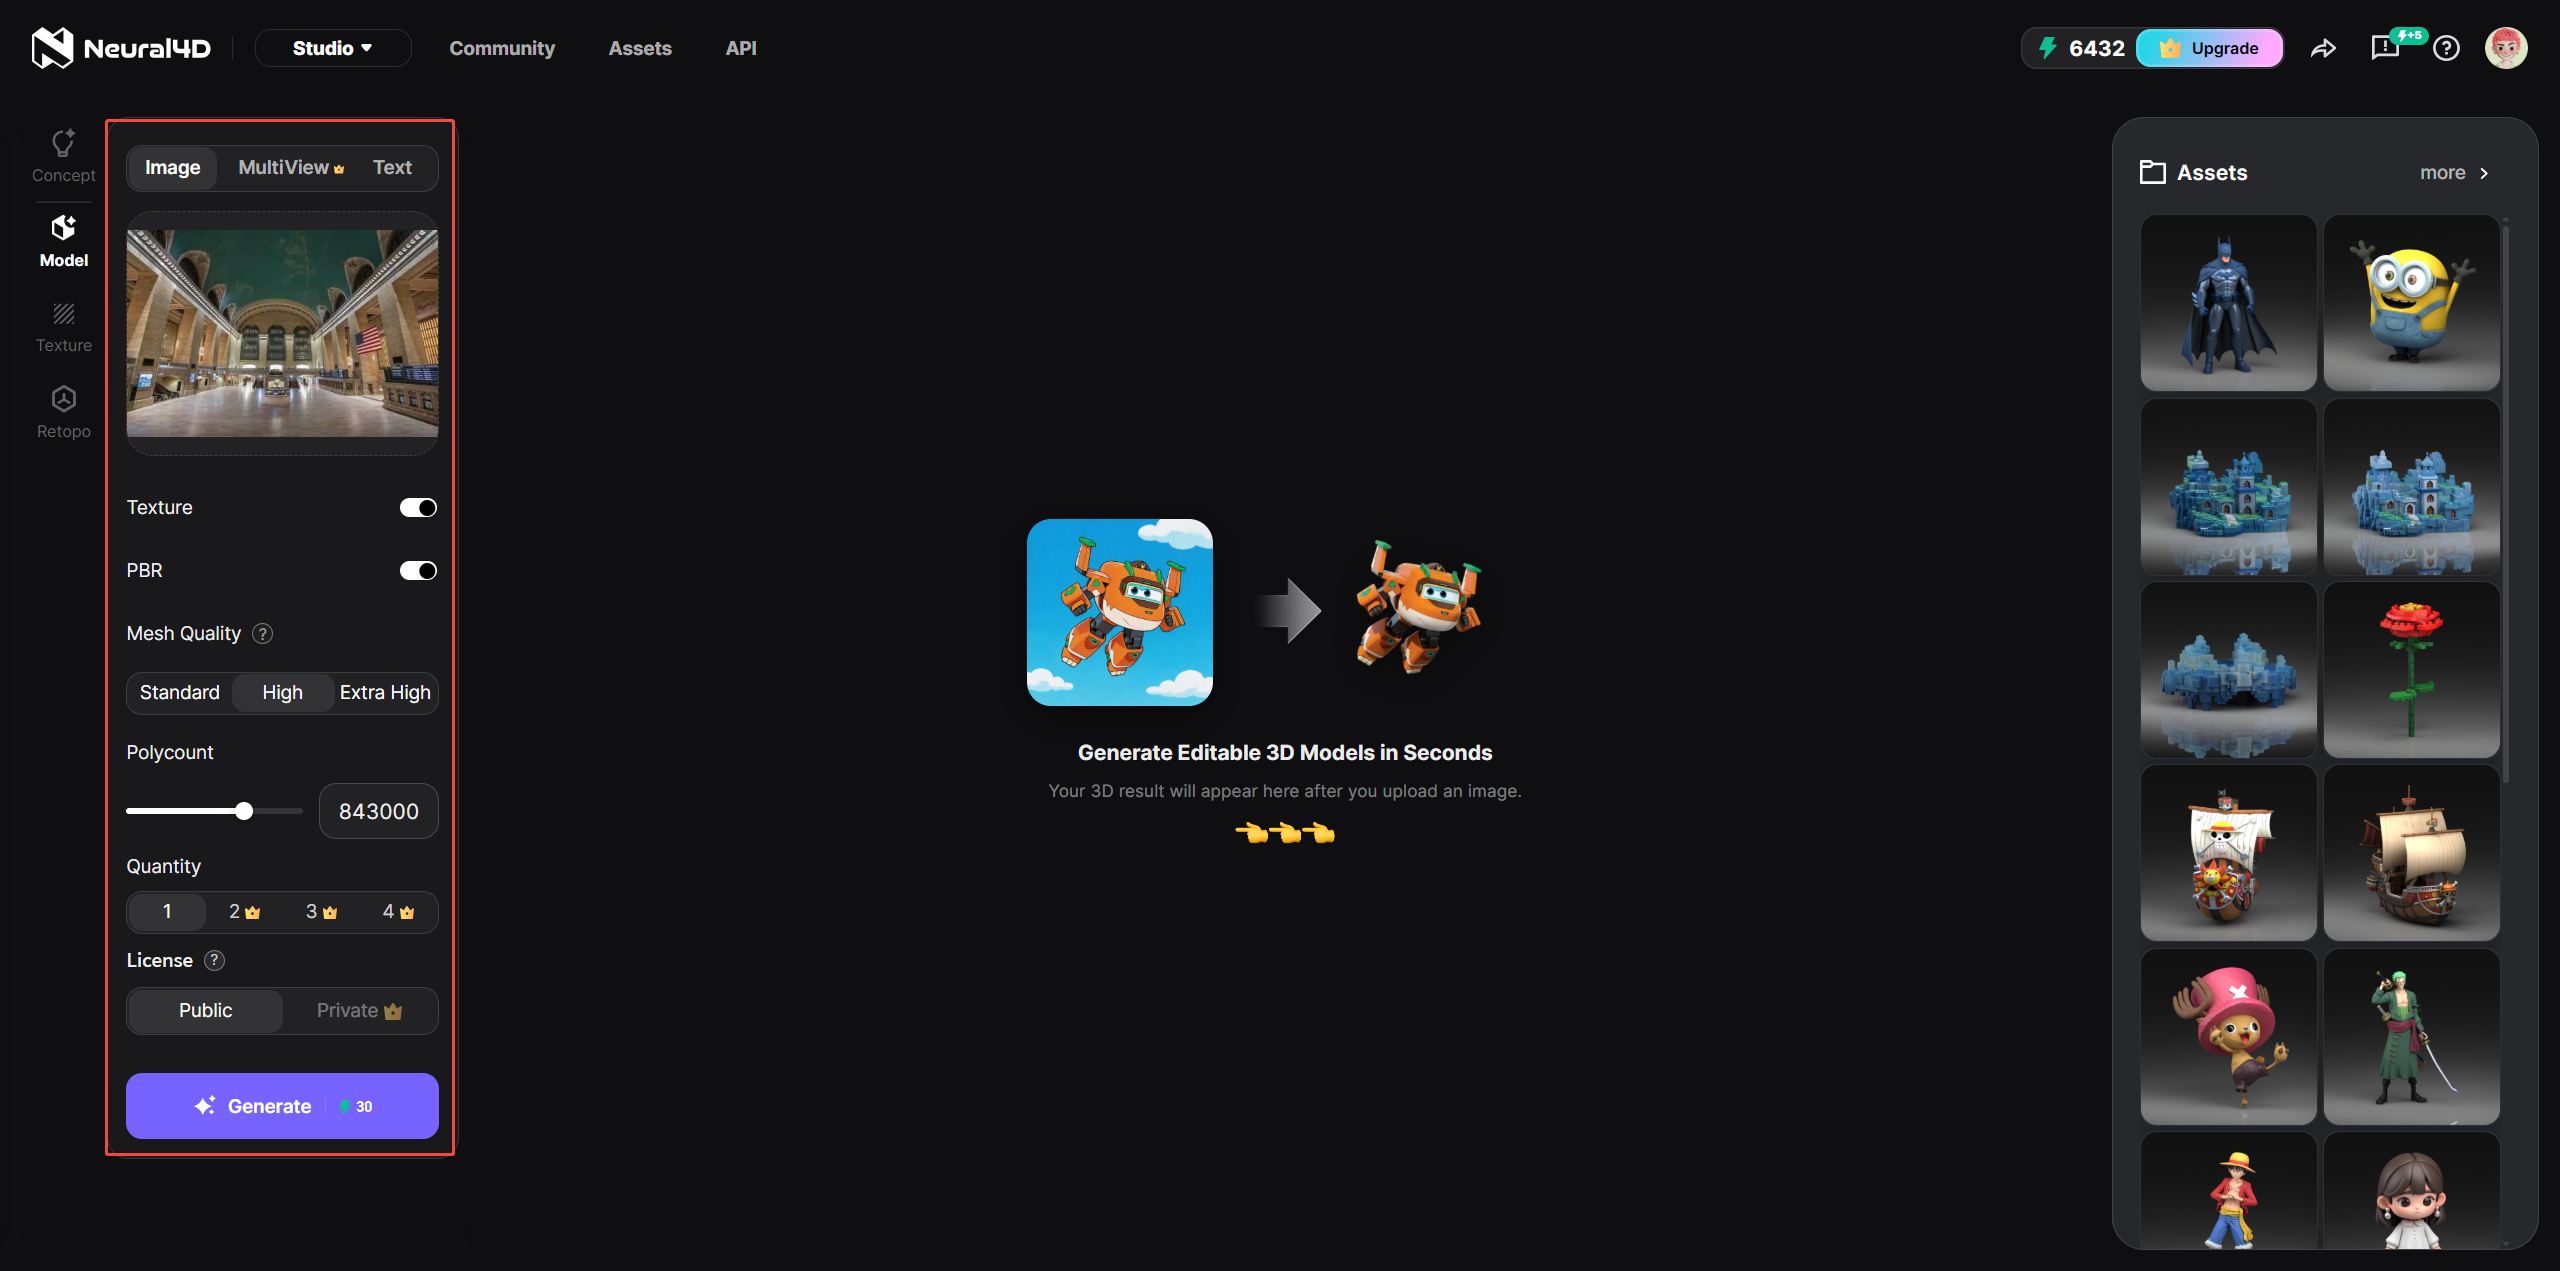
Navigate to the Neural4D Image to 3D studio. If this is your first time using the tool, check out this guide on how to use the Image to 3D feature. Drag and drop your reference photo onto the upload panel or click to browse. The system accepts JPG, JPEG, and PNG formats. Image resolution should be larger than 256 x 256 px. If your reference photo has too many people in the frame or the generated model turns out inconsistent, try the Text to 3D feature to generate the model directly from a text description instead. Upload completes in 1-2 seconds on a standard connection.
Step 3: Configure Generation Settings
Before clicking Generate, choose your output mode. This selection happens upfront,Neural4D does not require a two-step process:
| Setting | Output | Generation Time | Best For |
|---|---|---|---|
| Base mesh only | Untextured geometry (GLB/OBJ/FBX) | ~90 seconds | 3D printing, game engine prototyping, custom texturing |
| With standard textures | Mesh + diffuse color map | 2 minutes or more | Visualization, real-time rendering, AR preview |
| Full PBR maps | Mesh + albedo, normal, roughness, metallic | 2 minutes or more | Production rendering, game assets, cinematic scenes |
For a Grand Central interior model destined for game engine use, select Full PBR maps. The PBR workflow gives you material separation,the marble columns, brass fixtures, and ceiling paint all receive distinct surface properties in a single pass.
Step 4: Generate and Review Your Model
Click the Generate button. Neural4D’s Direct3D-S2 architecture processes the volumetric structure using Spatial Sparse Attention (SSA) at approximately 12x the speed of comparable AI 3D pipelines. The base mesh appears in roughly 90 seconds for untextured output, or 2 minutes or more when standard textures or full PBR maps are selected.
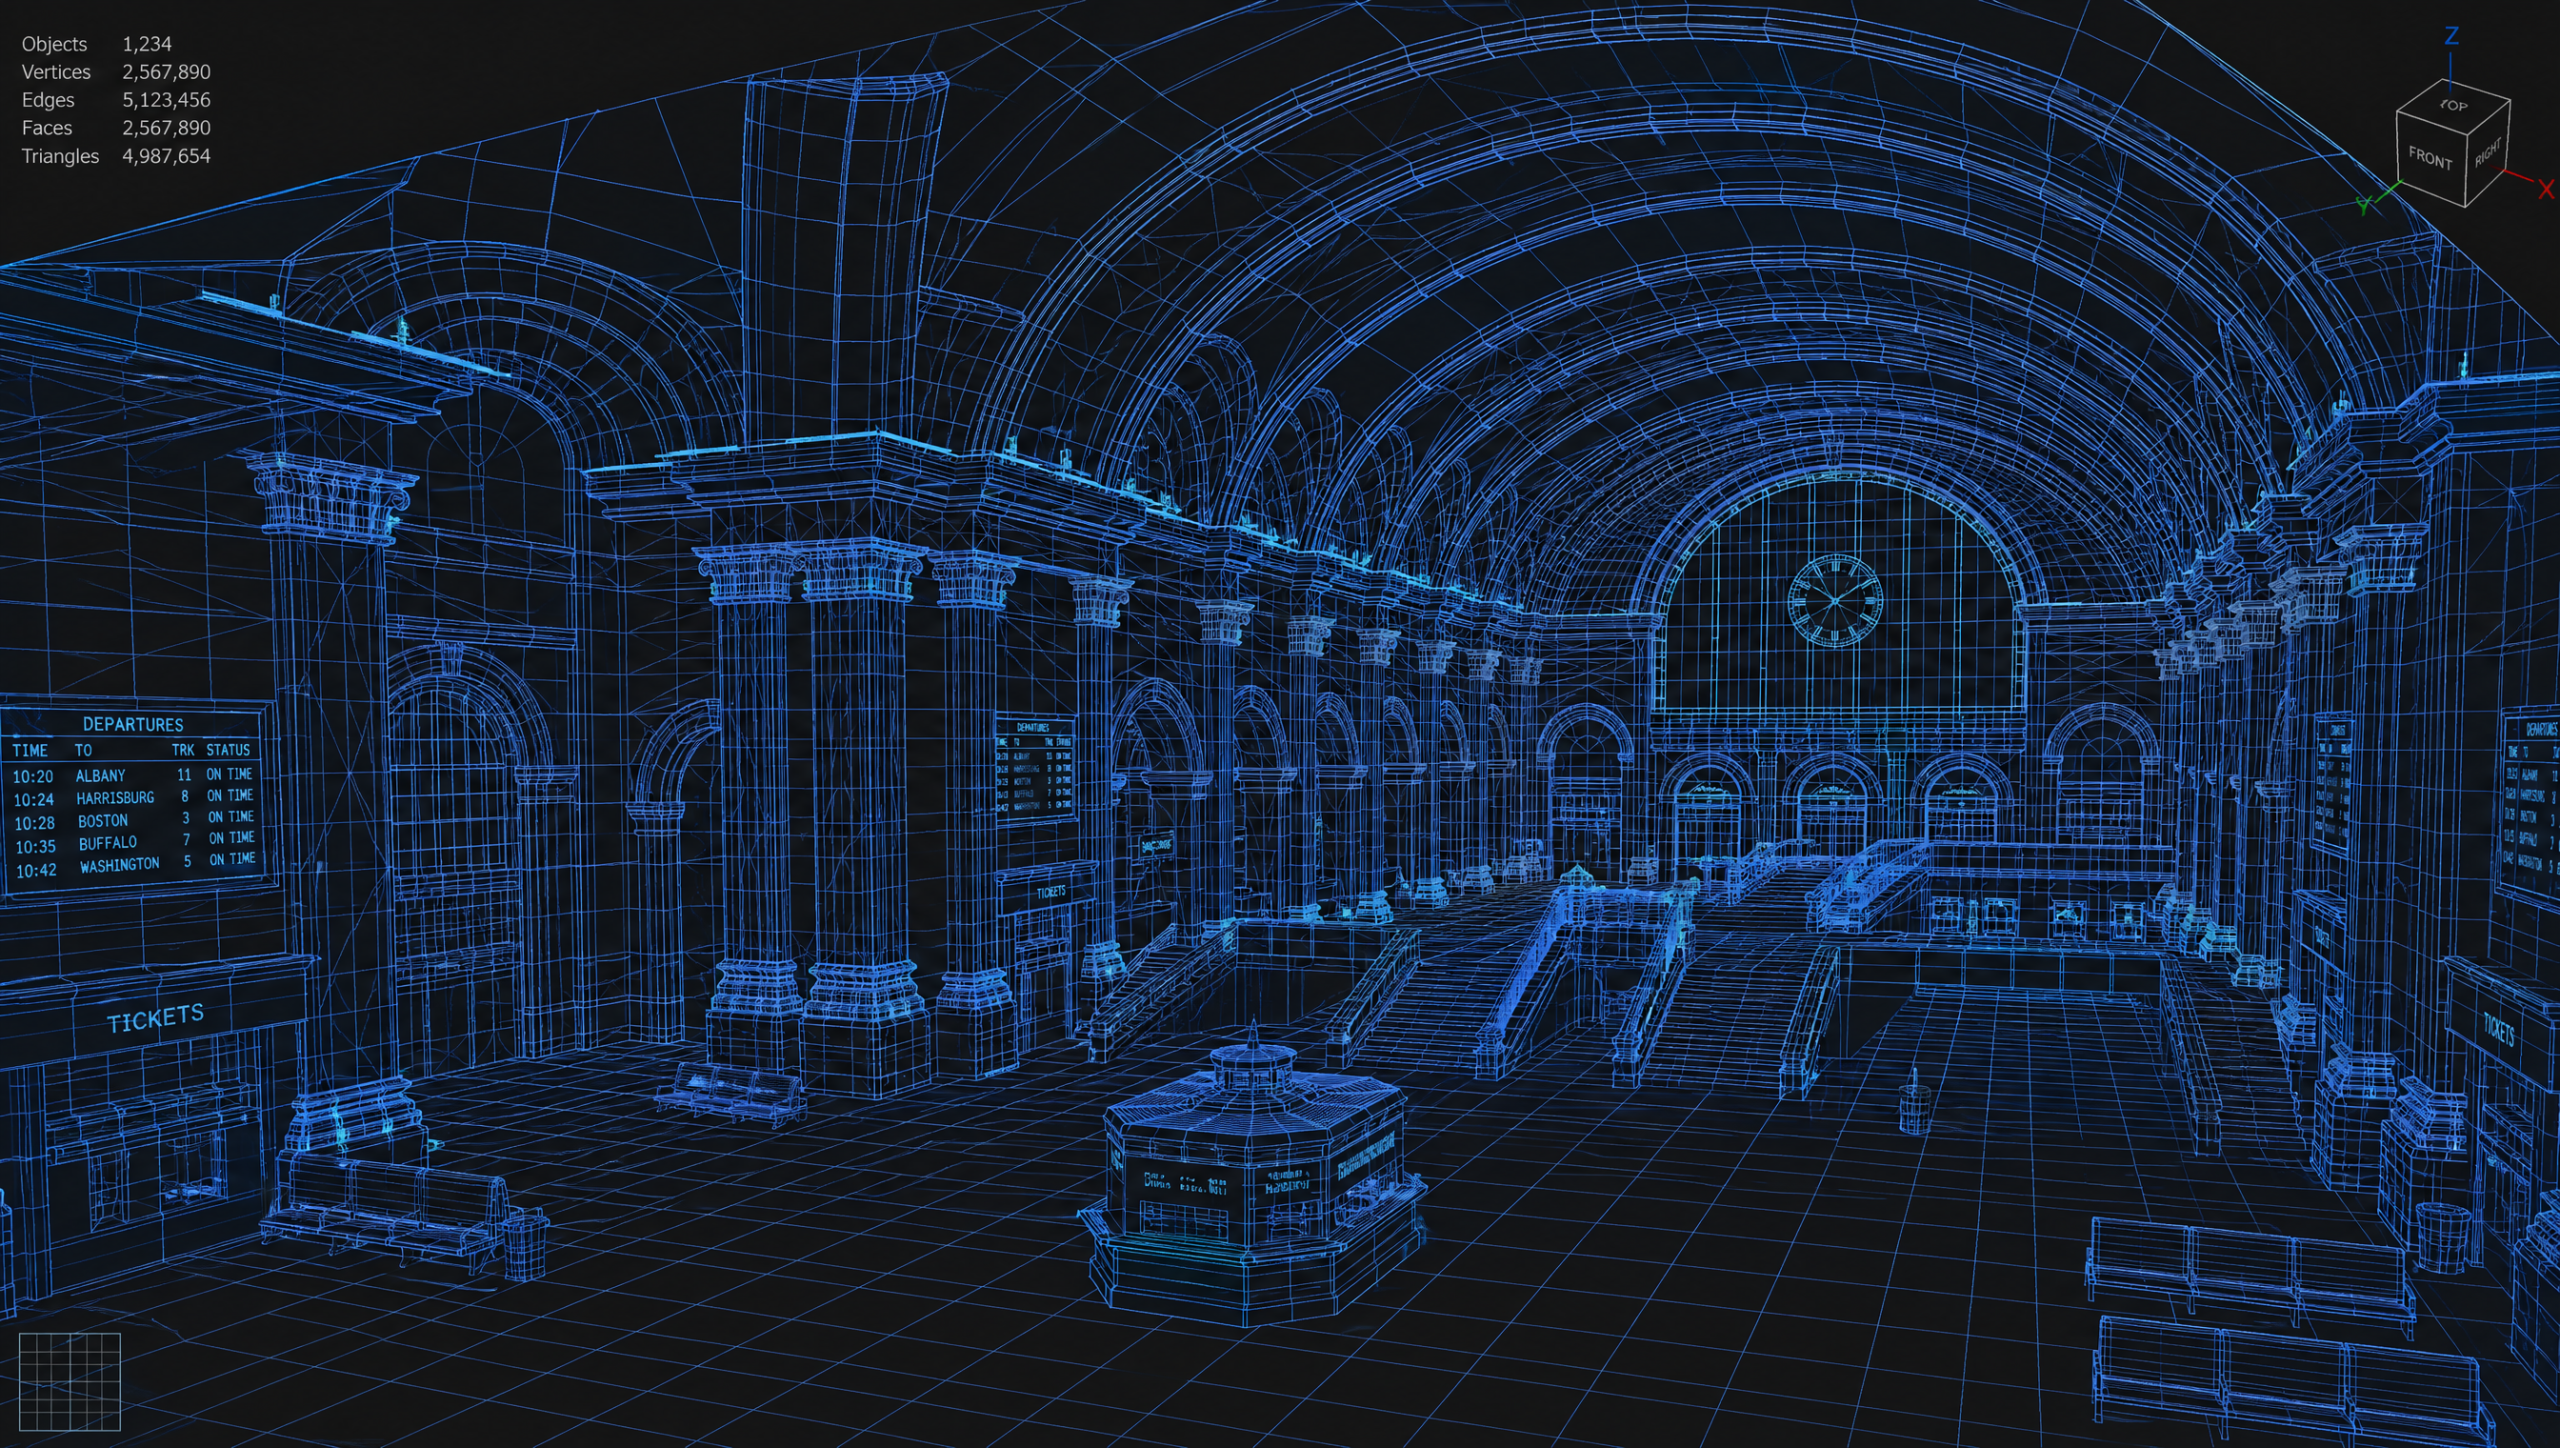
Once the generation completes, rotate the model in the 3D viewer to inspect the result. Check for:
- Structural integrity of the main hall volume
- Recognition of ceiling details and mezzanine levels
- Texture placement on major surfaces
- Overall proportion and scale
If the result needs adjustment, click Regenerate. Neural4D offers direct one-click regeneration,you do not need to re-upload the image. For finer control over specific details, models generated by Neural4D-2o support conversational editing via natural language commands (for example, “smooth the ceiling arch” or “reduce the column thickness”).
Step 5: Export to Your Target Format
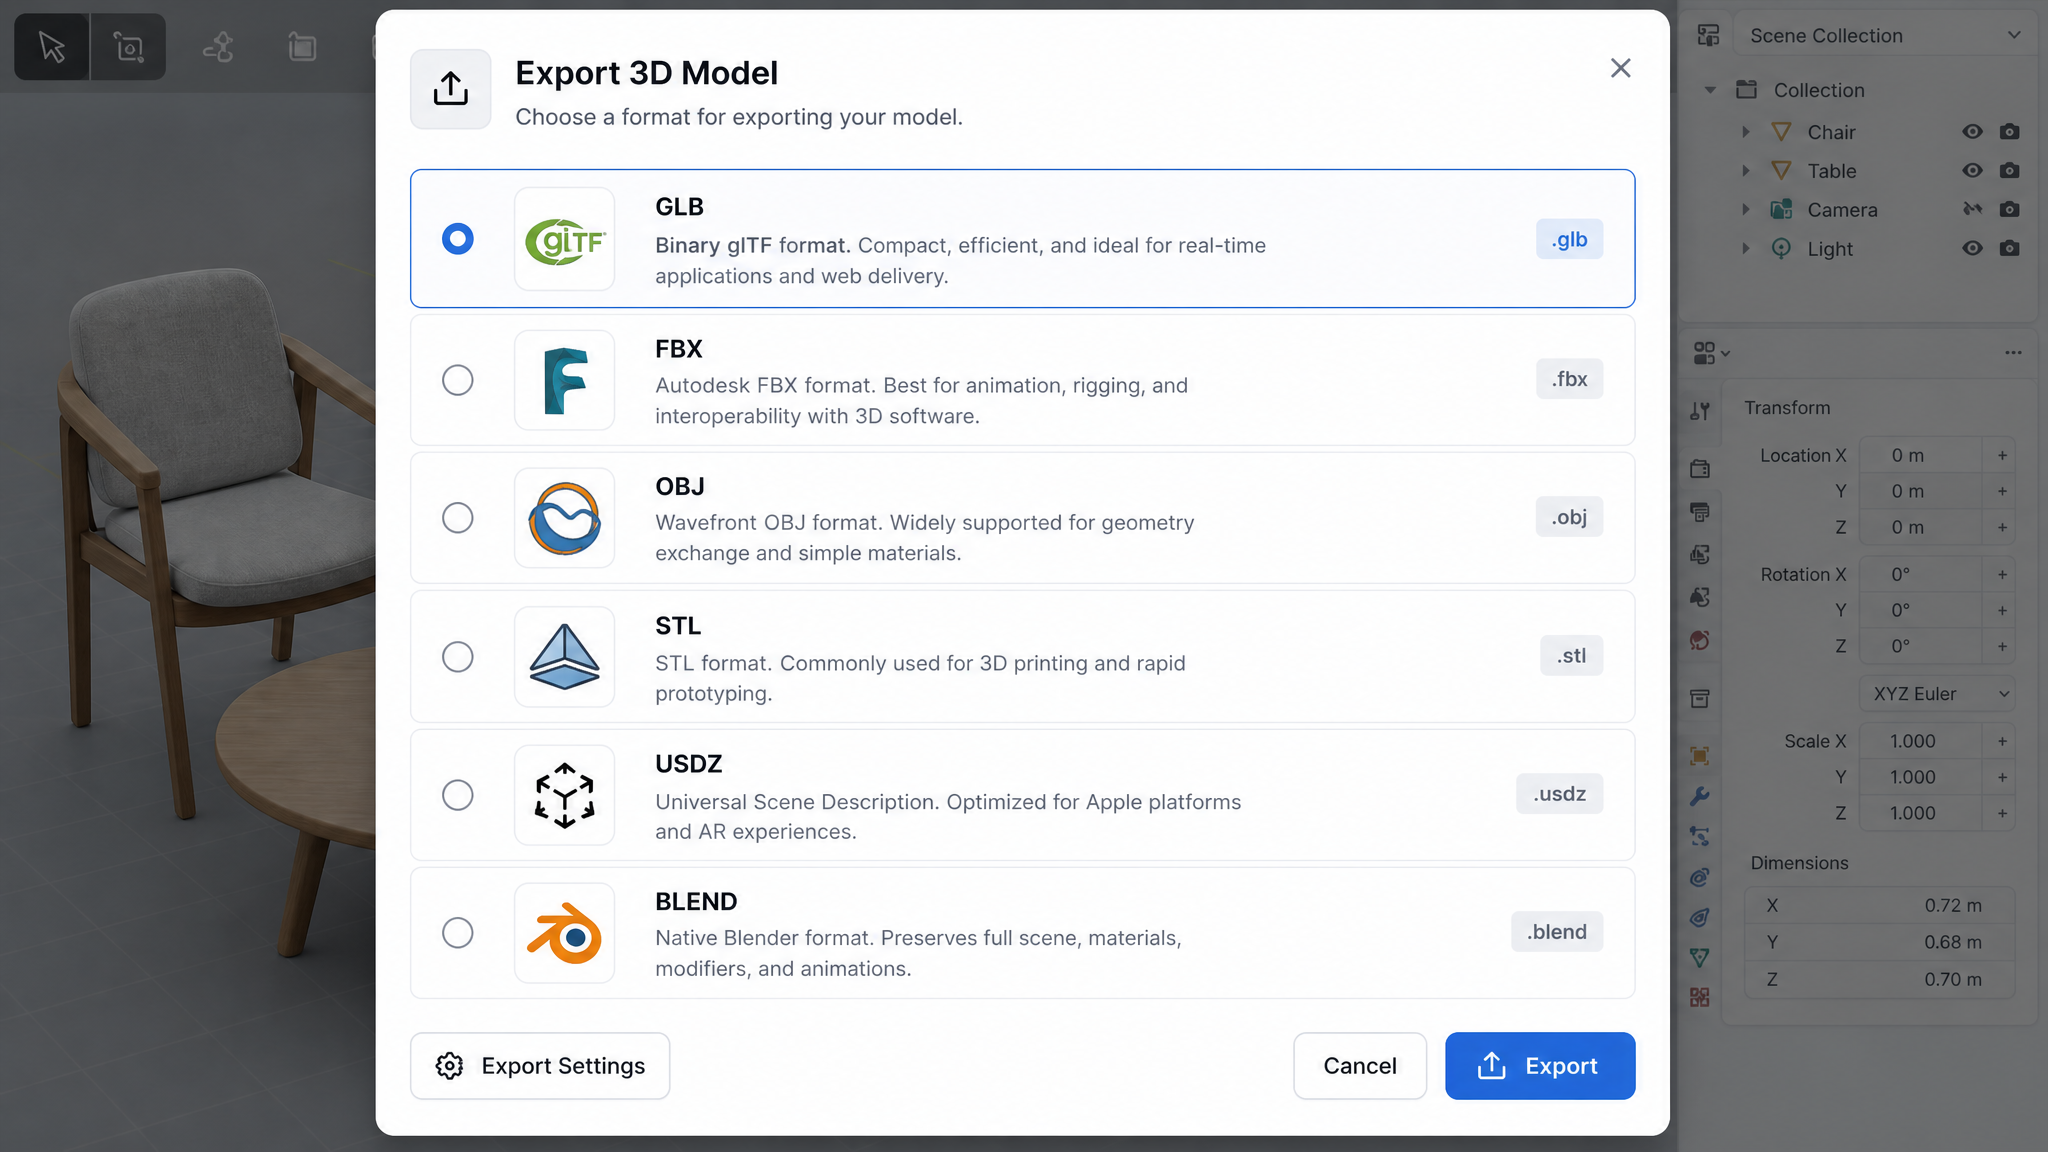
Neural4D supports export in GLB, FBX, OBJ, STL, USDZ, and BLEND formats. Select the format that matches your pipeline:
| Format | Use Case |
|---|---|
| GLB | Web AR/VR, real-time viewers, Three.js, React Three Fiber |
| FBX | Unity, Unreal Engine, Maya, 3ds Max |
| OBJ | Universal interchange, Blender, Cinema 4D |
| STL | 3D printing, CAD software |
| USDZ | Apple Quick Look, iOS AR experiences |
| BLEND | Native Blender editing, further refinement |
Generate Your Grand Central 3D Model Free
Upload a reference photo and get a watertight 3D model in seconds. No credit card required.
Free users receive 50 Power per week. Pro plan unlocks faster generation.
Part 3: Getting the Best Quality From Your Architectural 3D Model
Lighting and Angle Rules for Reference Photos
The AI model reconstructs geometry based on the lighting cues in your input image. Flat, evenly lit photos produce the most accurate base geometry. Avoid images with heavy contrast shadows or blown-out window light,the model will interpret the shadow edge as a geometric boundary rather than a lighting artifact.
The ideal angle for an interior landmark like Grand Central is a three-quarter view of the main hall from an elevated position. This gives the Direct3D-S2 engine depth cues for the ceiling vault, the side aisles, and the floor plane in a single frame. A straight-on shot from ground level compresses the depth information and may produce flatter geometry in the mid-ground.
When to Regenerate vs. When to Refine
Regenerate if the base mesh has structural issues: missing major architectural elements, collapsed geometry in a section of the hall, or incorrect proportion between the ceiling height and floor area. One-click regeneration preserves your original image and re-runs the inference with the same settings.
Refine manually if the base mesh is structurally sound but needs surface-level adjustments: smoothing noisy geometry, adding detail to specific elements, or adjusting texture seams. Export to BLEND or OBJ and import into your modeling software of choice for final cleanup. Neural4D outputs watertight geometry, so there are no open edges or hole-filling steps required before editing.
Post-Generation Cleanup Considerations
Architectural AI 3D models sometimes merge spatially adjacent but structurally separate elements. In Grand Central’s interior, the information kiosk at the center of the main hall may connect to the floor plane as a single mesh island. Use your modeling software’s split-by-connection tool to separate individual objects after importing the GLB or OBJ file.
Key technical detail
Neural4D generates models that Neural4D created. It does not import, repair, or retopologize models from other 3D generators or manual modeling tools. If you are working with a pre-existing Grand Central model from another source, the standard cleanup tools in Blender or Maya remain the right approach.
Part 4: What to Do With Your Grand Central Station 3D Model
Game Environments and VR Experiences
A Grand Central interior model serves as a high-impact environment asset for games set in New York City. The landmark recognition factor is immediate,players who know the space will identify it within seconds. Export as FBX for Unity or Unreal Engine, where you can add real-time lighting, collision meshes, and interactive elements.
For VR applications, export as GLB and load into WebXR or native VR frameworks. The watertight mesh ensures no visual gaps or z-fighting at close viewing distances, which is critical for immersion when the user is standing inside the virtual grand concourse.
Architecture Visualization and Rendering
Architecture firms and visualization studios use AI-generated landmark models as background context for larger city-scale renders. The Grand Central model becomes part of a Midtown Manhattan scene without requiring weeks of manual modeling per building. Export with full PBR textures for V-Ray, Cycles, or Octane rendering,the material maps carry the marble, brass, and painted ceiling surfaces with physically accurate properties.
Neural4D’s AI 3D modeling for interior design workflow is particularly relevant here: the same pipeline works for any interior space, from landmarks to commercial properties.
3D Printing the Model
Exporting as STL gives you a watertight mesh ready for slicing software. The Direct3D-S2 engine outputs mathematically closed geometry, so there are no non-manifold edges or interior holes that would cause print failures at hour seven. For a full-building print, scale the model down and add manual supports in your slicer for the ceiling overhangs and balcony structures.
If you are printing architectural models regularly, the Penn Station interior 3D model article covers specific slicer settings for Beaux-Arts architectural details that apply directly to Grand Central as well.
Part 5: Grand Central Station Interior 3D Model,Limitations and Tradeoffs
AI image to 3D generation has specific strengths and boundaries that matter for architectural work.
What the AI Handles Well
- Single-room interior volumes with clear structural boundaries
- Large architectural forms (arches, columns, vaulted ceilings)
- Surface texture reproduction from well-lit reference photos
- Watertight base geometry for immediate export
What May Need Manual Adjustment
- Fine details: chandelier arms, clock face numerals, individual mosaic tiles,these may appear as texture rather than separate geometry
- Multi-room layouts: the model captures what is visible from the input angle; hidden spaces behind columns or around corners are not reconstructed
- Character scale: AI 3D reconstruction from a single image does not include people, so populate the scene separately if human scale is needed
The prompt is the only variable that changes the output,or in the case of Image to 3D, the reference photo. Different photos of Grand Central’s interior from different angles produce different models. For the most complete result, generate separate models from multiple angles and merge them in your 3D software.
Part 6: Common Questions on Grand Central Station Interior 3D Modeling
Q: How long does it take to generate a Grand Central Station 3D model with AI?
An untextured base mesh generates in approximately 90 seconds. A full model with PBR textures takes 2 minutes or more. The total workflow from uploading a reference photo to exporting the final file is under 10 minutes, including inspection and any regeneration cycles.
Q: Can I 3D print a Grand Central Station model created with AI?
Yes. Export as STL from Neural4D,the output is watertight geometry with no non-manifold edges, so it goes directly into your slicer. For a full-building print, you need to add manual supports for ceiling overhangs and balcony structures. Scale the model proportionally to fit your print bed.
Q: What reference photos work best for generating an architectural interior 3D model?
A three-quarter angle from an elevated position produces the most complete reconstruction. Good ambient lighting without extreme shadows, at least 1024px resolution, and minimal foreground obstructions. Avoid wide-angle shots that distort the perspective,standard focal lengths between 24mm and 50mm give the AI the most accurate spatial cues.
Q: Do I need 3D modeling experience to create a Grand Central Station interior model?
No. Neural4D’s Image to 3D workflow requires no 3D software knowledge. Upload a photo, select your output settings, and download the file. If you want to clean up or refine the model afterward, basic familiarity with Blender or a similar tool helps, but it is not required for generation and export.
Q: Can the AI handle Grand Central’s vaulted ceiling and chandeliers?
The Direct3D-S2 architecture reconstructs the ceiling vault as volumetric geometry. Large ceiling forms like arches and the zodiac mural appear as structural mesh with surface texture. Individual chandelier arms and small decorative details may appear as texture rather than separate geometry elements. For precise ornate detail, a manual detail pass in modeling software is recommended.
Q: What file formats can I export for game engines and 3D printing?
Neural4D supports GLB, FBX, OBJ, STL, USDZ, and BLEND exports. For game engines, use FBX (Unity and Unreal) or GLB (web and real-time). For 3D printing, use STL. Each format preserves the watertight mesh structure and, where supported, the PBR material maps.
Start Creating Your Grand Central Station 3D Model Today
The gap between wanting a grand central station interior 3D model and holding the file in your hands has narrowed from days to minutes. Neural4D’s Image to 3D feature, powered by the Direct3D-S2 architecture, turns a single reference photo into production-ready geometry with watertight mesh quality, PBR material support, and multi-format export.
Whether you are populating a game environment, building an architectural visualization, or preparing a 3D print of one of the world’s most iconic transit spaces, the workflow is the same: upload, configure, generate, export. No steep learning curve. No waiting for complex render farms. No weeks of vertex-by-vertex construction.
Create Your Grand Central Interior Model Now
Upload your reference photo and get a production-ready 3D model in minutes.
50 free Power credits included. No credit card required.