How to Use 3D Modeling for Interior Design in 2026
Quick Summary
- 3D modeling turns flat floor plans into photorealistic, client-ready visualizations before a single piece of furniture is ordered.
- Traditional tools like Blender and SketchUp require weeks of learning; AI-powered generators cut that barrier to minutes.
- The modern workflow: define layout → generate individual 3D assets → assemble scene → render and export.
- Tools like Neural4D produce watertight, engine-ready furniture models from a single reference photo in approximately 90 seconds.
- Interior design is now a $3.28 billion AI market, growing at 20.9% annually through 2033.
3D modeling for interior design has moved well past static floor sketches and mood boards. Today’s clients expect to walk through a room before the contractor arrives. The fastest path from concept to convincing visualization is a workflow that combines precise space planning with AI-generated 3D assets, not months of manual modeling. This article breaks down that workflow step by step and shows where AI generation fits into a professional pipeline.
Table of Contents
- Part 1: Why Traditional 3D Modeling Falls Short in Interior Design
- Part 2: The 3D Modeling Workflow for Interior Design Explained
- Part 3: AI Tools That Changed the Equation
- Part 4: How to Generate Interior Design 3D Assets with Neural4D
- Part 5: Market Data — The State of AI 3D Modeling in Interior Design (2026)
- Part 6: Common Questions on 3D Modeling for Interior Design
- Start Modeling Smarter
Part 1: Why Traditional 3D Modeling Falls Short in Interior Design
Ask any interior designer who has tried to build a full room scene in Blender from scratch, and you will hear the same story. Hours spent fighting edge loops, UV maps, and subdivision modifiers for a single sofa, while the actual design work waits. Traditional 3D tools were built for generalists. Interior designers pay the price for that breadth.
The Blender and SketchUp Learning Curve Problem
SketchUp is often called the friendly option. And it is, up to a point. Simple box furniture and clean architectural forms are manageable. But ask SketchUp to handle an organic armchair with curved upholstery or a sculpted light fixture, and it buckles. The tool was never designed for that geometry.
Blender handles the complexity but demands a serious investment. Practitioners report spending a few weeks before reaching a modeling standard comparable to even basic SketchUp output. For a designer billing hourly, that learning curve is a direct cost, not a skill upgrade. The keyboard shortcut overhead alone discourages adoption across most small interior design studios.
Third-party render engines compound the issue. SketchUp’s native visuals are not photorealistic. Getting client-ready output means adding V-Ray or Enscape, both of which carry their own learning requirements and licensing fees of several hundred dollars per year.
Time and Cost of Manual Asset Creation
A single high-quality 3D furniture model built from scratch by a skilled artist typically runs $200 to $500 and takes dozens of hours. For a mid-scale residential project with 40 to 60 furniture pieces, that math does not work unless the studio has an in-house 3D team.
Free asset libraries exist, but quality is inconsistent. Models from public repositories frequently arrive with non-manifold geometry, baked-in lighting, or mesh topology that breaks under any realistic rendering setup. Cleaning up triangle soup from a free download often takes longer than starting from scratch.
⚠️ The real bottleneck: interior designers are expert space planners, curators of material and light. The hours spent wrestling with 3D software are hours not spent on the work that actually generates revenue. Part 2 outlines the workflow that fixes this.
Part 2: The 3D Modeling Workflow for Interior Design Explained
A functional 3D interior design workflow has three phases: define the space geometry, populate it with accurate asset models, then light and render for client delivery. AI generation changes how fast step two happens, but the overall sequence stays the same.
Step 1 — Define Space Layout and Reference Inputs
Start with the floor plan. Whether it comes from AutoCAD, a hand sketch scan, or a site measurement, the floor plan is the geometry anchor for everything that follows. Import it into your primary workspace, set accurate scale, and establish the room boundaries as simple box meshes or extruded walls.
At this stage, collect all reference inputs for the furniture: product shots from the client’s preferred vendors, catalog images, or physical photos taken on-site. These become the inputs for AI generation in Step 2. The cleaner and more front-facing the reference image, the higher the output fidelity.
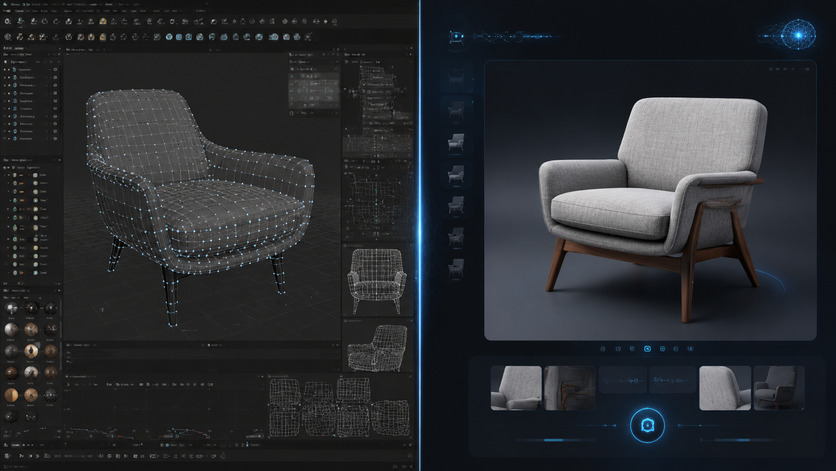
Step 2 — Generate Individual 3D Furniture and Props
This is where AI generation replaces hours of manual modeling. Instead of building a sofa vertex by vertex, you upload the reference photo to an AI 3D generator and receive a production-ready mesh in under two minutes. The output includes clean topology and PBR textures ready for any renderer.
For items without a strong visual reference, text prompts handle the gap. Describe the prop in plain language (“mid-century oak side table, tapered legs, light wood grain”) and the generator constructs a base mesh from that description. Iterative refinement through conversational commands handles proportion adjustments without returning to manual modeling.
The AI approach also scales. A designer who needs 15 different furniture pieces in one afternoon can generate them in parallel sessions, something that would have required an entire 3D art team a few years ago.
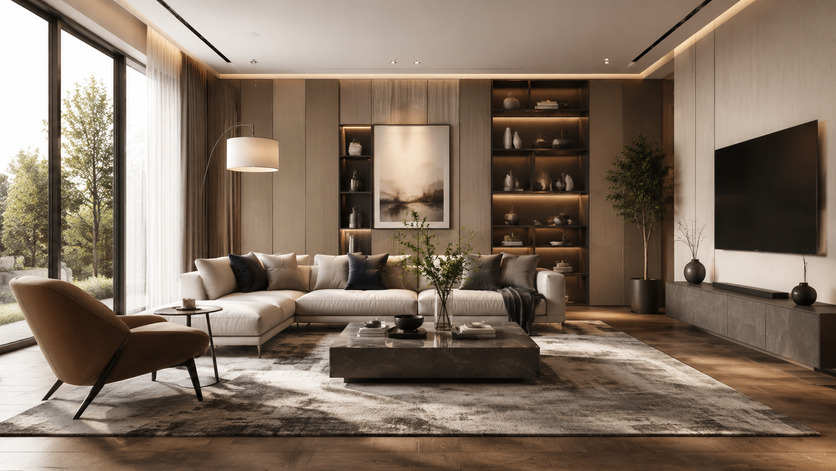
Step 3 — Assemble and Render the Scene
Import all generated assets into your rendering workspace, Blender, 3ds Max, or a real-time engine like Unreal. Arrange furniture according to the layout plan established in Step 1. Apply lighting rigs suited to the room type: natural light from window positions, supplemental point lights for ambiance, area lights for ceiling fixtures.
At this stage, the value of clean mesh topology shows clearly. Models with watertight geometry and proper UV mapping accept PBR materials without artifacts, and they render without the light leaks or shadow errors that haunt low-quality assets. Export the final render as a high-resolution image or a real-time walkthrough for client review.
Part 3: AI Tools That Changed the Equation
The interior design software market split cleanly in 2024 and 2025. On one side: legacy tools that require significant technical investment. On the other: AI-native workflows purpose-built for fast visualization. Neither category is inherently superior; the right choice depends on what you are actually trying to produce.
Text to 3D vs. Image to 3D — Which to Use When
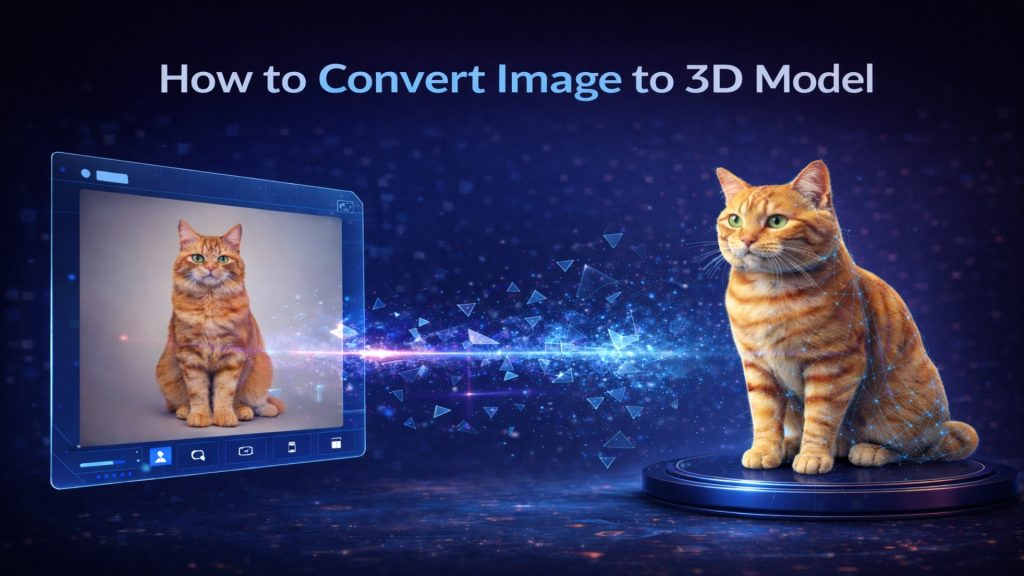
Image to 3D is the right choice when a specific product reference exists. A manufacturer’s catalog photo, a mood board image, a client’s existing piece of furniture — any clear visual input produces a model that is geometrically faithful to that source. The output requires minimal adjustment because the reference establishes the shape constraints.
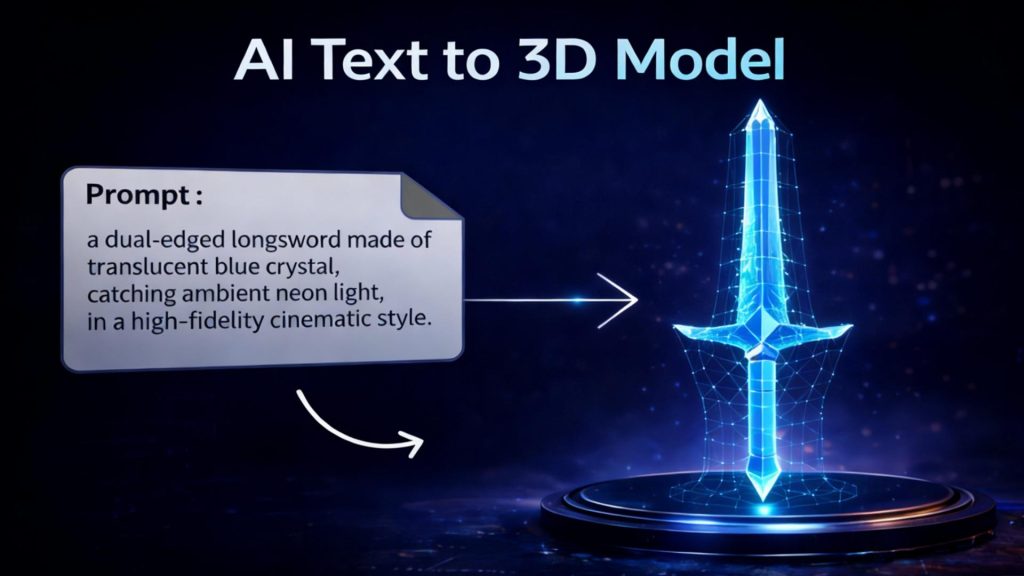
Text to 3D serves creative exploration. When a designer needs a custom prop that does not exist in any catalog, a detailed text prompt generates a plausible base mesh from scratch. The trade-off is less dimensional precision on first generation, which is why conversational refinement becomes part of the workflow rather than a workaround.
| Method | Best For | Output Precision | Typical Speed |
|---|---|---|---|
| Image to 3D | Existing furniture, catalog products | High (matches reference) | ~90 seconds |
| Text to 3D | Custom props, no visual reference | Medium (prompt-dependent) | ~60–120 seconds |
| Manual modeling | Highly precise technical specs | Exact | Hours to days |
Where Neural4D Fits the Interior Design Pipeline
Neural4D’s Direct3D-S2 architecture was built specifically to avoid the two problems that make most AI-generated furniture models unusable in production: broken geometry and baked-in lighting.
Broken geometry, what 3D artists call triangle soup, is the result of surface-estimation approaches that guess at depth. Direct3D-S2 processes full volumetric data at 2048³ resolution, which means the output mesh is a mathematically watertight solid, not a hollow shell with holes. You can drop it directly into a slicer for physical prototyping or load it into Unreal Engine without running a repair pass first.
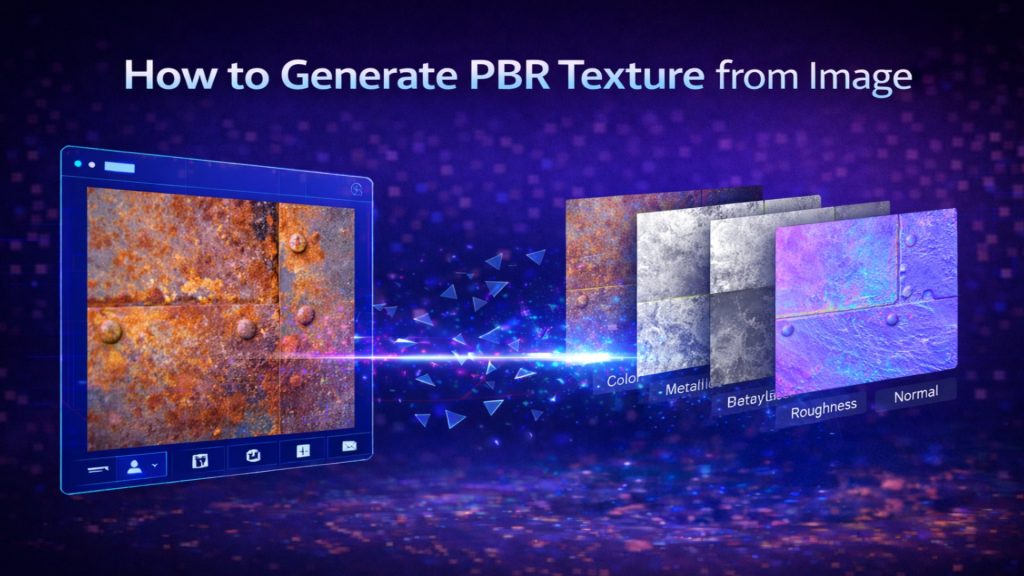
Baked-in lighting, or dead shadows, is what happens when the AI confuses surface shading with actual surface color. Neural4D’s material separation algorithm outputs clean PBR textures, including separate Normal, Roughness, and Metallic maps. The mesh looks correct under any lighting condition in your render engine. You are not stuck with whatever ambient conditions existed in the source photo.
For interior designers, the specific workflow fit is: photograph the actual piece or pull the product image, run Image to 3D via Neural4D’s image-to-3D conversion pipeline, export as .glb or .fbx, and place directly into the scene. The base mesh generation takes approximately 90 seconds. Texturing runs as a separate step and adds incremental time depending on material complexity.
One honest limitation: industry data shows approximately 60% of professionals still encounter cases where complex or ambiguous prompts require multiple regeneration rounds before reaching the target geometry. This is not a Neural4D-specific issue; it applies across AI generation tools. The practical fix is prompt discipline, detailed physical descriptors over abstract style words, and using conversational refinement to close the gap rather than treating each generation as a one-shot output.
Turn Any Furniture Photo Into a 3D Asset
Upload a reference image. Get a watertight, renderer-ready mesh in 90 seconds.
Generate Your First Furniture Model
50 free Power credits every week. No credit card required.
Part 4: How to Generate Interior Design 3D Assets with Neural4D
The following steps cover the full asset generation cycle inside Neural4D Studio, from reference input through export into your modeling environment. Neural4D’s free plan includes 50 Power credits weekly with no credit card required, which is enough to generate and test several furniture assets before committing to a paid tier.
Uploading Furniture References for Image to 3D
Open Neural4D Studio and select the Image to 3D module. Upload a clear, well-lit reference photo of the furniture piece. Front-facing or slight three-quarter angle shots produce the most accurate volumetric reconstruction. Avoid heavily cropped images or shots with strong shadows obscuring the object’s silhouette.
Once uploaded, the Direct3D-S2 engine processes the image through spatial sparse attention, which reads the full 3D structure from 2D pixel data rather than estimating depth from surface cues. The base mesh appears in approximately 90 seconds. If proportions need adjustment, use the Neural4D-2.5 conversational interface to issue refinement commands in plain language: “narrow the seat cushion by 15%” or “increase leg height to match the reference.” The model updates without requiring a full regeneration cycle.
For designers building large asset libraries, Neural4D’s API handles batch generation at scale. The Neural4D 3D model API removes manual upload steps from production pipelines and supports asset volume that a single-studio UI workflow cannot match.
Using Text Prompts for Room Props
Switch to the Text to 3D module for any asset without a clear visual reference. Write a prompt that specifies material, form, and scale: “brushed brass floor lamp, conical shade, 160cm tall, tripod base.” More descriptive prompts reduce the number of regeneration cycles needed to hit the target geometry.
Avoid abstract descriptors. “Modern” and “elegant” do not give the model useful geometric constraints. Prefer physical descriptors: dimensions, material composition, structural features, and dominant color. The generation engine responds to measurable attributes, not aesthetic labels.
If you need a full starting point for complex rooms, the complete text-to-3D workflow guide covers prompt construction, iteration strategy, and output QA for production use.
Exporting for SketchUp, Blender, or Unreal
Neural4D supports direct export to the formats that interior design pipelines actually use:
- .glb / .usdz — web viewers, AR staging apps, iOS AR Quick Look
- .fbx / .obj — Blender, 3ds Max, SketchUp import, Maya
- .blend — Blender native, preserves material node structure
- .stl — 3D printing physical prototypes of furniture components
All exports include PBR texture maps. When importing into Blender, the material nodes map automatically to the Principled BSDF shader. No manual texture reassignment required. The same applies to Unreal Engine’s material import pipeline. If you are evaluating alternatives to Blender for your 3D modeling stack, Neural4D’s export formats remain compatible regardless of which host application you choose.
For larger projects requiring architectural geometry in addition to furniture assets, generating the structural 3D house model from a floor plan is a separate step that Neural4D also supports, giving you the room shell and the furniture population from the same generation pipeline.
Part 5: Market Data — The State of AI 3D Modeling in Interior Design (2026)
The commercial case for adopting AI 3D generation in interior design is no longer speculative. The numbers reflect a market that is already in growth, not anticipation.
📊 AI in Interior Design — Key Figures (2026)
- Global AI in interior design market: $3.28 billion (2025 baseline — Source: Grand View Research)
- Projected market size by 2033: $15 billion
- CAGR 2026–2033: 20.9%
- AI-driven workflows reduce 3D asset production costs by up to 80% vs. traditional methods
- Traditional single-asset cost: $200–$500; AI equivalent: minutes, pennies per generation
- E-commerce 3D visualization increases customer conversion rates by 40%
The shift is most visible in the e-commerce furniture segment, where retailers need hundreds of photorealistic 3D product previews at scale. Manual modeling cannot keep pace with catalog sizes that run into the thousands. AI generation closes that gap, which is why furniture and home decor brands have become early adopters of text-to-3D and image-to-3D pipelines.
For residential and commercial interior designers, the implication is practical: studios that integrate AI generation into their asset workflow now are building a production cost advantage that compounds as project volumes grow. According to Grand View Research’s AI in Interior Design market analysis, immersive 3D visualization and AR walkthrough delivery are the two primary demand drivers accelerating adoption through the decade.
The limiting factor is no longer tool availability. It is integration depth. Studios that treat AI generation as a one-off rendering trick capture a fraction of the potential efficiency. Studios that wire it directly into the client deliverable pipeline, from initial concept through final render, capture the full cost reduction.
Part 6: Common Questions on 3D Modeling for Interior Design
What is the best 3D modeling software for interior design?
It depends on what stage of the workflow you are in. SketchUp handles space planning and quick architectural massing efficiently. Blender provides advanced modeling and rendering for complex organic furniture. AI generators like Neural4D handle the asset creation step fastest, producing export-ready meshes in under two minutes from a reference photo. Most professional studios use a combination: AI generation for asset population, a traditional DCC tool for scene assembly and rendering.
How is 3D modeling used in interior design?
3D modeling converts a floor plan and furniture layout into a navigable, photorealistic space. Designers use it to test material combinations, lighting scenarios, and spatial proportions before committing to purchases or construction. Client presentations built on 3D renders reduce change requests late in a project because spatial decisions are made visually upfront, not from imagination.
Can I use AI to generate 3D furniture models from a photo?
Yes. Image-to-3D generators take a reference photograph and reconstruct the full 3D geometry of the object. The quality of the output depends on the clarity of the input image and the architecture of the generation model. Neural4D’s Direct3D-S2 engine processes full volumetric data rather than estimating depth from surface shading, which produces watertight meshes suitable for real-time rendering and 3D printing without post-processing repair.
What file formats do interior designers use for 3D models?
.fbx and .obj are the standard interchange formats compatible with Blender, 3ds Max, SketchUp, and Cinema 4D. .glb is preferred for web-based viewers and AR staging apps. .usdz is the standard for iOS AR. .stl is used when a model is headed to a 3D printer. Most AI 3D generators, including Neural4D, support all of these as direct export options.
How long does it take to create a 3D interior design model?
With manual modeling in Blender or SketchUp, a single high-quality furniture piece can take several hours to days depending on complexity. With AI generation, the base mesh for a furniture item takes approximately 90 seconds. Texturing adds incremental time. A full room populated with 15 to 20 AI-generated assets, assembled and lit in a DCC tool, typically runs four to eight hours from start to final render, compared to days or weeks with a fully manual approach.
Start Modeling Smarter
The tools that once made 3D modeling for interior design a specialist skill have been replaced by a pipeline that a single designer can run without a 3D art background. The workflow is direct: define the space, generate the assets, assemble the scene. AI handles the geometry; the designer handles the vision.
Neural4D’s Direct3D-S2 engine sits at the asset generation step of that pipeline. It takes real furniture references, turns them into watertight production-ready meshes, and exports to every format your rendering environment accepts. The base mesh generation takes 90 seconds. The cleanup time is zero.
Build Your First AI-Powered Interior Scene
Image to 3D. Text to 3D. PBR textures. Watertight meshes. All in one studio.
Free plan available. 50 Power credits weekly. No setup required.