How to Import 3D Models into Unity 6: Formats, Settings, and AI Workflow
Quick Summary
- Unity 6 supports FBX, OBJ, GLB/GLTF, DAE, STL, and proprietary formats (requires source software installed)
- FBX is the recommended format for game assets: it carries mesh, materials, animations, and rigging in one file
- Import by dragging files into the Project window or Assets folder; Unity auto-detects textures in a sibling “Textures” folder
- Scale Factor in the FBX Import Inspector corrects unit mismatches between 3D software and Unity
- AI tools like Neural4D generate watertight, PBR-ready meshes that export directly to FBX or GLB for Unity with no retopology required
- Full PBR texture generation takes 2 minutes or more; the base mesh alone generates in approximately 90 seconds
Getting a 3D model from your creation tool into Unity 6 breaks down into three variables: which file format you choose, what import settings you configure, and whether the mesh was built to engine tolerances in the first place. This guide covers each step with specific parameters, then shows how importing 3D models into Unity becomes a one-click operation when your assets start as AI-generated, engine-ready geometry.
Table of Contents
- Part 1: Supported 3D Model File Formats in Unity 6
- Part 2: How to Import 3D Models into Unity 6 (Step-by-Step)
- Part 3: Key Import Settings to Configure
- Part 4: Common Import Problems and How to Fix Them
- Part 5: Using AI to Generate Unity-Ready 3D Models
- Part 6: Common Questions on Importing 3D Models into Unity
- Start Importing Faster
Part 1: Supported 3D Model File Formats in Unity 6
Unity 6 accepts two categories of 3D file formats: open/exchange formats that Unity can import natively, and proprietary formats that require the originating application installed on the same machine.
| Format | Type | Best For | Animation Support |
|---|---|---|---|
| .fbx | Exchange | Rigged characters, animated props | ✅ Full |
| .glb / .gltf | Exchange | Web assets, real-time models, AR | ✅ Full (GLB embeds textures) |
| .obj | Exchange | Static props, environmental objects | ❌ None |
| .dae (Collada) | Exchange | Cross-application transfers | ✅ Partial |
| .stl | Exchange | Geometric props from 3D printing | ❌ None |
| .blend / .ma / .mb / .max / .c4d | Proprietary | Direct round-trip with source app | Depends on source app |
For production pipelines, export to FBX from your 3D software before importing. Keeping proprietary files (.blend, .ma) in the Assets folder ties your project to a specific installed application and creates unpredictable behavior on other machines.
⚡ GLB is a binary version of GLTF that packages the mesh and embedded textures into a single file. It is the preferred format for models generated by AI tools because there is no separate texture folder to manage.
Part 2: How to Import 3D Models into Unity 6 (Step-by-Step)
Method A: Drag and Drop
Open your Unity 6 project. In the Project window, navigate to the folder where you want the asset. Drag your .fbx, .glb, or .obj file from Windows Explorer directly into the Project window. Unity processes the file automatically and generates a sub-asset (the mesh, materials, and textures as separate entries under the parent file).
Method B: Copy into Assets Folder
Drop your file into the Assets folder of your Unity project on disk. Unity detects file system changes and imports the asset the next time the Editor is in focus. For textures to auto-assign, create a Textures folder at the same level as the model file. Unity searches this location first before scanning the entire project.
Method C: Unity Package Manager / Asset Store
For pre-packaged .unitypackage files, go to Assets > Import Package > Custom Package and select the file. This method preserves folder structure and prefab references set by the package author.
📊 Market Context: The AI 3D Asset Surge
The global 3D rendering market is forecast to grow from $4.30 billion in 2025 to $13.92 billion by 2031, at a compound annual growth rate of 21.63% (Mordor Intelligence, 2025). Real-time game development and AI-generated content pipelines are cited as the primary growth drivers. Unity remains the leading engine by install base among indie and mid-size studios, which makes a clean import workflow a direct productivity multiplier.
Source: Mordor Intelligence, 3D Rendering Market Size, Trends and Forecast Report
Part 3: Key Import Settings to Configure
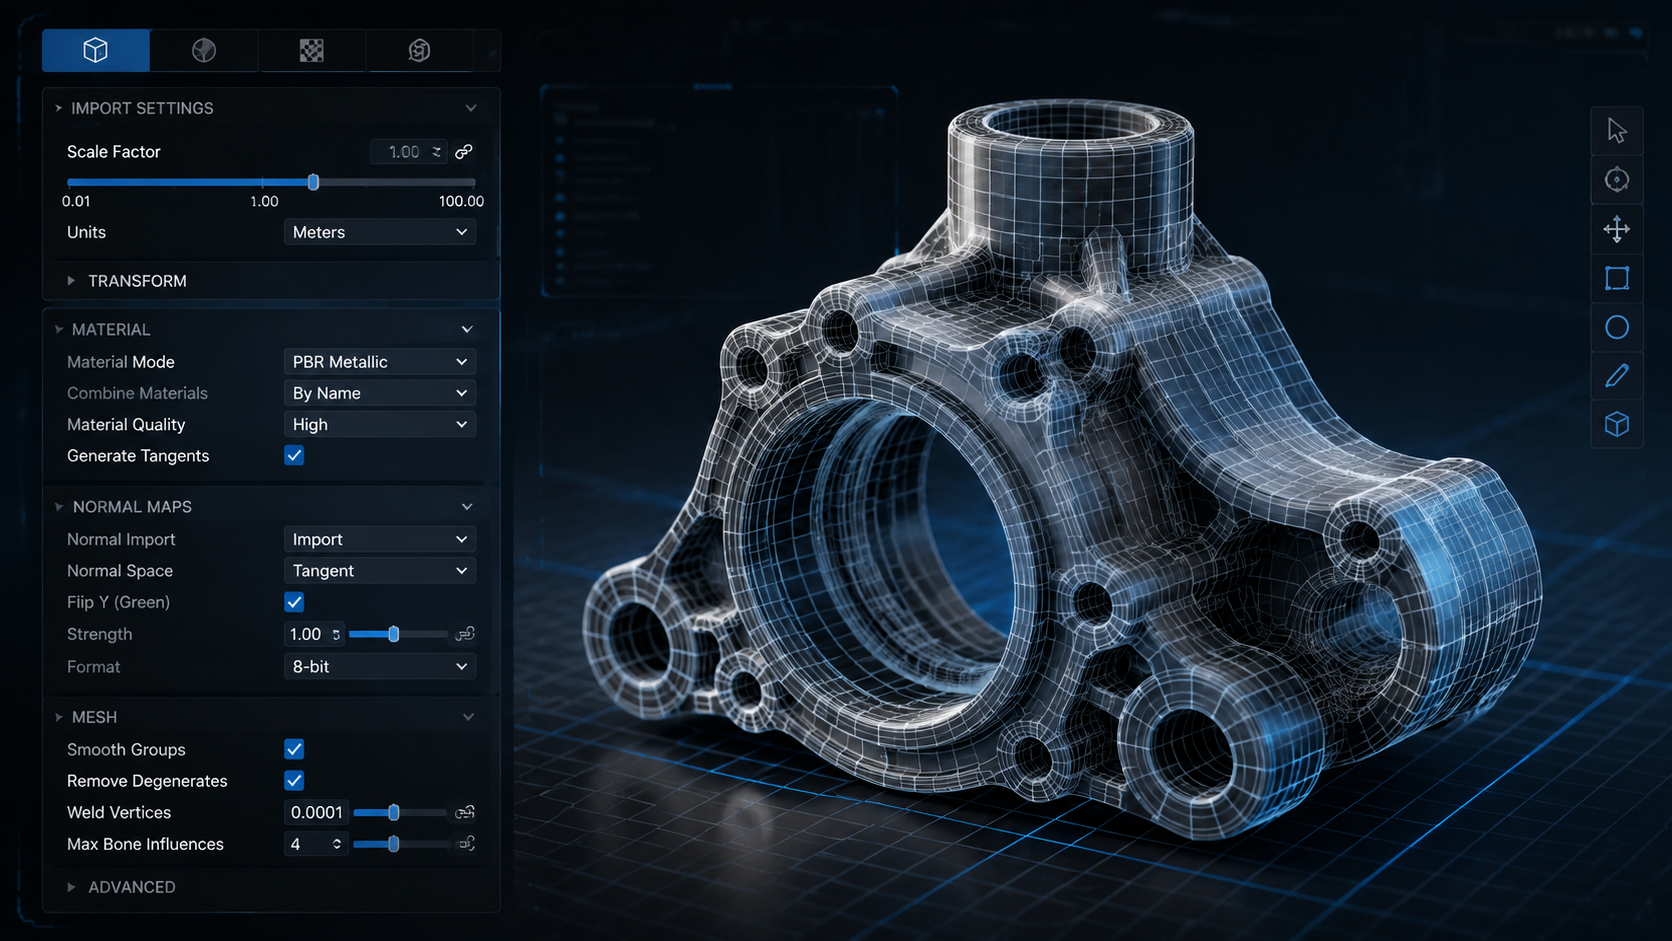
After dropping a model in, click the asset in the Project window and check the Inspector. The FBX Importer panel has three tabs: Model, Rig, and Animation. These settings determine whether what you get matches what you built.
Scale Factor
Unity treats 1 unit as 1 metre for physics calculations. Most 3D software does not. The correct Scale Factor depends on your source application:
- Maya / Cinema 4D: leave at 1.0
- 3ds Max / Modo: set to 0.01
- Blender: export with “Apply Transform” checked, Scale Factor 1.0
Getting this wrong produces objects that are 100x too large or too small in the scene, which cascades into broken physics and lighting.
Material Creation Mode
Under the Materials tab, the “Material Creation Mode” dropdown controls how Unity handles embedded materials. For FBX files exported from AI tools with PBR maps already embedded, set this to Import via MaterialDescription to preserve the Diffuse, Roughness, Metallic, and Normal maps automatically.
Normals and Tangents
If the model displays black patches or inverted surfaces, the normals were calculated incorrectly during export. Under the Model tab, set Normals to “Calculate” and Smoothing Angle to 60 degrees as a baseline. Adjust upward for organic shapes, downward for hard-surface industrial assets.
Texture Dimensions
Unity requires texture maps to be powers of two in both dimensions (512, 1024, 2048, 4096 px). Non-power-of-two textures are rescaled automatically but with quality loss. AI-generated PBR maps from tools like Neural4D are output at power-of-two dimensions by default.
Part 4: Common Import Problems and How to Fix Them
Textures Not Appearing
The most common cause is a broken texture path. Unity’s auto-detection only works if your textures are in a folder named Textures at the same directory level as the model file or one level up. If the model still appears grey, manually drag the texture files to Assets/Textures, then re-import the model (right-click > Reimport).
Model Appears as a Black Silhouette
Flipped normals render surfaces as invisible from the outside. Re-export from your source application with “Flip Normals” disabled, or set the Unity import Normals to “Calculate” with a smoothing angle of 60. Alternatively, create a new material with a double-sided shader and apply it in the Editor.
Scale Mismatch
A character that towers over the default Unity cube (1m cube) or shrinks to a speck usually has a Scale Factor problem. Find the correct value for your source application in the table above and apply it in the Inspector, then click Apply to trigger a reimport.
Missing Animations After FBX Import
FBX animation data only comes through if the file was exported with “Bake Animation” enabled in the source application. In Unity, switch to the Animation tab in the Inspector and confirm animation clips appear in the list. If the list is empty, re-export from source with animation baking enabled.
Skip the Manual Modeling Step
Generate Unity-ready 3D models from a single image or text prompt. Watertight mesh, full PBR maps, FBX and GLB export in one pass.
Free tier includes 50 Power weekly. No credit card required to start.
Part 5: Using AI to Generate Unity-Ready 3D Models
The import problems in Part 4 share a root cause: the model was not built to game-engine tolerances. Fixing normals, repairing non-manifold geometry, and resizing textures to power-of-two are all downstream symptoms of assets that started their lives in general-purpose 3D software without Unity in mind.
AI 3D generators that output engine-ready geometry sidestep most of these issues. Neural4D is built on the Direct3D-S2 architecture (published at NeurIPS 2025), which generates watertight, manifold meshes by processing the full object volume rather than estimating surface depth. The output skips the retopology and hole-patching steps that manual modeling typically requires before import.
Neural4D Export Formats for Unity
Neural4D exports to FBX, OBJ, GLB, USDZ, and STL. For Unity 6 workflows, the practical choice is:
- FBX for rigged characters or props that will be animated inside Unity
- GLB for static environment props, hero objects, and anything destined for web or AR builds alongside the Unity project
Workflow: Image to Unity in Four Steps
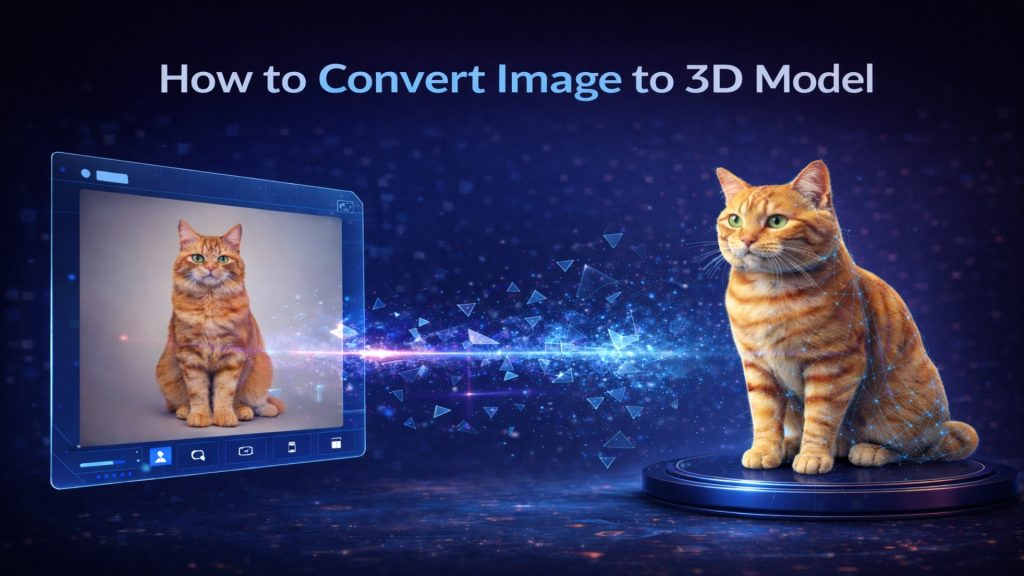
Open the Image to 3D studio, upload a reference photo, and select your texture quality before clicking Generate. The untextured base mesh generates in approximately 90 seconds. If you select PBR texture output (Diffuse, Roughness, Metallic, and Normal maps), total generation time is 2 minutes or more as both mesh and textures are computed in a single pass. You can also use the image to 3D model guide for a detailed walkthrough of the input settings.
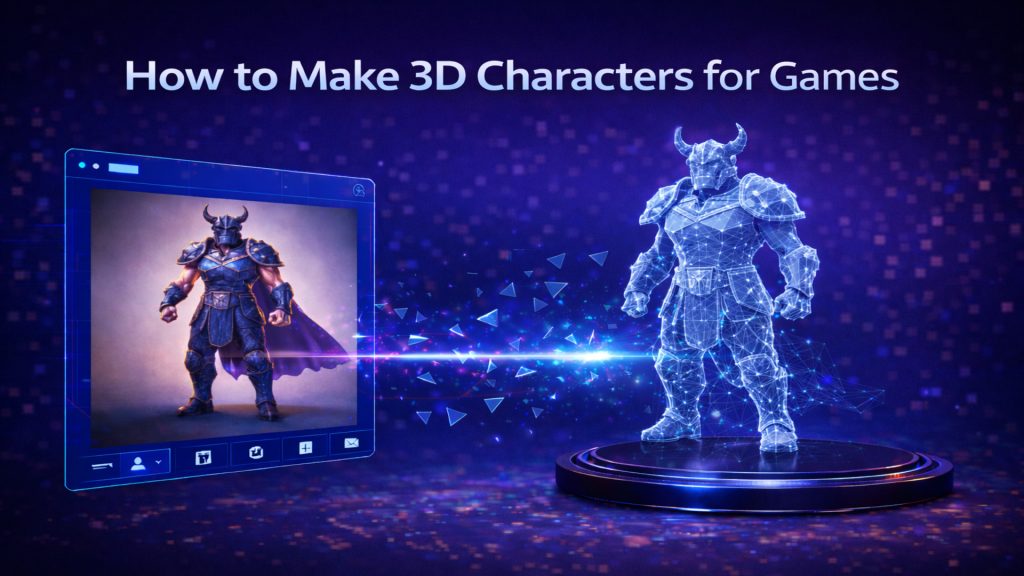
Once generated, export as GLB. Drop the file into your Unity 6 Assets folder. The embedded textures auto-assign without any manual material configuration. For characters that need animation, export as FBX and configure the Rig tab to match your skeleton hierarchy.
For more on building production game assets this way, the AI 3D game assets guide covers batch generation and LOD strategies for larger scenes.
⚡ Neural4D is co-developed by researchers from Nanjing University, DreamTech, Oxford University, and Fudan University. The Direct3D-S2 model was presented at NeurIPS 2025 and uses Spatial Sparse Attention (SSA) to achieve approximately 12x faster inference than standard diffusion-based 3D generation.
Part 6: Common Questions on Importing 3D Models into Unity
How do I upload a 3D model to Unity?
Drag the model file directly into the Project window inside the Unity Editor, or copy it into your project’s Assets folder on disk. Unity detects the file change and imports it automatically. FBX, OBJ, and GLB files all work with this method without any plugin required.
What is the best 3D file format for Unity?
FBX is the most compatible format for game development in Unity. It supports mesh data, UV maps, materials, skeleton rigs, and animations in a single file. GLB is a strong alternative for static or real-time assets, especially when the model was generated by an AI tool with embedded textures. Avoid keeping proprietary formats (.blend, .ma, .mb) in your Assets folder for production builds.
Why is my imported 3D model the wrong size in Unity?
Scale mismatches happen because Unity treats 1 unit as 1 metre, while other 3D applications use different default units. Select the model in the Project window, open the Inspector, and adjust the Scale Factor: use 0.01 for models from 3ds Max or Modo, and 1.0 for models from Maya or Blender (with transforms applied on export). Click Apply to reimport.
How do I import a Maya model into Unity?
The cleanest method is to export as FBX from Maya with “Bake Animation” enabled if the model is rigged. Drop the .fbx file into Unity’s Assets folder. Unity recognizes Maya FBX exports and maps materials automatically. If Maya is installed on the same machine, you can also drop the .ma or .mb file directly, but this creates a dependency on Maya being present for each reimport.
How do I rig a 3D model in Unity?
Rigging is done before import, in your 3D software. Once the rigged FBX is inside Unity, select it in the Project window, go to the Rig tab in the Inspector, and set Animation Type to “Humanoid” for characters or “Generic” for non-human meshes. Unity’s Avatar system then maps the bone hierarchy so you can apply standard Animator Controller clips.
Can I use AI-generated 3D models in Unity?
Yes. AI tools that export FBX or GLB produce files Unity imports like any other model. The key requirement is watertight, manifold geometry: non-manifold edges cause shading artifacts and physics errors in Unity. Neural4D generates mathematically watertight meshes using the Direct3D-S2 engine, which means the exported FBX or GLB drops into Unity without manual geometry repair. Paid-tier exports carry full commercial use rights.
Start Importing Faster
Importing 3D models into Unity is a solved problem once you standardize on FBX or GLB, configure Scale Factor and material import settings correctly, and feed the importer geometry that was built to engine tolerances from the start. The common errors (wrong scale, missing textures, flipped normals) are largely preventable at the asset creation stage rather than fixable after the fact.
If you want to reduce the number of import corrections you make per asset, start with a tool that outputs engine-ready geometry by default. The Neural4D AI image to 3D conversion pipeline produces watertight meshes with full PBR texture maps that land cleanly in Unity 6 without topology repair or normal recalculation. Upload an image, export FBX or GLB, and drag it in.
Generate Unity-Ready 3D Assets in Minutes
Upload a photo. Get a watertight FBX or GLB with PBR maps. Import directly into Unity 6 with zero geometry repair.
50 free Power weekly. Commercial license included with paid plans.