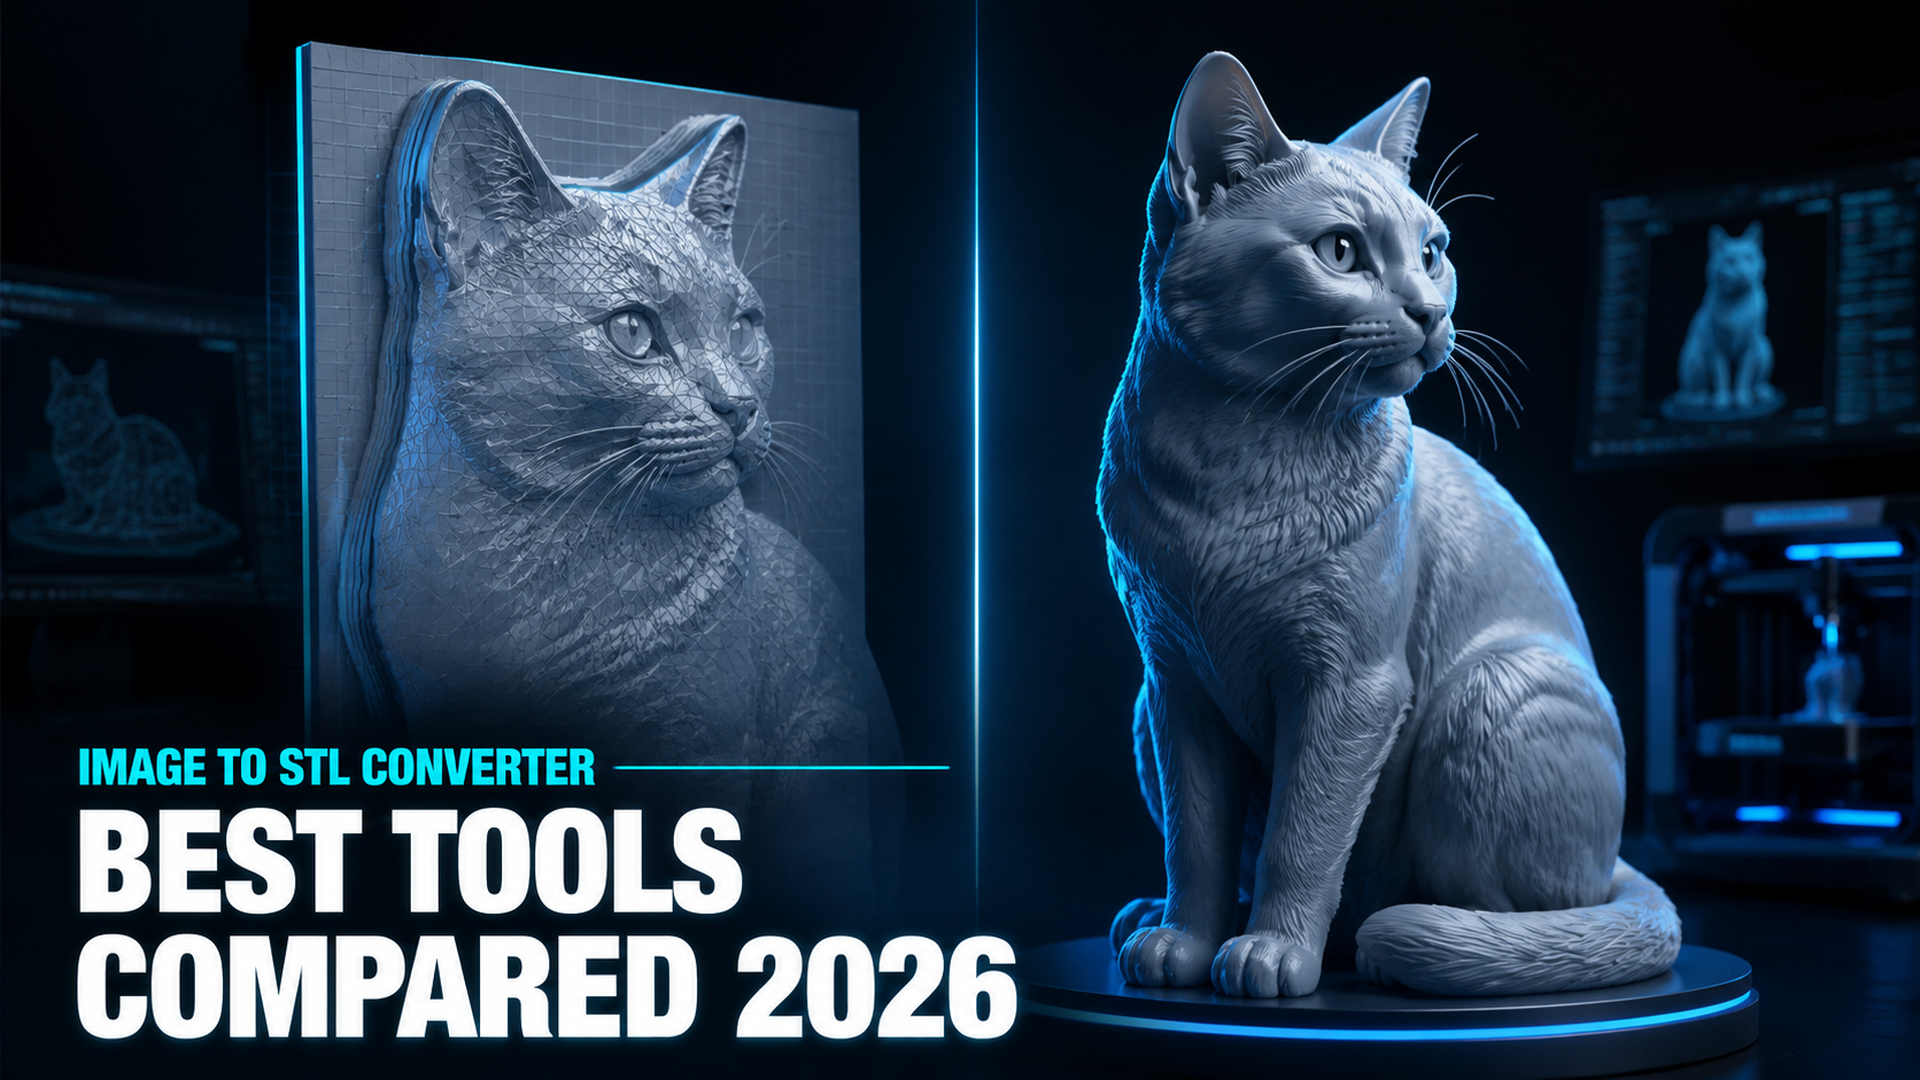
Best Tools to Convert Image to STL: Free, AI, and 3D Print-Ready (2026)
Quick Summary
- Most free image to STL converters output a 2.5D heightmap relief: not a true 3D solid. It looks like your image from above but fails the moment you try to print a full object.
- Four tools dominate this space in 2026: imagetostl.com (free, 2.5D), Meshy (AI, organic shapes), Tripo3D (AI, fast), and Neural4D (true volumetric, watertight).
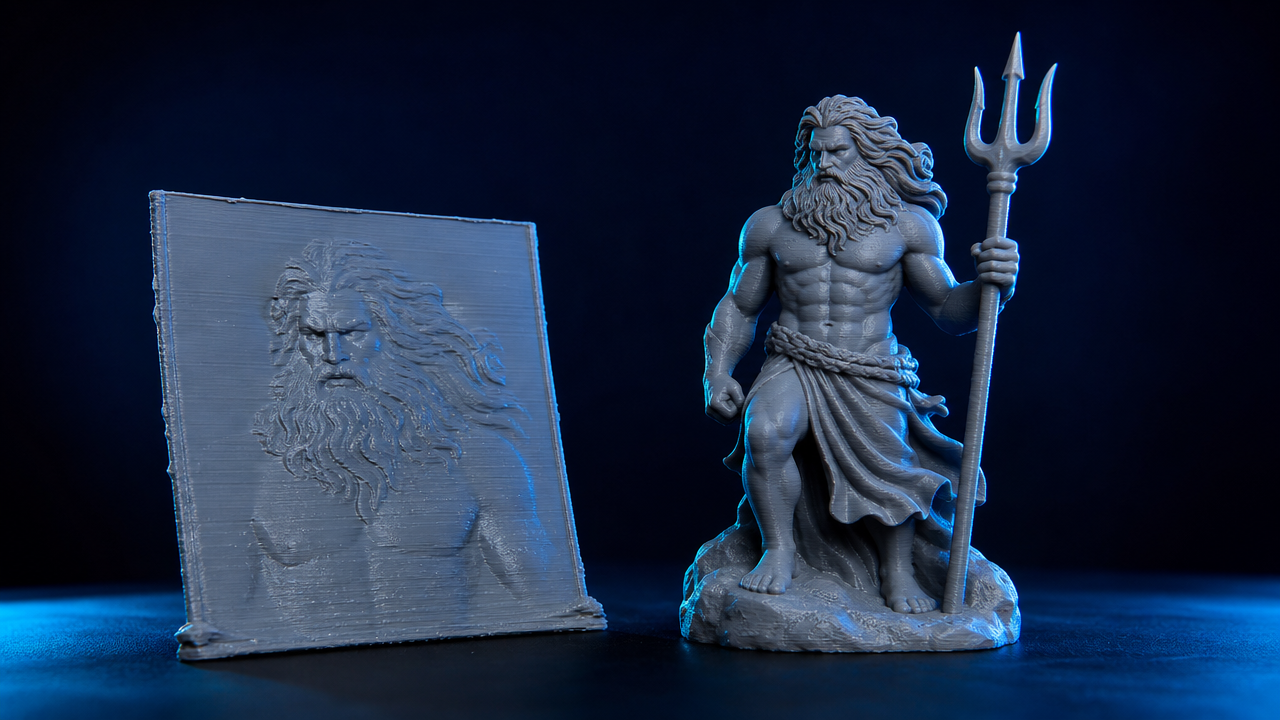
- For lithophanes and flat decorative tiles, heightmap tools like imagetostl.com are fine. For any printable object with real depth and back geometry, they fail.
- Neural4D uses the Direct3D-S2 architecture to reconstruct true volumetric geometry: a mathematically closed, watertight mesh that goes straight into your slicer without repair.
- The best tools to convert image to STL depend on your output intent: relief art vs. fully printable 3D object.
Finding the best tools to convert image to STL requires understanding a technical problem most tool pages don’t mention: the majority of free converters generate a 2.5D heightmap extrusion, not a closed volumetric mesh. The output looks correct in a preview and fails at the printer. Four tools: imagetostl.com, Meshy, Tripo3D, and Neural4D: cover the full range of what is available in 2026, and the differences between them determine whether you get a printable 3D object or a flat relief tile.
Table of Contents
- Part 1: The 2.5D Problem Most Converters Don’t Disclose
- Part 2: The Four Tools: What Each One Actually Does
- Part 3: Head-to-Head: Output Quality, Printability, and Mesh Type
- Part 4: Ease of Use: Who Can Actually Get Results?
- Part 5: How to Convert an Image to STL Using Neural4D
- Part 6: Which Tool Should You Use? A Quick Decision Guide
- Part 7: Common Questions on Image to STL Conversion
Part 1: The 2.5D Problem Most Converters Don’t Disclose
How Heightmap Extrusion Works
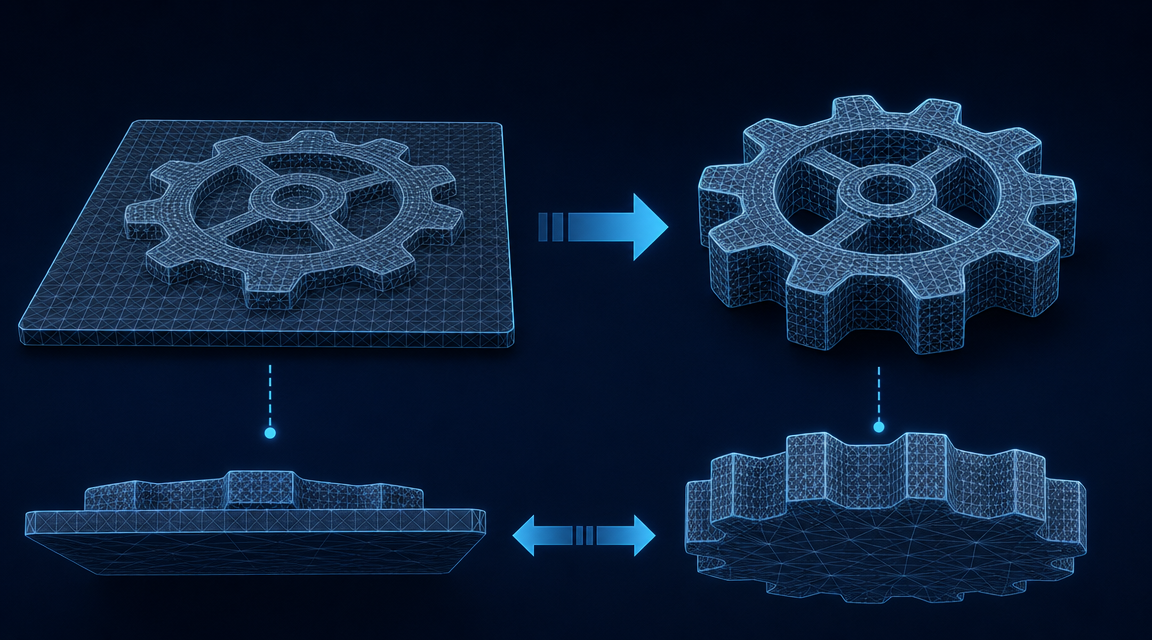
Every free browser-based image to STL converter uses the same core technique: it reads the brightness value of each pixel and pushes that pixel up or down to create a raised surface. White pixels become tall peaks. Dark pixels sink toward the base. The result is a relief mesh, like a topographic map of your image. The underside is a flat plate. The sides are walls. The back is hollow.
This is called a 2.5D mesh because it has only two and a half dimensions of real geometry. It is not a closed solid. It is a surface draped over a box. For printing a flat coaster or a lithophane tile where light passes through the thin areas, this is fine. For printing a figurine, a product prototype, or any object with meaningful back geometry, it will either fail in your slicer or print a result that looks nothing like a real 3D object from any angle other than the front.
What “Watertight” Actually Requires
A 3D printable STL must be watertight: every edge is shared by exactly two faces, no holes, no self-intersecting surfaces, no non-manifold geometry. Your slicing software (Cura, PrusaSlicer, Bambu Studio) attempts to repair broken meshes automatically, but non-manifold geometry caused by a 2.5D extrusion cannot be automatically repaired into a believable 3D object: it can only be patched into a printable flat relief.
True 3D requires the algorithm to predict back-side geometry, lateral geometry, and internal structure from limited 2D input. That is a fundamentally different problem from reading pixel brightness. It requires volumetric reconstruction: processing the full spatial volume to infer what the unseen sides of the object look like. For a broader overview of how this technology applies to different input types, see our guide to converting images to 3D models.
The Volumetric Reconstruction Approach
Neural4D’s Direct3D-S2 engine does not read pixel brightness. It processes the full volumetric space of the input image using the Direct3D-S2 architecture to compute a mathematically closed mesh. The research behind this architecture was published at NeurIPS 2025 in collaboration with Nanjing University, DreamTech, Oxford University, and Fudan University. The practical result: the exported STL has no holes, no non-manifold edges, and passes standard mesh validators without repair. For a deeper look at how true image to STL conversion differs from heightmap extrusion, the Neural4D feature page covers the architecture in detail.
Supported Image Formats for STL Conversion
Each tool in this comparison accepts different input formats and produces different output quality depending on the source file type. Understanding format compatibility helps you choose the right tool for your specific file type:
| Format | imagetostl.com | Meshy | Tripo3D | Neural4D |
|---|---|---|---|---|
| JPG/JPEG | Yes | Yes | Yes | Yes |
| PNG | Yes | Yes | Yes | Yes |
| WebP | No | No | No | Yes |
| BMP | Yes | No | No | No |
| GIF | Yes | No | No | No |
Resolution matters more than format. All four tools produce better results from high-resolution source images (at least 512×512 pixels). For AI-powered tools like Neural4D, Meshy, and Tripo3D, a single clean subject against a neutral background consistently outperforms complex scene compositions regardless of file format.
Part 2: The Four Tools : What Each One Actually Does
imagetostl.com : Free, Fast, and 2.5D
imagetostl.com is the most widely used free browser tool for this conversion. Upload a JPG or PNG, adjust a depth multiplier and base thickness, and download an STL in under 30 seconds. No account required. The output is a heightmap extrusion: a relief mesh with a flat base plate. It is well-suited for lithophanes, decorative coasters, and flat wall plaques where you only need the front face to carry the visual detail.
It fails for any use case that requires a three-dimensional object. A photograph of a shoe converts into a flat footprint extruded upward, not a wearable shoe shape. The tool does not attempt to reconstruct geometry it cannot see in the image.
Meshy : AI-Powered, Best for Organic Shapes
Meshy uses AI to go beyond heightmap extrusion. For organic subjects with recognizable structure (animals, characters, plants), it can produce a mesh that approximates three-dimensional form. The output is not always watertight without post-processing, and mesh quality varies significantly based on input image clarity. Meshy performs best on a single clean subject against a plain background. Complex scenes, technical objects, or low-contrast photos produce inconsistent geometry. For a deeper comparison of how AI 3D tools handle different input scenarios, see our Neural4D vs Meshy comparison.
Tripo3D : Fast AI Generation
Tripo3D is optimized for speed. It generates a full 3D mesh from a single image faster than most competitors, typically under 30 seconds for a base mesh. The speed tradeoff is in topology quality: the meshes tend toward triangle soup (dense, unstructured geometry with irregular edge flow). For visualization purposes this is acceptable. For 3D printing of functional parts or precise shapes, the geometry often requires cleanup in Blender or MeshLab before it will slice correctly. For a detailed breakdown of how Tripo3D compares against other platforms on topology and export quality, see the top Tripo3D alternatives for 3D asset creation.
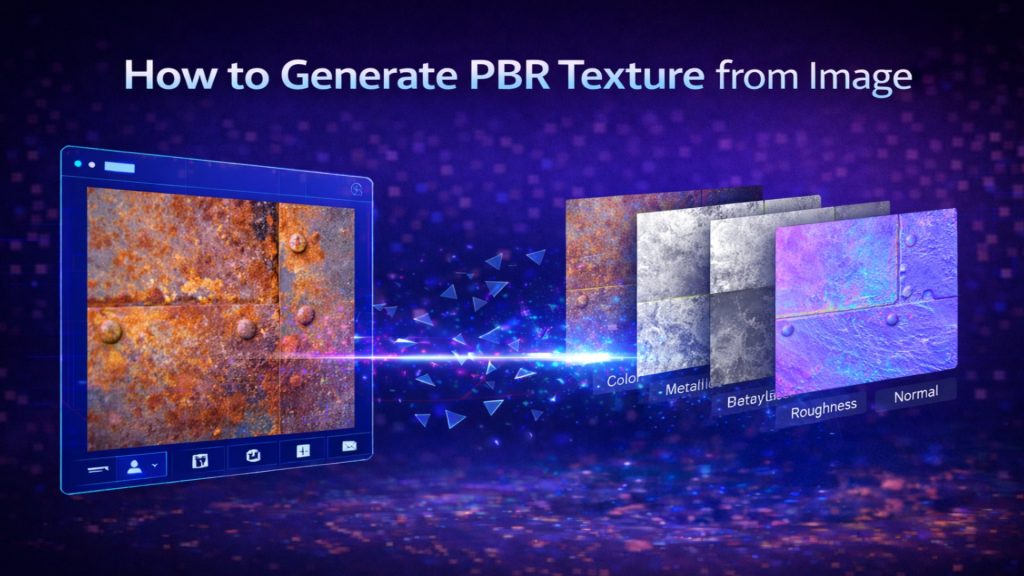
Neural4D : Watertight, True Volumetric, PBR Export
Neural4D uses the Direct3D-S2 architecture to reconstruct the full volume of an object from a single image. The output is a watertight closed mesh with no non-manifold geometry. For 3D printing, this means the STL drops directly into your slicer without the repair step. Neural4D also generates PBR texture maps (Albedo, Normal, Roughness, Metallic) alongside the geometry in a single pass when selected upfront: useful if you need a textured display render in addition to a print-ready STL. The base mesh generates in approximately 90 seconds; with PBR textures, total generation time is 2 minutes or more depending on complexity.
Part 3: Head-to-Head : Output Quality, Printability, and Mesh Type
Mesh Type and Watertight Status
| Tool | Mesh Type | Watertight | PBR Textures | Best For |
|---|---|---|---|---|
| imagetostl.com | 2.5D heightmap relief | Partial (relief only) | No | Lithophanes, flat tiles |
| Meshy | AI generative 3D | Variable | Yes | Organic characters, props |
| Tripo3D | AI generative 3D | Variable | Basic only | Fast previews |
| Neural4D | Volumetric, closed manifold | Yes (guaranteed) | Full PBR set | 3D printing, production assets |
What the Comparison Table Doesn’t Show
Watertight status listed as “variable” for Meshy and Tripo3D means the output sometimes passes validation and sometimes doesn’t: depending on input complexity. A tool that is watertight 70% of the time is not reliable for production printing workflows. You can use it for a test print or a visualization render, but you cannot build a repeatable pipeline around it without adding a mesh repair step (NetFabb, Meshmixer, or Blender’s 3D Print Toolbox).
For teams comparing AI generation tools, the best Meshy alternatives comparison covers consistency and topology quality across the major players in more detail.
File Size and Export Formats
imagetostl.com exports only STL. Meshy and Tripo3D export STL, OBJ, and GLB. Neural4D exports STL, GLB with embedded PBR textures, OBJ, and FBX. For 3D printing workflows, STL is sufficient. When preparing models for print, check our guide to AI tools for 3D printing for slicer recommendations and optimization tips. For any downstream use in a game engine or web viewer, GLB with PBR maps is the format that matters, and only Neural4D delivers this in a single generation pass.
Part 4: Ease of Use : Who Can Actually Get Results?
imagetostl.com : Drag, Drop, Done
The simplest workflow of the four: upload image, set depth, download STL. No account, no credits, no queue. The entire process takes under 60 seconds. If you need a flat relief for a laser-engraved lithophane or a promotional coaster, this is the fastest path. The limitation is fixed: you get a 2.5D output, no exceptions.
Meshy and Tripo3D : AI Variability
Both tools have clean browser interfaces, but results vary with input quality. A single subject on a white or neutral background produces the best mesh. Complex scenes, multiple subjects, or low-resolution inputs produce broken geometry that requires significant cleanup. Both tools require an account and consume generation credits. Meshy in particular has a learning curve around prompt engineering and post-generation mesh editing within their platform.
Neural4D : Production Speed Without the Cleanup Loop
Neural4D’s Image to 3D workflow takes a single image input. Select output type (base mesh only, or full PBR textures) before clicking Generate. The base mesh generates in approximately 90 seconds; with PBR textures, allow 2 minutes or more. The result is a validated watertight STL that goes directly into your slicer. There is no mesh repair step, no topology cleanup, and no re-export from a separate editor.
For cases where the generated proportions need adjustment, Neural4D-2.5 allows natural language refinement of the model (“make the base thicker”, “reduce detail on the back surface”) before final export. This replaces the Blender round-trip that competing AI tools require. For more on how AI tools are reshaping the full 3D printing pipeline, see our guide to converting sketches to 3D models.
“I used to spend 30 minutes per model cleaning up triangle soup from other AI converters. Neural4D drops straight into Bambu Studio and slices first time, every time. That alone saves me hours per week.”
Mike Chen
Product Designer, MakerLab Studio
Stop Repairing Broken Meshes
Neural4D outputs a watertight, closed STL from your image: no slicer errors, no manual repair, no wasted prints.
50 free credits per week. No credit card required.
Part 5: How to Convert an Image to STL Using Neural4D
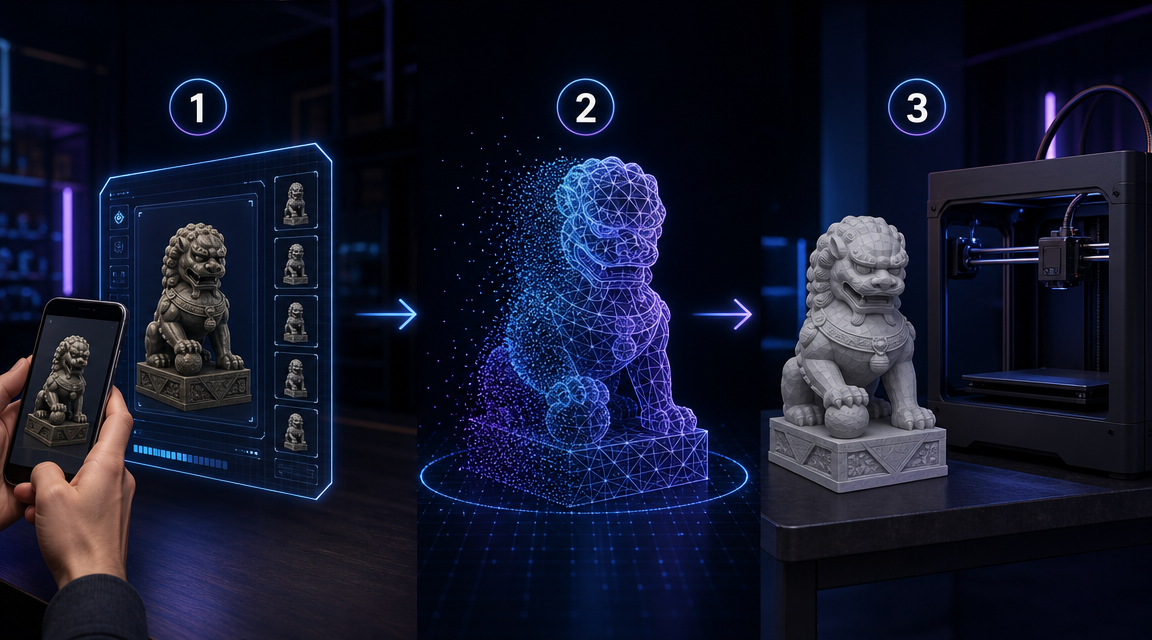
Step 1 : Prepare Your Input Image
Use a photo with a single clear subject. A plain or neutral background improves geometry accuracy. Front-facing or three-quarter-angle shots give the volumetric engine more reference points to reconstruct back and side geometry. Minimum recommended resolution: 512脳512 pixels. Higher resolution does not increase generation time but improves surface detail in the output mesh.
Step 2 : Configure Output Type and Generate
In the Neural4D Image to 3D studio, upload your image and select the output format before clicking Generate. For 3D printing, select the base mesh option: this produces the watertight STL in approximately 90 seconds. If you also need PBR texture maps for rendering or display (separate from the print use case), select full PBR textures before generating; this extends total generation time to 2 minutes or more. Both outputs are computed in a single pass: the mesh and textures are not two separate steps. For the full workflow from photo to export, the image to 3D model guide covers each studio setting in detail.
Step 3 : Export and Slice
Download the STL export directly from the Neural4D studio. Open it in your slicer (Cura, PrusaSlicer, Bambu Studio). The mesh will pass validation without errors because it is mathematically watertight. Set your layer height, supports, and infill as normal. The geometry is clean enough that standard automatic support generation works correctly: no manual support painting required on most subjects.
If the proportions of the generated model need refinement before export, use Neural4D-2.5 to adjust via natural language instruction. The Text to STL guide covers proportional adjustments and export settings for different printer types.
Part 6: Which Tool Should You Use? A Quick Decision Guide
Use imagetostl.com For Lithophanes and Flat Decorative Prints
If you are printing a lithophane (a thin translucent tile where light reveals the image) or a flat decorative coaster, imagetostl.com is the correct choice. It is free, instant, and the 2.5D output is exactly the format these print types require. No other tool does this faster for the same use case.
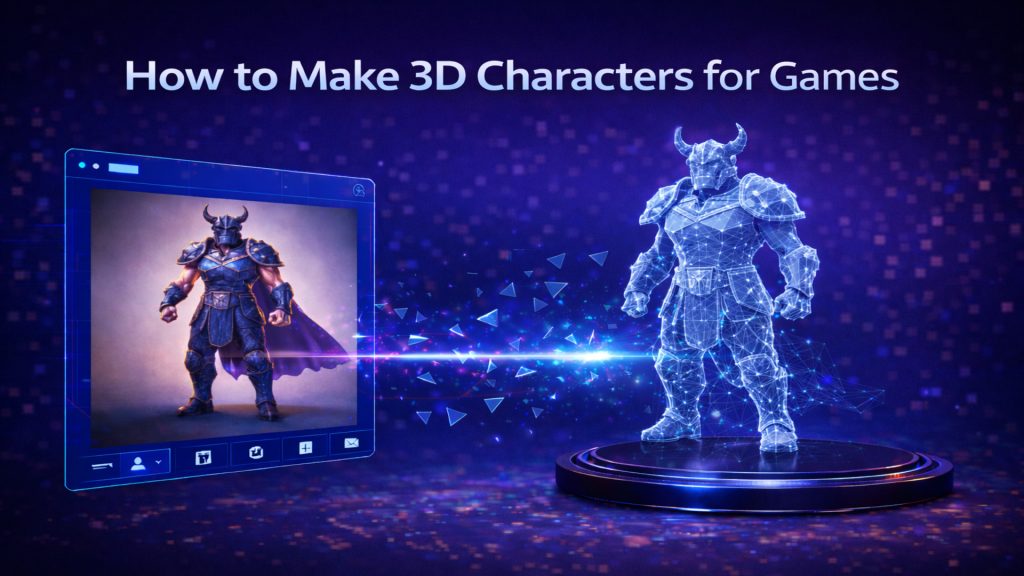
Use Meshy or Tripo3D For Quick Organic Visualizations
For characters, creatures, or organic props where you need an AI-generated approximation quickly and mesh quality is not production-critical, Meshy or Tripo3D are reasonable options. Expect some mesh cleanup before printing. Do not use these tools for functional parts, technical shapes, or any print where dimensional accuracy matters.
Use Neural4D For Any Print Where the Object Has Real Depth
For product prototypes, figurines, props, architectural models, or any object that needs back geometry and structural integrity: Neural4D is the only image to STL converter in this list that outputs a true closed mesh by default. The watertight guarantee means your slicer receives valid geometry on the first try. For teams converting large batches of product images, the best AI image to 3D model tools comparison covers batch workflow options and API access.
📊 The 3D Printing Market in 2026
The global 3D printing market is projected to exceed $44 billion by 2030, according to a 2025 report from MarketsandMarkets. The fastest-growing segment is desktop FDM printing for product prototyping, with hobbyist and SMB adoption accelerating as slicers and AI tools reduce the technical barrier to print-ready files.
Part 7: Common Questions on Image to STL Conversion
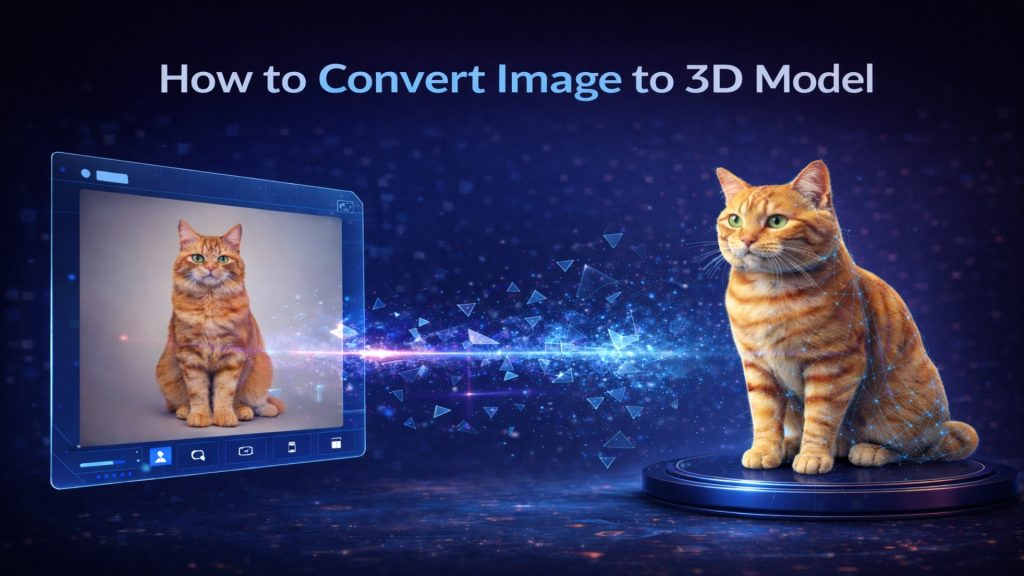
Can you turn a photo into an STL file?
+
Yes. Free tools like imagetostl.com convert a photo to STL in under a minute using heightmap extrusion. AI tools like Neural4D use volumetric reconstruction to generate a true 3D STL from a single image. The difference matters for printing: heightmap tools produce a flat relief (good for lithophanes), while volumetric tools produce a closed 3D object you can print from any angle.
What is the difference between a 2.5D relief and a true 3D STL?
+
A 2.5D relief extrudes pixels based on brightness to create a raised surface on top of a flat base plate. The object has no real back or side geometry. A true 3D STL is a watertight closed mesh with geometry on all sides. You can print a 2.5D relief as a flat decorative tile. You cannot print it as a standalone 3D object without it looking like a flat slab with your image pressed into the top surface.
Can ChatGPT create an STL file?
+
ChatGPT cannot generate STL files directly. It is a text model with no 3D geometry output capability. Some integrations can generate parametric 3D code (OpenSCAD or Python with trimesh), but these require programming knowledge and do not reconstruct geometry from a photo. For photo-to-STL conversion, a dedicated image to STL converter like Neural4D or imagetostl.com is the correct tool.
How do I convert an image to a 3D model for printing without losing detail?
+
Use a high-resolution input image (minimum 512×512, ideally 1024×1024 or higher). A clear single subject against a neutral background gives the AI engine more accurate reference data for geometry reconstruction. Neural4D’s Direct3D-S2 processes the full volumetric space of the input rather than estimating from pixel brightness, which preserves surface detail in the mesh geometry rather than only in a texture map.
Which are the best tools to convert image to STL for watertight 3D printing?
+
Among the major tools, Neural4D is the only one that guarantees a watertight, manifold mesh by design. The Direct3D-S2 architecture computes a mathematically closed mesh from the volumetric reconstruction, not a surface draped over estimated depth. imagetostl.com produces a watertight relief box (printable as a flat tile), but not a true 3D object. Meshy and Tripo3D produce variable results that sometimes pass and sometimes require repair.
Is imagetostl.com free for commercial use?
+
imagetostl.com does not prominently disclose commercial licensing terms for the STL files it generates. For commercial production workflows: product prototypes, retail models, client deliverables: use a tool with explicit commercial rights documentation. Neural4D paid plans include full commercial rights on all generated assets.
The Best Tools to Convert Image to STL Depend on What You’re Actually Printing
For flat decorative tiles and lithophanes, the free heightmap tools work. For everything else: any object where you need real depth, printable back geometry, and a mesh that doesn’t fail in your slicer: only volumetric reconstruction gives you a reliable result. That is the fundamental division in this tool category, and it is not clearly labeled anywhere on the free tools’ landing pages.
Among the best tools to convert image to STL in 2026, Neural4D is the only one that guarantees a watertight result by default: closed volumetric geometry, PBR texture export alongside the mesh, and no manual repair step between generation and slicing. Upload a photo, generate, download a validated STL: the full pipeline takes under 3 minutes.
From Photo to Print-Ready STL in Under 3 Minutes
Watertight, closed mesh. No slicer errors. No mesh repair. Straight from Neural4D to your printer.
Free users get 50 credits per week. No credit card required.