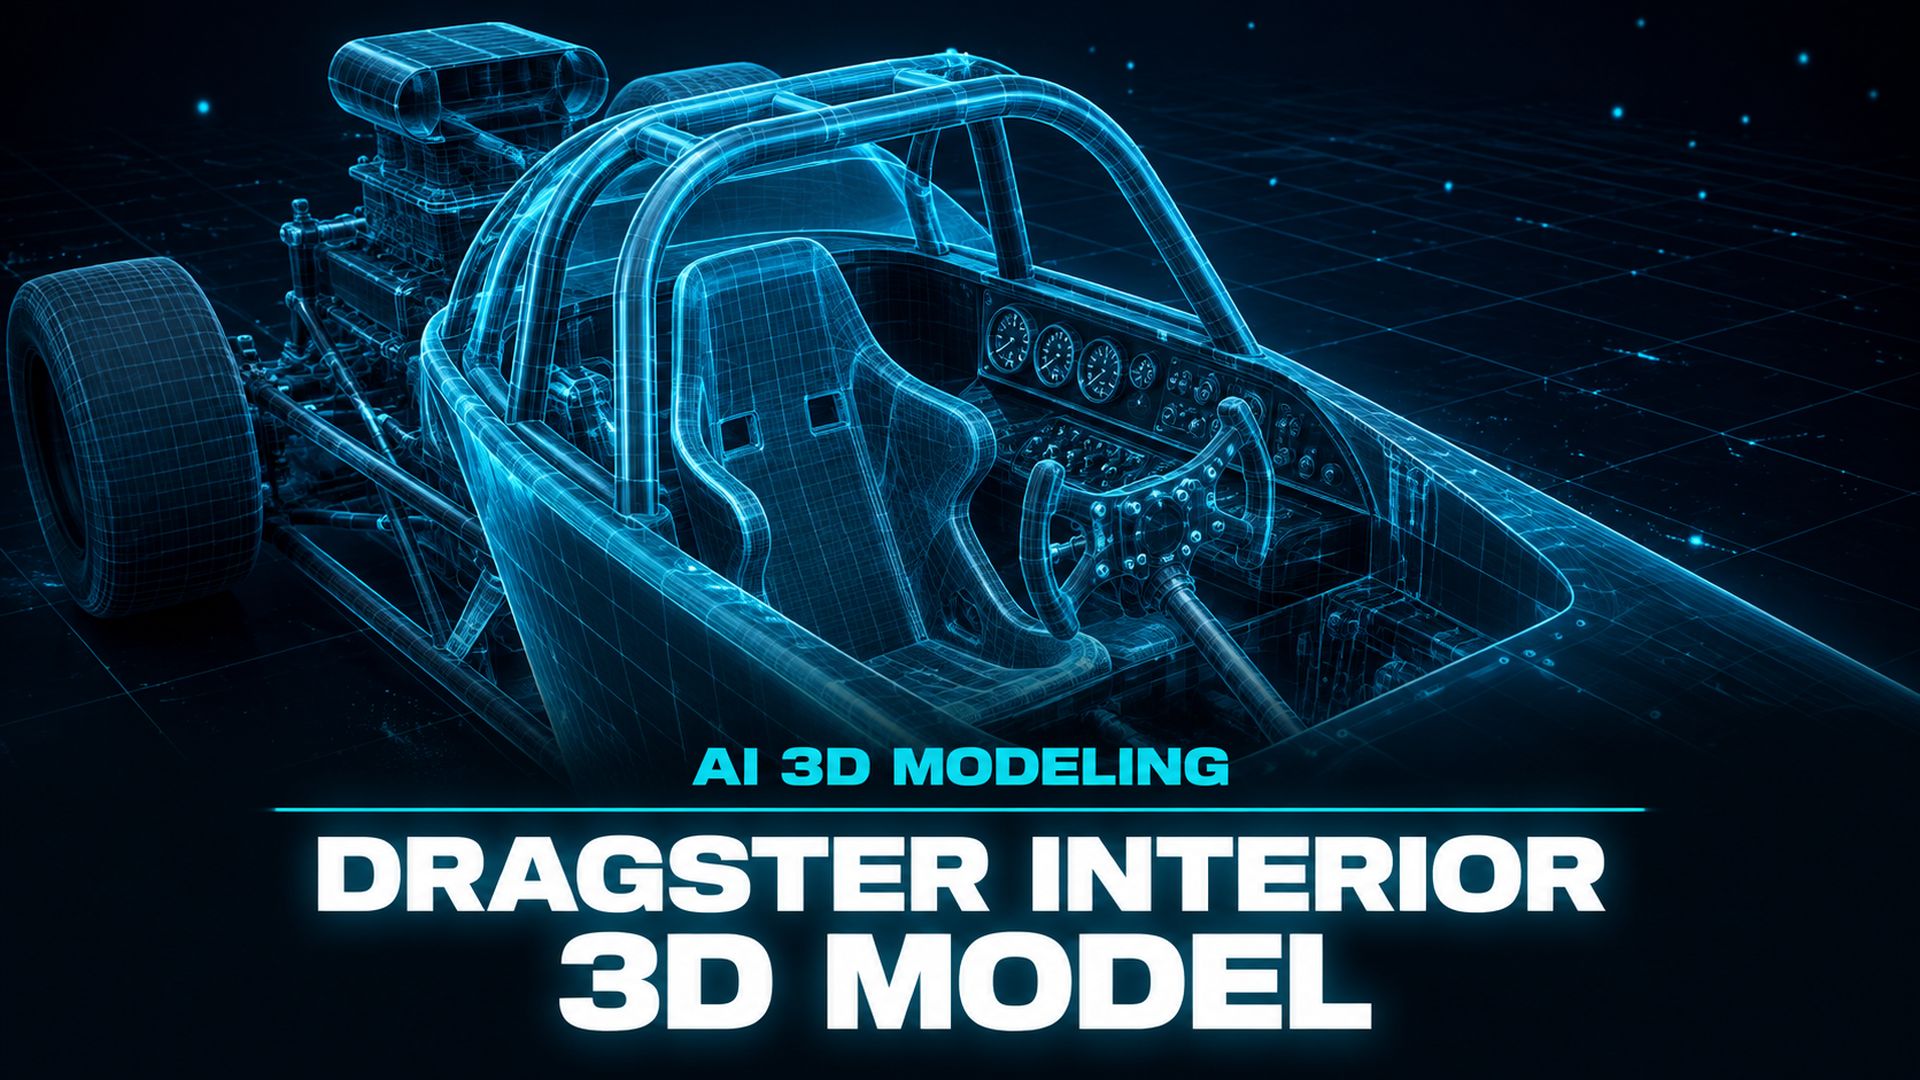
How to Make a Dragster Interior 3D Model with AI
Quick Summary
- A dragster interior 3D model covers the cockpit shell, roll cage, bucket seat, butterfly steering wheel, pedals, and dash panel.
- AI image to 3D generation turns a single reference photo into a usable dragster cockpit mesh, which hand modeling takes hours to match.
- Marketplace models from CGTrader, Sketchfab, TurboSquid, and DAZ give fast dragster interiors, though detail and license terms vary.
- For scale modelers, printable STL parts such as seats, butterfly wheels, and roll cages assemble into 1/24 to 1/25 dragster cockpits.
- Neural4D builds a watertight dragster interior base mesh in about 90 seconds, with clean topology that exports to OBJ, GLB, or STL.
Building a dragster interior 3D model by hand means hours of tube-frame reference, seat geometry, and pedal placement. AI image to 3D generation cuts that to minutes: feed in a reference cockpit photo and get a watertight mesh you can texture, print, or drop into a game engine.
What You Will Learn
- What a Dragster Cockpit Interior Actually Contains
- Method 1: Generate a Dragster Interior 3D Model with Image to 3DHOT
- Method 2: Extract the Interior from a Marketplace Dragster Model
- Method 3: Print a Scaled Dragster Cockpit from STL Parts
- Method 4: Kit-bash a Scale Model Cockpit
- Method 5: Model the Cockpit from Scratch in CAD
- Make the Interior Production-Ready
- Where Neural4D Fits in a Dragster Interior Workflow
- Common Questions on Dragster Interior 3D Models
- Start Building Your Dragster Interior 3D Model Today
What a Dragster Cockpit Interior Actually Contains
A dragster cockpit is not a road car cabin. Top fuel dragsters run an open rear-engine layout, so the driver sits far behind the front axle in an exposed tube-frame shell. Funny cars hide the same layout under a full body, but the cockpit itself stays minimal and functional. Every dragster interior 3D model you build needs the same core parts: the cockpit shell, a 360-degree roll cage, a tight bucket seat, a butterfly steering wheel, a throttle pedal, and a dash panel carrying the shift light and gauges.
NHRA rules treat the cockpit as a safety cell first. The roll cage must protect the driver from any angle, which is why real builds use welded chrome-moly tubing and SFI Spec 45.1 padding around the helmet area, per the NHRA rulebook. That matters for modeling because it dictates proportions: the cage wraps close around the seat, and the steering wheel sits almost on the driver’s chest in an open-wheel dragster. A model that gets the cage-to-seat clearance wrong reads as a toy, not a race car.
Get the anatomy right and the rest of the build is assembly. The table below compares the five routes to a finished interior, from fastest to most labor-intensive.
| Route | Time to cockpit | Detail ceiling | Best for |
|---|---|---|---|
| AI image to 3D (Neural4D) | Minutes | High, from any reference photo | Game assets, renders, prints |
| Marketplace model | Instant download | Varies by seller | Quick drop-in assets |
| Printable STL parts | A day of printing | Medium, scale-limited | 1/24 to 1/25 scale builds |
| Model kit kit-bash | Hours of assembly | Medium, kit-dependent | Physical scale models |
| CAD from scratch | Days to weeks | Highest control | CAD-accurate engineering |
Method 1: Generate a Dragster Interior 3D Model with Image to 3D
The fastest way to a usable dragster interior 3D model is AI image to 3D. You give the tool one or more reference photos of a real dragster cockpit and it reconstructs the geometry in a single pass. Neural4D’s Image to 3D feature is built on its Direct3D-S2 engine, which processes the full volume instead of estimating depth from a flat image, so the output is watertight and ready for export.
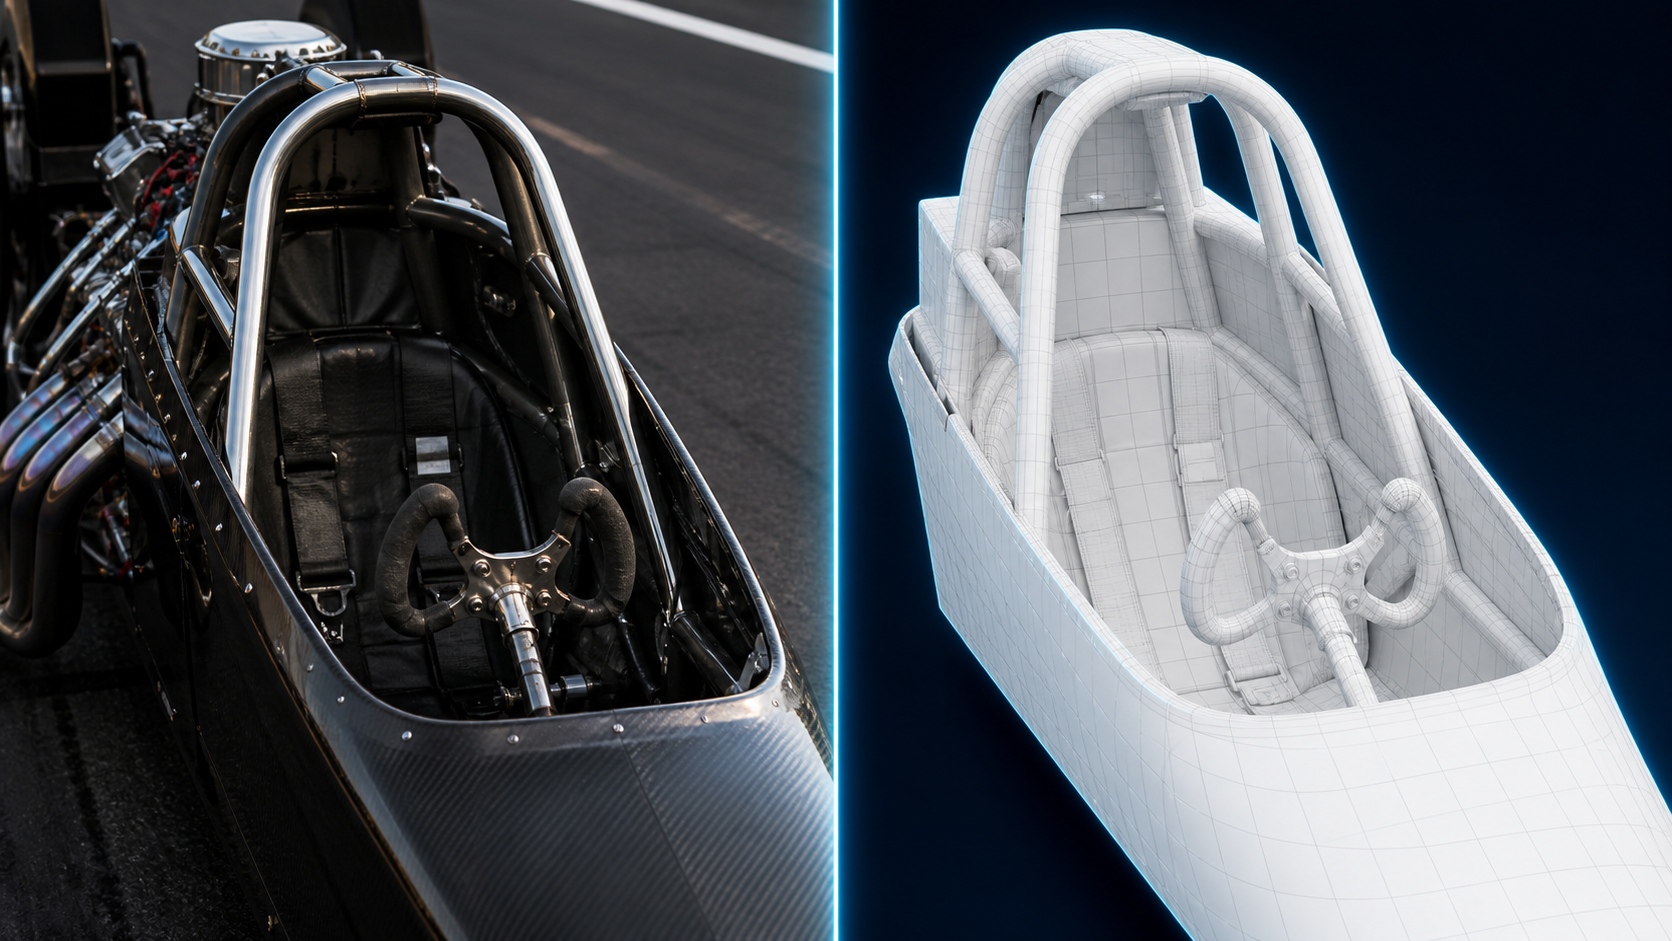
Pick a reference that shows the cockpit from a three-quarter angle. A straight side shot hides the seat shape, and a front-on shot flattens the roll cage into a ring. One strong photo at 3/4 view gives the engine enough data to rebuild the shell, cage, and wheel. Add a second photo from the opposite side if you want symmetrical details to match up cleanly.
Run the generation and check the base mesh
Upload the reference, choose the generation settings, and click Generate. The untextured base mesh comes back in about 90 seconds. Inspect the cage tubes and the seat shell before adding anything else: they are the two shapes a dragster cockpit is judged by. If a tube is fused to the seat or the pedal board collapsed, regenerate with a cleaner reference rather than fixing a bad mesh later.
Refine with natural language, then export
Neural4D lets you refine geometry conversationally with Neural4D-2o, which works on models it generated itself. Ask it to widen the cockpit opening, thicken the cage padding, or reposition the butterfly wheel, and the model updates without a re-run. When the interior matches your reference, export as GLB for game engines and web viewers, OBJ or FBX for DCC tools, or STL for 3D printing. The workflow is input, generate, regenerate or converse, export, with no manual retopology between steps.
This route suits almost every use case because the detail ceiling is set by your reference photos, not by what a seller happened to model. A clean race photo can yield an interior detailed enough for a first-person driver render or a 1/24 printed cockpit.
Skip the hours of tube-frame modeling
Turn a dragster cockpit photo into a watertight 3D mesh in minutes with Neural4D Image to 3D.
New users get 50 Power every week to test generation.
Method 2: Extract the Interior from a Marketplace Dragster Model
Marketplaces sell ready dragster 3D models, and some of them include a modeled cockpit. CGTrader lists hundreds of dragster models, Sketchfab hosts free and paid ones, TurboSquid and RenderHub carry detailed race builds, and DAZ offers rigged muscle dragster cars with interior color options. Downloading one is the fastest possible route if a matching interior already exists.
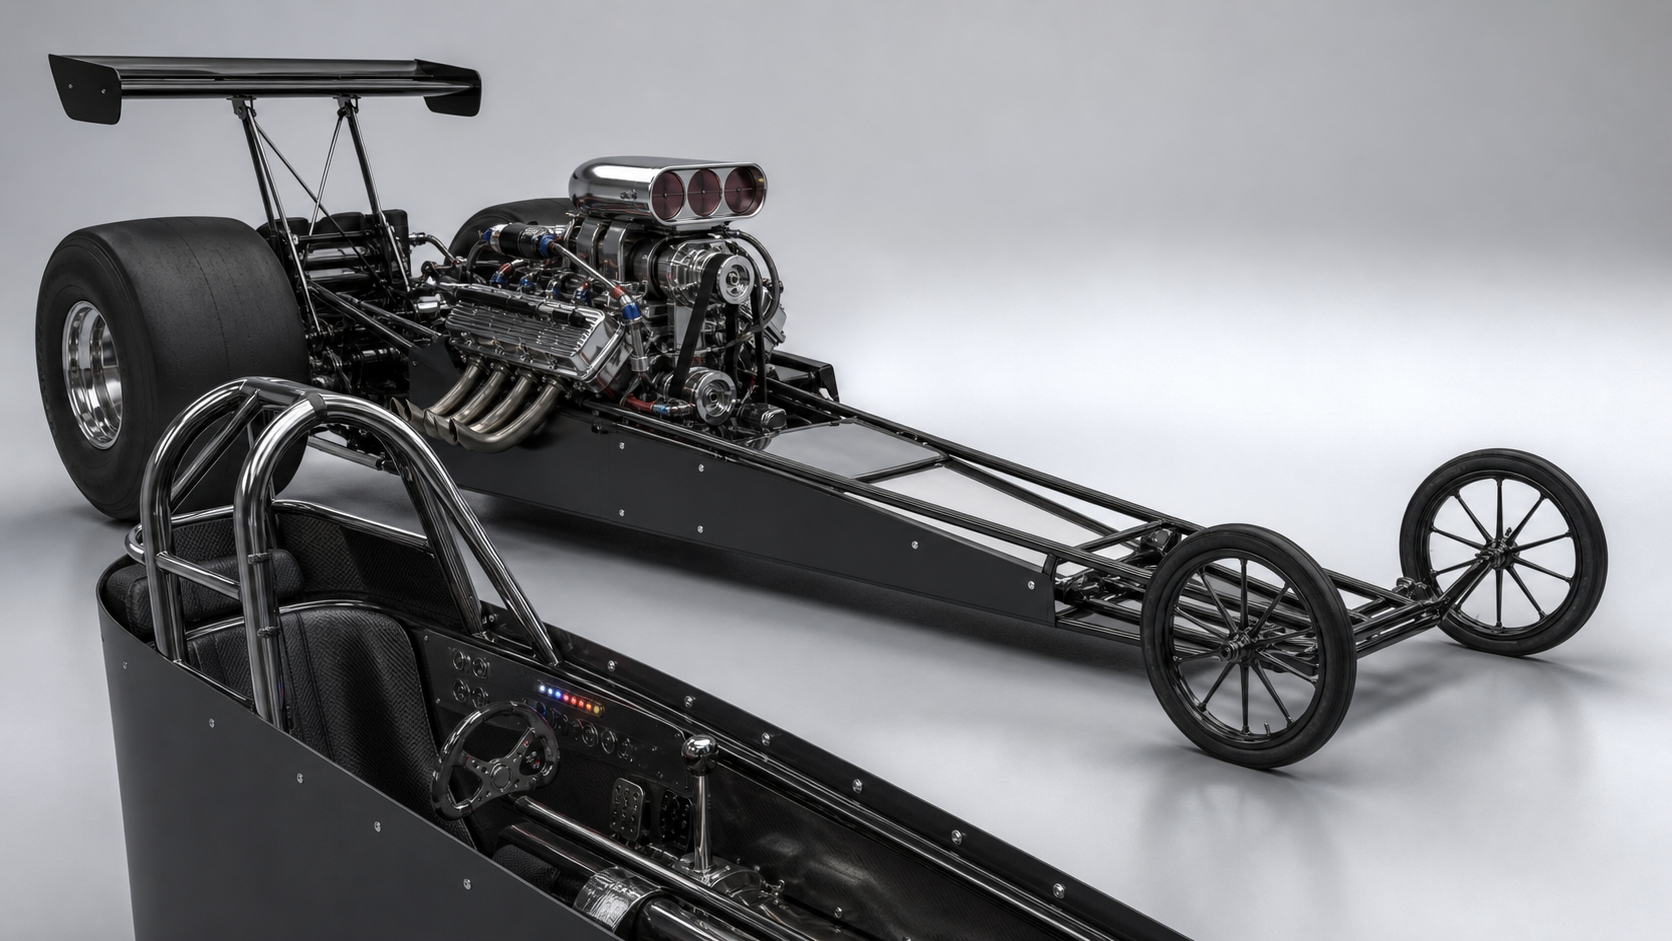
The catch is that “dragster model” does not mean “dragster interior.” Many listings show a detailed exterior with a simple or placeholder cockpit, because the interior only matters for first-person shots. Check the preview images for a visible seat, wheel, and cage before paying. If the cockpit is missing, a dragster interior 3D model from the same marketplace or an AI generation step will fill the gap faster than modeling one by hand.
Licensing varies widely between marketplaces and even between listings on the same site. A standard license usually covers renders and games, while an extended license covers distribution and product use. If a model carries a real team’s livery or NHRA-style branding, treat it as editorial-only and avoid commercial use. Read the license tab on each listing rather than assuming one marketplace’s terms apply everywhere.
Method 3: Print a Scaled Dragster Cockpit from STL Parts
For scale modelers, a dragster interior 3D model is often a set of printable parts rather than one solid mesh. Designers sell butterfly steering wheels, bucket seats, roll cage sections, and dash panels as separate STL files, sized for 1/24 and 1/25 scales. Print them, sand the layer lines, and assemble the cockpit around a printed body shell or a kit chassis.
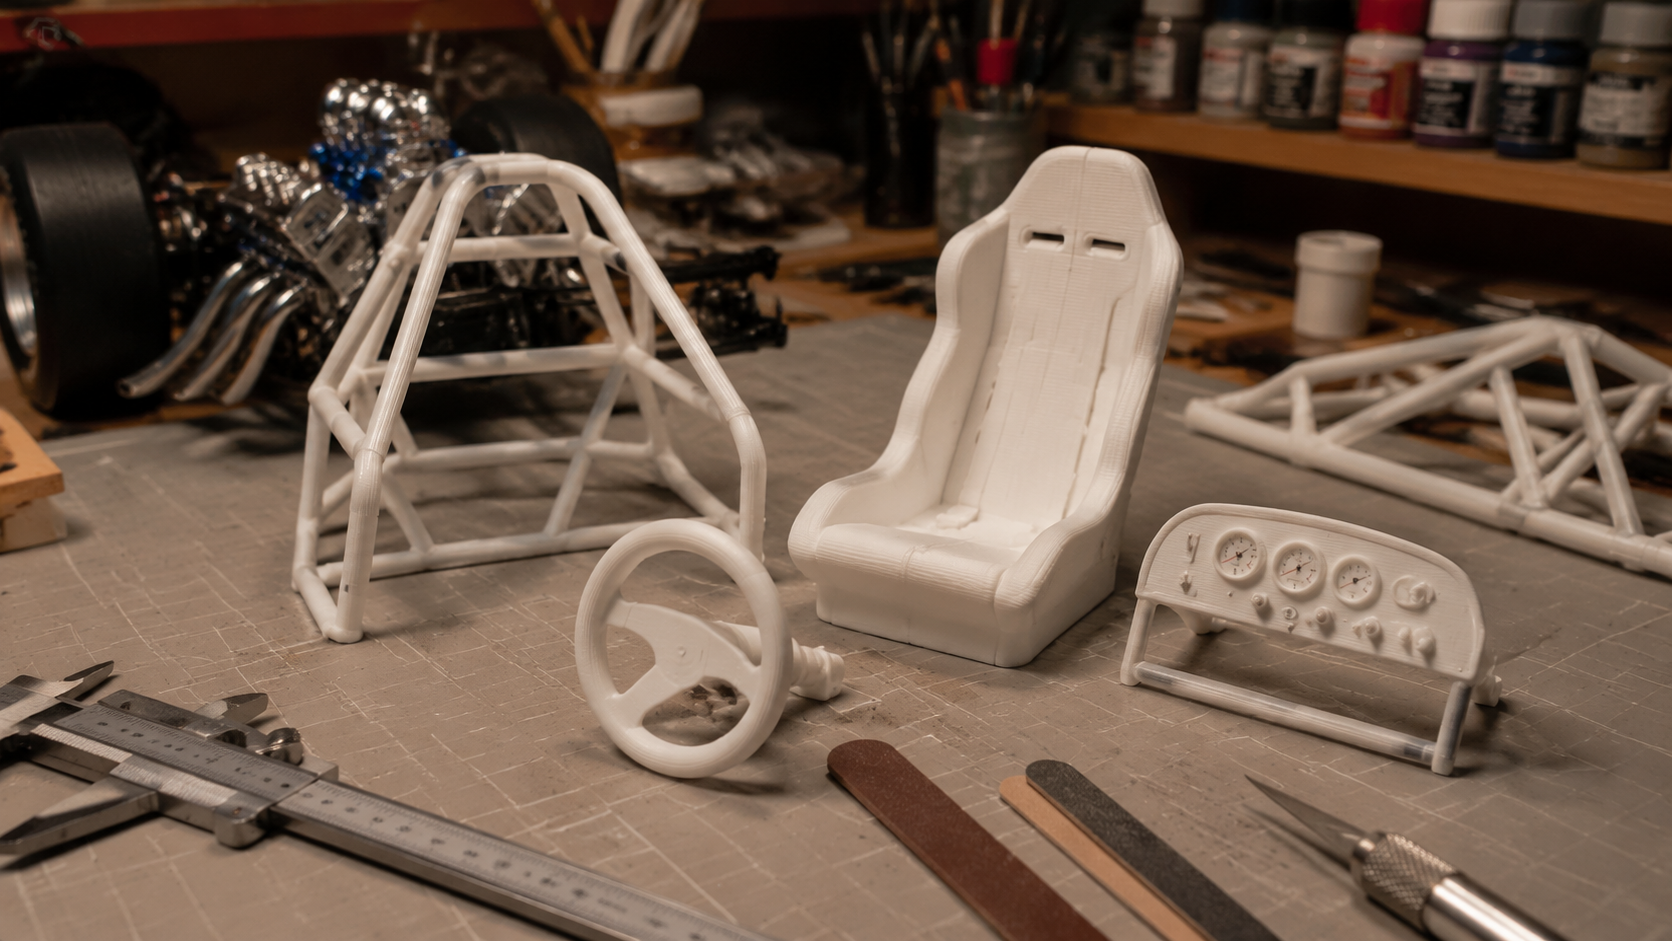
Scale printing rewards planning over speed. The wheel, which is the detail that sells a dragster interior, prints best at fine layer heights around 0.08 mm. Print the seat and dash with supports if they have undercuts, and use a resin printer for the smallest parts so the butterfly wheel spokes stay crisp. If the STL you found is the wrong scale, slicers scale the whole part uniformly, which keeps proportions correct.
Printing an interior is a great fit when you already have a dragster body printed and need a cockpit to drop inside it. Because the source files are mesh geometry, you can also edit them in a modeler or regenerate problem parts instead of reprinting the whole cockpit.
Method 4: Kit-bash a Scale Model Cockpit
Kit-bashing combines parts from different model kits into a custom build, and it is the traditional route for dragster interiors in scale. A funny car or top fuel kit provides the seat, steering wheel, and dash, while an aftermarket photo-etched set adds rivets, pedals, and switch details. Model builders on forums regularly scratch-build interiors this way, casting resin seats and bending roll cage wire to match a real car.
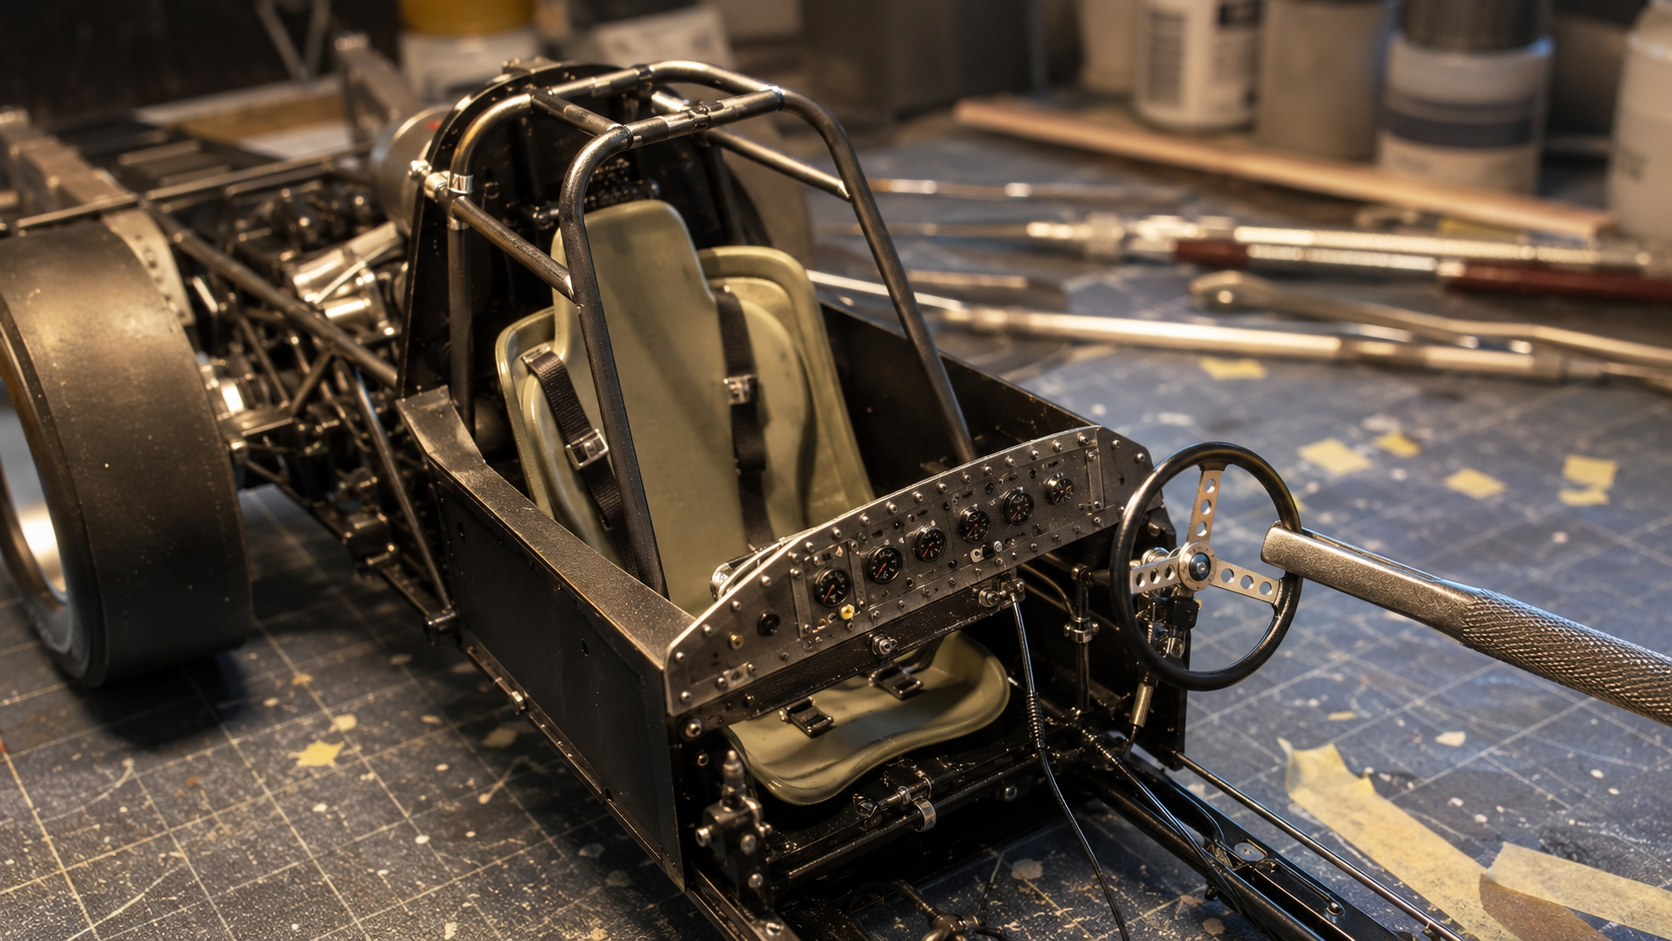
Kit-bashing rewards patience and produces a physical part, not a digital mesh. If your goal is a render or a game asset, a kit cockpit is reference material rather than the final result: photograph the assembled cockpit and feed the photos into an image to 3D tool to convert the physical build into a digital model. That hybrid workflow is common among builders who want the realism of a hand-built cockpit without modeling it from scratch in software.
Method 5: Model the Cockpit from Scratch in CAD
Modeling a dragster interior from scratch in CAD or a DCC tool gives the most control and takes the longest. You block out the cockpit shell, lay the roll cage tubes along the reference curves, build the seat, wheel, and pedals, and detail the dash. A top fuel cockpit is a good first CAD project because it is mostly tube framing and simple surfaces, but a full interior with padding, wiring, and hardware can take days of focused work.
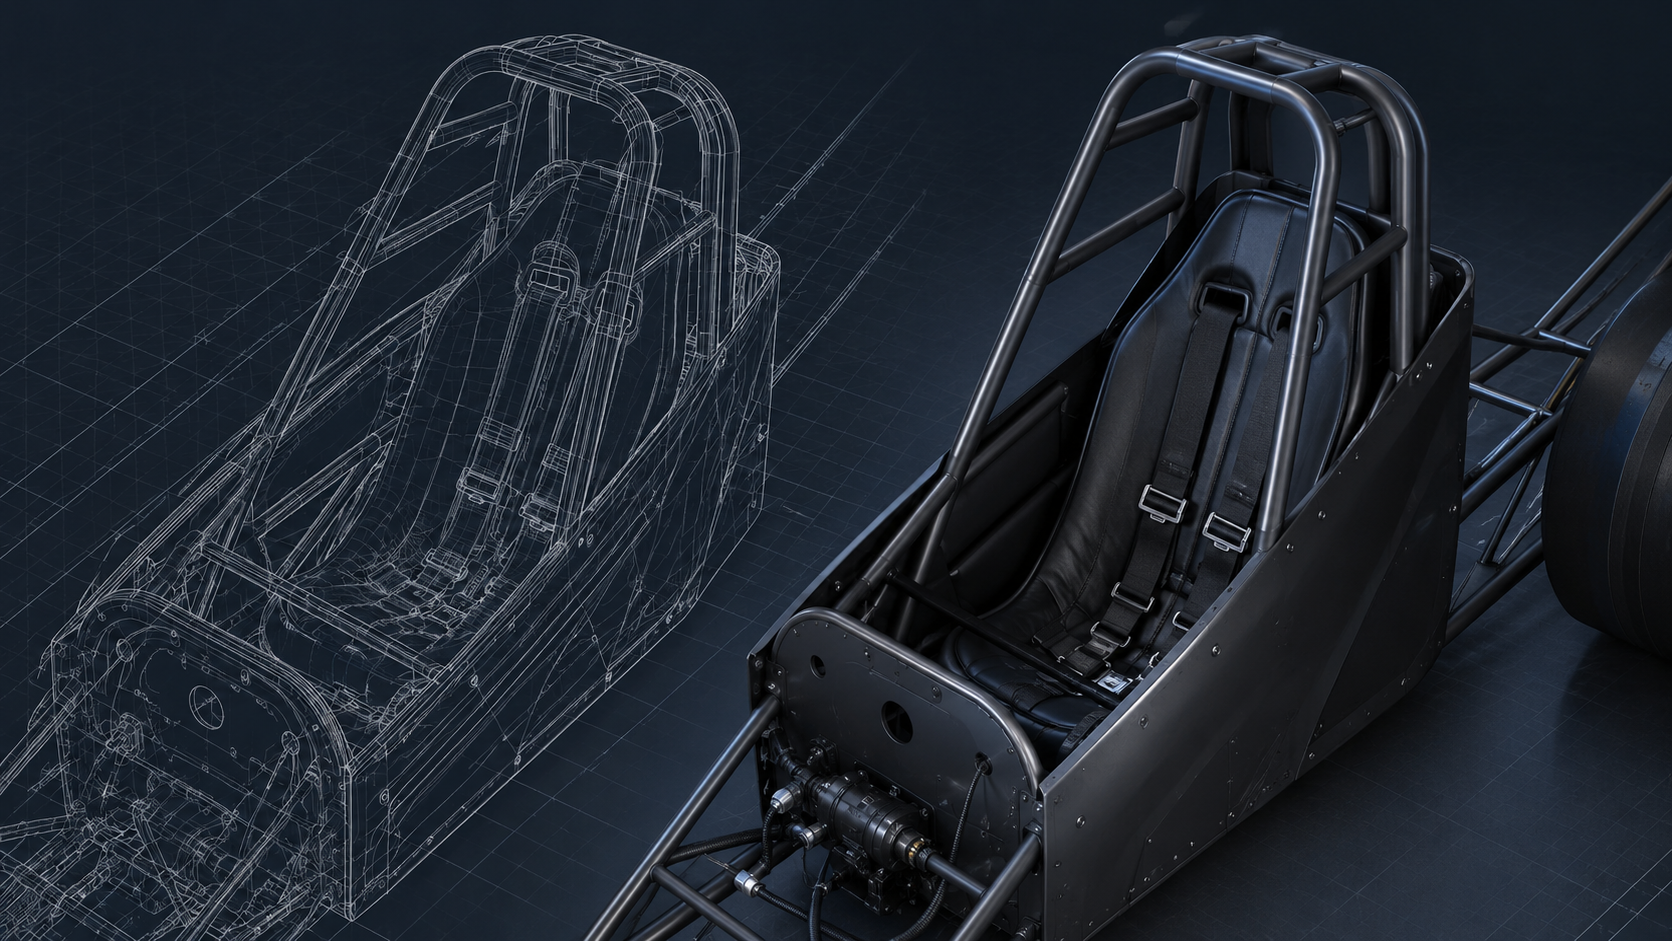
This route makes sense when you need engineering-grade accuracy, such as checking driver fit or planning a real build. For a game asset or a print, the effort is hard to justify when image to 3D generation or a marketplace download delivers a similar result in minutes. Model from scratch when precision matters, and lean on AI generation when speed matters.
Make the Interior Production-Ready
Whichever method you pick, the cockpit needs to pass the same quality gate before it goes into a project. A dragster interior 3D model should be watertight if it will be printed, and it should carry clean topology and UVs if it will be textured in a game engine or renderer.
🔹 Print path: export as STL and verify the mesh has no open edges. AI-generated meshes from Neural4D are watertight by default, so they go straight into a slicer.
🎯 Game path: export GLB or FBX with textures. With PBR maps selected, Neural4D outputs base color, roughness, and metallic in one generation pass, not as a separate texture step.
⚡ Timing check: an untextured base mesh takes about 90 seconds; textured production exports take 2 minutes or more because PBR maps add computation.
Retopology is the other common bottleneck. Auto-retopology in an AI pipeline can merge small cockpit details such as switch toggles and wiring into the surrounding surface. If that happens, generate at a higher resolution, or refine the geometry back in with conversational edits before the final export, rather than trying to rebuild detail in a separate program afterward.
Where Neural4D Fits in a Dragster Interior Workflow
Neural4D covers the fastest parts of the dragster interior pipeline: generating the cockpit from a photo, refining it, and exporting it in a format that drops into your next step. Its Image to 3D feature handles the shell, roll cage, seat, and dash from a single reference image, and its watertight output means no hole patching before printing. The Direct3D-S2 architecture also helps avoid the broken geometry that generic AI 3D generators produce, which is useful for a shape as tube-heavy as a roll cage.
The limits are worth knowing. Neural4D’s 3D features work on models it generates itself, so you cannot upload a third-party mesh and have it repaired or retopologized. If a marketplace model has a bad cockpit, the cleaner fix is to generate the interior from scratch with image to 3D and composite the pieces, rather than asking the tool to salvage another generator’s output. For scale modelers, the same workflow that produces game assets also produces a printable cockpit, and you can see exactly how to take an image and convert it to a 3D model with AI in this walkthrough.
Common Questions on Dragster Interior 3D Models
Q: Can a dragster interior be 3D printed as one piece?
Technically yes, but separate parts print cleaner for a top fuel cockpit. The roll cage tubes overlap and the seat shell is thin, so printing the cage, seat, and dash as individual parts avoids steep overhangs and heavy support structures. A 1/24 body shell can print in one piece, but the interior reads better when the cage is a distinct part that you glue in after the seat.
Q: Do I need NHRA-style roll cage geometry in a game model?
Only when the camera gets close to the driver. For first-person cockpit views, replicate the 360-degree cage and the SFI Spec 45.1 padding around the helmet, because both show up in that shot. For chase or exterior shots, a simplified hoop set is enough, and it saves draw calls. Build the full cage and use LODs to strip it down for distance.
Q: Can I convert a dragster interior photo to a 3D model for free?
Yes, with the free plan. Neural4D gives new users 50 Power every week, and a single image to 3D generation consumes a slice of that allowance. Free-plan outputs carry a Trial mark for testing, so a commercial project needs a paid subscription; a test cockpit or portfolio piece can come straight off the free allowance.
Q: What is the difference between a top fuel dragster and a funny car cockpit?
The driver positions differ. A top fuel dragster is an open-wheel rear-engine car with the driver sitting behind the rear axle in an exposed cockpit at the back of the chassis. A funny car runs the same engine behind the driver but under an enclosed body shell, so its cockpit is covered and reached through a canopy. Model the exposed cockpit for a top fuel build and add the enclosing bodywork for a funny car.
Q: Why does my AI-generated interior lose detail after retopology?
Auto-retopology rebuilds the mesh toward a target poly budget, so small features like switch toggles, wiring, and rivet heads fall below the threshold and get merged into the surrounding surface. Generate the cockpit at a higher resolution first, or restore those details with conversational refinement before the retopo pass, and keep a high-poly export for renders while the game build uses the optimized mesh.
Q: Are marketplace dragster models safe to use commercially?
Only if the listing license allows it. CGTrader standard licenses and TurboSquid royalty-free terms cover most game and render use, while extended licenses add distribution and resale rights. Dragster models that copy a real team’s livery, sponsor decals, or NHRA-style branding are often editorial-only, so check the license tab and the previews before you build a project around one.
Start Building Your Dragster Interior 3D Model Today
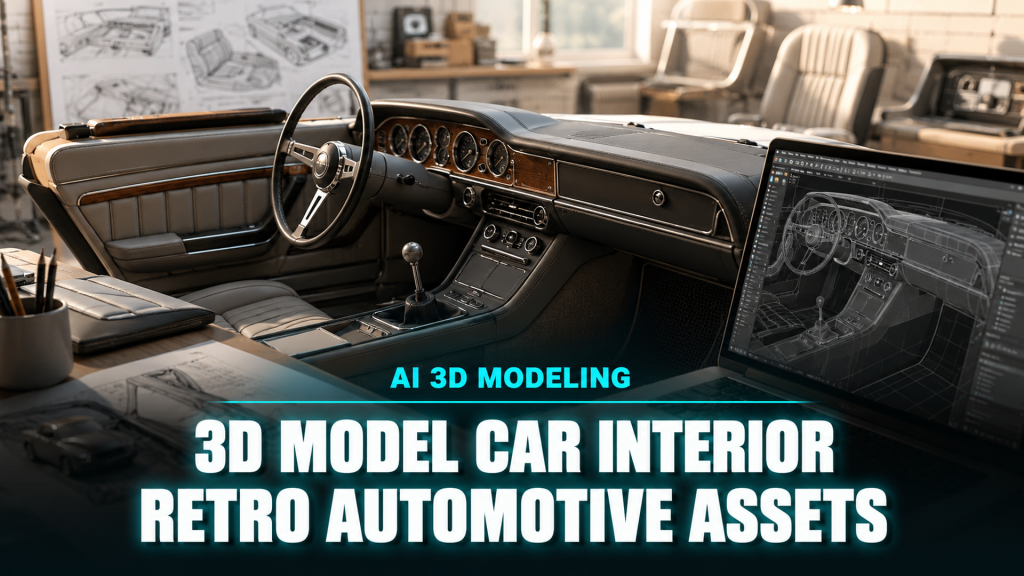
Every dragster cockpit route has a place, but only image to 3D generation turns a reference photo into a watertight dragster interior 3D model in minutes. Start with a three-quarter cockpit photo, generate the base mesh in about 90 seconds, refine the cage and wheel, and export a GLB, OBJ, FBX, or STL that fits your next step. The full image to 3D model workflow, the car interior 3D model guide, and the F1 car 3D model walkthrough cover the neighboring use cases in more depth, and the AI for 3D printing page explains how watertight output flows straight into a slicer.
Build the cockpit, not the boilerplate
Generate a watertight dragster cockpit from a single photo and export it print-ready or engine-ready.
Generate Your Dragster Interior
Base mesh in about 90 seconds, PBR textures in a single pass, free weekly Power to test.