STL vs 3MF for 3D Printing: Which Should You Use?
Quick Summary
- Choose STL when the recipient only needs mesh geometry and prefers STL. Confirm the imported dimensions because STL has no standard unit field.
- Choose 3MF when you need to keep units explicit or transfer parts or colors, and the receiving software supports the data you export.
- A 3MF model and a slicer project can share the same extension. Check which settings came with the file before using them.
- N4D can export STL or prepare a 3MF with color assignments or separate parts from eligible N4D models. Verify the export in your slicer and assign filaments before slicing.
If you only need to send the shape of a part, STL is a practical choice. Choose 3MF when the handoff needs to keep more information, such as the model’s units, separate parts, or color assignments, and both tools support that data. To reopen a print job with its settings, save a project from your slicer and tell the recipient which slicer created it.
That distinction matters when you download a file with a .3mf extension. It might contain a model to place on your own build plate, or it might open a project with a printer profile already selected.
STL vs 3MF at a Glance
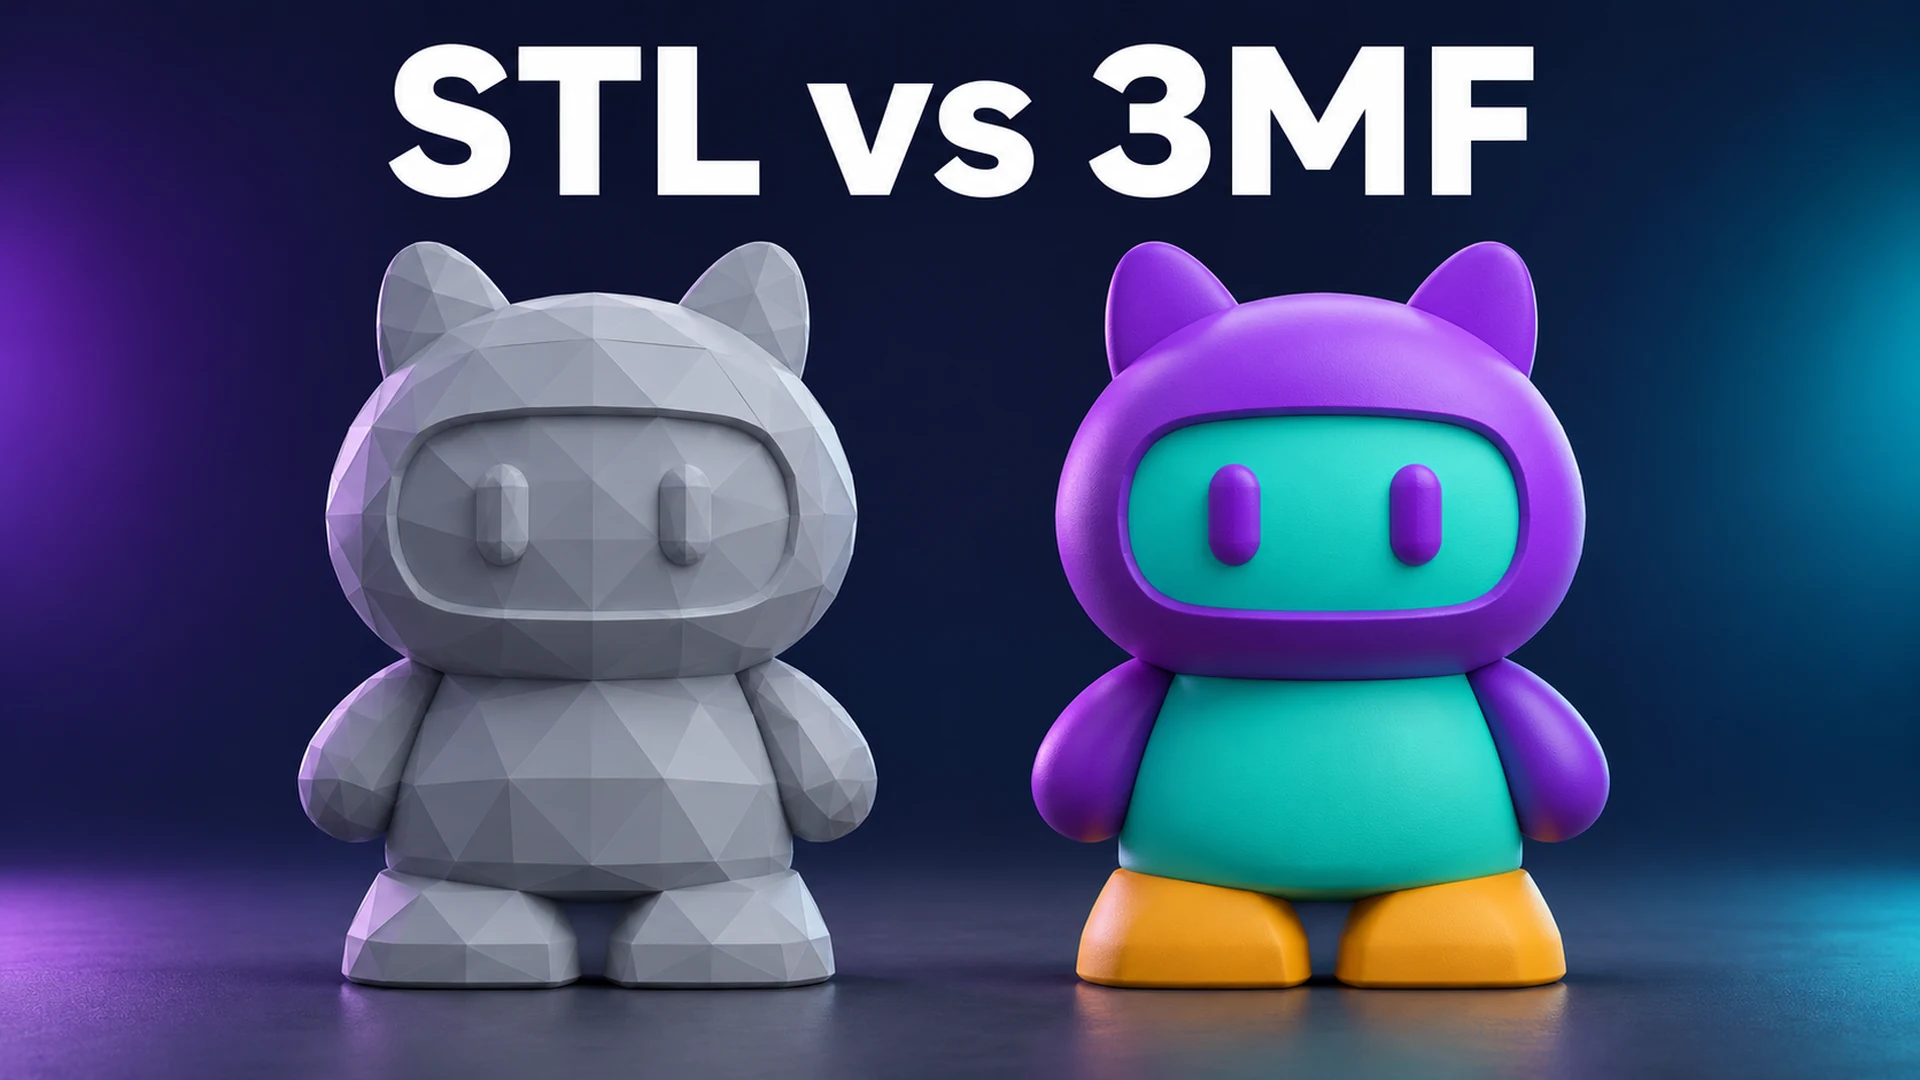
An STL file describes a surface as triangles. A 3MF file can package mesh geometry with more information about how the model is measured, organized, or colored.
Scroll the table sideways to compare both formats.
| Data | STL | 3MF |
|---|---|---|
| Surface shape | Triangular surface mesh | Can carry a triangular surface mesh |
| Size units | No standard unit field. Confirm how the importer interprets the coordinates. | Defines units for the model. The core specification defaults to millimeters if a unit is omitted. |
| Objects and parts | One file can contain disconnected shells, without standard object or part assignments. | Can describe separate objects or components in one package. |
| Colors and materials | No standard way to carry model colors or material assignments. | Can carry these when the exporter writes them and the importer supports them. |
| Print settings | Does not carry a slicer project. | A project saved by a slicer can include settings. A model export may contain none. |
Changing the format alone does not add surface detail. If both exports use the same mesh and the slicer reads it at the same scale, the extension by itself will not improve the shape of the print. For a broader comparison, see other 3D file formats.
When Should You Choose STL or 3MF?
Send STL when the other person just needs the shape
For a simple bracket or a single-color shape check, an STL is usually enough if the recipient’s tool accepts it. If you are sending a 40 mm part to someone else, tell them it should measure 40 mm and ask them to confirm that after import. Use STL when a service or a piece of software specifically requests it.
Send a model 3MF when the details need to travel with it
For a two-piece enclosure, a 3MF can package both parts with their positions and model units. For a colored figurine, it can carry prepared color information. Ask which slicer the recipient uses and have them check that the parts or regions are selectable after import. A single-color model can also benefit from a 3MF when dimensions or part structure matter.
Send a slicer project when someone needs your setup
If a collaborator needs your plate layout, filament setup, or modifiers, save the project from the slicer you used. Share the slicer name and the intended printer. When they only need to place the model in their own project, send a model file or have them import the geometry if their slicer offers that option.
A 3MF Model File vs. a 3MF Slicer Project
Look at what created the file. A modeling app can export 3MF to transfer a model, including the data that app writes. A slicer can use the same extension to save the state of a project. For example, PrusaSlicer’s Save Project command saves objects, settings, modifiers, and their parameters together. Another slicer may read the geometry without restoring all those settings.
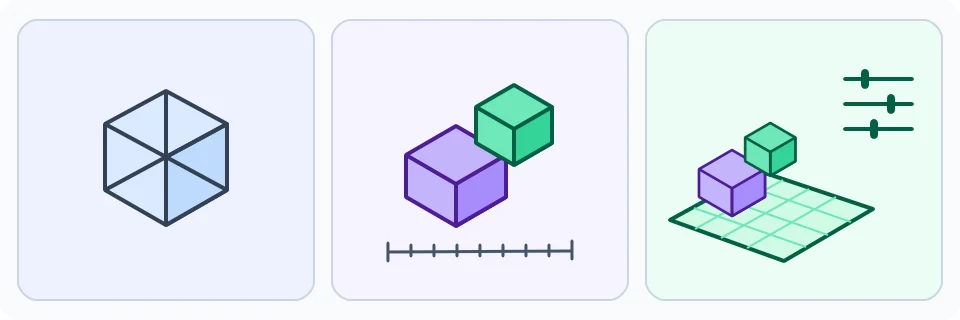
If the source is unclear, open the file in a fresh project so you can see what comes in without disturbing your current plate. Verify the selected printer and material before keeping any imported settings.
Where N4D Fits Before Slicing
If you are starting from an image or an existing N4D asset, choose the export based on what you want the slicer to receive.
- Geometry for a shape check. Generate a model with Image to 3D and use the Image to STL workflow to export its mesh. Check the physical size and orientation in your slicer.
- Prepared color regions. N4D Multicolor prepares a color scheme from an eligible textured model in your N4D assets and exports a color 3MF. In the slicer, confirm which regions came through and map them to the filaments loaded on your printer.
- Separate parts. Part Split Printing works with your own completed N4D models that you can still open. Its default 3MF includes all split parts as untextured geometry. In the slicer, check each part’s size and placement, then plan how the printed pieces will fit together.
Treat these exports as model files and set the printer profile and supports in your slicer. If you already have a third-party STL or 3MF, start by opening it in your slicer or mesh tool.
What to Check After Importing STL or 3MF
- Check the physical size. Read at least one known dimension in the slicer. If an STL opens at an unexpected size, check the source units before changing the scale.
- Check parts and color regions. Use the object list and model view to see which parts can be selected separately and which colors the slicer actually read.
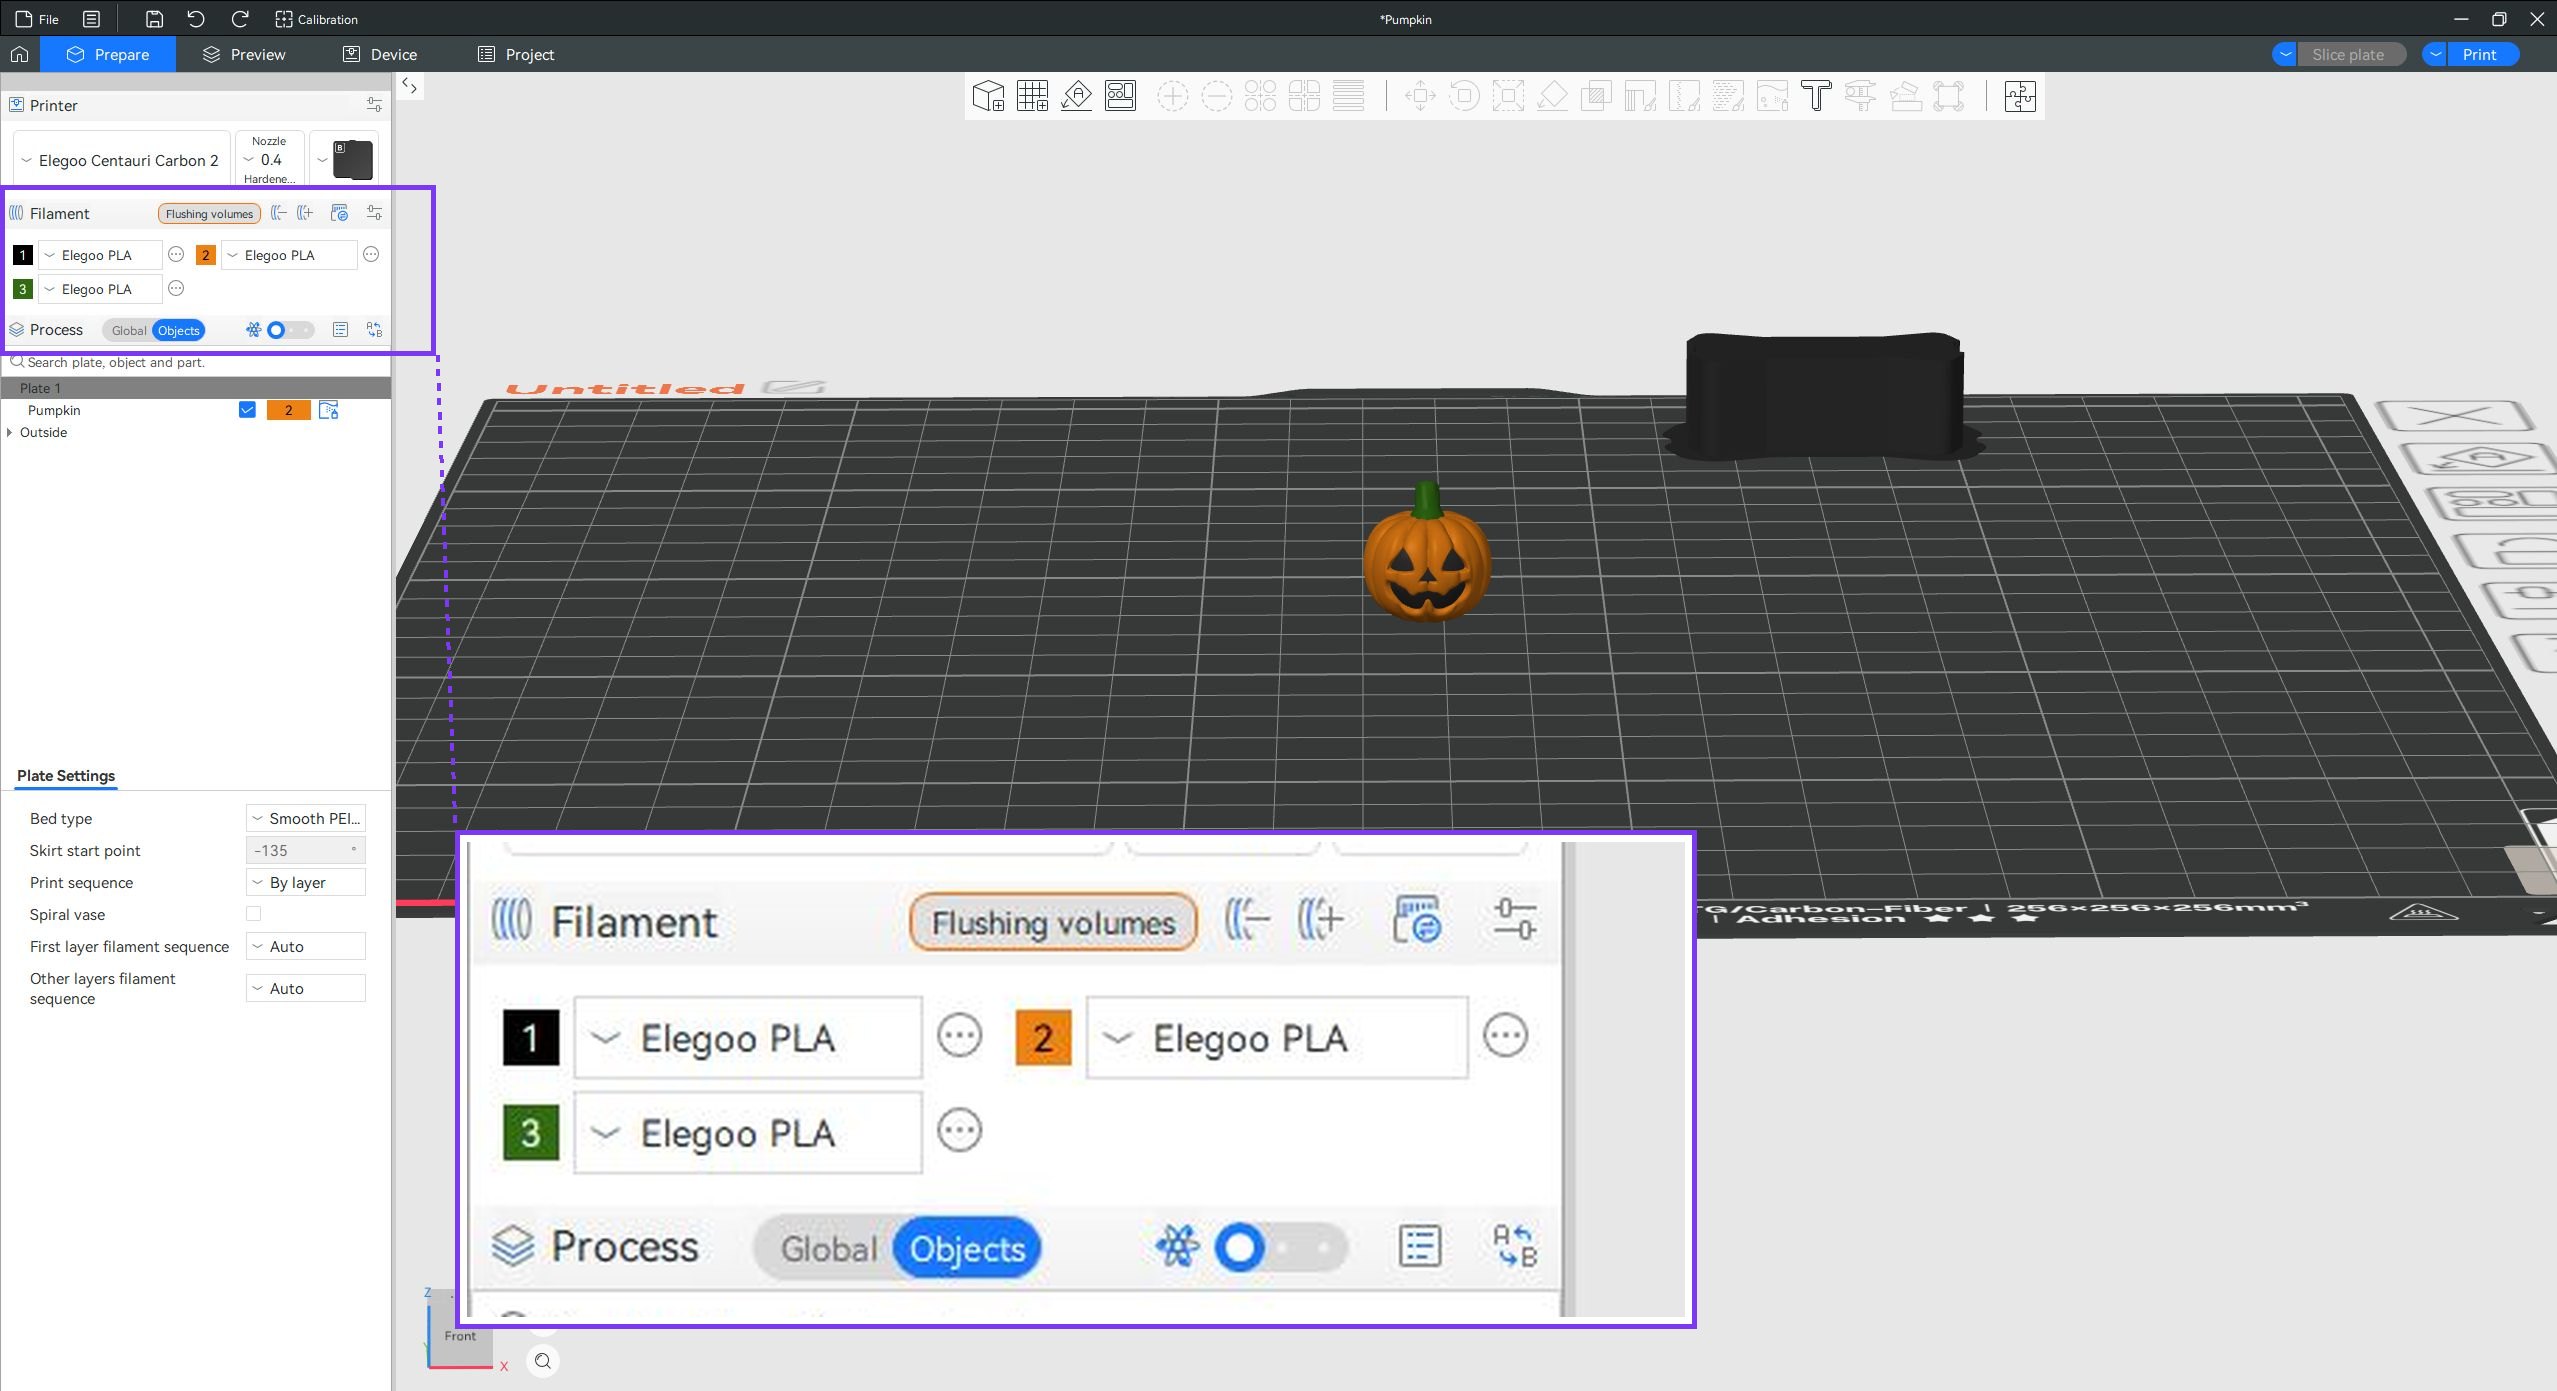
- Check the printer, material, and placement. Confirm the printer and bed profile, orient the parts, and map any imported colors to the physical spools. Set supports where needed.
- Slice and inspect the layers. Look for missing details, unexpected gaps, unwanted supports, or color changes on the wrong layers. Save a project copy once the setup is correct.
FAQ
Will converting STL to 3MF recover colors or fix the mesh?
Conversion can put the existing geometry in a 3MF package. Assign the intended units during import or export, add any missing colors in a tool that supports them, and repair mesh errors separately if needed. The 3MF Consortium’s conversion guide explains why changing formats does not automatically repair the underlying mesh.
What do you lose when you convert 3MF to STL?
Expect the mesh geometry to carry over. Standard STL has no fields for units, colors, materials, or slicer project settings. If your 3MF contains multiple parts, check whether the exporter can write a separate STL per part. Keep the original 3MF if you may need its other data later.
Why did my 3MF lose its colors after import?
Check the exported file first, then the slicer’s import and filament assignments.
- Check what was exported. Open the exported 3MF in the source app if it can read its own color data, or use a viewer that supports the export’s color type. If the exported model is plain there too, check the source app’s 3MF export settings and re-export with color data enabled if available.
- Check what the slicer can read. If the colors show in the exported file but disappear in the slicer, check whether your slicer version reads that type of data, such as texture-based colors or colors assigned to mesh faces. The 3MF compatibility matrix is a starting point. If the slicer cannot read the colors, try exporting separately selectable parts when the color boundaries follow the parts, or repaint the model in the slicer.
- Check how the colors will print. If the colored regions or parts came through but the sliced preview shows one filament, check their tool or filament assignments. Assign each region or part to the slot holding the intended spool, then slice again and check the preview by filament. See PrusaSlicer’s tool and color assignment guide for one example.
Can I open someone else’s 3MF without changing my printer settings?
Yes, if your slicer can import the model without loading the file’s configuration.
- Save your current project. Note your active printer preset, nozzle diameter, and print and filament presets so you can compare them after import.
- Use the model import command. In PrusaSlicer on Windows, Ctrl+I imports a 3MF without loading its configuration. Ctrl+O opens it as a project and can load its settings. See the PrusaSlicer shortcut guide for both commands. If your slicer lacks a model-only import option, ask the sender for a model-only 3MF or separate STL files.
- Compare the presets before slicing. If your settings changed, reopen your saved project and repeat the model import. Check any modifiers or filament assignments you need to recreate before slicing.