How to Make an Earth 3D Model: 5 Methods for Class and Print
Quick Summary
- An earth 3D model is either a globe that shows the surface or a cutaway that shows the crust, mantle, outer core, and inner core. Deciding which one you need is the first real choice, and it is the one most download libraries never explain.
- Five routes produce one: generate it from a text prompt, reconstruct it from a photo or map, download and adapt an existing model, 3D print it, or build it by hand.
- The routes differ far more in time and skill than in final quality. A generated mesh lands in minutes, a downloaded model in seconds, and a painted craft globe over a weekend.
- Most failures come from texture mapping, not geometry: the seam at the antimeridian and the stretched poles are the two defects readers hit first.
- Neural4D generates the base geometry from a text prompt or a reference image and exports a watertight mesh as STL, GLB, OBJ, or FBX, so an Earth model no longer depends on finding the right download.
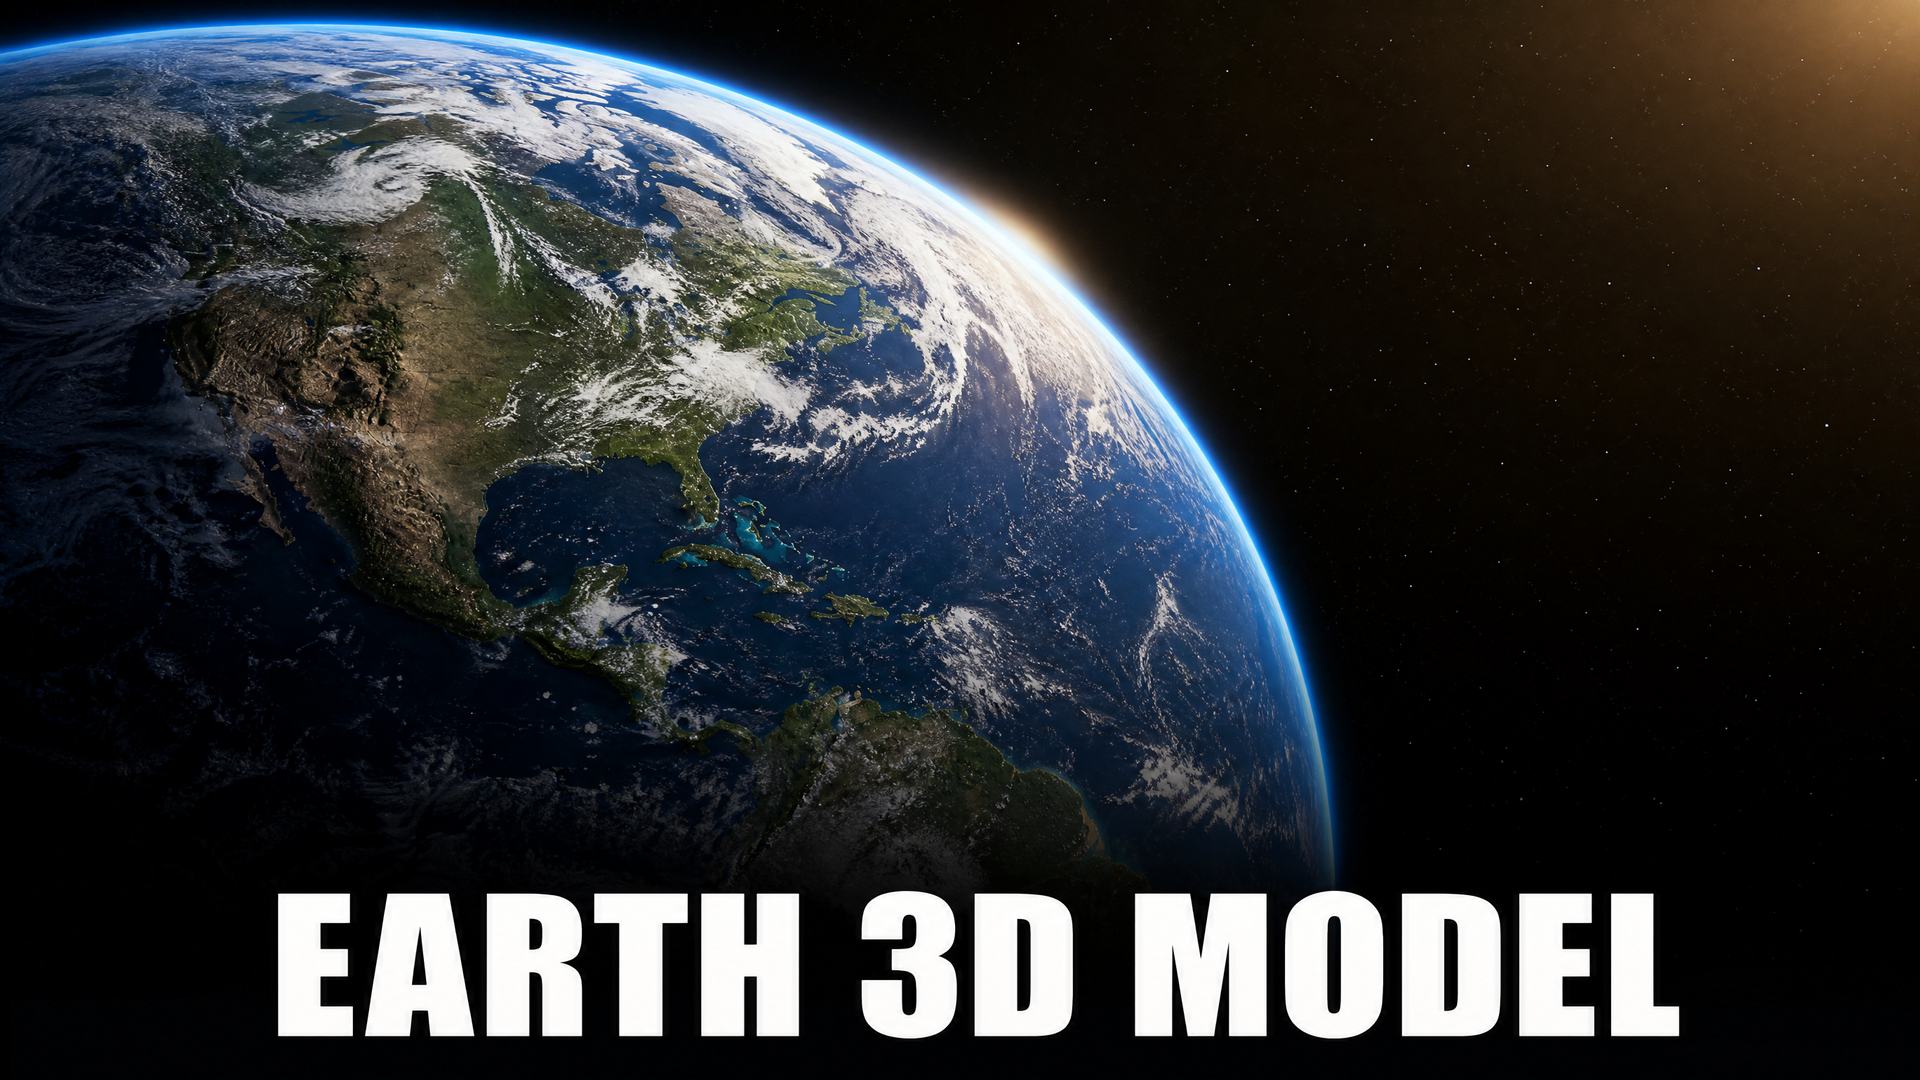
Making an earth 3D model starts with one decision: do you need the surface of the planet, or the inside of it? Those are different models built by different methods, and mixing them up is why so many classroom globes end up showing continents but no crust. The five routes below each end in a usable model, and they separate cleanly on how much time, skill, and money they ask for.
In This Guide
- What Counts as a 3D Model of Earth
- Method 1: Generate an Earth 3D Model from a Text Prompt
- Method 2: Turn a Photograph or Map into a 3D Earth Model
- Method 3: Download a Free Earth 3D Model and Adapt It
- Method 4: 3D Print an Earth Model
- Method 5: Build a Physical Earth Model by Hand
- Which Method Fits Your Project
- Common Mistakes That Ruin an Earth 3D Model
- Where Neural4D Fits in an Earth 3D Model Workflow
- Questions About Making a 3D Model of Earth
- Build the Earth Model Your Project Needs
What Counts as a 3D Model of Earth
Two model families cover almost every school project, classroom demo, and product render, and they are not interchangeable.
Globe Surface vs. Cutaway Interior
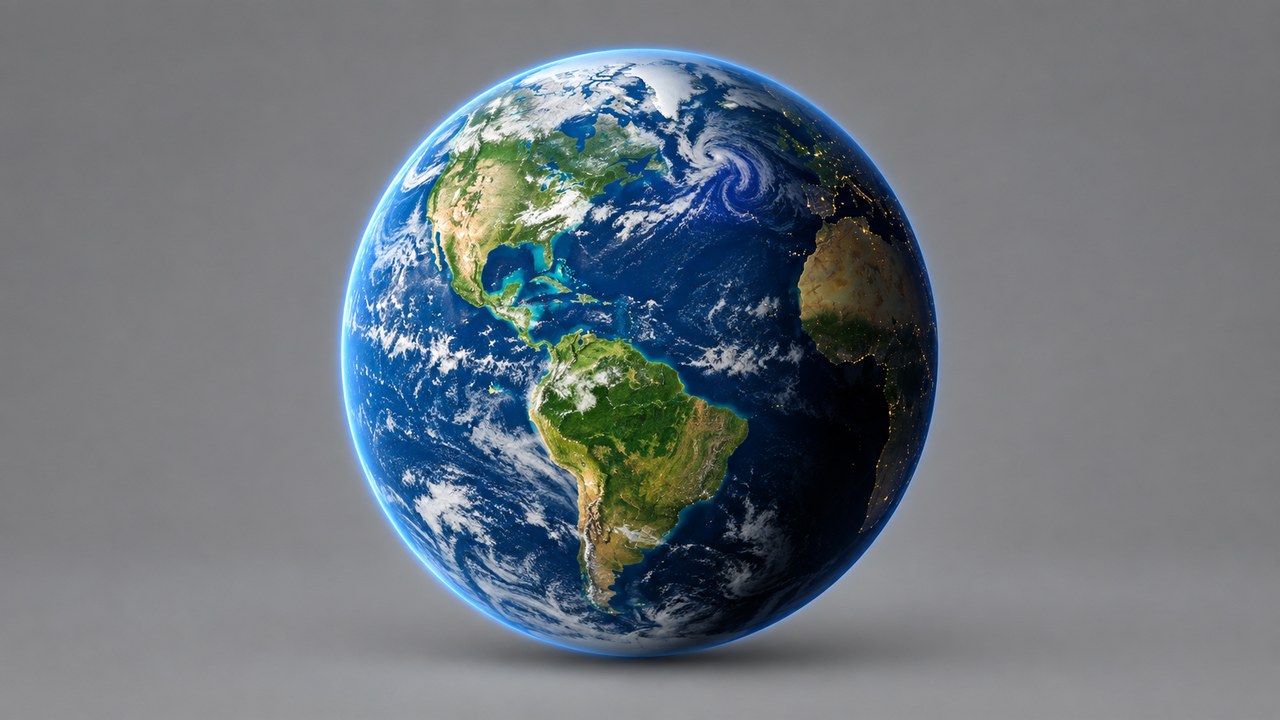
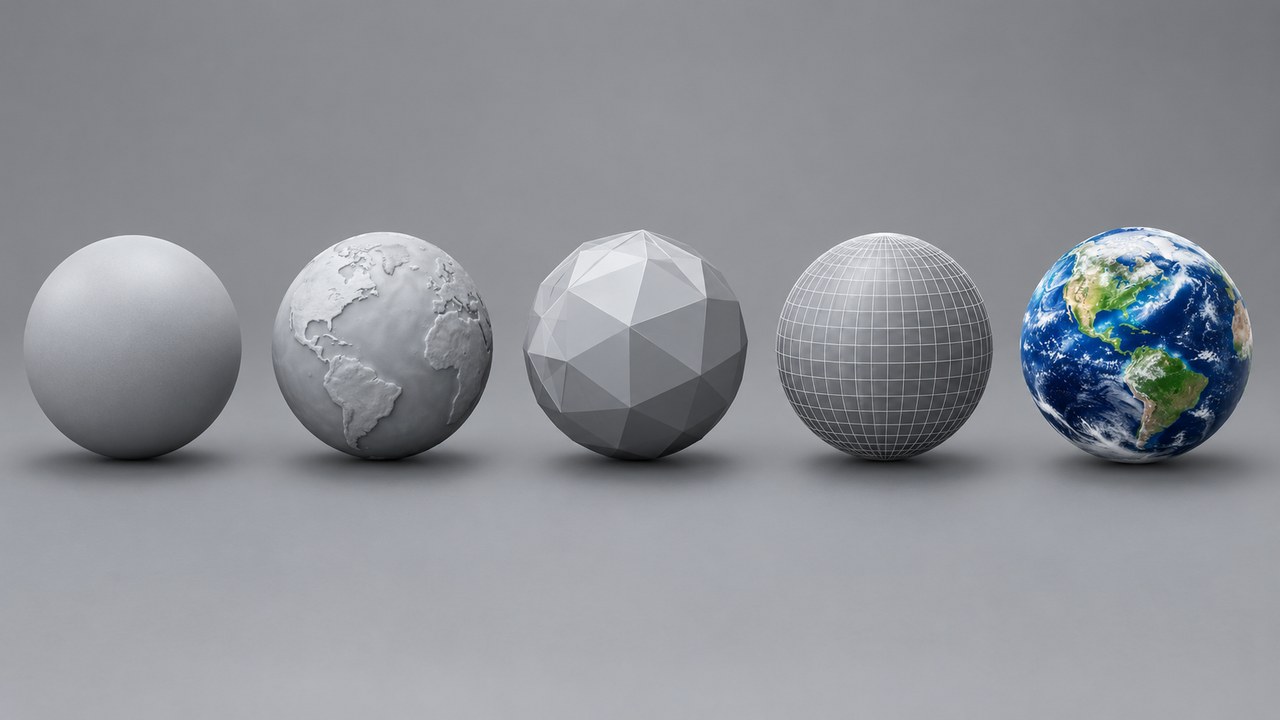
A surface globe is a sphere carrying a map of the continents. Its job is to show where things are. A cutaway (also called a cross-section or an interior model) removes a wedge or a quarter of the sphere so the internal layers are visible. Its job is to show what Earth is made of and how the layers relate.
The interior layers have a fixed order and a rough scale worth knowing before you model them. From the USGS description of Earth’s interior, the planet is built of a thin brittle crust, a mantle, and a core, with the mantle and core each split into two parts. The core and the mantle are close to equal in thickness, but the core amounts to only about 15 percent of Earth’s volume while the mantle takes about 84 percent and the crust the remaining 1 percent.1 A model that gets the order right but the proportions wrong still misleads, because the visual weight of the layers is the whole point of a cutaway.
Concrete thicknesses help when you are sizing the layers for a build. Oceanic crust runs about 5 kilometers thick at Hawaii, while continental crust reaches roughly 25 kilometers under California’s Great Valley and about 60 kilometers under the Sierra Nevada, and the deepest hole ever drilled, on the Kola Peninsula, reached only about 12 kilometers.1 That is the fact worth telling a class: even the deepest borehole on record never left the crust.
Sizing shortcut for a cutaway
Scale the layers by volume, not by radius. The mantle is about 84 percent of Earth’s volume and the core about 15 percent, so a mantle drawn as a thin ring is wrong in a way students notice.
Why a Physical Earth Model Teaches More Than a Diagram
The case for building rather than printing a diagram is not just motivational. In a quasi-experimental study of 135 secondary students across four geoscience topics, students who worked with 3D-printed geological models scored 79.46 percent on the immediate post-test against 71.51 percent for image-based instruction, a gap of about eight percentage points that was statistically significant (p = 0.008). The authors report the benefit was task-dependent, largest where the learning required interpreting three-dimensional morphology and smallest where it depended on fine textural detail that a low-cost print cannot resolve.2
The practical reading is that the model earns its place when it carries spatial information a flat image cannot, which is exactly the case for layered interiors and for any cutaway. It also sets a bar: a model that only shows a smooth sphere with a printed caption is doing a poster’s job.
Method 1: Generate an Earth 3D Model from a Text Prompt
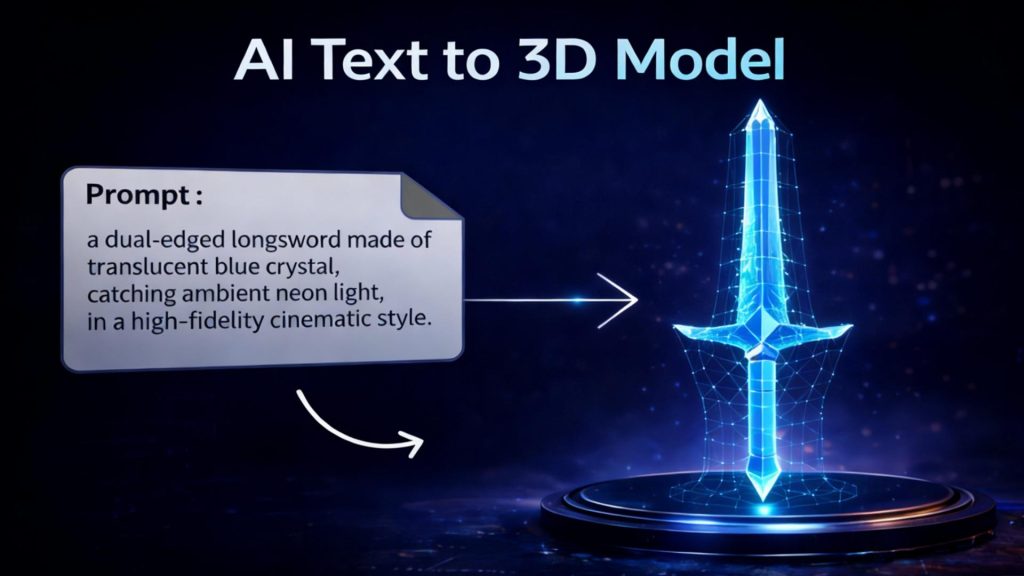
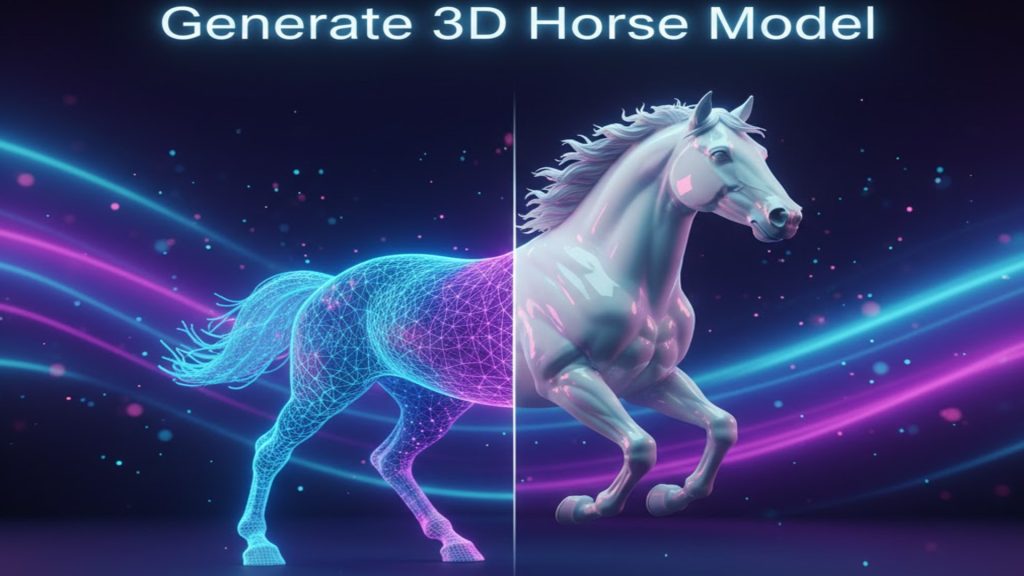
Text to 3D generation turns a written description into geometry. It is the fastest route from nothing to a model, and it is the only route that produces a specific Earth you can describe rather than a generic one someone else already made.
Write a Prompt That Produces a Recognizable Earth
Generators respond to structure, not to sentiment. A prompt that names the object, the style, and the level of detail outperforms a poetic one. Four elements cover most needs: the subject, the surface treatment, the viewpoint or completeness, and the format you intend.
Useful Earth prompts follow a pattern like “a globe of Earth with distinct continents and visible cloud cover, realistic surface texture, complete sphere, no stand.” If you want a cutaway, say so directly and name the layers: “a quarter-section cutaway of Earth showing the crust, mantle, outer core, and inner core in distinct colors.” If you want a stylized version for a game or an illustration, name the style instead: “low-poly Earth globe, flat color facets, no texture maps.”
One subject per generation
Ask for the globe alone. A prompt that also asks for a stand, a label plate, and a starfield tends to get all four rendered as fused geometry that you then have to separate.
Fix the Parts the Generator Gets Wrong
Two failures show up often enough to plan for. The first is continent shapes that read as plausible from a distance but are visibly invented up close, which matters if the model is being graded or used to teach geography. The second is a texture applied as a flat map onto a sphere without correcting for the way a rectangle distorts when wrapped onto a curved surface.
Regeneration handles the first problem at no extra cost if the tool charges only on success, and it is usually faster than editing the mesh by hand. For the second, treat the surface as a material property rather than a decal: asking for a matte land surface with reflective oceans reads correctly even when the continent outlines are approximate, because the material split is doing the visual work.
Neural4D’s Text to 3D model generator takes this route and exports the result as STL, GLB, OBJ, or FBX, which covers printing, game engines, and screen use from the same generation.
Method 2: Turn a Photograph or Map into a 3D Earth Model
When the geography has to be real, stop describing and start referencing. Image to 3D reconstructs geometry from a picture, and for Earth the strongest reference is a flat world map rather than a photo of a globe, because a map carries the whole surface in one image.
Pick a Projection That Survives the Wrap
Use an equirectangular map, the rectangular projection that covers the full range of latitude and longitude at a fixed grid spacing. It is the projection 3D tools expect, and the one that wraps onto a sphere without needing distortion correction first. Other projections leave you correcting the wrap by hand.
Resolution matters more than file size suggests. A small map turns into a smeared surface once wrapped, so start from as large an equirectangular image as you can reasonably handle, ideally one sourced from a public Earth imagery release rather than a screenshot of a map viewer, which carries interface elements and a license you may not have.
Run the Image to 3D Pass and Inspect the Seam
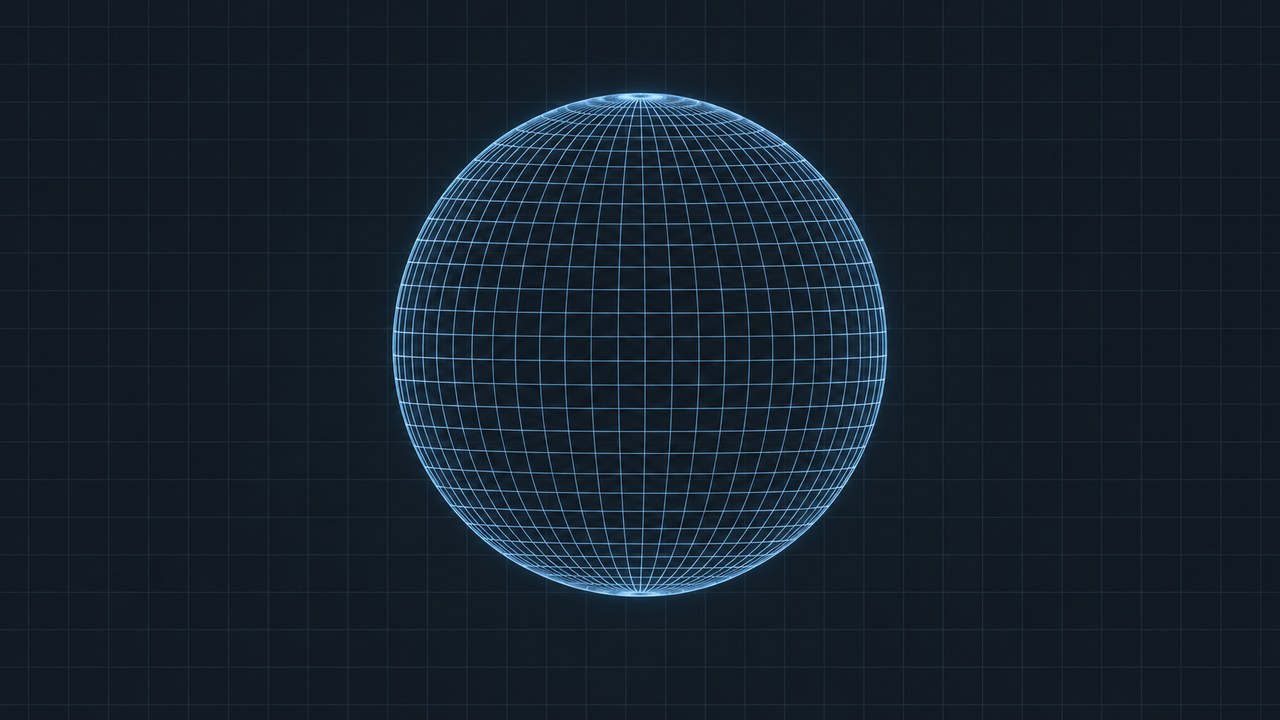
After the reconstruction finishes, rotate the model so the seam lands in view. The antimeridian, the line where longitude wraps from 180 degrees back to minus 180 degrees, sits in the Pacific and is where misalignment shows as a vertical slice through open ocean. Check the poles in the same pass, since most projections smear the top and bottom rows of pixels into a starburst at the poles and a generator will faithfully reproduce that smearing as geometry.
If the seam is off, the fix is at the source image: make sure the map runs the full width with no margin, and that the left and right edges carry the same content. If the poles are smeared, crop the extreme latitude rows before reconstruction and accept a slightly open pole you can cap later.
Neural4D’s Image to 3D feature is the entry point for this route, and the same workflow scales to a whole classroom set of terrain or planet models, which is the pattern described for AI 3D for education.
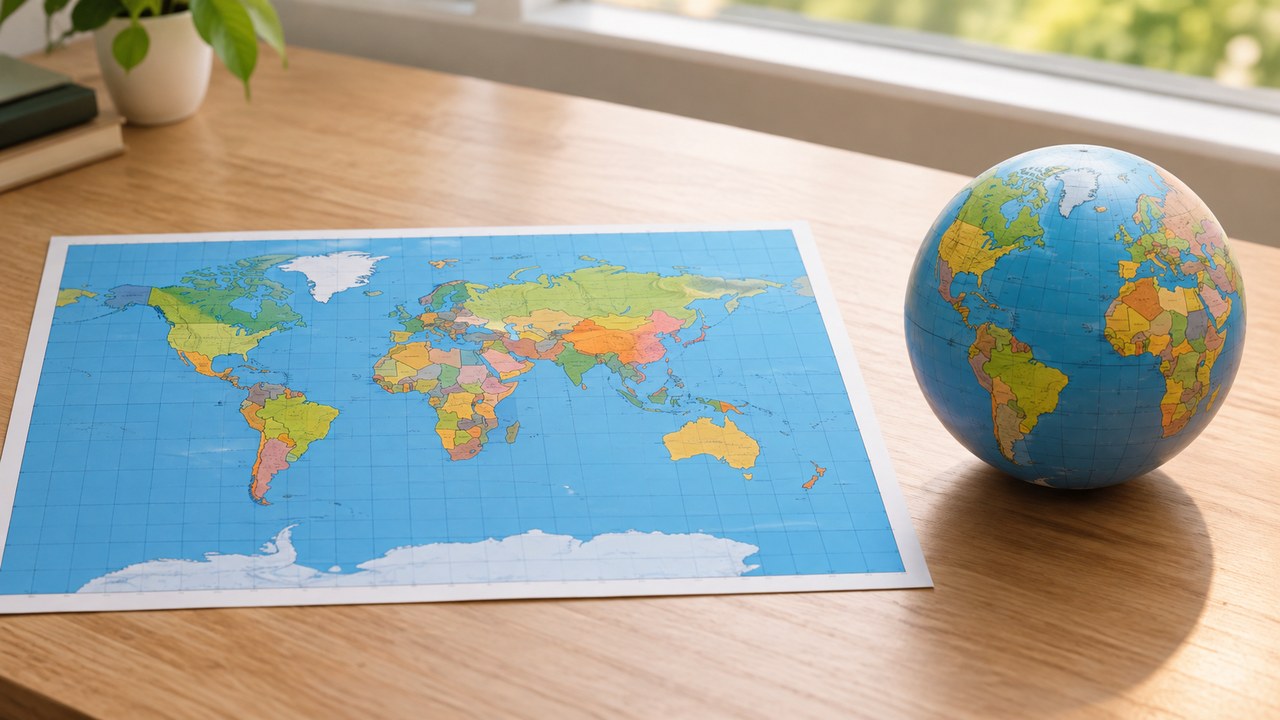
Your Map Is Already a Model Waiting to Wrap
Upload an equirectangular Earth map and get a watertight, textured mesh you can print or drop into a scene.
Method 3: Download a Free Earth 3D Model and Adapt It
The fastest route is a model someone else already built. Free Earth models are plentiful, and for a straightforward globe they are often better than what you would generate or build yourself. The work moves from creation to selection and clean-up.
Check the Mesh Before You Commit
Download volume is not quality. Open the file and check three things before you build anything around it. First, the polygon count: a globe that carries a million triangles for a 200-pixel screen presence is wasted weight, while one carrying a few hundred will show visible faceting along the coastline. Second, whether the mesh is a closed solid. An open surface renders fine and fails at the slicer, because printing needs a watertight volume rather than a shell. Third, whether the model is a single object or a scattered collection of pieces that will need to be merged before it can be exported cleanly.
Checking the license is part of the same pass, not a separate chore. A model labeled CC0 or public domain can be reused freely. A CC-BY model requires attribution, which is easy in a blog post and awkward on a printed classroom handout. Models sold as premium carry terms that usually forbid redistribution, which rules out putting the file itself in a shared class folder even if the printed object is fine.
Licensing: What You Can Actually Reuse
The distinction that matters most is between the file and the object. For most paid and royalty-free model licenses, printing the model is the licensed use and handing the file to someone else is not. For classroom use, that means printing one globe and passing it around is normally fine, while uploading the STL to a shared drive for thirty students to print is a different question, and one worth reading the license for rather than assuming.
Neural4D’s guide to downloading free CC-BY 3D models walks through the attribution side if you go this route.
Method 4: 3D Print an Earth Model
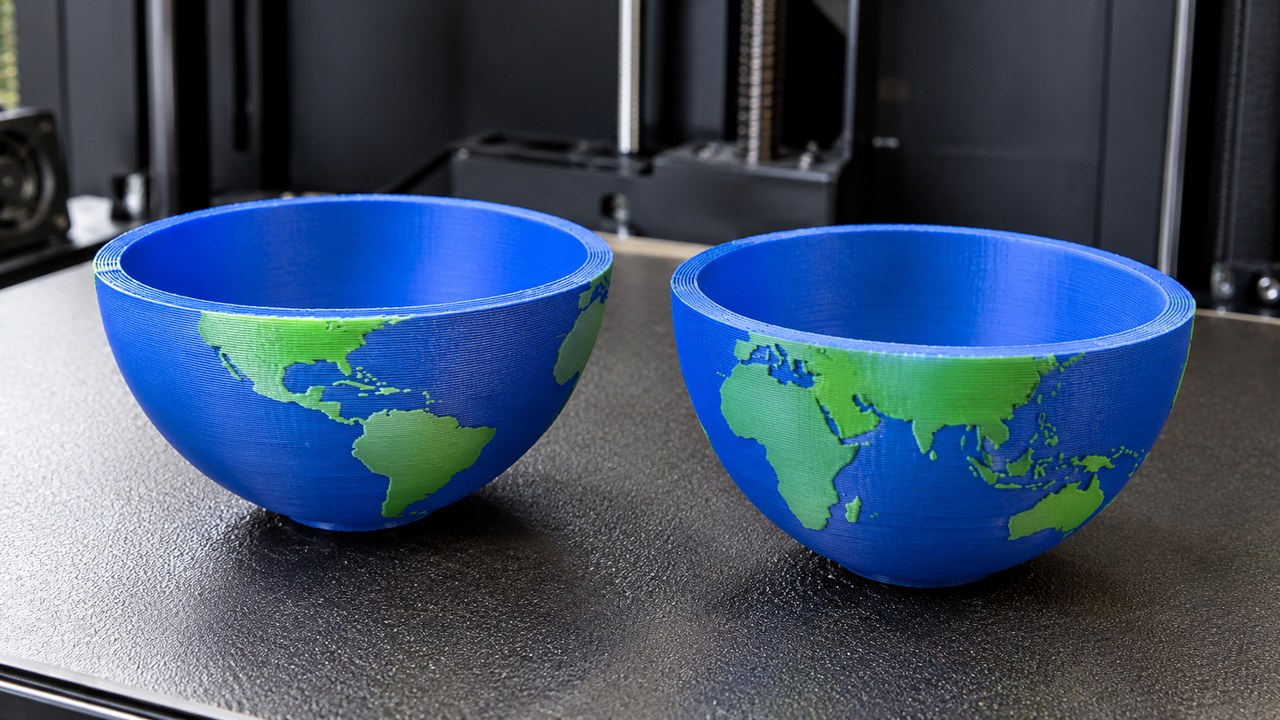
Printing turns any of the digital routes above into an object. A globe is one of the friendlier shapes to print, because a sphere needs no support and carries no thin unsupported features, but three decisions separate a clean print from a wasteful one.
Hollow It and Cut It Into Hemispheres
Print a solid sphere and you spend hours of machine time and a large share of a spool filling an interior nobody will see. A globe printed with a shell wall of a few perimeters and no infill prints in a fraction of the time and weighs far less. Most slicers handle this on a closed mesh without extra modeling work.
For anything larger than a fist, also cut the sphere at the equator and print it in two halves. A single tall sphere is stable until it is not, and the failure mode is a detached print and a wasted spool. Two hemispheres printed flat side down need no support at all, and they join with glue or with printed alignment pins if you want the seam to disappear.
Solve the Stand and the Overhang Problem
If you want the tilt, print the axis separately. A globe held at the real 23.5 degree tilt on a stand requires either a support structure or a base you print in a third piece, and a sphere printed at an angle on the plate is the classic case of a print that fails eight hours in.
Interior cutaways are the harder print. The exposed layers create ledges, and the underside of each ledge is an overhang. Printing the cutaway as separate nested shells that assemble into the sphere is more reliable than printing the whole cutaway in one pass, and it has a teaching advantage, since students can take the layers apart. Neural4D’s guide to preparing and exporting models for 3D printing covers the export settings that keep a mesh printable.
Method 5: Build a Physical Earth Model by Hand
The hand-built route remains the standard for school projects, and for good reason: it is the version a student can explain because they made every part of it. It is also the slowest, with drying time dominating the schedule.
Pick the Material and the Scale
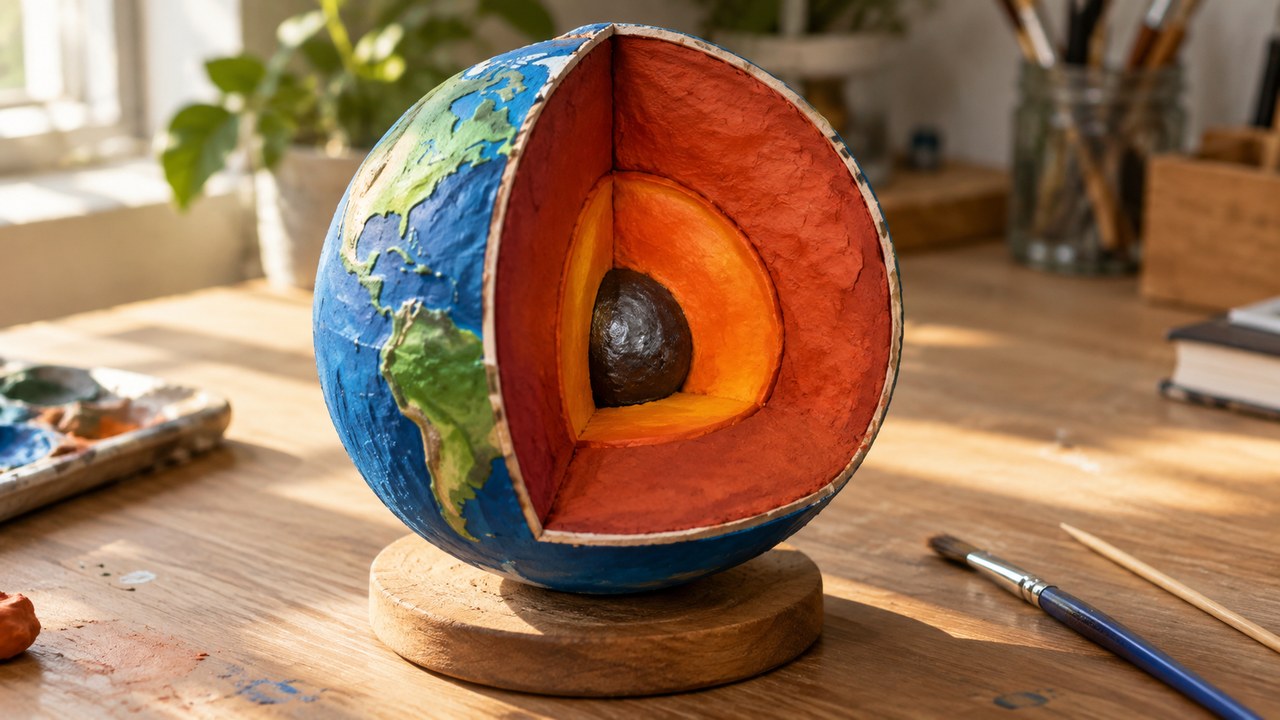
Three materials cover nearly every project. A foam sphere gives you a base that is already the right shape and needs no drying, which makes it the fastest option and the least forgiving, since paint soaks in and mistakes cannot be sanded away easily. Papier-mache over a balloon costs almost nothing and takes a day or two of drying, and it produces a surface you can build up and reshape. Clay or baker’s clay is the only one of the three that works for a cutaway, because you can build the layers as nested shells and then cut the finished ball in half.
Scale follows from the material. A foam or papier-mache globe the size of a grapefruit is easy to handle and easy to paint. A clay cutaway should be larger, because the layers need enough thickness to be visible and to hold their shape when cut.
Lay Out the Continents and the Layers
Do not place the continents by eye. Print an equirectangular map at the size of your sphere’s circumference, cut it into strips, and use it as a guide, or sketch a light pencil grid of the equator and two or three lines of longitude first. The grid is what stops South America from drifting into the Atlantic.
For a cutaway in clay, build the layers outside in: inner core first, then outer core, then mantle, then a thin crust, cutting a quarter section away as you go so each new layer stays visible. Use the volume split from the section above as your sizing guide rather than eyeballing the radii, then label each layer with a pin and a printed key rather than painting the names onto the surface.
Which Method Fits Your Project
The five routes are not ranked. They are matched to constraints, and the constraint that decides most often is whether the model has to be physically handled.
| Route | Time to first result | Skill floor | Cost | What you get | Editable afterward |
|---|---|---|---|---|---|
| Method 1: Text to 3D | Minutes | None | Free tier available | A specific Earth you described, as a mesh | Yes, regenerate or refine |
| Method 2: Image to 3D | Minutes | Choosing a source map | Free tier available | Real geography wrapped on a sphere | Yes, from the source image |
| Method 3: Download and adapt | Seconds | Mesh inspection | Free to paid | A proven model, already finished | Depends on the license |
| Method 4: 3D print | Hours to overnight | Slicer basics | Filament and machine time | A physical globe or layered cutaway | Re-slice only |
| Method 5: Hand-built | A weekend | Craft, not software | Craft materials | A model the maker can explain | Difficult once painted |
Globe or Cutaway? Pick the Model Type First
The route choice is downstream of the type choice, and the type choice is downstream of the question the model has to answer. If the question is where a place is, build a surface globe and any of the five routes works. If the question is what Earth is made of, you need a cutaway, and that eliminates the downloadable sphere in Method 3 and narrows the hand-built route to clay.
The interior model is also the one with a right answer. The order of the layers is fixed, and the relative volumes are known, so a cutaway can be assessed for accuracy in a way a decorative globe cannot. Building it is the point: a model that shows the mantle as a thin ring because the eyeballed proportions looked better has taught the wrong thing, and a free 3D model generator is a reasonable way to iterate the proportions before committing to clay.
Common Mistakes That Ruin an Earth 3D Model
Almost every failure on this list is a mapping or proportion problem rather than a modeling one, which is useful, because it means the fix is usually a setting rather than a rebuild.
- A visible seam at the antimeridian. The join where longitude wraps runs down the Pacific and shows as a vertical slice through open ocean. It comes from a source map that does not tile edge to edge.
- Poles stretched into a starburst. The top and bottom rows of an equirectangular map cover a vanishing amount of area, so wrapping them smears them. Crop the extreme latitude bands or the generator will reproduce the smear faithfully.
- Layer proportions that are visibly wrong. Drawing the mantle as a thin shell inverts the real relationship, where the mantle is the large majority of the volume and the crust is a sliver.
- A solid print that wastes material. A solid sphere is slow, heavy, and no more useful than a hollow one. Hollow it, and cut anything larger than a fist into hemispheres.
- Continents placed by eye. Without a pencil grid or a printed reference, the shapes drift and the model stops matching reality at exactly the point a viewer notices.
- No key or labels. A cutaway with no labels is a colorful ball. Numbered pins matched to a printed key let the model be relabeled later without repainting it.
- Assuming a downloaded file is printable. Open surfaces render correctly and fail in the slicer. Check that the mesh is a closed solid before building a project around it.
Where Neural4D Fits in an Earth 3D Model Workflow
Neural4D covers the two routes that start from nothing: describe the Earth you want, or supply a reference image and reconstruct it. The workflow runs input, generate, refine if needed, then export.
For refinement, Neural4D-2o supports conversational editing in natural language, scoped to models generated within that same Neural4D-2o session, which is how you adjust proportions or a surface treatment without regenerating from scratch. Export covers STL, GLB, OBJ, and FBX, so the same model serves a slicer, a game engine, and a screen.
On timing, be precise about which figure means what. An untextured base mesh generates in roughly 90 seconds, since that pass produces geometry only. PBR texture generation is a separate step that adds time on top, and a fully textured production model totals two minutes or more. The 90-second number describes the bare mesh, not a textured or print-ready export.
Questions About Making a 3D Model of Earth
Q: What is a 3D model of the Earth called?
A three-dimensional model of Earth’s surface is a globe, and its mathematical shape is an oblate spheroid: a sphere flattened slightly at the poles because rotation bulges the equator. It is sometimes mistakenly called a geoid, but a geoid is not a model of Earth at all. The geoid is the shape the ocean surface would take under gravity and rotation alone, ignoring winds, tides, and currents, and it is used as a reference surface for measuring elevation rather than as a picture of the planet.
Q: Is there a real 3D model of Earth available?
There are two different things people mean by this, and both exist. A visual model is a sphere carrying real satellite imagery, which is what most downloadable Earth models are. A scientific model is a data-driven reconstruction of the planet’s interior, derived from how seismic waves travel through it, from laboratory experiments on rock at high pressure and temperature, and from gravity and magnetic field measurements. No one has photographed Earth’s interior directly, so every interior visualization, including the layered cutaway in a classroom, is an inference from those measurements.
Q: How long does it take to make a 3D model of Earth?
It depends entirely on the route. Downloading an existing model takes seconds. Generating one from a prompt or a reference image takes minutes, with texture generation adding a pass on top of the base geometry. Printing takes hours to overnight depending on size and whether you print a solid sphere or a hollow shell. Building one by hand takes a weekend once drying time is counted, which is usually longer than the painting itself.
Q: Why does my Earth texture look stretched at the poles?
Because of how an equirectangular map is built. Every row of pixels in that projection represents an equal span of latitude, but rows near the poles cover a far smaller area of the actual surface because the lines of longitude converge there. When the rectangle is wrapped onto a sphere, those dense rows are stretched across a tiny cap, which turns the top and bottom of the map into a starburst. Cropping the extreme latitude rows before wrapping removes the artifact, at the cost of leaving a small open area at each pole that you can cap or ignore.
Q: Can I make an Earth model showing the core and mantle?
Yes, and the reliable way to do it is to build the layers as separate nested shells and then remove a quarter section, rather than trying to hollow out a finished sphere. In clay, you build outward from the inner core, cutting the wedge away as each layer goes on. Digitally, the equivalent is modeling each layer as its own solid and cutting the same wedge from all of them, which also makes the model printable as separate pieces that assemble. Size the layers by volume, not by radius, or the mantle ends up looking like a thin skin.
Q: Is a free Earth 3D model safe to use in a paid course?
Check the specific license rather than the word free. A CC0 or public domain model can be reused without conditions. A CC-BY model can be used commercially as long as you credit the creator in the way the license specifies. A model given away free by a marketplace under its own terms may restrict commercial use even though it cost nothing. The distinction that trips people up most is between using the model and redistributing the file: many licenses allow the first and prohibit the second, so including the STL in a course download pack is a separate question from showing the rendered result inside the course.
Q: Does an AI-generated Earth model get the continents right?
Not reliably, and it depends on the route. Generating from a text prompt produces a model that reads as Earth at a glance but whose coastlines are invented, which is fine for a background asset and not fine for teaching geography. Generating from an equirectangular reference image carries the real geography, because the model is being reconstructed from data rather than imagined. If accuracy matters, use the image route or a verified download, and treat prompt-only generation as a way to get a stylized or generic planet.
Build the Earth Model Your Project Needs
Pick the model type before the method. If the model has to answer where something is, any route works and the download route is fastest. If it has to explain what Earth is made of, you are building a cutaway, and the proportions are the part that gets graded.
From there the choice is mostly about time. A weekend build teaches the maker the most. A generated mesh gets you a specific Earth in minutes and exports straight to a slicer or an engine. Both are legitimate, and the same project can use both, with a generated interior for the demo and a hand-built globe for the hands-on part. If your class or project already runs on model building, the 3D cell model guide follows the same five-route structure for biology.
Describe the Earth You Need
Start from a prompt or a map and export a watertight mesh as STL, GLB, OBJ, or FBX.
1. USGS, “The Interior of the Earth,” General Information Publication. https://pubs.usgs.gov/gip/interior/
2. Cai Z-X, Dong Y-T, Huang Y, Bao X-L, Zhang J-J, He Y-N, Yu H-C, Dong L, Wang S-G, Qiu K-F. “3D-Printed Geological Models Support Task-Dependent Conceptual Learning in Geoscience: Insights from a Quasi-Experimental Study.” Applied Sciences 16(14):6888 (2026). https://www.mdpi.com/2076-3417/16/14/6888