How to Make a VRChat Avatar with AI: A Step-by-Step Guide
Quick Summary
- Learning how to make a vrchat avatar the traditional way requires Blender, Unity, manual rigging, and hours of 3D modeling experience.
- AI avatar generators like Neural4D can produce a fully rigged VRM-format avatar from a text prompt or reference image in minutes, skipping the manual modeling and rigging work.
- This guide covers the complete AI avatar pipeline: generating the model with AI, exporting in VRM format, preparing it in Unity, and uploading it to VRChat.
How to make a vrchat avatar has been a frustrating question for anyone who just wants a custom look without learning Blender, retopology, and Unity all at once. Traditional tutorials assume you already understand 3D modeling, which is why most VRChat players never finish their first avatar. This guide walks through a faster route: using AI to generate a fully rigged avatar, then handling the remaining Unity and VRChat SDK steps to get it in-game.
Table of Contents
Part 1: What You Need to Make a VRChat Avatar
Before jumping into the AI generation part, let’s clarify what the full pipeline looks like. If you want to know how to make a vrchat avatar, you need to understand that a VRChat avatar is not just a 3D model. It is a humanoid-rigged character with a properly configured descriptor, working blend shapes for lip sync, and PhysBone components for dynamic movement. Whether you use AI or build it by hand, every avatar must go through Unity and the VRChat SDK to become usable in the game.
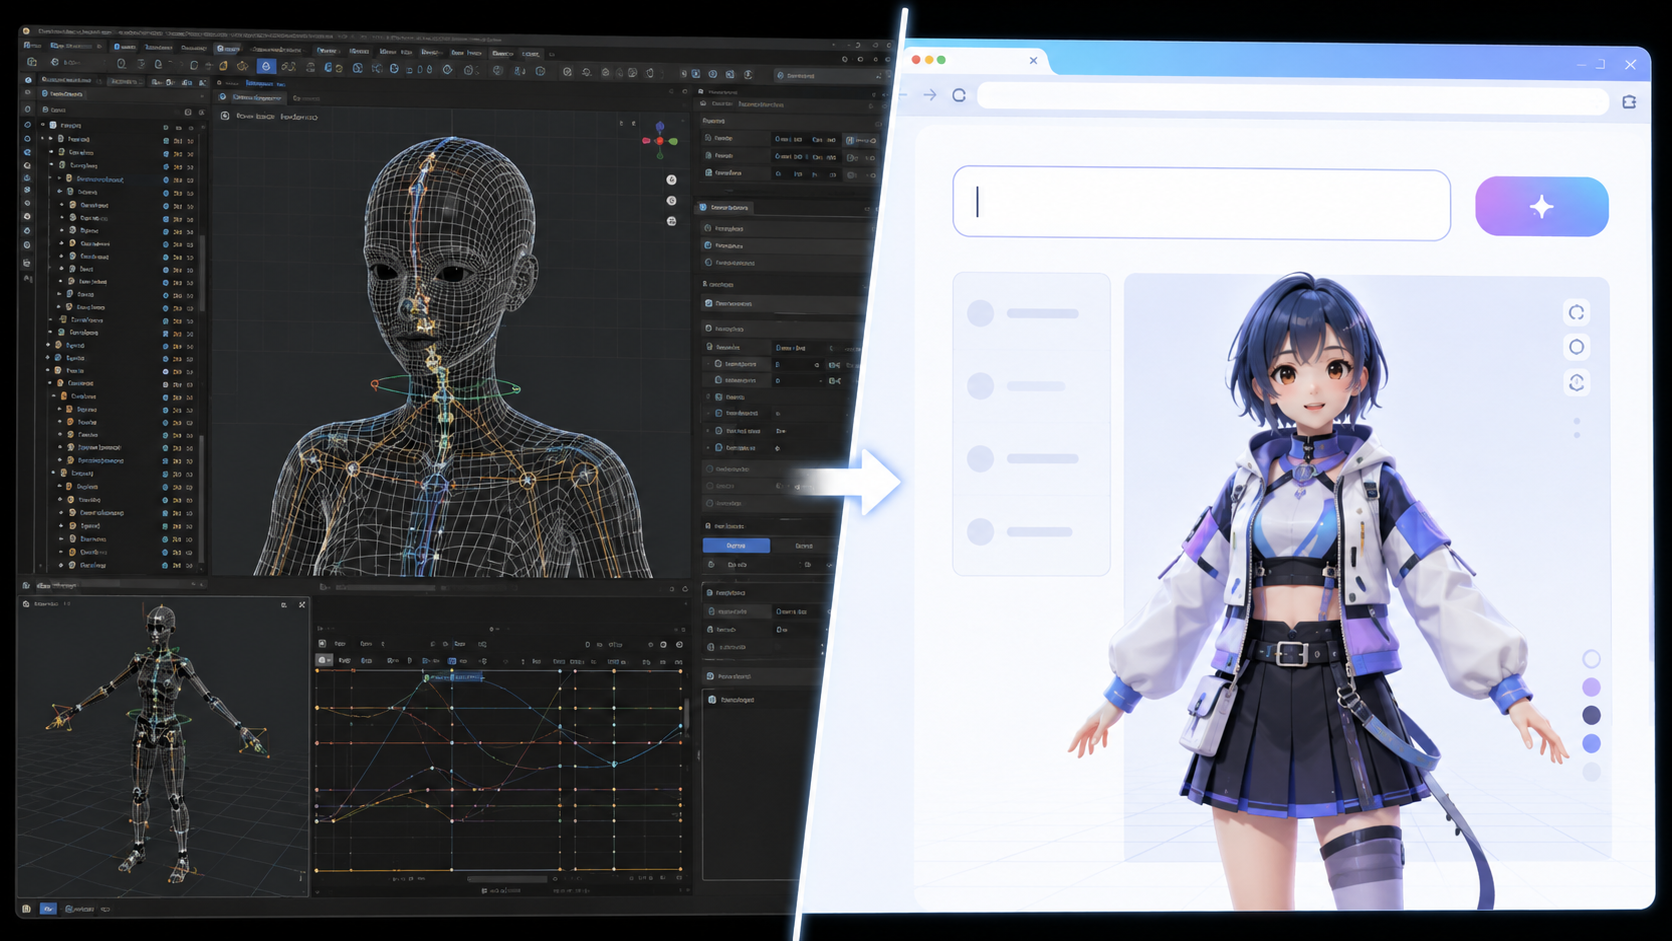
The traditional pipeline requires four tools: Blender (modeling and retopology), Unity (scene setup and SDK binding), a shader like lilToon or Poiyomi, and hours of manual work at each stage. The AI pipeline collapses the first two steps into one: an AI avatar generator produces a rigged, textured model ready for Unity import.
What You Will Need
| Tool | Purpose | Cost |
|---|---|---|
| Neural4D (AI Anime) | Generate VRM avatar from text or image | Free tier available |
| VRChat Creator Companion | Manage Unity version and SDK packages | Free |
| Unity (via VCC) | Import model, add VRCAvatarDescriptor, publish | Free |
| VRChat account (New User+) | Upload avatars to the game | Free |
Note: Unlike traditional tutorials, this guide does not require Blender. The AI handles mesh generation, rigging, and texturing in one pass. You will still need Unity and the VRChat SDK. Those are mandatory for any avatar, AI-generated or otherwise.
VRChat uses a Performance Rating system that evaluates your avatar based on triangle count, bone count, material slots, and texture memory. The PC Excellent tier caps at 32,000 triangles. AI-generated models from Neural4D come with clean, optimized topology that stays within these limits, giving you a strong starting point for optimization.
Part 2: Generate Your Avatar with AI
This is the core of how to make a vrchat avatar with modern tools, and it diverges from every traditional guide you have seen. Instead of opening Blender and manually shaping a mesh, you generate the avatar base from a description or reference image using the AI Anime feature. The result is a fully textured, rigged model that exports in VRM format, the same format VTuber software uses, and one that converts cleanly into the VRChat pipeline.
Step 1: Generate Your Avatar with AI Anime
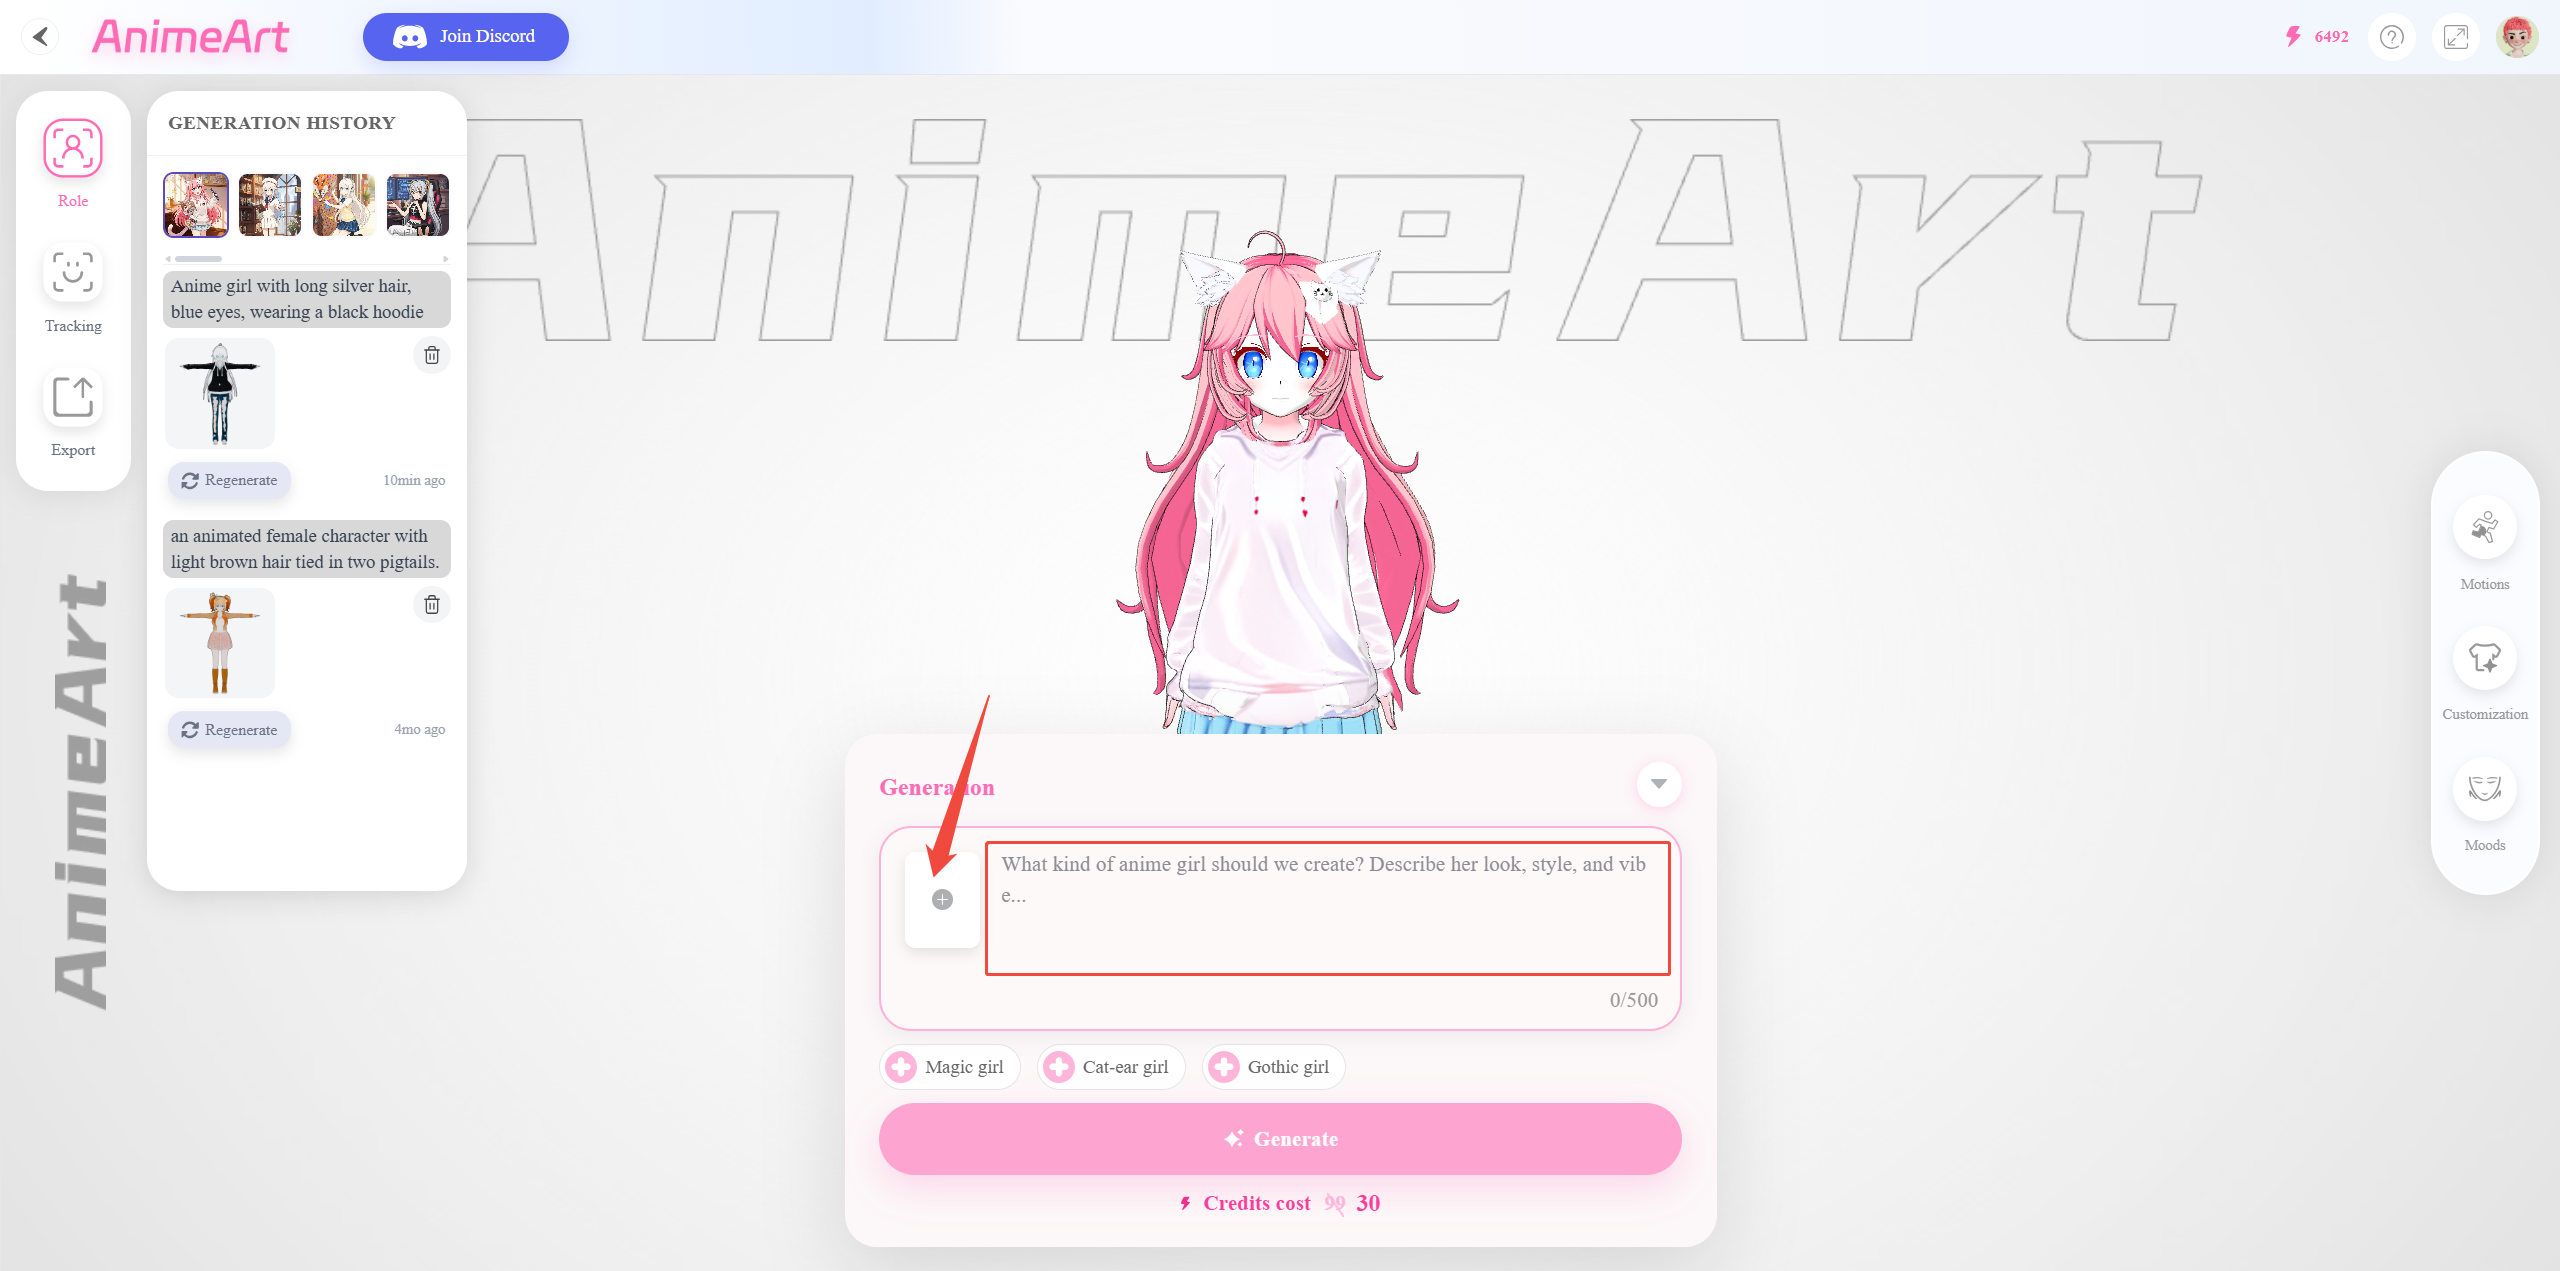
Open the AI Anime feature and you will see a single input area that accepts text, images, or both at the same time. This is where your avatar creation happens. You have three ways to describe your character:
- Text only: Type a detailed description of your character including style, clothing, proportions, and key visual traits. The AI builds the 3D model from your description alone.
- Image only: Upload a character sheet, commissioned artwork, or reference photo. The AI reconstructs the character as a 3D model while preserving the original design and colors.
- Text + Image: Upload a reference image and add text to refine specific details the image does not capture clearly. The AI blends both inputs for the most accurate result.
Example prompt (text only): “Anime girl with long silver hair, blue eyes, wearing a black hoodie and ripped jeans, standing T-pose, full body”
The AI 3D character generator handles complex anatomy well, including clothing folds, accessories, and stylized proportions common in anime and game art. The complete generation process, including geometry, textures, and the full skeleton rig, takes approximately 5 minutes. The resulting model has clean topology and proper edge flow, with no triangle soup to clean up.
Step 2: Auto-Rigging and VRM Export
This is the step that saves the most time. Neural4D applies auto-rigging to every generated character, creating a full humanoid skeleton automatically. You do not need to place bones manually or worry about weight painting. The auto-rigging tool maps the skeleton correctly for standard humanoid and standing quadruped characters.
Export the model in VRM format. VRM is a standard 3D avatar format that preserves the skeleton, blend shapes, and materials in a single file. It is the native format for the AI Anime pipeline and works directly with Unity import tools that convert VRM to the VRChat-compatible FBX workflow.
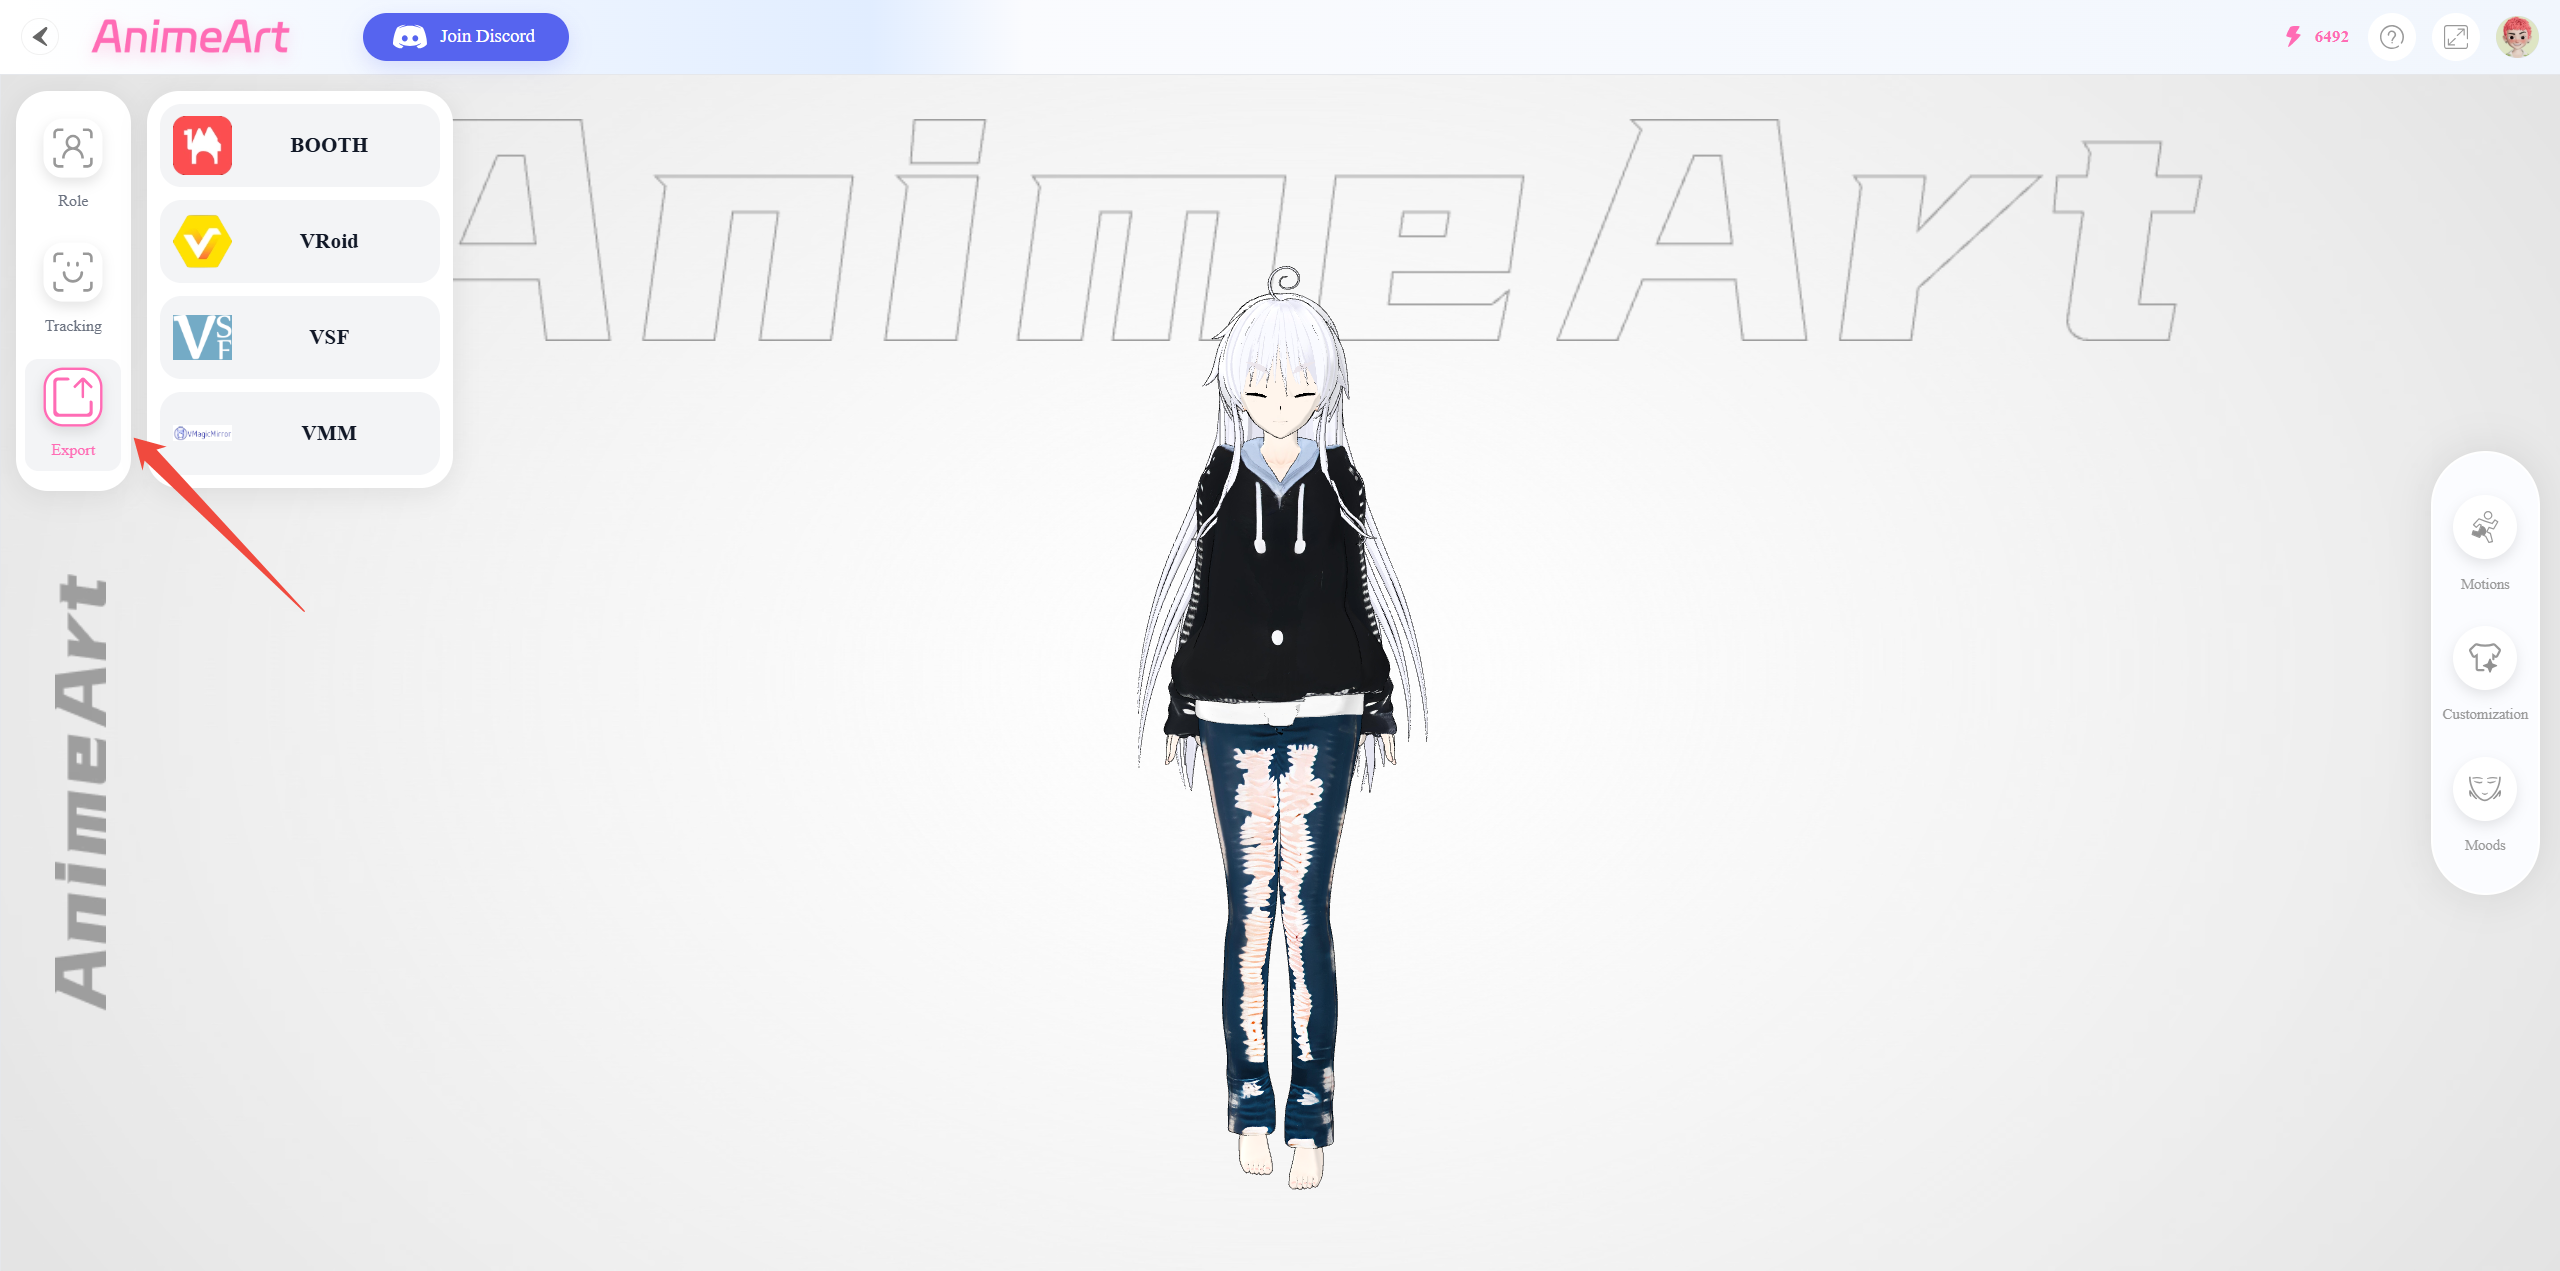
Because VRM is an open ecosystem standard, the exported file is compatible across a wide range of VRM-supported platforms including BOOTH, VRoid, VSF, and VMM. This means your AnimeArt character is not locked to a single tool. You can upload it to avatar marketplaces, use it in VTuber streaming software, or import it into other VRM-compatible applications with no conversion or compatibility work required.
Bonus: Check Expression Quality with Face Track
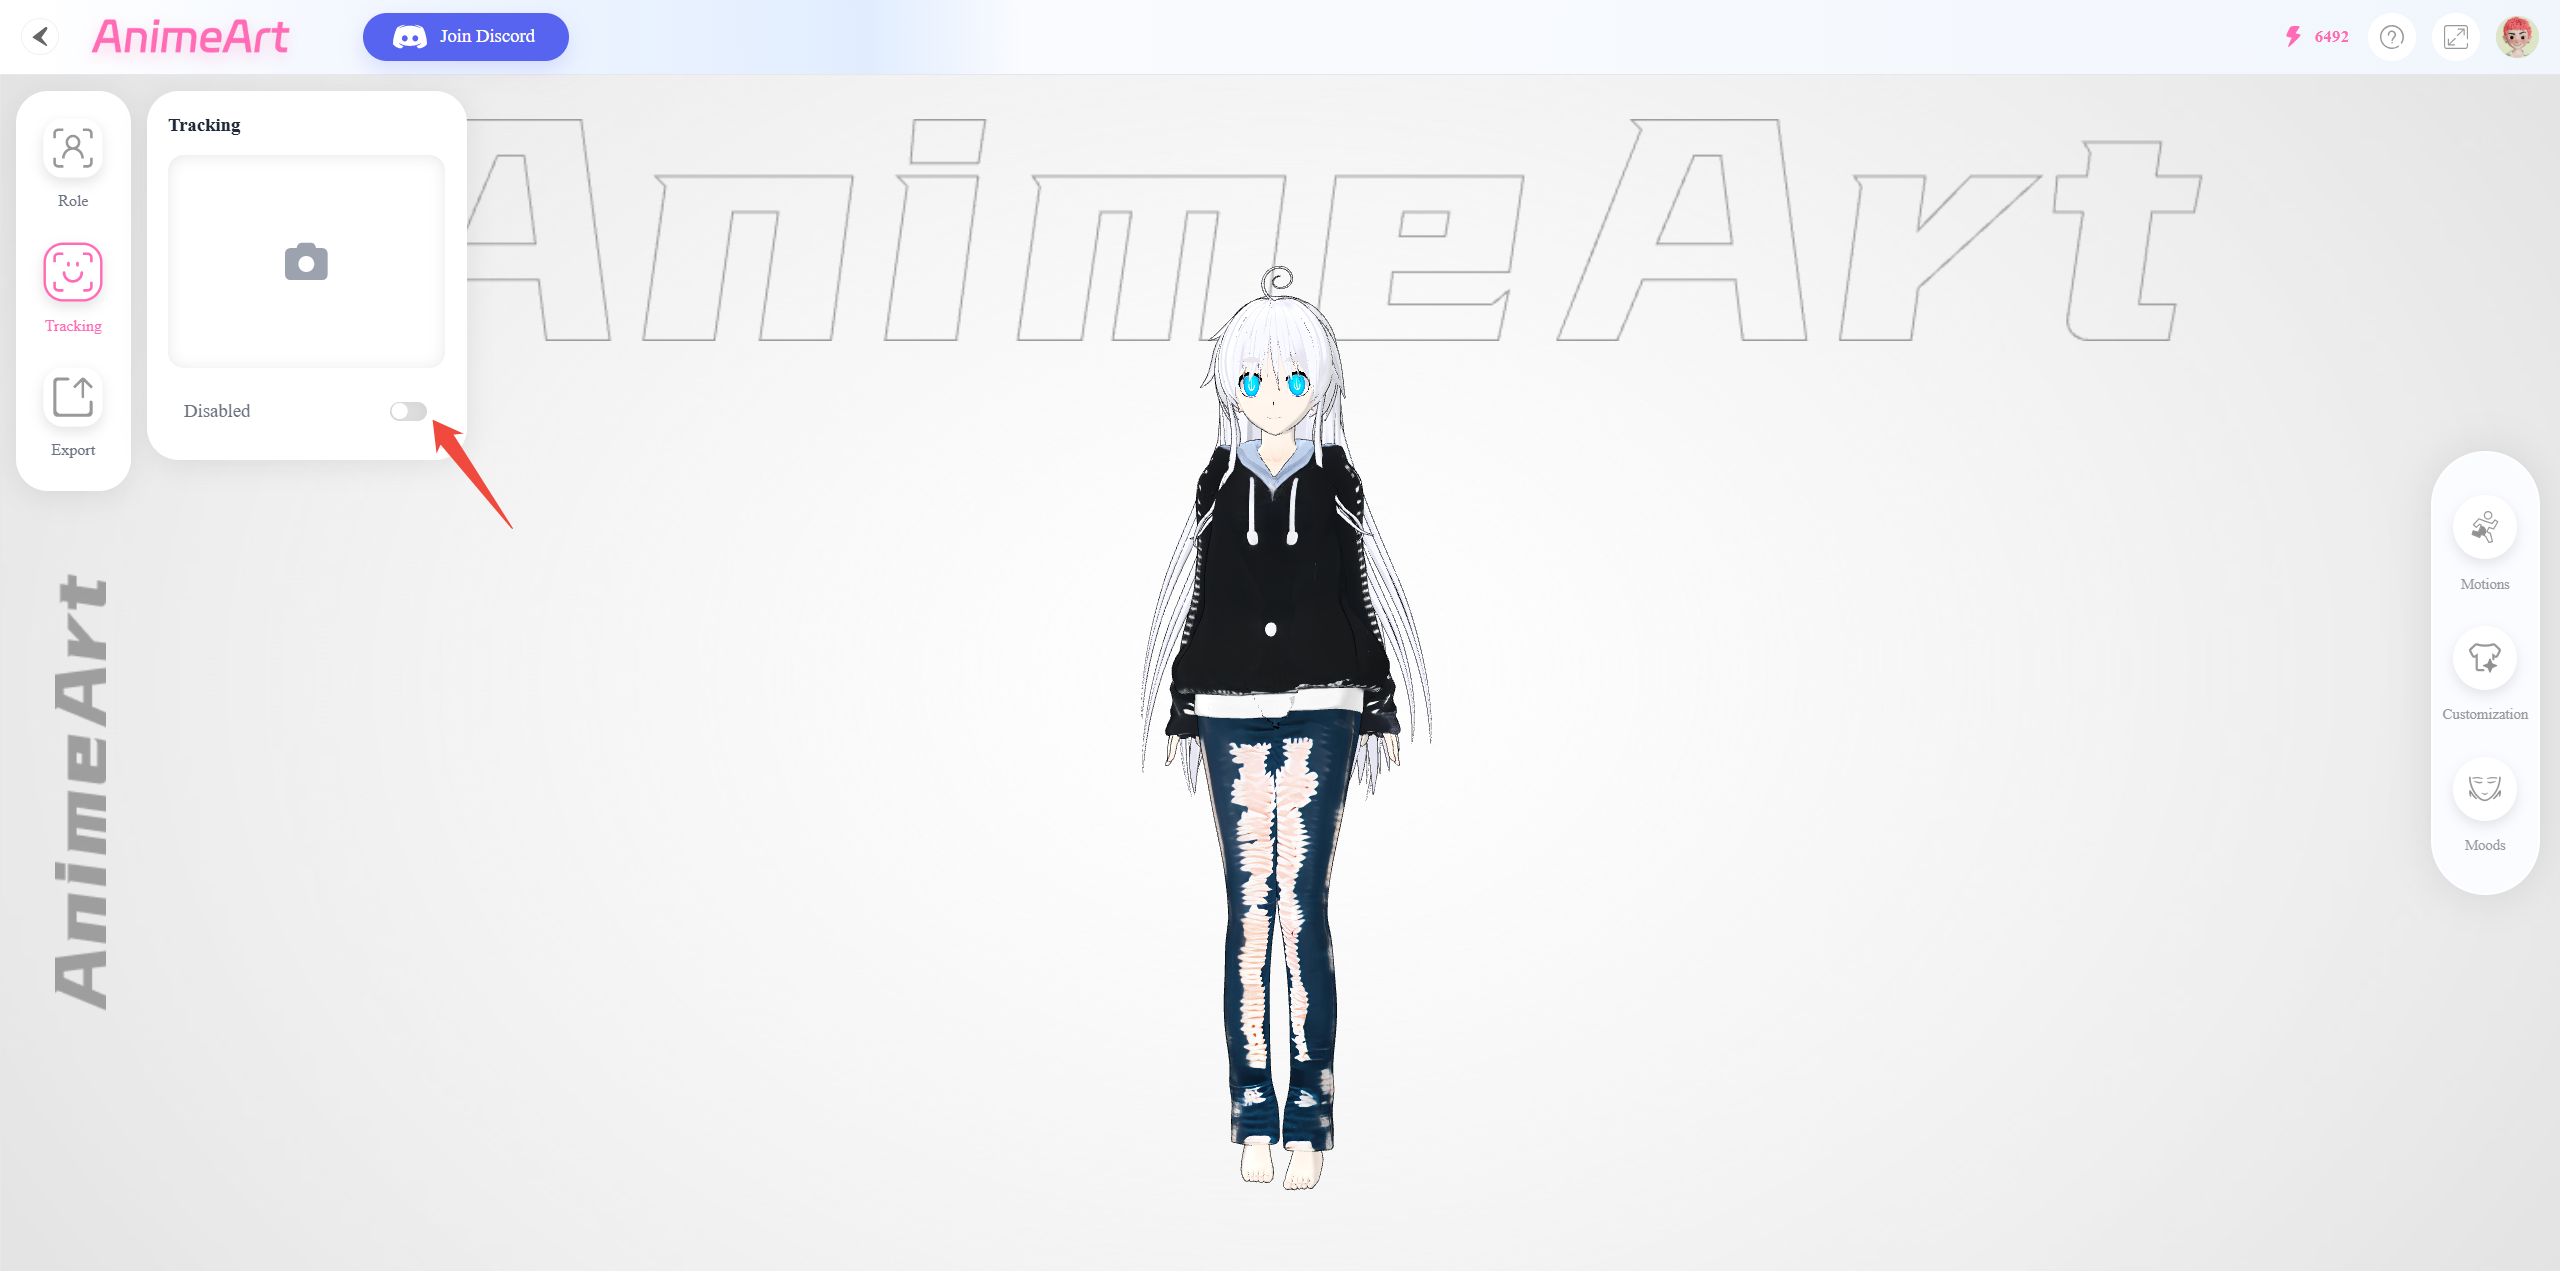
AnimeArt includes a Face Track feature that uses your webcam to drive the character’s facial expressions in real time, directly in the browser. Switch to the Tracking tab and enable Face Track to see how your avatar reacts to different emotions before exporting. Since every AnimeArt character is generated with a complete skeleton rig, Face Track works immediately with no additional setup. This is a useful quality check for VRChat creators who want to confirm that the character’s blendshapes and facial movements look natural before moving to the Unity import phase. Face Track is a preview tool only. It does not add tracking functionality to the exported file.
Generate Your VRChat Avatar in VRM Format
No Blender. No manual rigging. Just a prompt or image to get a ready-to-import avatar.
Free tier includes 50 Power per week. No credit card required.
If you want a deeper walkthrough of the AI Anime workflow specifically, check the detailed guide on how to use AI Anime for step-by-step instructions on prompt writing, style selection, and export settings.
Part 3: Upload Your Avatar to VRChat
Once you have your VRM file, the next step in how to make a vrchat avatar is getting it into the game. This requires Unity and the VRChat SDK. There is no way around this step, even with AI-generated models. VRChat requires the SDK binding to validate the avatar, assign the descriptor, and register it on their servers.
Step 1: Install VRChat Creator Companion and Set Up Your Project
Download and install the VRChat Creator Companion from the official VRChat website. Open it, click “Create New Project,” select the Avatar template, give it a name, and click “Open Project.” This launches Unity with the correct version and the VRCSDK3-Avatars package pre-installed.
In Unity, open VRChat SDK > Show Control Panel and log in with your VRChat account. You need a “New User” trust rank or higher to upload avatars publicly. Local testing is always available regardless of rank.
Step 2: Import the VRM File into Unity
VRChat works with FBX files, not VRM directly. Use a VRM-to-FBX converter or a Unity package like UniVRM to import the VRM file. Once imported, you will see the model with its skeleton, materials, and textures already mapped.
Drag the model from the Assets folder into the scene Hierarchy. Position it at coordinates (0, 0, 0) and check that the scale looks correct. The average human avatar should be roughly 1.65 meters tall. If the model appears too large or too small, adjust the scale transform before adding the descriptor.
Step 3: Configure the VRCAvatarDescriptor
Select the avatar root in the Hierarchy and click Add Component. Search for “VRC Avatar Descriptor” and add it. Configure these settings:
- View Position: Move the small white sphere to sit between the avatar’s eyes. This sets the camera position in first person.
- Lip Sync: Set to Viseme Blend Shape (recommended) and click Auto Detect. Neural4D generated models include blend shapes for mouth movement, so the SDK should detect them automatically.
- Animation Type: Verify the Rig is set to Humanoid in the model import settings.
Step 4: Build and Publish
Open the VRChat SDK panel and go to the Builder tab. You will see your avatar listed with validation checks. Name your avatar, add an optional description, choose visibility (Public so others can clone it, or Private), and set any content warnings.
Review the Performance Rank in the validations section. An AI-generated model from Neural4D typically lands in Good or Medium range for PC, depending on the level of detail. If it shows Poor or Very Poor, reduce the texture resolution or simplify the mesh before publishing.
Click Build & Publish for Windows. The SDK compiles the avatar, uploads it to VRChat’s servers, and adds it to your account. You can switch to it in-game from the Avatars menu.
Part 4: Common Problems and How to Fix Them
Even when you know how to make a vrchat avatar with AI, a few issues can appear during the Unity setup or after uploading. Here are the most common ones and how to resolve them.
Avatar Shows as Gray Robot (Fallback)
This happens when VRChat cannot load your avatar due to safety settings or performance rank. Check your in-game safety settings and ensure the avatar is not rated Very Poor. If the avatar exceeds the Excellent limit on Quest (7,500 triangles), it will be blocked on mobile platforms. Either optimize the mesh or restrict the avatar to PC-only.
Missing Textures or Pink Materials
If the textures disappear after importing into Unity, the material references may have broken during the VRM-to-FBX conversion. Re-import the VRM file and check that all texture maps are present in the Assets folder. Reassign materials manually if needed using the AI Texture tool to regenerate mismatched surfaces.
Avatar Is the Wrong Scale
AI-generated models sometimes import at a non-standard scale. In Unity, select the avatar root and check the Transform scale. VRChat expects humanoid avatars to be roughly human-sized. Adjust the scale uniformly (same X, Y, Z value) until the avatar looks correct next to a default Unity cube (1 meter per side).
PhysBones Not Moving Naturally
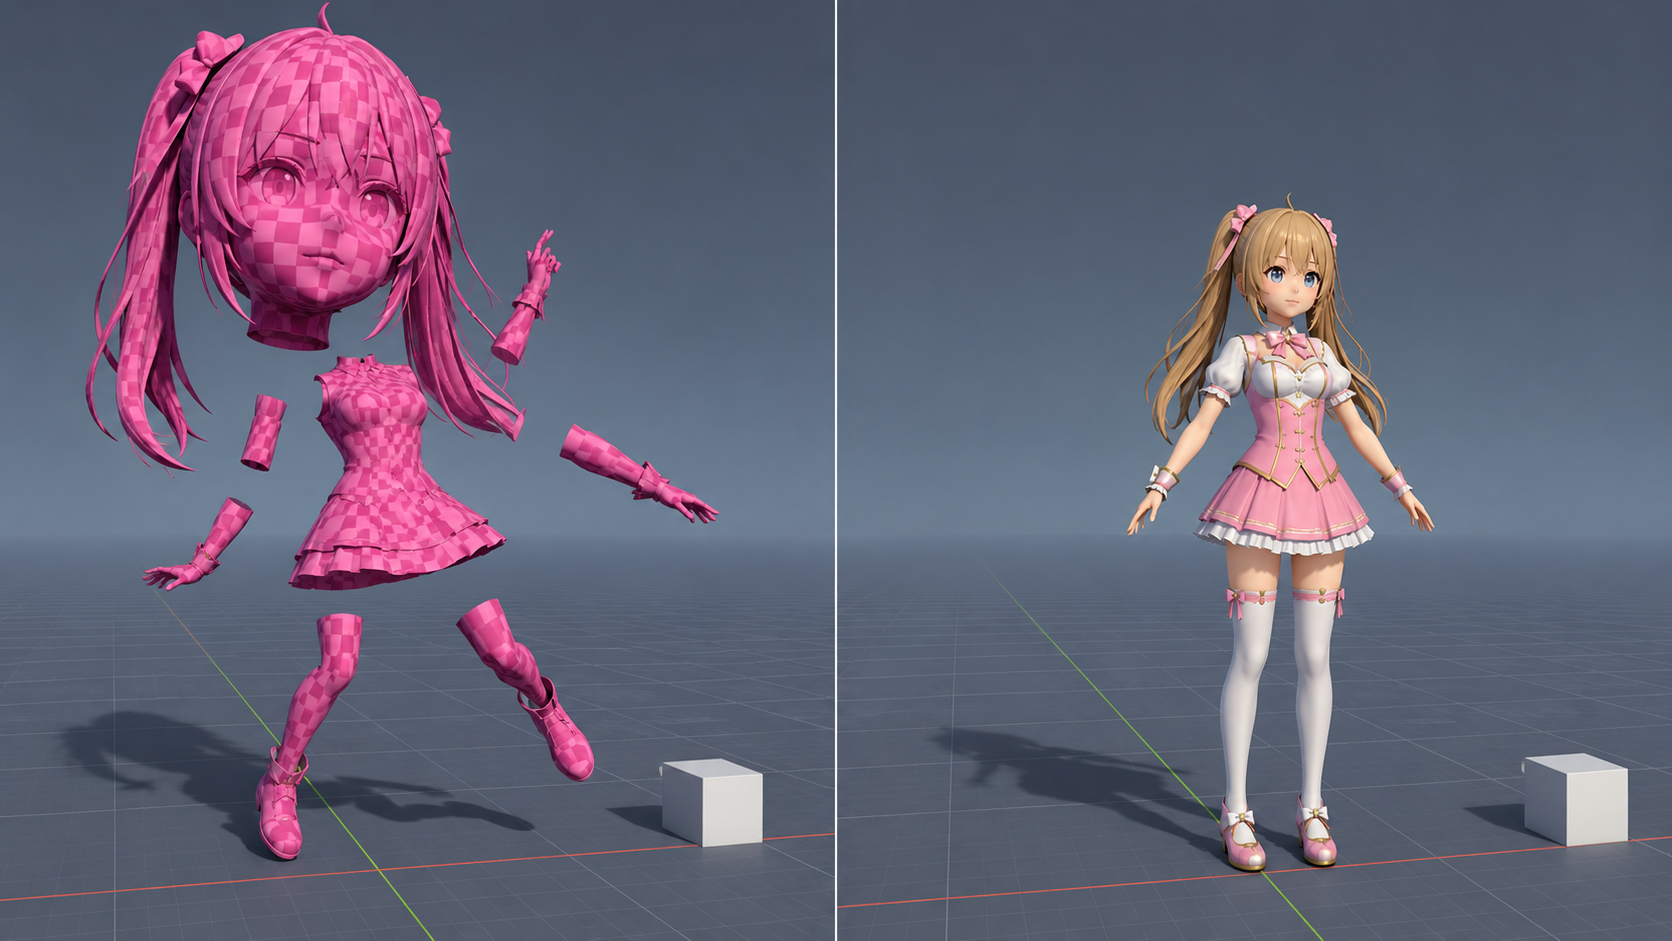
AI auto-rigging places the skeleton correctly, but PhysBone components (for hair, tails, and clothing movement) are not generated automatically. You need to add VRCPhysBone components manually in Unity to the relevant bones. Each dynamic element gets its own PhysBone with configurable parameters like stiffness, gravity, and radius.
Part 5: FAQs on Making VRChat Avatars with AI
Q: Is making a VRChat avatar free?
The tools themselves are mostly free. VRChat Creator Companion, Unity, and the VRChat SDK cost nothing. Neural4D offers a free tier that gives you 50 Power per week for generating models, which is enough to create and test several avatar concepts. The only cost is optional: paid tools like specific shaders or pre-made assets can add polish but are not required to get a working avatar in-game.
Q: What software do I need to make a VRChat avatar?
If you are asking how to make a vrchat avatar with AI, you need three tools: Neural4D for generating the model, the VRChat Creator Companion for managing Unity and the SDK, and Unity itself. That is three tools total. The traditional workflow requires Blender, Unity, a 3D modeling plugin, and a separate rigging tool, plus the skills to use each one. The AI approach eliminates Blender and all manual modeling work.
Q: Is making a VRChat avatar hard?
How to make a vrchat avatar the traditional way is hard. It requires understanding of 3D modeling, retopology, UV mapping, rigging, weight painting, Unity animation, and the VRChat SDK. With AI generation, the difficulty drops significantly. The AI handles mesh creation and rigging automatically. What remains is the Unity setup (adding the avatar descriptor, adjusting view position, configuring lip sync) which takes about 15 to 30 minutes for a first attempt.
Q: Can I use AI to make a VRChat avatar?
Yes. If you want to know how to make a vrchat avatar without learning 3D modeling, AI is the answer. Neural4D’s AI Anime feature generates a textured, rigged avatar in VRM format from either a text description or a reference image. The VRM format preserves the skeleton, blend shapes, and materials, which makes the transition to the VRChat Unity pipeline straightforward. You still need to run it through Unity and the VRChat SDK for the final upload, but the hardest parts, modeling and rigging, are handled by the AI.
Q: What file format does VRChat use for avatars?
VRChat works with FBX files containing a humanoid rig. The upload process goes through Unity, which compiles the model into the game’s native format. The VRM format (used by Neural4D AI Anime) is not directly supported by VRChat, but it converts cleanly to FBX through Unity import tools like UniVRM. The VRM format preserves all the information VRChat needs: skeleton, blend shapes, materials, and textures.
Q: Do I need Blender to make a VRChat avatar?
When you learn how to make a vrchat avatar with AI, no. Not with the AI workflow. Neural4D generates a clean mesh with proper topology and full rigging, so there is no need to open Blender for modeling, retopology, or weight painting. The complete pipeline from generation to upload uses only Neural4D, the VRChat Creator Companion, and Unity. If you want to add custom modifications later, Blender remains an option, but it is not required to get a functional avatar into the game.
Q: How long does it take to make a VRChat avatar with AI?
If you are following this guide on how to make a vrchat avatar with AI, from start to finish, about 30 minutes for a first avatar. The AI generation takes roughly 5 minutes for a fully rigged textured model. Unity setup and SDK configuration take another 20 to 30 minutes the first time. Subsequent avatars are faster because the Unity project is already configured. Compare this to the traditional workflow, which typically takes 3 to 8 hours for someone with basic 3D experience, and multiple days for a complete beginner.
Q: Can I use my own artwork as reference for an AI avatar?
Yes. In the AI Anime interface, you can upload a reference image alongside or instead of a text description. The AI reconstructs the character as a 3D model. This works well for character sheets, concept art, commissioned illustrations, or even photos. For best results, use a front-facing full-body image with clear outlines and consistent lighting. The AI preserves the character’s design, colors, and proportions while building the 3D geometry around them.
Q: Will an AI-generated avatar look good in VRChat?
AI-generated avatars from Neural4D use watertight mesh topology and PBR materials, which means they render correctly under VRChat’s lighting conditions. The models have clean edge flow and proper UV mapping, so there are no visible seams or distorted textures. The visual quality depends on the quality of the input prompt or reference image. Detailed descriptions produce better results. For the most popular VRChat aesthetic (anime-style characters), the AI Anime feature is specifically optimized to match that look.
Your VRChat-Ready Avatar Is One Click Away
Generate a fully rigged VRM avatar from text or image. No Blender needed.
Free tier available. 50 Power per week to start creating.
If you want to explore more about AI-driven character creation, read our guide on how to generate 3D anime characters for games for additional tips on prompt engineering and workflow optimization.