Zelda 3D Print Guide: Best Free STL Files, Settings & Custom Props
Quick Summary
- Best free STL sources: Printables, MyMiniFactory, Cults3D, and Thingiverse all host high-quality Zelda models
- Print settings that work: 0.12–0.16mm layer height, 15–20% gyroid infill, tree supports for helmets and overhanging props
- Majora’s Mask 3D print: resin at 0.05mm for best detail; FDM at 0.12mm with tree supports inside the mask cavity
- Selling 3D printed Zelda replicas violates Nintendo’s IP rights. Custom original designs are the legal alternative
- Neural4D Image to 3D turns your own Zelda-inspired concept art or reference photo into a unique printable STL in about 2 minutes
Zelda 3D Print projects range from tabletop-scale Master Swords to full wearable Hylian Knight helmets. The community has built an enormous library of free STL files, but the real skill is in the print settings, material choices, and finishing techniques that separate a clean prop from a failed print. This page covers the best free sources, the settings that actually work for each prop type, the IP rules around selling, and how to generate your own custom Zelda-inspired designs with Neural4D.
Contents
- Part 1: Where to Find Free Zelda 3D Print Files
- Part 2: Print Settings for Zelda Props
- Part 3: The IP Situation: What You Can and Cannot Sell
- Part 4: How Neural4D Creates Custom Zelda-Inspired Designs
- Part 5: Filaments and Finishing for Zelda Props
- Part 6: Common Questions About Zelda 3D Printing
- Ready to Build Your Own Legend?
Part 1: Where to Find Free Zelda 3D Print Files
Four platforms dominate the Zelda 3D print community. Each has its own strengths depending on what you are trying to print.
Printables.com is the best starting point for most projects. The model quality has improved significantly since Prusa started curating submissions, and search filters let you sort by printer type, material, and print time. Search “Majora’s Mask”, “Hylian Shield”, or “Master Sword BOTW” and you will find dozens of options, many with multi-color AMS configurations already set up.
MyMiniFactory focuses on professionally verified models. Designers submit working prints before listing, which means fewer failed slices. The Zelda category leans toward cosplay scale: full-size Master Sword at around 100cm, wearable Sheikah Slate, and fully articulated Guardian spider. Prices range from free to around $8 for premium designs. It’s a reliable source if you are printing something for display or cosplay rather than a quick gift.
Cults3D lists over 1,000 Zelda-tagged designs and is where many fan designers upload their most complex work first, especially multipart assemblies and stained-glass aesthetic pieces. Thingiverse remains useful for older, battle-tested files from the community’s early years, particularly for the classics from Ocarina of Time and Majora’s Mask. The files are rougher, but the proven print histories in the comments are genuinely useful.
If you have printed an Iron Man helmet or similar large prop before, you already have the skills for the more ambitious Zelda projects in these libraries.
Part 2: Print Settings for Zelda Props
The right settings depend on the prop type. Weapons, wearables, and display pieces all have different priorities.
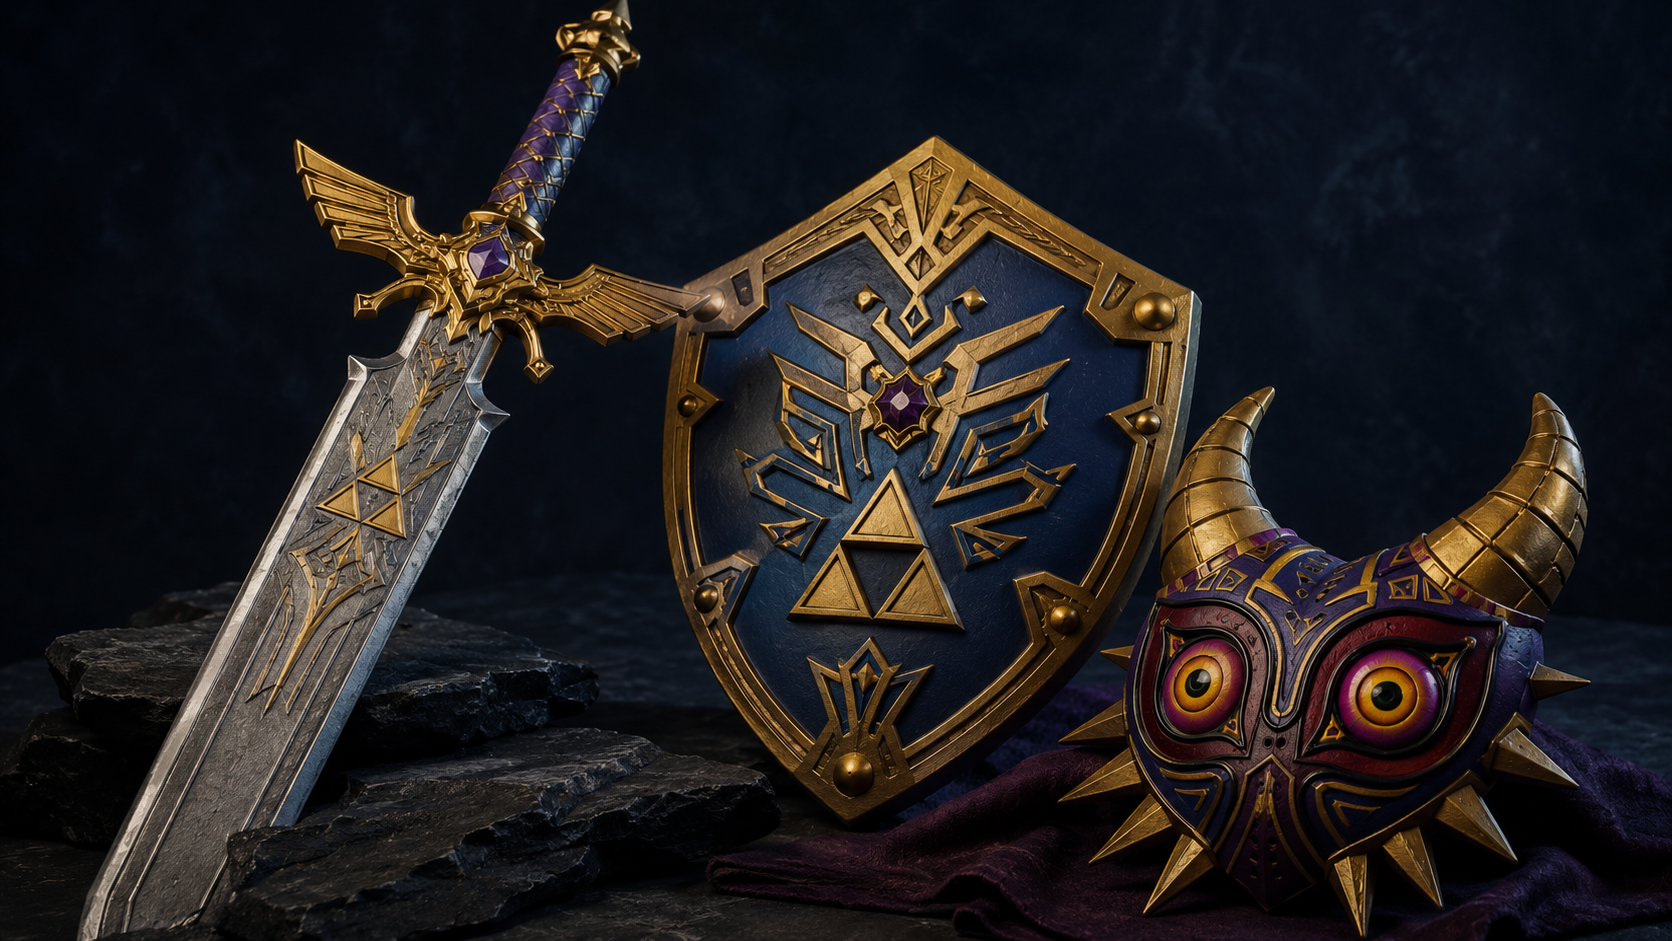
Weapons and props (Master Sword, Hylian Shield)
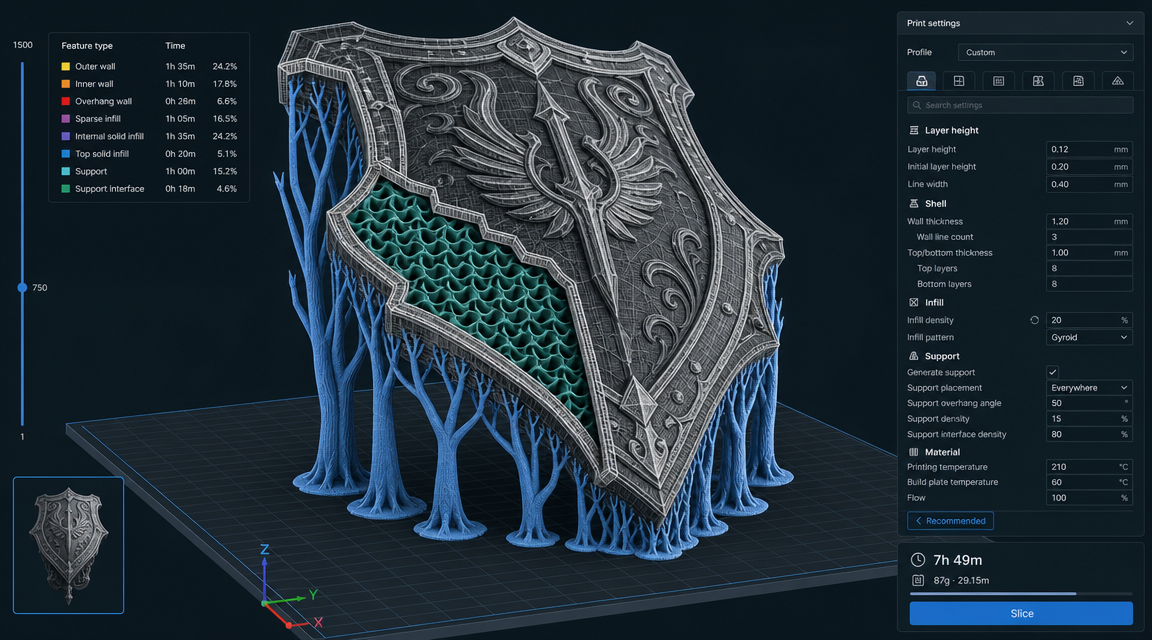
Layer height: 0.2mm for large flat areas (the shield body), 0.12mm for sections with fine embossing or decorative edges. Infill: 15–20% gyroid for display-only pieces; step up to 30–40% if the prop will take handling stress at conventions. Tree supports work better than linear supports for organic shapes: you get cleaner surface removal on the Triforce recesses. Print the Master Sword in two halves and join with a 10mm steel rod down the center for rigidity.
Helmets and wearables (Hylian Knight, Fierce Deity)
Scale first: measure your head circumference and scale the model in your slicer before touching any other setting. A common mistake is printing at 100% and discovering the helmet fits a child. For wearable helmets, 3–4 walls minimum keeps the structure solid under the weight of the visor. Infill can stay at 10–15% since the walls carry the load. Print orientation matters: print the crown facing down with supports, not upright, to avoid a seam line across the forehead.
Majora’s Mask 3D Print Settings
A Majora’s Mask 3D print is the most-requested project in the Zelda community. Resin gives the best result: 0.05mm layer height captures the intricate surface detail in the eyes and horns with no sanding needed. On FDM, use 0.12mm layer height with tree supports placed inside the mask cavity, not on the decorative face. Print in two halves (face + back shell), sand to 400 grit, apply filler primer, then paint. The Printables multi-color version handles the purple, orange, and yellow zones automatically if your printer has AMS or a tool changer. The same sizing logic applies to any other wearable prop. If you want to convert a reference image of a custom helmet into an STL before printing, see the guide on how to convert an image to an STL file.
Want a Zelda Prop Nobody Else Has?
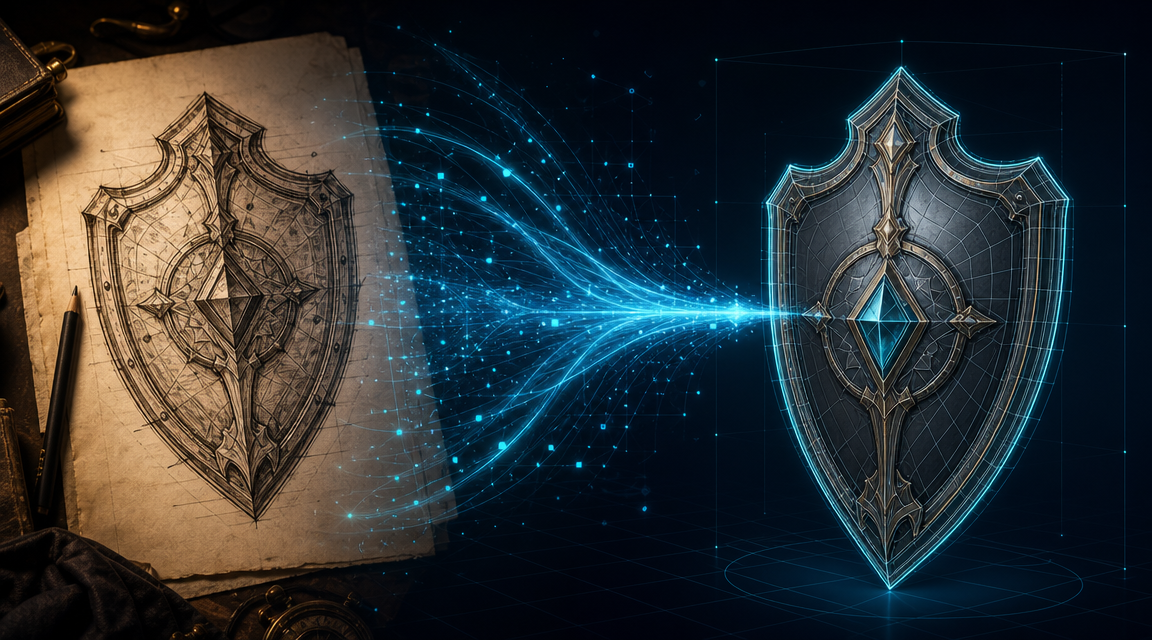
Upload your concept sketch or reference photo. Neural4D generates a watertight STL from your art in about 90 seconds (base mesh).
Generate Your Custom Design Now
Free to try. No design software required.
Part 3: The IP Situation: What You Can and Cannot Sell
This comes up in every Zelda 3D print community thread and the answer is consistently the same. Nintendo’s characters, weapons, and item designs are protected by copyright. Printing them for personal use is a grey area that Nintendo has generally left alone. Selling them is not.
Nintendo has filed DMCA takedowns against Etsy shops selling 3D printed Zelda replicas and has pursued legal action against creators running Patreon campaigns based around Nintendo IP. The U.S. Copyright Office’s DMCA framework gives copyright holders the right to issue takedowns and pursue damages for unauthorized commercial use of their protected works, regardless of medium, physical prints included.
The practical line is clear: print for yourself, print as a gift for a friend, or print a few for your cosplay group and you are unlikely to encounter any issues. The moment you list on Etsy, charge commissions, or run a Patreon tier with physical rewards featuring Nintendo designs, you are operating in territory Nintendo actively monitors and enforces. No amount of “fan made” or “inspired by” language in the listing changes the underlying IP status of a direct replica.
The legal alternative is designing something original. A Zelda-inspired shield that uses your own geometric pattern, your own color scheme, your own proportions. That design is yours. Neural4D is designed for exactly this path, which the next section covers.
Part 4: How Neural4D Creates Custom Zelda-Inspired Designs
Neural4D’s Image to 3D does not replicate existing Nintendo models. That is precisely the point. The tool takes your input: a reference photo of a prop you have built, a sketch on paper, a digital illustration you drew. It converts that input into a watertight, print-ready 3D mesh.
The workflow is direct. Upload a clear reference image of your Zelda-inspired design concept. The Direct3D-S2 architecture processes the full volume (not just a depth estimate from the front face) and generates a closed mesh with clean topology. Select PBR textures upfront if you want a textured GLB for reference; for a clean print-ready STL, the base mesh alone is what you need. The whole process takes around 90 seconds for an untextured base mesh, or 2 minutes and above if you include PBR texture generation. You then export the STL and drop it straight into your slicer.
This is not a “generate a replica faster” approach. It is how you build a prop library that is legally yours: Hylian-aesthetic shields with your own emblem, Sheikah-style gauntlets based on your own sketches, a Fierce Deity-inspired mask based on your own concept art. The mesh output is watertight, which means it goes directly into your slicer with no hole-patching or manual repair. For a detailed walkthrough of the full process, the guide on how to convert a photo to a 3D model covers every step from image prep through export.
Neural4D also includes a conversational refinement layer (Neural4D-2.5) for fine-tuning proportions and materials after the initial generation, useful if the first pass needs the shield arm indentation deeper, or the horn tips on your custom mask sharpened. You can read about how creators are applying this to other IP-adjacent projects in the guide on AI-generated Gundam 3D print workflows.
Part 5: Filaments and Finishing for Zelda Props
The filament choice shapes the entire finish workflow. For Zelda 3D print projects, the primary materials worth stocking are PLA+, Silk PLA, and eSUN resin for detail work.
Silk Gold PLA is the standout choice for the Hylian Shield’s gold trim and the Triforce symbol inserts. The metallic sheen survives without any paint, making it useful for multi-material builds where the gold sections are printed in a second pass. PLA+ handles everything structural: the shield body, sword blade, helmet shell. It machines and sands cleanly, takes primer without bubbling, and does not warp the way ABS does on large flat surfaces.
For the Kokiri Sword handle or any Zelda prop with a wrapped leather grip, Wood PLA gives an organic texture that is difficult to replicate with paint. The filament is abrasive on brass nozzles. Use hardened steel if you have it. For a Majora’s Mask 3D print specifically, resin is the correct answer if you have access to an MSLA printer: the face detail in the original game model requires resolution that FDM cannot match without an exceptional amount of post-processing.
Finishing sequence that works
Sand FDM prints to 220 grit to knock down layer lines. Apply 2–3 coats of filler primer (rattle can, 30cm distance) in thin passes. Heavy single coats fill fine detail. Sand again at 400 grit between primer coats. Basecoat in black for Zelda props; black underneath all other colors makes them pop and gives recesses a natural shadow. For the Hylian Shield’s blue field, use Tamiya or Vallejo acrylics diluted to a thin wash consistency and build up in 3–4 coats rather than two thick ones. Gloss clear coat on the Triforce and eye elements, matte everywhere else, gets you the finish that matches the game aesthetic.
The same approach applies to any Zelda-inspired print you generate through Neural4D. The watertight mesh takes primer and paint identically to any commercial STL, since the geometry is already manifold. If you want to explore how anime and IP-adjacent 3D print projects use this same finishing pipeline, the Chainsaw Man 3D model guide runs through the same process for darker, high-contrast paint schemes.
Part 6: Common Questions About Zelda 3D Printing
Where can I find free Zelda 3D print files?
Printables.com, MyMiniFactory, Cults3D, and Thingiverse all host free Zelda STLs. Search for specific items like “Master Sword STL”, “Hylian Shield”, or “Majora’s Mask”. Always check the license on each file: most allow personal printing but prohibit commercial sale.
How do I get started with a Majora’s Mask 3D print?
Download a high-detail STL from Printables or MyMiniFactory. Resin printers at 0.05mm layer height give the best result with no sanding required. On FDM, use 0.12mm layer height with tree supports placed inside the mask cavity, not on the face surface. After printing, sand, prime with filler primer, then paint using Tamiya acrylics in the game’s purple, orange, and yellow color scheme. Multi-color AMS versions on Printables eliminate painting entirely if your printer supports it.
What are the best print settings for a Zelda helmet?
Scale the model to your head measurements first. For wearable helmets: 0.12mm layer height, 3–4 walls, 15% gyroid infill, tree supports. Print the crown facing down with supports rather than upright. This eliminates the seam line across the forehead. PLA+ is the material of choice for structural rigidity without warping on large flat sections.
Can I sell 3D printed Zelda models?
Selling direct replicas of Nintendo’s Zelda designs, even printed yourself, violates Nintendo’s copyright. Nintendo actively files DMCA takedowns against Etsy sellers and has pursued legal action against Patreon campaigns using their IP. The legal path is creating an original Zelda-inspired design: your own geometry, your own aesthetic, based on your own artwork. Neural4D Image to 3D lets you generate a custom printable STL from your own concept art, which you own fully and can sell commercially under a paid Neural4D subscription.
Your Prop. Your Design. Your Legend.
Turn your Zelda-inspired concept art into a print-ready STL with Neural4D. Watertight geometry, straight into your slicer.
50 free credits per week. No design software needed. Zelda 3D Print your own original design today.