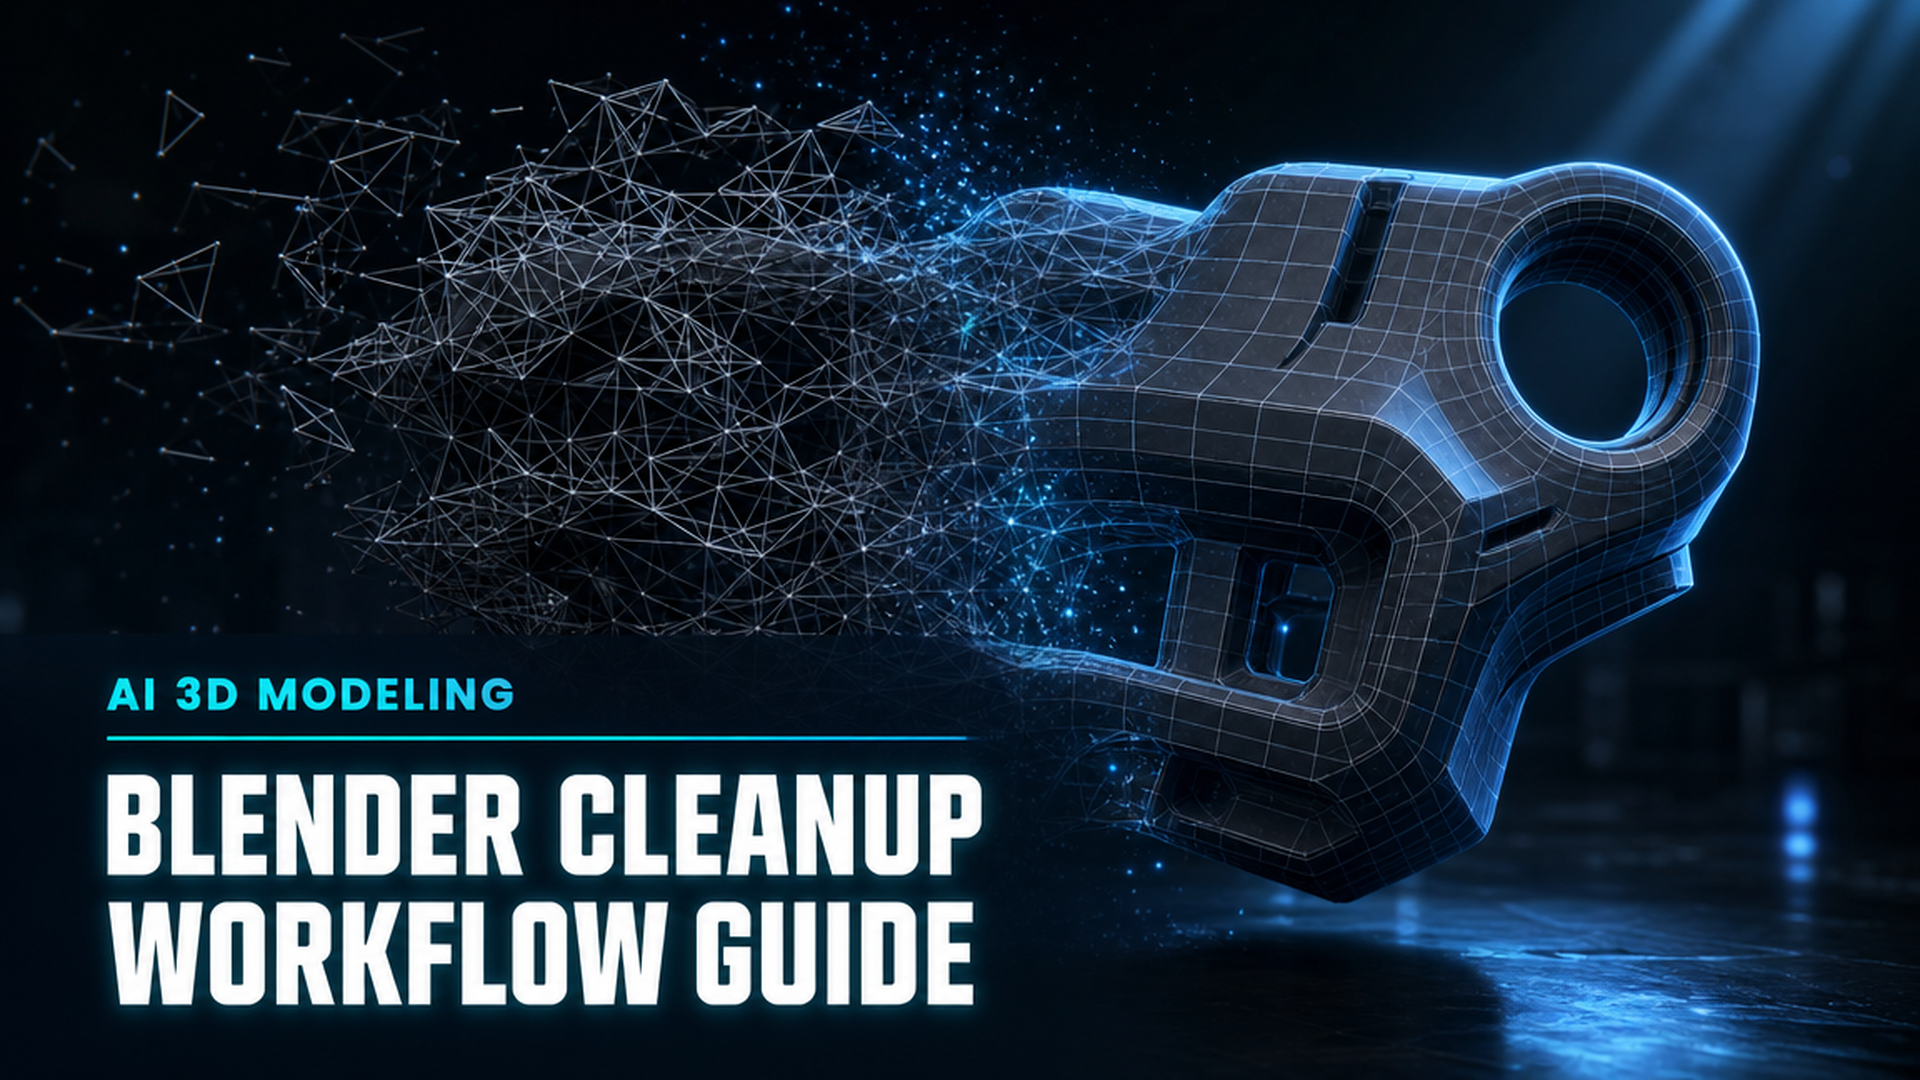
AI 3D Model Blender Cleanup: The Complete 2026 Workflow Guide
Quick Summary
- AI-generated 3D models from tools like Meshy and Tripo often arrive with non-manifold geometry, inverted normals, and 50,000+ unorganized triangles.
- The standard AI 3D model Blender cleanup sequence: import and audit, mesh repair (Merge by Distance, 3D Print Toolbox), polygon reduction (Decimate or Remesh), normal fixing, then export preparation.
- Neural4D outputs watertight meshes that typically require less cleanup than Meshy or Tripo output, though some manual adjustment in Blender is still normal depending on the model complexity.
- Critical pre-check: verify scale, run the 3D Print Toolbox audit, and identify non-manifold edges before touching the mesh.
- GLB is the best export format for web and real-time use; FBX for Unreal Engine; OBJ for maximum compatibility.
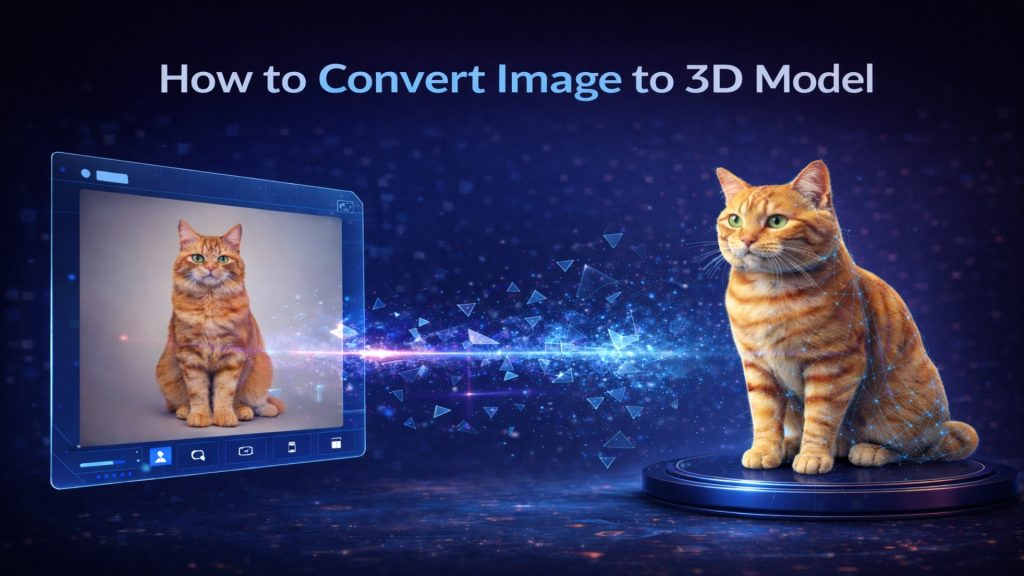
You have an AI-generated model and you need to get it working in Blender. The AI 3D model Blender cleanup workflow is what stands between raw triangle soup and a usable, engine-ready asset. This guide covers every step inside Blender: importing and auditing the mesh, repairing geometry, reducing polygon count, fixing normals, and preparing for export, with notes on what Meshy, Tripo, and Neural4D output typically looks like when it hits Blender’s importer.
Contents
- Part 1: The Triangle Soup Problem
- Part 2: Pre-Cleanup Assessment
- Part 3: Mesh Repair in Blender
- Part 4: Normal Fixing and Shading Errors
- Part 5: Polygon Reduction for Export
- Part 6: Export Preparation
- Part 7: Choosing a Cleaner Starting Point
- Part 8: Common Questions on AI 3D Model Cleanup
- Stop Fighting the Topology
Part 1: The Triangle Soup Problem
Most AI 3D generators use depth estimation and voxel reconstruction methods that prioritize visual appearance over geometry quality. The output is technically a 3D mesh, but the internal structure is completely unorganized: 40,000 to 80,000 triangles arranged with no edge flow, overlapping faces, and open holes where the algorithm lost confidence in the geometry.
Blender displays these models fine in viewport. The problems show up the moment you try to use them: game engine importers reject non-manifold geometry, 3D printing slicers throw errors on non-watertight meshes, and rigging fails because the topology has no logical vertex groups to work with.
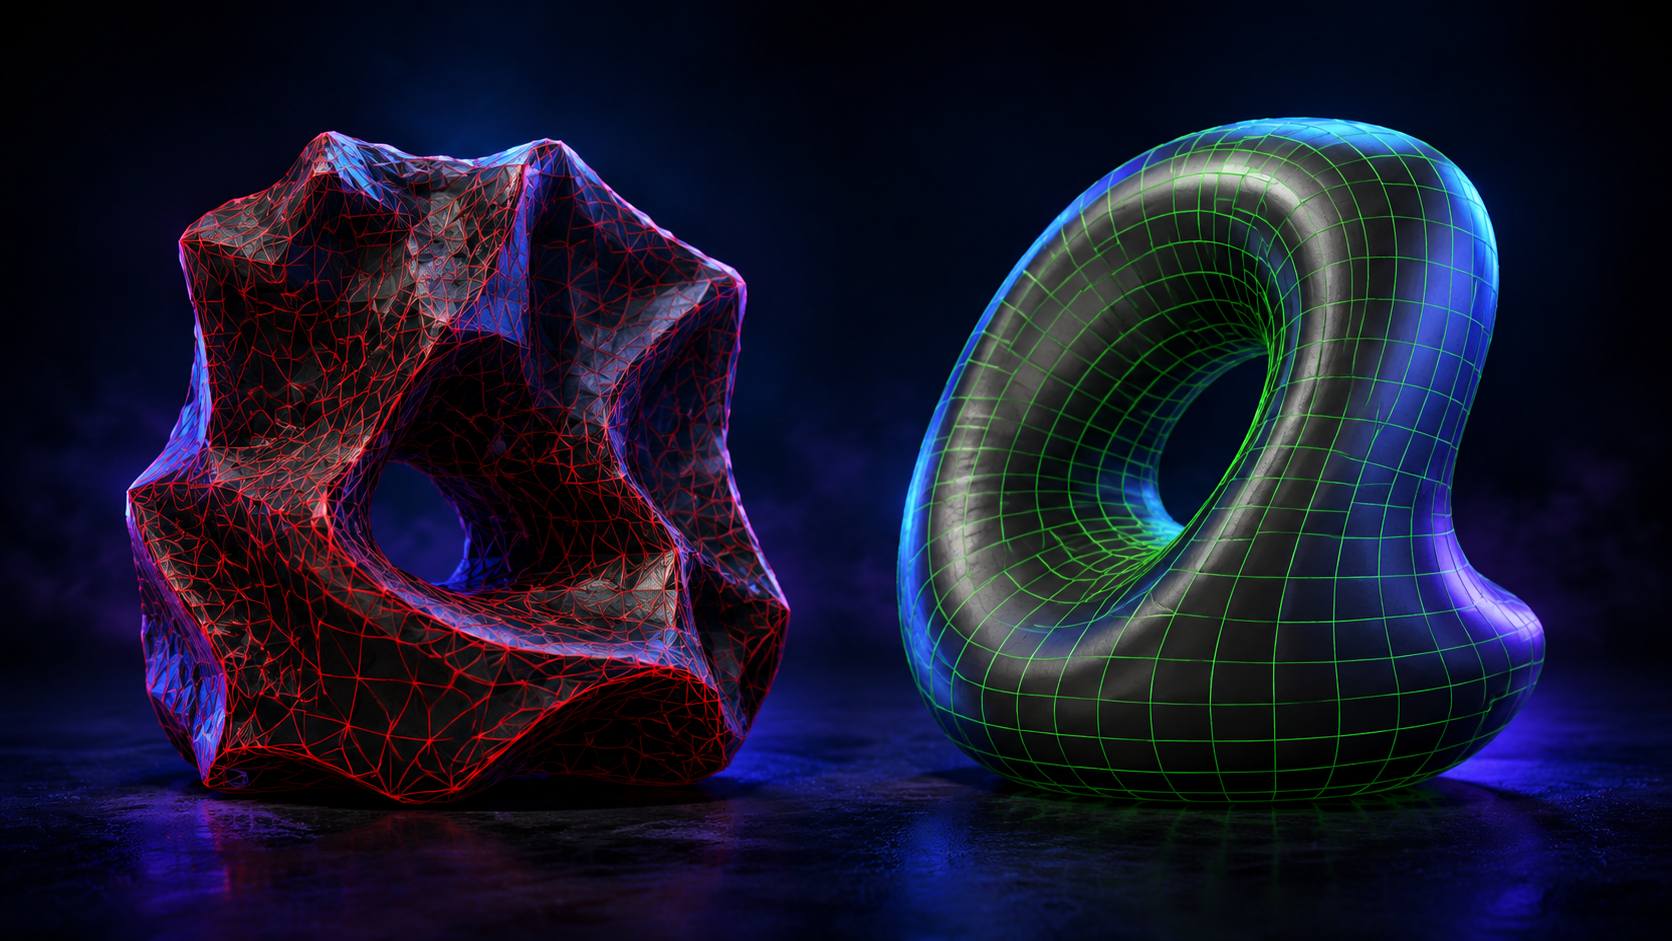
The specific failure patterns differ by tool. Meshy produces dense triangle soup with heavy vertex overlap: Merge by Distance will typically remove 3,000 to 8,000 duplicate vertices on a medium-complexity model. Tripo tends to generate cleaner silhouettes but with inverted normals on interior cavities and detached geometry fragments floating inside the main mesh. Neural4D’s Direct3D-S2 architecture computes a mathematically closed volume, so the output arrives as a watertight manifold mesh with predictable topology, and the cleanup burden is genuinely lower.
Part 2: Pre-Cleanup Assessment
Open Blender. Before you touch the mesh, run a full diagnostic. Changes made to a broken mesh compound the problems downstream. The correct order is: import, audit, then repair.
Import the Model and Enable Statistics
Import your GLB, FBX, or OBJ via File > Import. Immediately go to the viewport header, click the dropdown next to the shading mode buttons, and enable Statistics. You’ll see the triangle count, vertex count, and object count in the top-left of the viewport. This is your baseline. A typical medium-complexity AI model should land between 15,000 and 60,000 tris. Anything above 80,000 tris will require aggressive decimation before it’s usable in real-time contexts.
Scale Check
AI models frequently import at incorrect scale. Blender’s default unit is 1 meter, but most AI tools export in centimeters or millimeters without encoding the unit in the file. Your model might appear as a 100-meter object or a 0.01-meter speck. Select the object, press N to open the Item panel, and check the dimensions. If the scale reads something like 0.01 on all axes, press S, then type 0.01, then Enter to manually correct it first, then apply scale permanently with Ctrl+A > Apply > Scale.
3D Print Toolbox Audit
Enable the 3D Print Toolbox add-on in Preferences > Add-ons (it ships with Blender, just needs activation). In the sidebar (N panel) under the 3D Print tab, click Check All. This runs a full diagnostic and reports: non-manifold edges, zero-area faces, zero-length edges, and intersecting faces. Write down the counts. Non-manifold edges above zero means the mesh is not watertight. This number is your primary target to reduce to zero before export.
Skip the 45-Minute Cleanup Routine
Neural4D generates watertight, topology-clean meshes that import into Blender ready to use, not ready to repair.
50 free credits per week. No credit card required.
Part 3: Mesh Repair in Blender
With your diagnostic numbers in hand, work through the repair steps in sequence. Skipping steps breaks subsequent ones: for example, running Decimate before removing duplicate vertices causes Blender to merge incorrect vertices and deform the silhouette.
Step 1: Merge by Distance
Enter Edit Mode (Tab), select all (A), then press M and choose Merge by Distance. The default threshold of 0.0001 units is correct for most AI models. Watch the info bar at the top: it reports how many vertices were removed. On a Meshy model, this typically eliminates 3,000 to 10,000 duplicate vertices that are invisible in the viewport but cause geometry errors in downstream tools.
Step 2: Delete Loose Geometry
Still in Edit Mode with everything selected: Mesh > Clean Up > Delete Loose. This removes floating vertices and disconnected edges that AI algorithms generate when they lose confidence about geometry at the edges of the model. These fragments are invisible in Object Mode but cause non-manifold errors.
Step 3: Recalculate Normals
Select all faces in Edit Mode, then press Shift+N (or Alt+N > Recalculate Outside). This flips any inverted face normals to point outward consistently. Tripo models particularly benefit from this step: the algorithm sometimes generates correct-looking geometry from the front while the back-facing normals point inward, which causes shading artifacts when the model is lit from behind.
Step 4: Make Manifold (3D Print Toolbox)
Back in the N panel under 3D Print, click Make Manifold. This auto-repairs the most common non-manifold issues: it fills small holes, removes interior faces, and fixes edges shared by more than two faces. Re-run Check All after this step. If non-manifold edges are now at zero, the mesh is watertight. If not, you’ll need manual hole-filling using the Bridge Edge Loops tool or F (fill face) on selected boundary edge loops.
Part 4: Normal Fixing and Shading Errors
A repaired mesh with incorrect shading is still a broken asset. Normal errors produce flat, faceted surfaces or strange dark patches that move as the model rotates, making the asset unusable for rendering or real-time display.
Auto Smooth
With the model selected in Object Mode, go to Object Data Properties (the green triangle icon) > Normals. Enable Auto Smooth and set the angle to 30 degrees for hard-surface models or 60 degrees for organic shapes. This tells Blender to smooth adjacent faces only when the angle between them is below the threshold, which eliminates the faceted look on curved surfaces without requiring a Smooth modifier.
Custom Split Normals (for Meshy output)
Meshy embeds custom split normals in its GLB exports to make the model look smoother than the underlying topology warrants. When you import and apply cleanup operations, these custom normals conflict with Blender’s recalculated normals and produce patchy shading. Fix it by going to Object Data Properties > Normals > Clear Custom Split Normals Data. Then re-enable Auto Smooth. The shading will look slightly faceted until you enable the Smooth Shading mode, but it will be geometrically correct and consistent.
📊 Cleanup time by AI tool (medium-complexity prop model, 1,500-word context window for instructions):
- Meshy output: 30-45 minutes (vertex merge, non-manifold repair, normal clearing, UV check)
- Tripo output: 20-30 minutes (normal recalculation, loose geometry, occasional hole-filling)
- Neural4D output: significantly less repair work (watertight mesh at export means no Merge by Distance, Make Manifold, or normal clearing in most cases; scale check, smooth shading, and optional decimate still apply)
Times reflect a model with roughly 25,000 faces going to game engine import. 3D printing targets require additional watertight verification regardless of source tool.
For assets where you need to transfer detail from a high-poly AI source to a clean low-poly retopology, use the Data Transfer modifier with Face Corner Data > Custom Normals enabled. This bakes the high-poly shading detail onto the low-poly mesh, preserving surface smoothness without the polygon count. This is particularly useful when preparing characters for animation rigs, where you need the clean edge flow of a retopologized mesh but want to retain the surface detail from the higher-poly source.
If your workflow starts from Neural4D-generated models, the AI Retopo feature generates a quad-dominant clean mesh directly within Neural4D before export, which means the Blender retopology step is already done when the file lands in your scene.
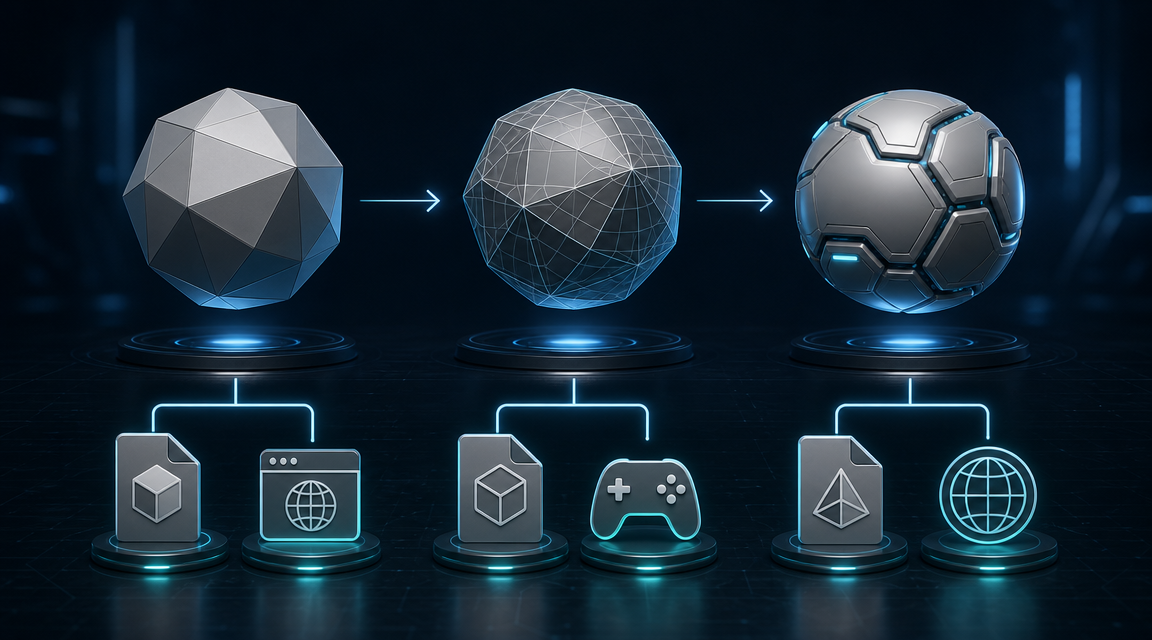
Part 5: Polygon Reduction for Export
A watertight mesh with 60,000 triangles is still not export-ready for most use cases. Polygon reduction is the fifth step in any AI 3D model Blender cleanup pipeline, and the target count depends entirely on where the asset is going.
Target Polygon Count by Use Case
| Use Case | Target Tris | Primary Constraint |
|---|---|---|
| WebGL / browser | 5,000-20,000 | Draw call budget, mobile GPU |
| Game engine (background prop) | 500-3,000 | LOD budget, batching |
| Game engine (hero asset) | 5,000-15,000 | LOD 0 budget |
| AR / mobile real-time | 1,000-5,000 | Mobile GPU, 60fps target |
| 3D printing | No upper cap | Watertight only; file size |
Decimate Modifier
Add the Decimate modifier in the Properties > Modifier stack. Use Collapse mode for organic shapes and characters: set Ratio to 0.3-0.5 and check the mesh shape in the viewport. Use Planar mode for hard-surface and architectural models: this preserves sharp edges while dissolving flat surface polygons, which is exactly what you want for building facades, furniture, and mechanical props generated by AI tools.
Critical rule: apply the modifier only after visual inspection. Decimation below 0.2 ratio usually destroys silhouette on organic shapes. Check the mesh in Object Mode with Solid shading before applying. For WebGL-bound assets, see the full optimization pipeline in the optimize 3D models for WebGL guide.
Remesh (for Extreme Cases)
When an AI model has topology so broken that Decimate distorts the silhouette, use the Remesh modifier in Voxel mode as a nuclear option. Set Voxel Size to 0.01-0.02 for medium models. This destroys all existing topology and generates a fresh uniform mesh from the volume. You lose UV maps and any baked details, but you get geometrically clean topology that can be decimated, retopologized, or used as a base for sculpting. Only use Remesh when the mesh repair steps in Part 3 can’t produce a usable result.
Part 6: Export Preparation
A clean mesh in Blender can still produce a broken file if you skip scene preparation before export.
Apply All Transforms
Select all objects in your scene. Press Ctrl+A > Apply All Transforms. This bakes the current position, rotation, and scale into the mesh data. Skipping this step causes scale mismatches in game engines: an object that looks correctly sized in Blender imports at 100x or 0.01x size in Unreal or Unity because the engine reads the raw mesh data, not the viewport transform.
Clean the Scene
Delete everything that shouldn’t be in the exported file: lights, cameras, the default cube if it’s still present, helper objects, and any hidden geometry you created during cleanup. In the Outliner, show hidden objects (click the eye icon) to confirm nothing is lurking. A single stray vertex in a separate object will corrupt the export bounding box and confuse physics systems that rely on it.
Format Selection
For AI 3D game assets bound for Unity or Unreal, export as GLB if the engine supports it (Unity 2020+ and Unreal 5.2+ both handle GLB natively), and GLB bundles geometry and PBR textures in one self-contained file. Export as FBX for older engine versions or pipelines requiring separate texture files. Use OBJ for maximum compatibility when sending assets to clients or other tools, but note that OBJ has no material standard, so textures must be sent separately and re-linked.
Part 7: Choosing a Cleaner Starting Point
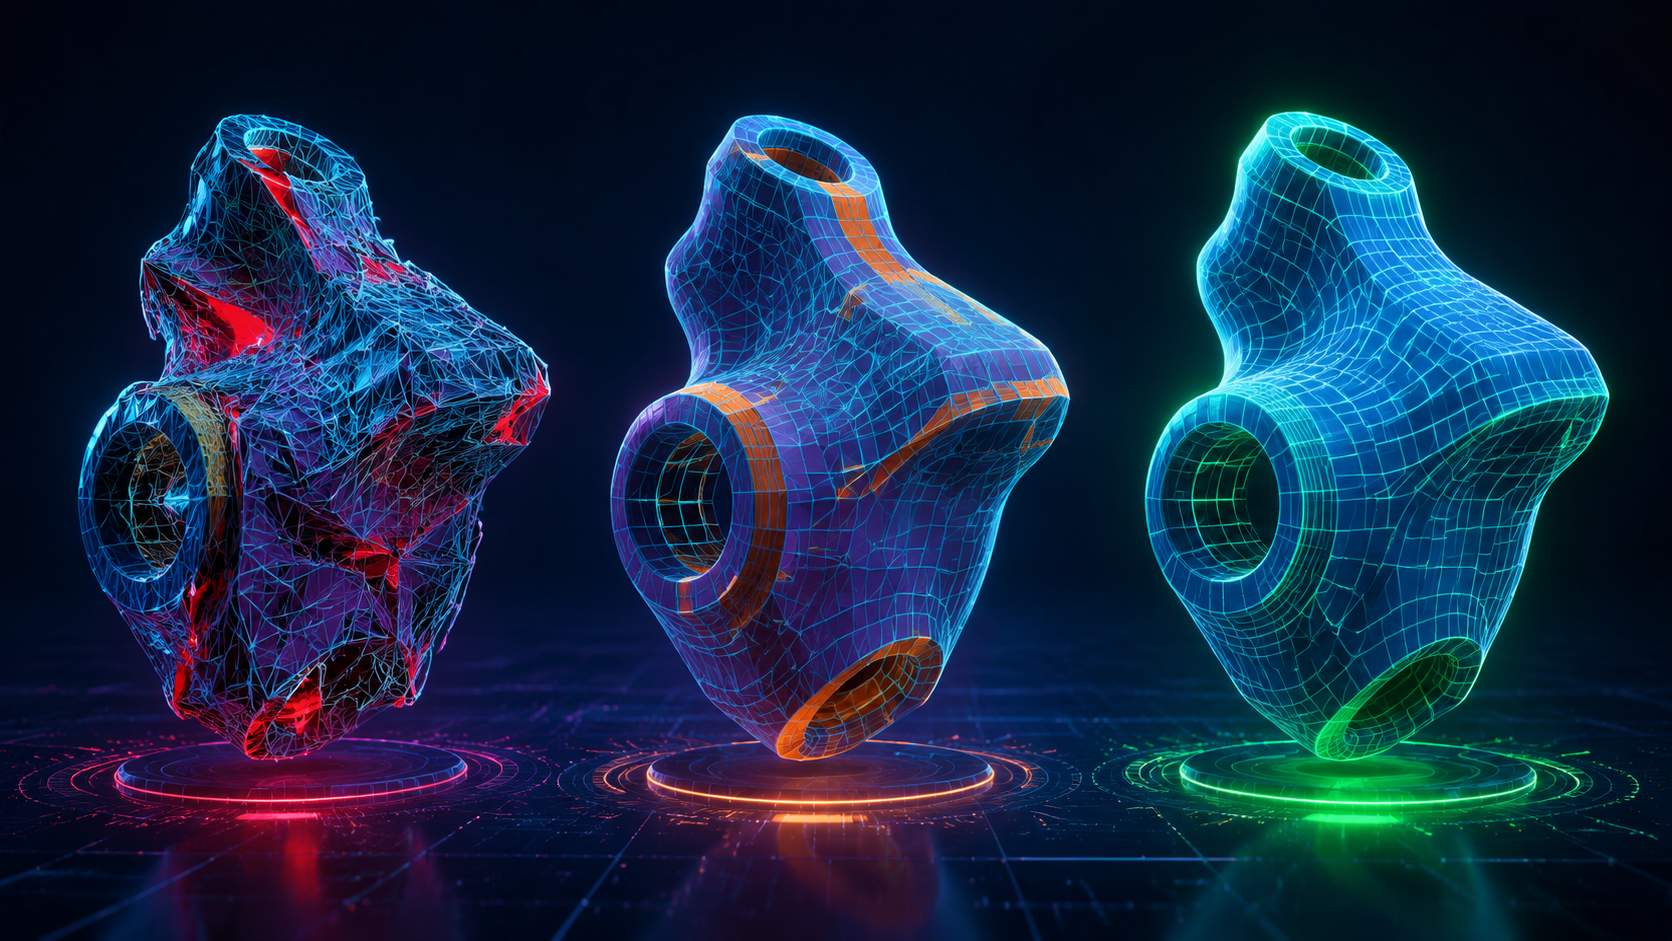
The fastest AI 3D model Blender cleanup is the one you don’t have to do. The cleanup burden described in this guide is not fixed across AI tools: it varies significantly based on the underlying architecture.
Meshy and Tripo use surface reconstruction methods that prioritize visual output quality. The mesh is optimized to look good from the camera angle used during generation, not to be geometrically correct. This is why both tools require 20-45 minutes of cleanup for production use: the geometry was never designed to be used as-is.
Neural4D’s Direct3D-S2 architecture processes the full volumetric space of the input, not a surface draped over estimated depth. The result is a mathematically closed mesh that satisfies the watertight condition by construction, not by post-processing repair. When you import a Neural4D GLB into Blender, the mesh is watertight by construction. You typically skip the heavy repair steps like Merge by Distance, Delete Loose, and Make Manifold. The cleanup session is usually limited to: verify scale, enable Auto Smooth, apply Decimate if you have a polygon budget target, apply transforms, and export. Complex models may still need some manual adjustment, but you are starting from a structurally sound mesh rather than broken geometry.
For game asset production pipelines, the time difference compounds across dozens of assets. A studio generating 50 props per sprint saves roughly 1,500 minutes per sprint by starting from Neural4D output instead of Meshy output. The AI 3D game assets workflow guide covers the full pipeline from generation to engine import for game production contexts.
If you’re currently spending hours per week on mesh repair, it’s worth comparing the output quality directly. Neural4D’s free tier provides 50 credits per week. Generate the same asset in both tools and run the 3D Print Toolbox audit on each. The non-manifold count will tell you more than any benchmark chart.
Generate Watertight Meshes from the Start
Neural4D’s Direct3D-S2 outputs watertight meshes by construction. You start Blender cleanup from solid geometry, not from broken topology that needs repair before you can use it.
50 credits per week on the free plan. Upgrade for higher concurrency.
Part 8: Common Questions on AI 3D Model Cleanup
The standard sequence is: import and check scale, run the 3D Print Toolbox audit (Check All), apply Merge by Distance, Delete Loose, Recalculate Normals, and Make Manifold in that order. Then apply Decimate or Remesh to hit your polygon budget. For Meshy-generated models, also clear Custom Split Normals Data in the Object Data Properties to fix shading artifacts. The full process takes 20-45 minutes for Meshy or Tripo output. Neural4D-generated models typically require less repair work since the mesh is watertight at export, but some cleanup steps (scale, smooth shading, polygon reduction) still apply depending on the use case.
Meshy embeds custom split normals in the exported GLB to make the mesh look smoother than the underlying topology. When you import into Blender and apply cleanup operations, these custom normals conflict with Blender’s geometry recalculation. The fix: go to Object Data Properties > Normals > Clear Custom Split Normals Data. Then re-enable Auto Smooth. Also run Recalculate Outside (Shift+N in Edit Mode) to fix any remaining inverted normals from the original export.
Add the Decimate modifier and use Collapse mode for organic shapes (start at 0.4 ratio and watch the viewport) or Planar mode for hard-surface and architectural models. For extreme cases where the original topology is too broken to decimate cleanly, use the Remesh modifier in Voxel mode with a Voxel Size of 0.01-0.02. This destroys all original topology and generates a clean uniform mesh, which you can then decimate to your target count. Note: Remesh removes UV maps and baked data.
Yes. In Edit Mode, select all faces (A), then press Shift+N (or Alt+N > Recalculate Outside). This automatically detects and flips normals based on which direction faces the exterior of the mesh. For models with completely closed geometry, this works reliably. For models with open holes or internal geometry, you may need to manually flip face normals on specific selections using Alt+N > Flip. Always run this after Merge by Distance and Delete Loose, since duplicate geometry confuses the auto-recalculation.
For production use cases, yes. Neural4D’s Direct3D-S2 architecture generates a mathematically closed manifold mesh by construction. At import, non-manifold edge count is zero and there are no floating vertices or inverted normals from the generation process. Tripo generates visually appealing output but uses surface reconstruction methods that frequently produce non-manifold geometry, inverted normals on interior surfaces, and detached fragments. The difference shows in the 3D Print Toolbox audit: Neural4D output typically clears with zero errors; Tripo output typically shows 50-200 non-manifold edges on a medium-complexity model.
After completing mesh repair and polygon reduction: apply all transforms (Ctrl+A > Apply All Transforms), delete all non-mesh objects from the scene (cameras, lights, empties), verify the bounding box is correct in the viewport, then export. Use GLB for Unity 2020+ and Unreal 5.2+ (bundles geometry and PBR textures in one file). Use FBX for older engine versions. Check that your polygon count fits the engine’s LOD budget: 5,000-15,000 triangles for a hero asset, 500-3,000 for background props. For the full WebGL optimization workflow, see the guide on Meshy alternatives.
Stop Fighting the Topology
The AI 3D model Blender cleanup workflow described here: audit, merge, delete loose, recalculate normals, make manifold, decimate, apply transforms, export. This is the industry-standard process for turning raw AI output into usable assets. For Meshy and Tripo models, budget 30-45 minutes per asset. For Neural4D output, budget 5-15 minutes. The tools and techniques are the same; the starting geometry quality determines how much work each step requires.
A 2024 study from the Khronos Group on 3D asset pipeline efficiency found that topology repair accounts for 38% of total 3D asset production time in studios using AI generation tools, compared to under 5% for studios using watertight-output AI generators. The geometry you generate upstream directly determines the cleanup time you pay downstream. You can reduce that cost by switching to a tool that generates watertight, manifold output by default rather than as an optional post-processing step. Neural4D’s Image to 3D pipeline is built on that principle. AI 3D model Blender cleanup will always exist as a skill worth knowing, but the best cleanup session is the one you spend 10 minutes on instead of 45.