Convert Image to 3D Print: The Ultimate Guide to Print-Ready AI Models
The distance between a digital photo and a plastic object on your desk has always been measured in “software hours.” For most enthusiasts, the biggest hurdle isn’t the 3D printer itself—it’s the intimidating wall of CAD design. If you have ever tried to convert image to 3D print model files, you’ve likely faced the dreaded “non-manifold” error in your slicer.
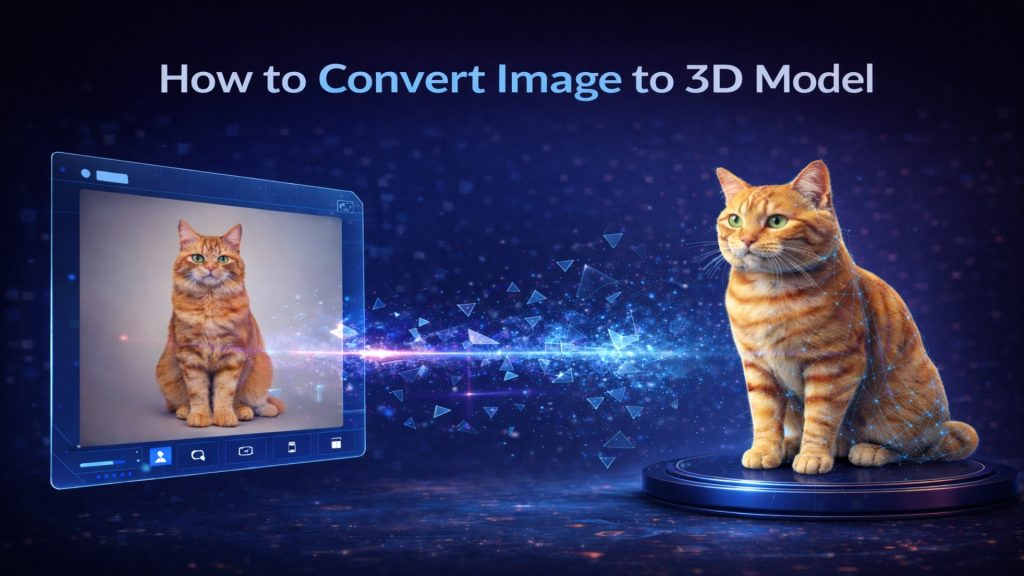
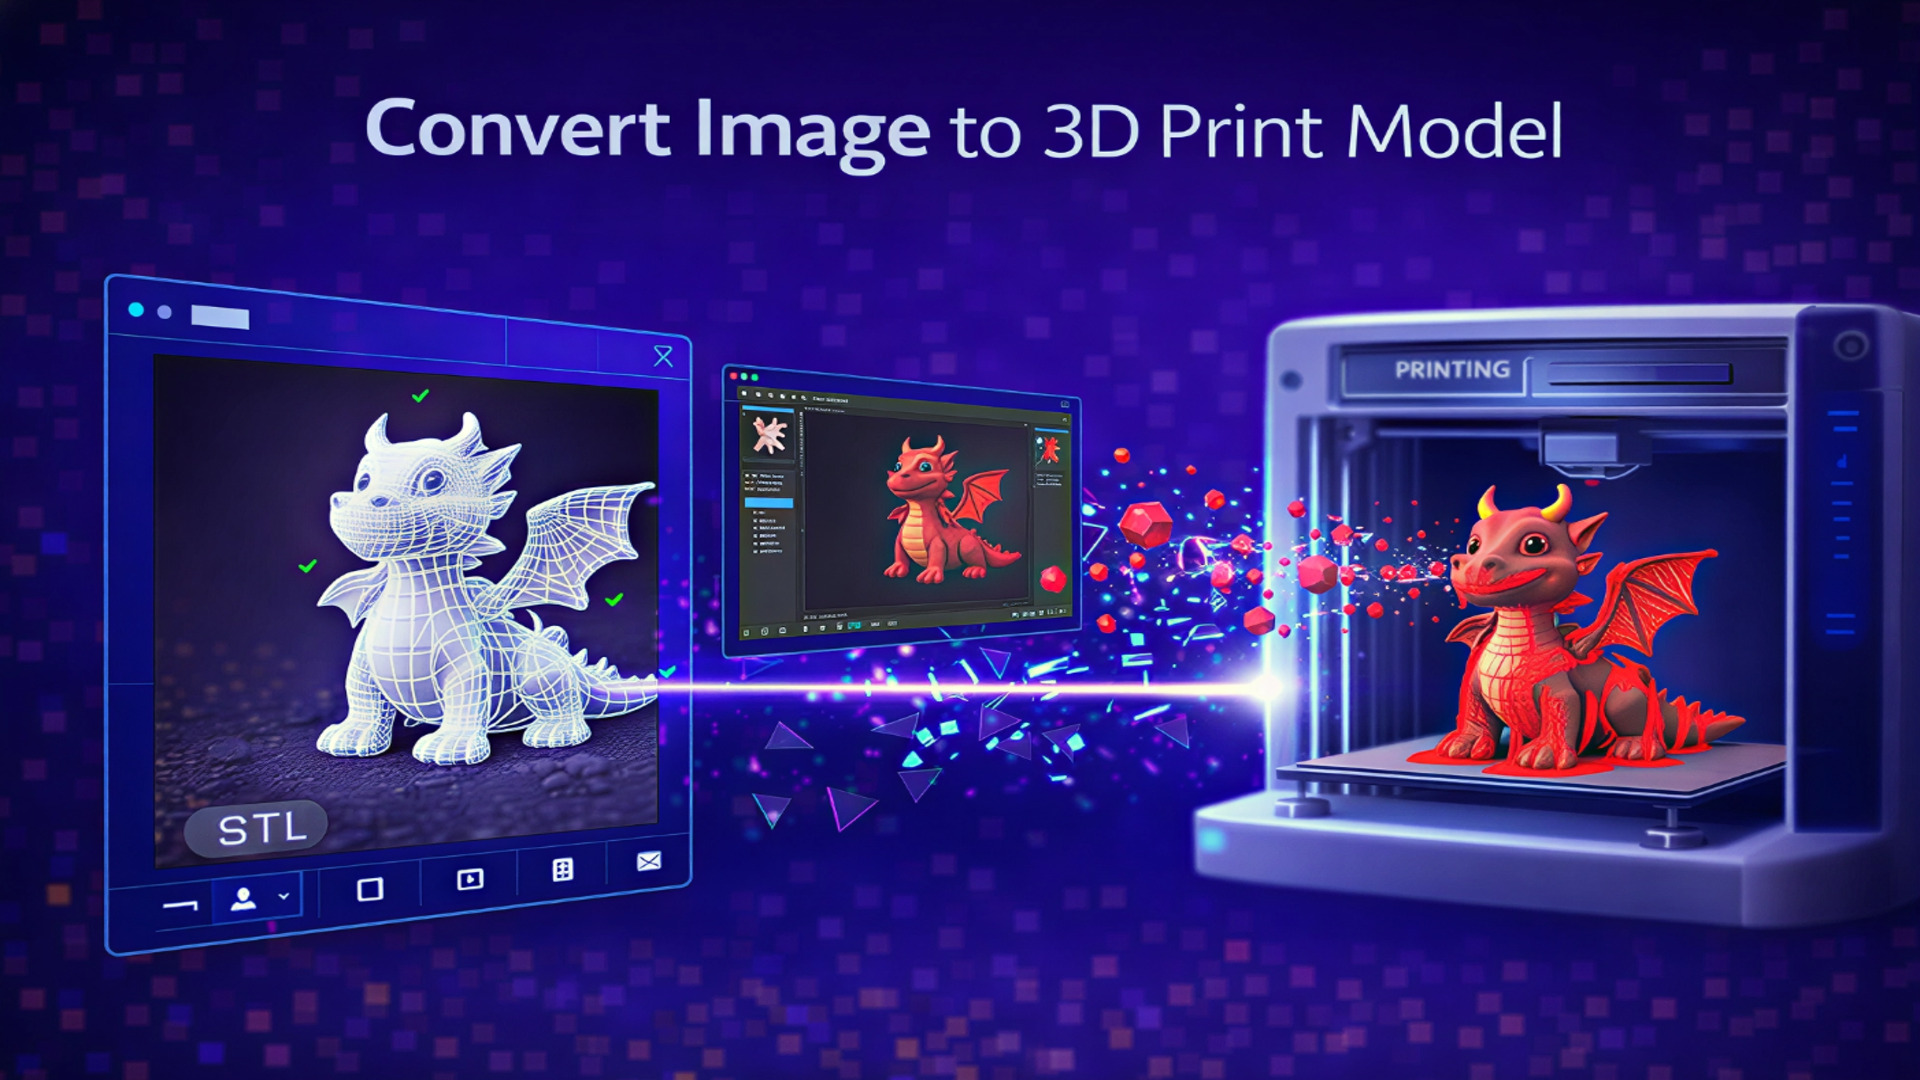
The good news is that the process has evolved. We are moving away from manual retopology toward a “pixel-to-plastic” pipeline. By using a specialized 2D to 3D image converter for 3D printing, you can now bypass the steep learning curve and move directly to the fun part: watching your creation take shape on the print bed.
The Evolution of Print-Ready AI Geometry
In the early days of AI, being able to convert image to 3D print assets was a gamble. You would get a mesh that looked decent on screen but was essentially “hollow” or filled with intersecting faces that made slicing impossible. This is because standard AI was designed for visual effects, not physical manufacturing. However, a significant shift has occurred. The 3D printing industry is no longer satisfied with “visual representations”; it demands physical logic.
Modern reconstruction engines now utilize what is known as Signed Distance Fields (SDF). Instead of just guessing where a surface should be, the AI calculates the “inside” and “outside” of an object simultaneously. This is the difference between a tool that just makes a 3D shape and a true 2D to 3D image converter for 3D printing. For a hobbyist, this means the resulting STL or 3MF file is structurally sound from the moment it’s generated. Market data shows that the demand for these automated “print-ready” pipelines is surging, with home-based manufacturing expected to account for a significant portion of the custom parts market by the end of the decade.
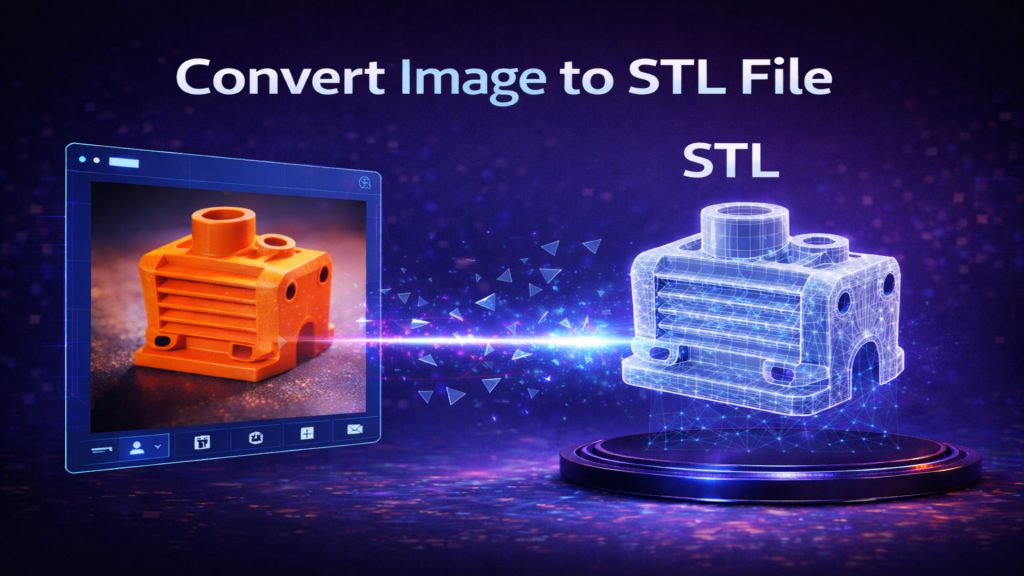
Read More: How to Convert Image to STL File for 3D Printing
Bridging the Gap: Why Your Slicer Cares About Mesh Flow
If you are looking to convert image to 3D print file formats, you need to understand why your slicer (like Cura, Bambu Studio, or PrusaSlicer) is so picky. A 3D printer follows a path of plastic layers. If your mesh has “holes” or overlapping triangles, the printer doesn’t know where to extrude. This is why Neural4D’s approach to volumetric reconstruction is a game-changer.
Unlike a simple depth-map tool, Neural4D treats the photo as a reference for a manifold solid. It ensures that every vertex is connected correctly, creating a “watertight” seal. When you convert image to 3D print model assets this way, you aren’t just getting a 3D picture; you are getting a digital “brick” of data that the printer can read layer by layer. This eliminates the need for third-party repair tools like Meshmixer or Netfabb, which were once mandatory for any AI-generated mesh.
Step-by-Step: How to Create 3D Images for Printing Without the Headache
The workflow to convert image to 3D print assets has become surprisingly linear. You don’t need a high-end workstation; you just need a clear vision.
- Select Your Subject: The best photos for this process have clear silhouettes and consistent lighting. If the lighting is too flat, the AI might struggle to define the “depth” of the object.
- AI Processing: Upload your photo to the reconstruction engine. The AI will analyze the surface normals and predict the occluded back-side of the object. This is where you convert image to 3D print model geometry that has a stable base for the printer.
- Refinement: Unlike traditional modeling, the “refinement” stage here happens in seconds. You are checking for wall thickness and ensuring the model has enough volume to stand up.
- The Export: To successfully convert image to 3D print file types, always choose STL (for universal compatibility) or 3MF (if you want to preserve the real-world scale and unit measurements).
Read More: How to Convert Image to 3D Model Using AI
Final Check: Technical Settings for Successful Prints
Even with the most advanced 2D to 3D image converter for 3D printing, you still have to respect the laws of physics. Because AI-generated models often have “organic” or complex curves, your slicer settings are key to a successful result.
| Support Parameter | Recommended Setting | Best For |
| Support Type | Tree / Organic Support | Characters and organic art. Easiest to remove with minimal surface scarring. |
| Overhang Threshold | 45° – 55° | General purpose. Ensures stability for any part hanging in mid-air. |
| Z-Distance | 0.15mm – 0.25mm | Clean removal. Prevents the support from fusing to your AI model. |
| Brim Width | 5mm – 8mm | Adhesion. Essential if the AI model has a small or narrow base. |
The accessibility of this technology has led to a massive rise in the custom replacement parts market. Instead of searching for a discontinued plastic knob or a specific toy part, users are simply taking a photo of the broken piece and using AI to recreate it.
FAQ: Common Questions About Image-to-Print Conversion
Q: Can you convert image to 3D print online free?
Of course, try to use a free online 2D to 3D image converter for 3D printing like Neural4D.
Q: Can I convert any low-resolution photo into a 3D print?
While the AI is powerful, higher resolution and clear lighting lead to better “physical logic” in the mesh. Low-quality images may result in “bumpy” surfaces that require sanding after printing.
Q: Is the STL file ready to print immediately after export?
Yes, Neural4D exports manifold meshes. However, you must still run the file through a Slicer to generate the G-Code specific to your 3D printer model.
Q: What is the best material for AI-generated models?
PLA is the most popular for decorative items due to its ease of use. For functional parts generated via AI, consider PETG or ABS for higher durability.
Conclusion: Your Photos, Now in 3D
The barrier between a creative idea and a physical product has never been thinner. We have moved past the era where you needed to spend months learning vertices and edge loops. By choosing a robust tool to convert image to 3D print models, you are reclaiming your time for the actual making process. Whether you are creating personalized gifts or functional home tools, the power to turn 2D image into 3D print model geometry is now in your pocket. It’s time to stop worrying about the mesh and start heating up the nozzle.