Instant Geometry: How to Convert Image to 3D Model Using AI
Most 3D creators face the same bottleneck: the sheer amount of time it takes to build a mesh from scratch. Whether you are an indie developer needing a background prop or a hobbyist looking for a 3D print, manual modeling is often a multi-hour commitment that stops your creative flow. If you can automate the process and turn an image to 3D model in minutes, you aren’t just saving time – you are making your project financially viable.
Why the Market is Shifting to Image to 3D Model Workflows
The demand for spatial content is exploding. It is no longer just about high-end cinema; it is driven by the desperate need for faster asset pipelines in gaming, augmented reality, and e-commerce. As the volume of required assets triples, relying solely on manual labor is a losing game.
“Industry data confirms this shift. The global 3D modeling market is expanding toward a $13 billion valuation by 2028. This growth is fueled by the democratization of creation tools, yet the cost of manual asset production remains the single biggest expense for small studios. Making the transition to AI-driven generation is a necessity for staying competitive in this fast-moving landscape.”
Industry Perspective: MarketsandMarkets 3D Modeling Market Analysis
If you have tried a generic image to 3D model converter before, you know the results are often disappointing. Most tools struggle with “3D hallucinations” – messy blobs of geometry where the AI guesses the back of an object and creates a melted, unusable mess. Neural4D addresses this by focusing on native 3D geometry rather than just stitching 2D images together.
The Neural4D Advantage: Precision Over Guesswork
Why does Neural4D stand out? It comes down to how the engine understands depth. Instead of treating your photo like a flat sticker, the platform utilizes its Direct3D research to encode high-resolution 3D shapes into a continuous latent space.
It understands the math of a surface before it ever places a pixel. This is the difference between a digital toy and a professional asset ready for your pipeline. When you convert image to 3D model using this approach, the resulting mesh has clean topology and accurate surfaces right out of the box.
Technical Deep Dive: Direct3D: Scalable Image-to-3D Generation via 3D Latent Diffusion
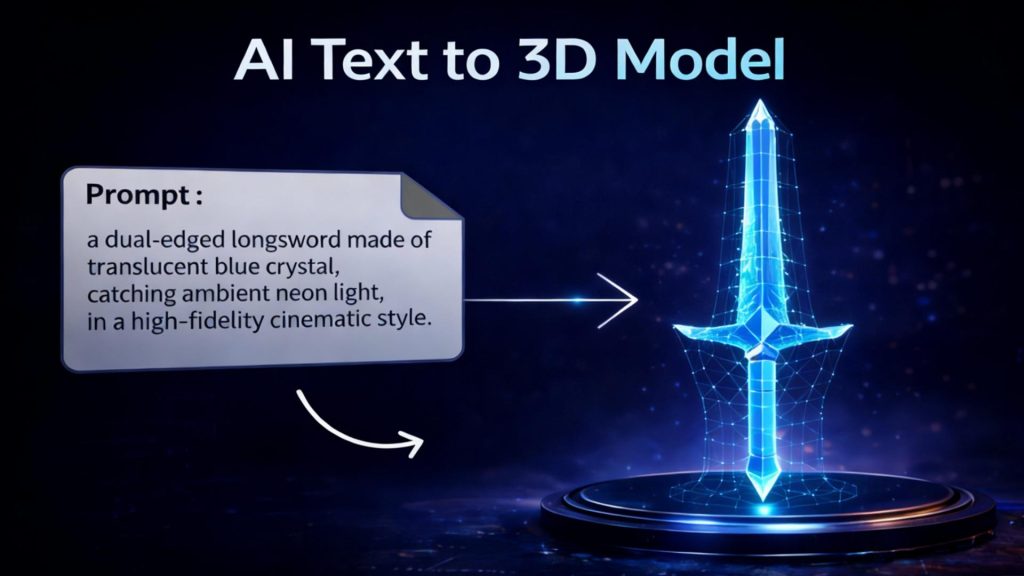
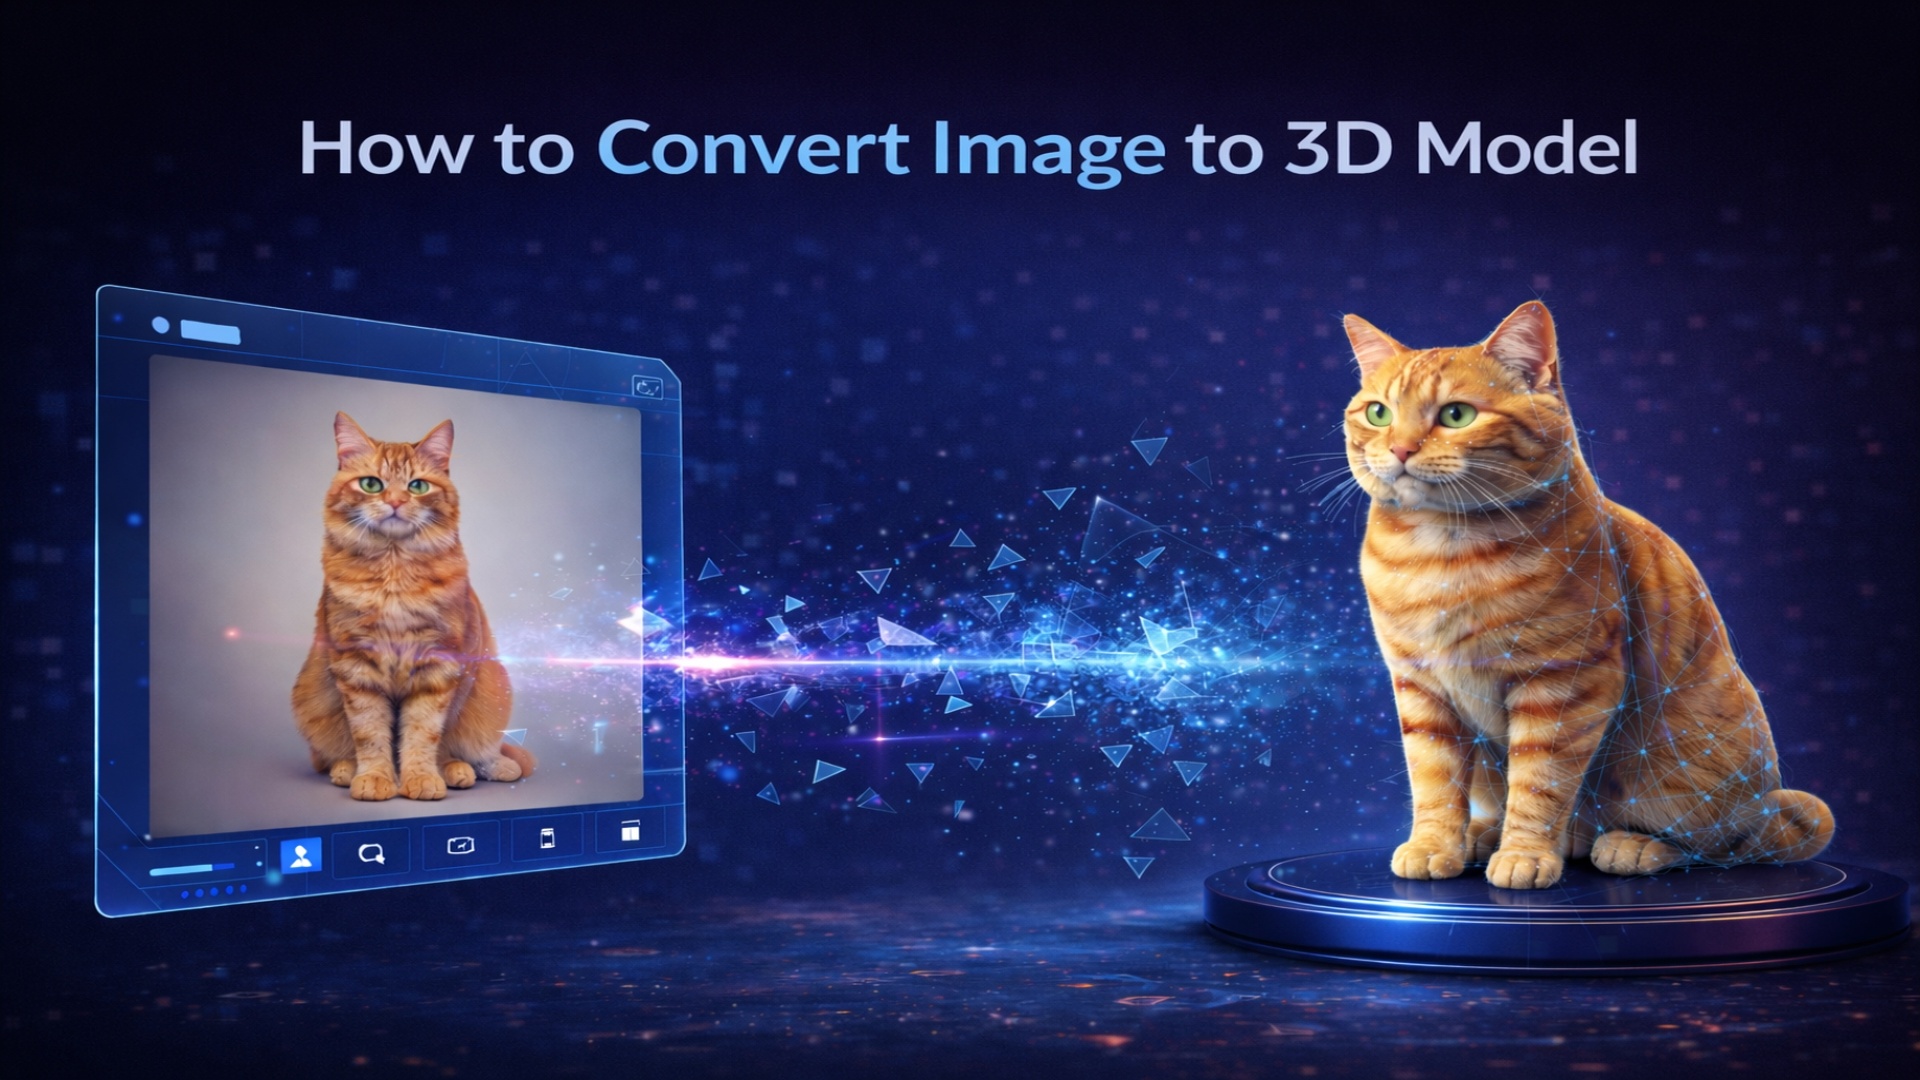
How to Convert an Image to a 3D Model Online Free
The goal is to keep the technical work in the background. If you want to convert image to 3D model online free, the workflow on Neural4D is designed to be completed in four simple, non-technical stages.
- Select Your Source Material Wisely
The quality of your output depends heavily on your input photo. To get a high-quality 2D image to 3D model result, use an image with flat, even lighting. Think like a photographer – avoid deep shadows, as the AI might mistake them for physical holes in the model. A clean, neutral background helps the engine isolate the object.

- Define Your Output Style: Mesh or Texture
Once your image is uploaded, you can choose how the AI renders your final asset. Neural4D provides three primary paths depending on your project needs:
- Clay/White Mesh: If you leave the texture options unchecked, you get a clean, matte white model. This “Clay Render” style is the gold standard for 3D printing or for artists who want to do their own custom sculpting and painting in Blender.
- Standard Textures: This maps the colors from your original photo onto the 3D surface, ideal for quick visual references.
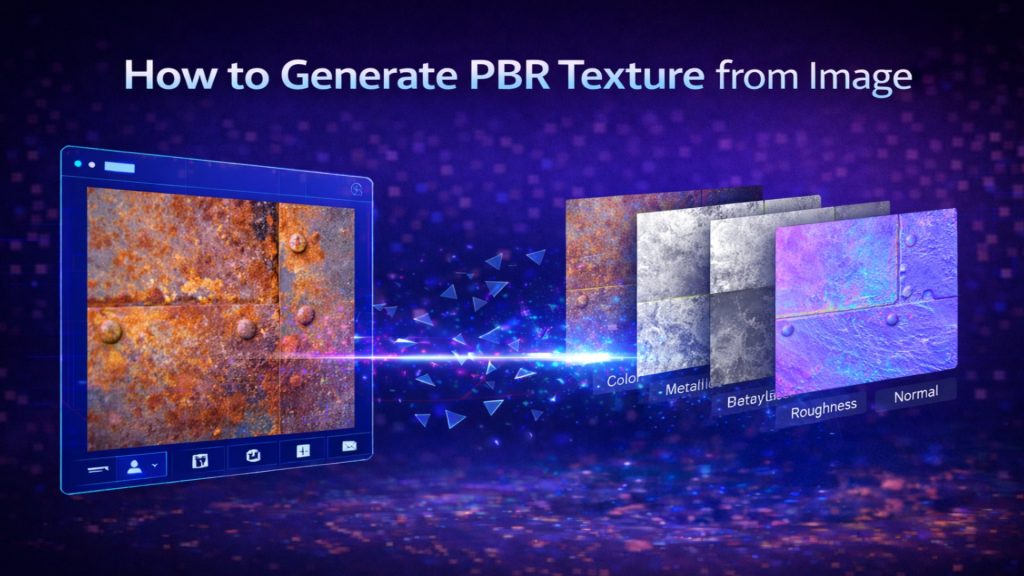
- PBR (Physically Based Rendering) Textures: For developers using Unreal Engine or Unity, PBR is essential. It includes metallic and roughness maps that allow your model to react realistically to virtual light.

- Generate and Evaluate the Geometry
Hit the generate button and let the engine process the 3D latent diffusion. Unlike legacy tools that require manual vertex manipulation, Neural4D focuses on delivering a refined result in one go. If the initial geometry doesn’t perfectly capture the nuances of your reference – perhaps due to complex lighting in the original photo – the “Regenerate” option allows you to trigger a fresh inference until the result is perfect.

- Export for Production-Ready Files
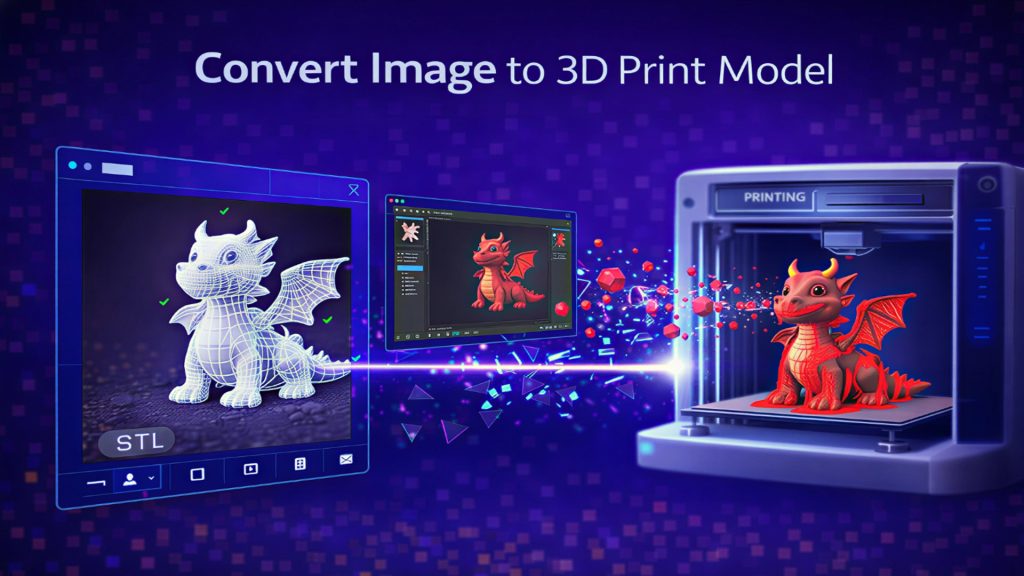
Once satisfied, download the file as an OBJ, STL, or GLB. These formats are industry standards and are ready for immediate use in your favorite software.

Real-World Use Cases: Saving Time and Money
We see this image to 3D model workflow solving specific financial and creative bottlenecks across different fields:
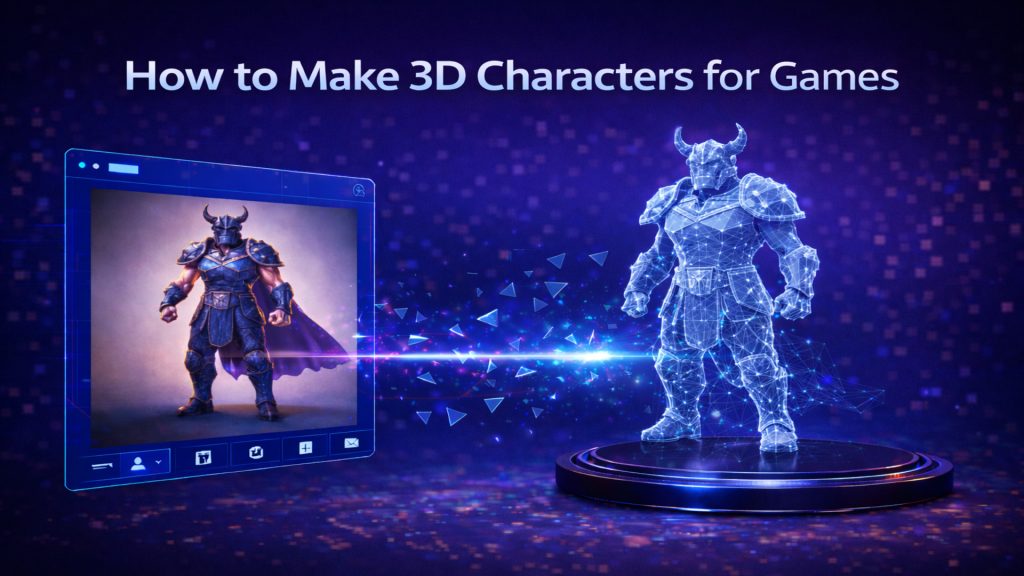
- Indie Gaming: Solo developers turn photos of real-world objects into unique in-game props. This cuts their asset production time by 80%, allowing them to focus on gameplay mechanics rather than vertex pushing.
- 3D Printing: Hobbyists recreate geometry for broken vintage parts that can no longer be bought in stores. It essentially turns a single reference photo into a physical, functional replacement.
- Product Design: It allows for “rapid volume testing.” A designer can see a 3D representation of a sketch in seconds to check spatial fit before moving to high-fidelity CAD.
Stop Pulling Vertices and Start Building
Neural4D Image to 3D isn’t about replacing the artist; it is about removing the repetitive work. By mastering how to turn an image into a 3D model through native 3D latent diffusion, you stop worrying about individual vertices and start focusing on your actual vision.
The future of creation isn’t about more pixels – it is about more time. Stop pulling vertices and start building.