Quick Summary
- Start with the result you want. A display model, a print, and a game asset need different inputs and checks.
- The projects range from a no-reference abstract form to a three-object set.
- Each lists what to prepare, what N4D generates, what to inspect, and one variation.
Start your next 3D modeling idea with an object whose outline is clear and whose main parts are easy to inspect. A desktop sculpture lets you explore shape; a teapot or radio adds connections and surface details. Choose one digital display model as your first deliverable, then add material variation or a coordinated set as your confidence grows. The eight projects below pair real N4D results with reference preparation, completion criteria, and a next variation. Printing, animation, and manufacturing require additional work beyond this first version.
| Project | You finish with | Best input | Main check |
|---|---|---|---|
| Abstract desktop sculpture | One digital sculpture with a deliberate silhouette | A written shape direction | Side profile and base |
| Decorative ceramic teapot | Exterior concept with body, spout, handle, and lid | One clear teapot reference image | Handle and spout junctions |
| Retro portable radio | Static prop with a period look | One clear three-quarter reference | Separate buttons and grille |
| Camping lantern prop | Static lantern with a handle and body | One clear lantern reference image | Handle attachment and base |
| Stylized fish | Static organic model with a clear outline | One image with separated fins | Fin joins and eye placement |
| Tiny cabin exterior | Single exterior massing model | One clear exterior reference image | Roof, walls, and openings |
| Sculpted decorative mask | Display mask with a coherent surface style | One original front-view reference | Symmetry and side profile |
| Three-object collection | Three separate objects with a shared language | Three separate references with shared rules | Palette, scale, and detail density |
Choose a Project by the Result You Want
A project is easier to finish when the result is specific. Three choices decide most of the work.
Object scope. A single object is the right first project. It gives you one silhouette and one set of angles. A set or scene asks you to solve several objects and their relationships at once.
Input condition. Use one clear reference as the generation input. Keep extra views for your own comparison; a visible handle opening or separated fin is more useful than a busy background. Both routes need inspection of hidden sides. If you only have a description, start with text. The Text to 3D prompt examples show how object, style, and material are described in practice.
Finish target. A display model needs a readable silhouette and a clean material. A print needs a slicer check for wall thickness, supports, and orientation. A game or AR asset needs the right scale and format. To model by hand instead, the guide to 3D modeling software for beginners covers that route.
8 3D Modeling Ideas With Clear Project Goals
These projects cover shape exploration, recognizable props, and a coordinated set. The sculpture uses Text to 3D; the other cases use separately prepared AI-generated reference images as Image to 3D inputs. All deliverables here are static digital models.
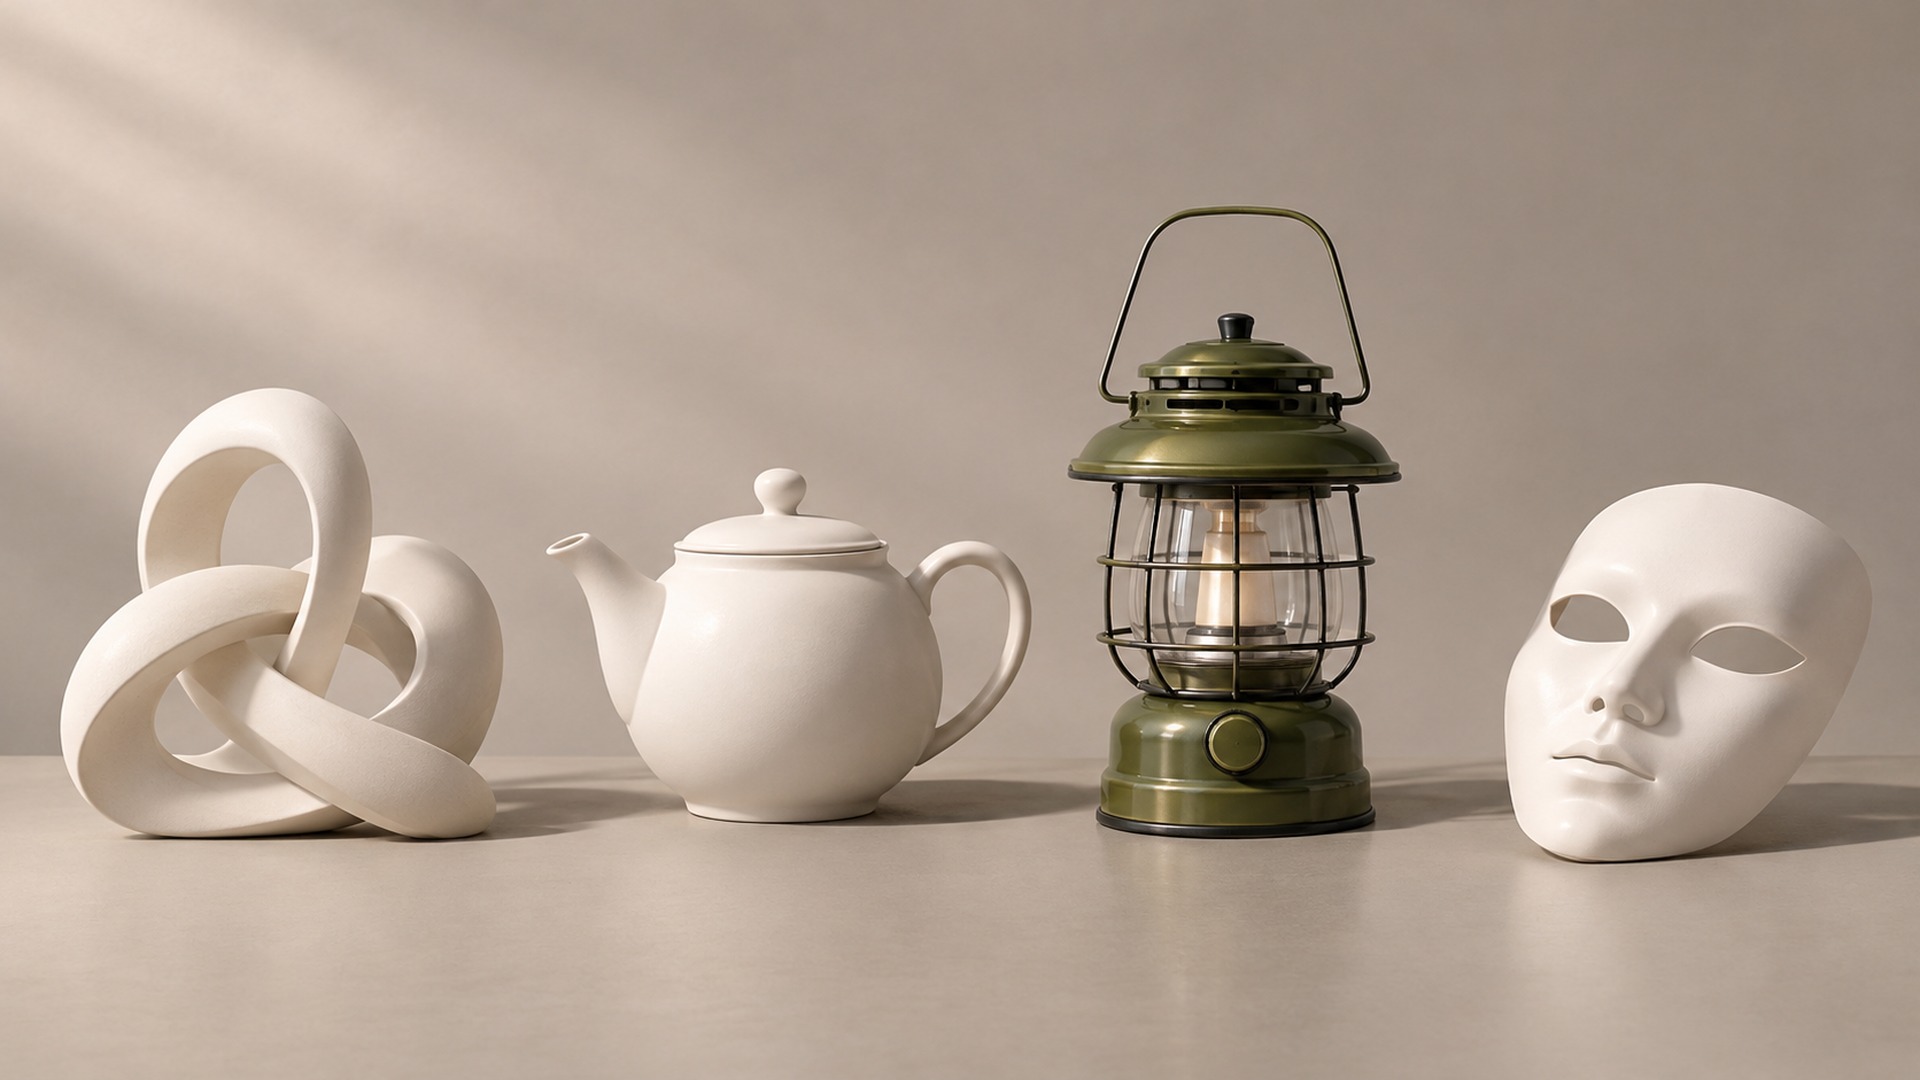
About the examples. The creator supplied the N4D screenshots and reported that back, underside, and related completeness checks found no issues. This is creator-reported inspection, not an independent mesh audit. Display images have AI background cleanup to remove the viewer tray; original screenshots are retained as inspection records. The cover is an AI-generated concept illustration, not an N4D result.
1. An Abstract Desktop Sculpture
Deliverable. Two contrasting shape studies, then one selected sculpture for digital display. Both versions have their own rectangular model base.
Best for. A first project focused on silhouette rather than surface detail.
References. No image is required. Define two directions, such as rounded organic curves and angular bends, before generating.
N4D step. Generate each direction with Text to 3D. Compare both in Solid view, then inspect the selected version in PBR view.
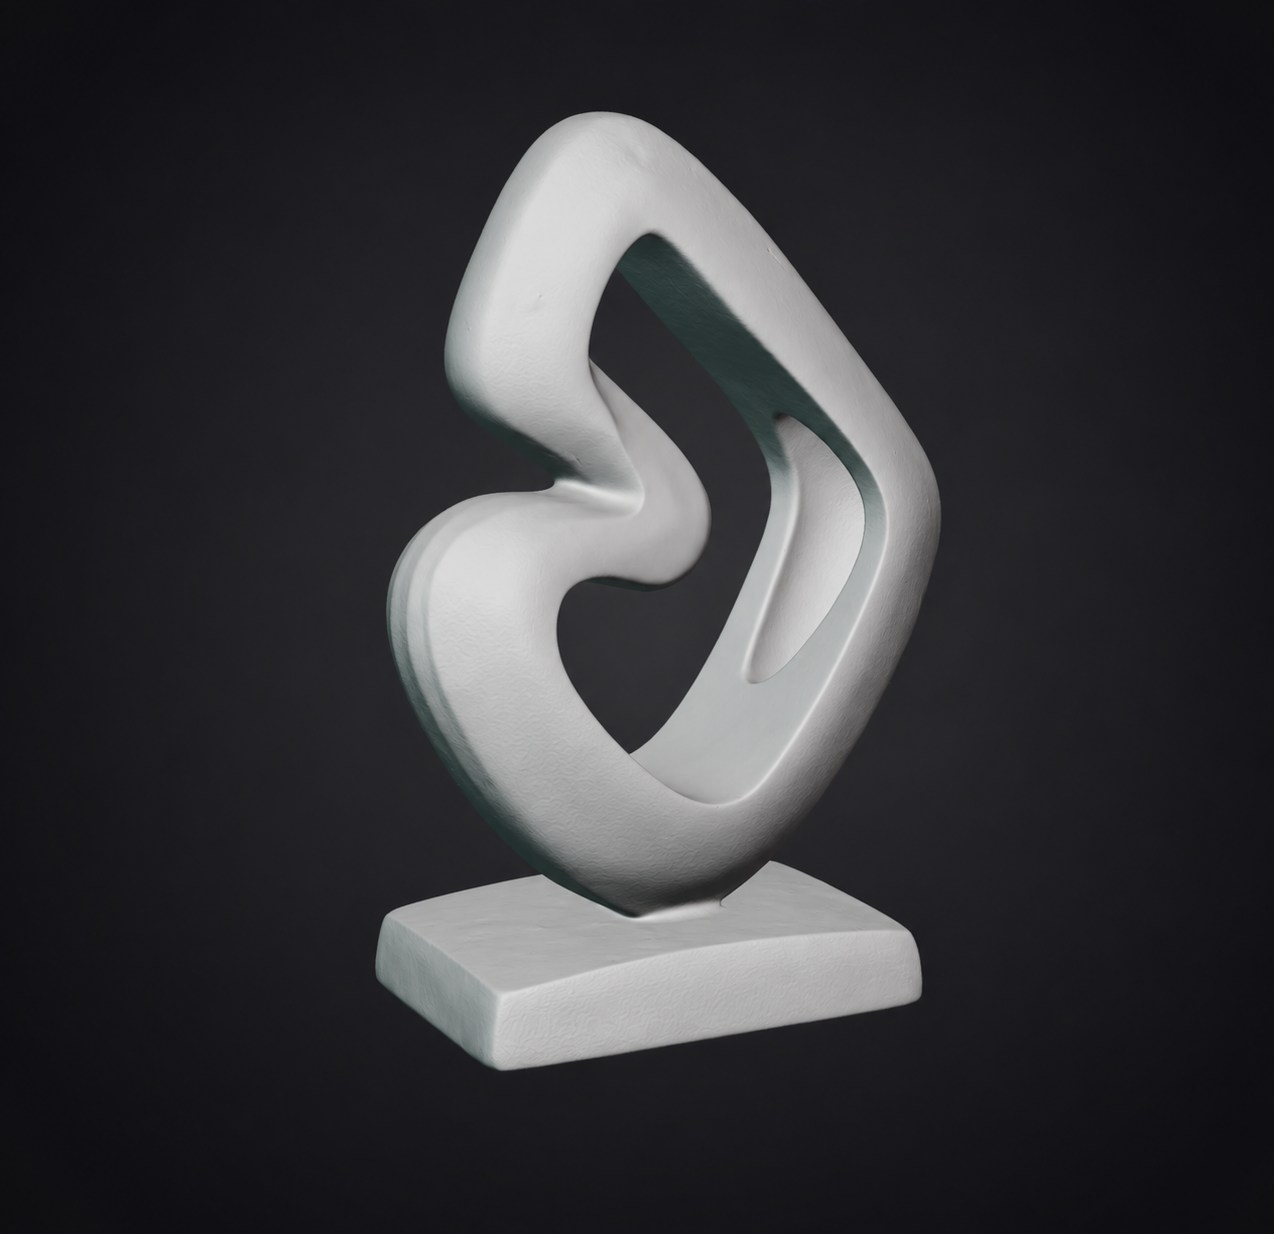
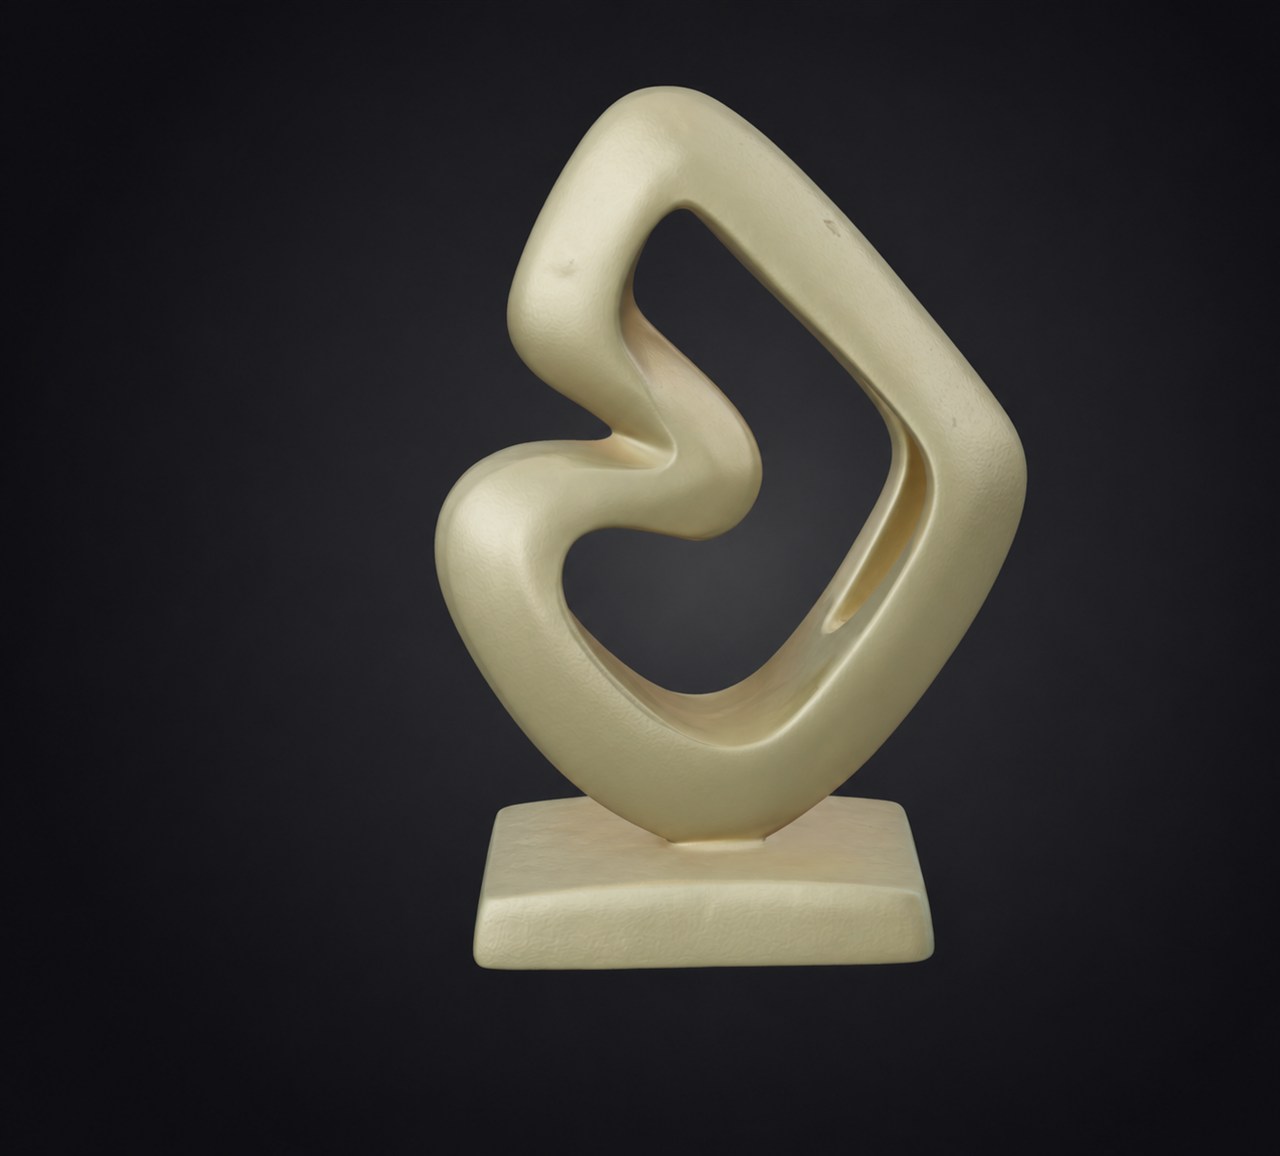
Case result. Version A has rounded organic curves and open negative space. Version B combines angular bends with a rounded lower loop. A was selected for the warm ivory PBR view. The screenshots use different viewpoints, so they show design alternatives rather than a controlled geometry comparison.

- Check the side profile. An ambiguous outline from the side means the form is not finished.
- Check the base. It should sit flat and look stable.
- Rotate to the back. The form should not read as a different object.
Next variation. Try a broader or narrower loop while keeping the same base requirement. Regeneration may change other details, so compare the whole silhouette.
2. A Decorative Ceramic Teapot
Deliverable. An exterior concept with a body, spout, handle, and lid. Treat it as a display model, not a vessel for brewing, food, or water.
Best for. Product-styling practice from reference photos.
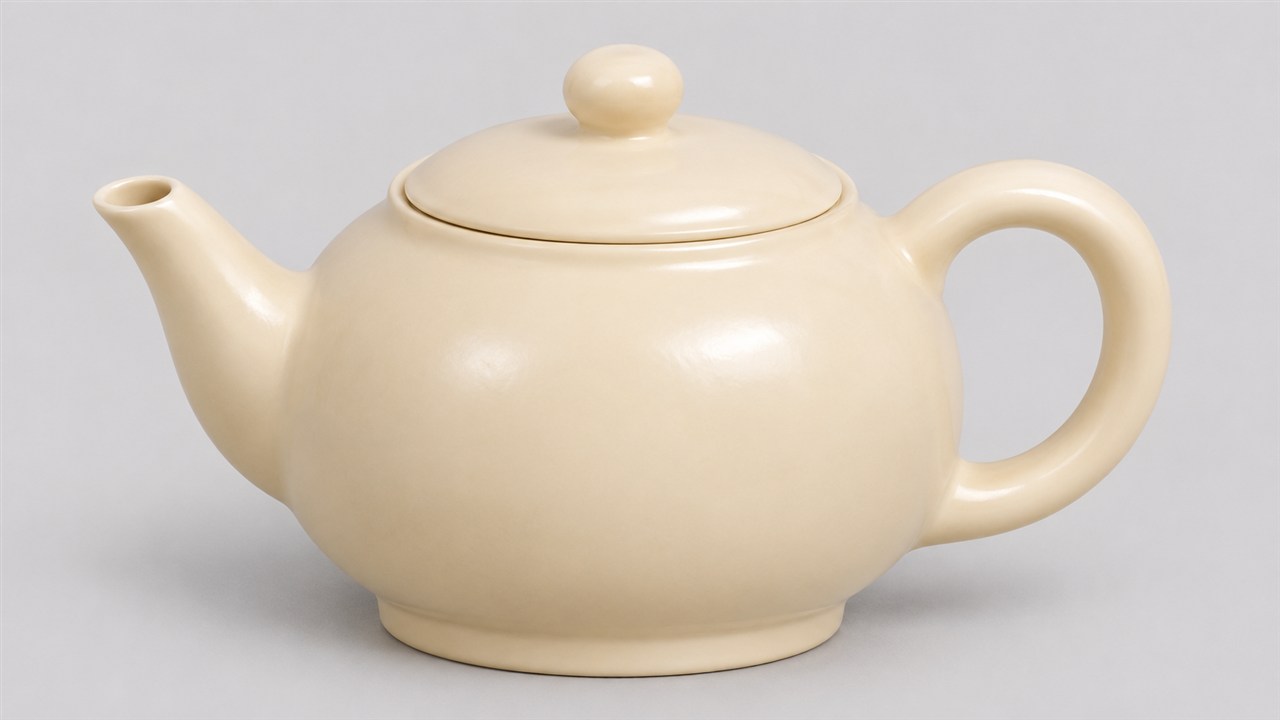
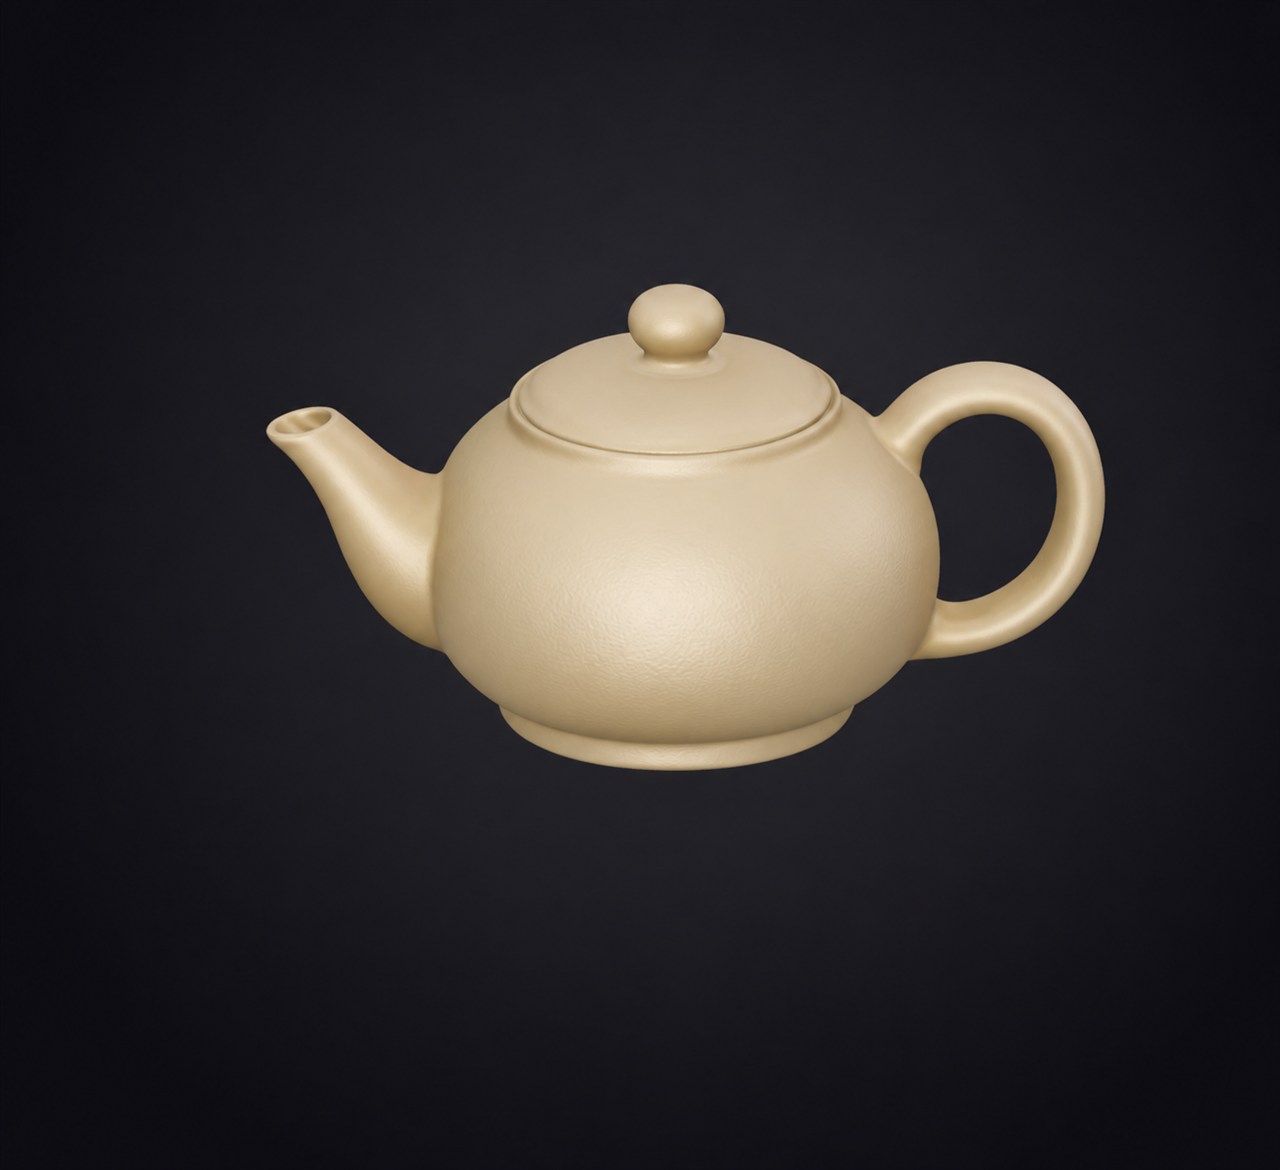
References. Prepare one unobstructed three-quarter image showing the body, lid, spout, and open handle. This case uses the original AI-generated ivory teapot reference shown below.
N4D step. Generate a static model with Image to 3D from that reference. Use the result to judge the overall shape and the visible ceramic appearance.
Case result. The elevated result view shows an open spout, a loop handle, and a distinct lid outline. These features meet the exterior-concept goal. The screenshot does not establish a continuous internal passage, a removable lid, or a watertight vessel.
- Check the spout-to-body and handle-to-body junctions for thin webs, holes, or lumps.
- Check whether the lid has a distinct outline and seat. A visible seam does not prove the lid is a removable component.
- Look at the back and underside, where a single photo gives the model little information.
Next variation. Try a taller body or a shorter spout in a new reference, then compare how the proportions change.
3. A Retro Portable Radio
Deliverable. A static prop with a period look: body, speaker grille, dial, buttons, and handle. Accurate electronics are not the goal.
Best for. Exploring a boxy prop with several recognizable details.
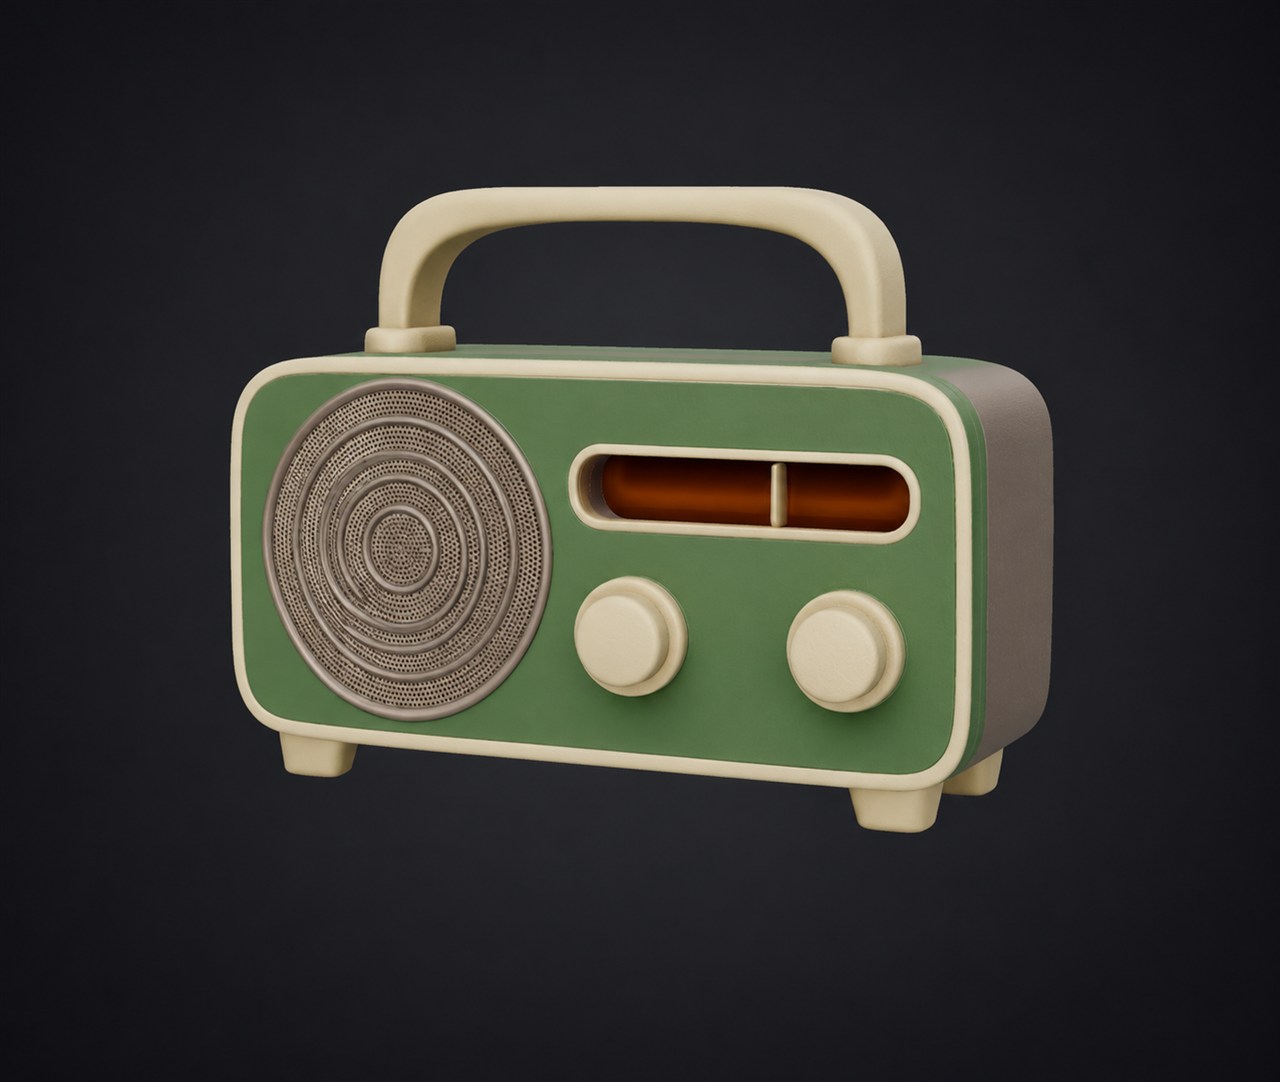
References. Prepare one three-quarter image with a clear handle opening, grille, tuning window, and knobs. This case uses a green-and-ivory AI-generated reference without brand lettering.
N4D step. Generate with Image to 3D and compare the placement of the main parts against the reference.
Case result. The result retains the open handle, circular grille, tuning window, and two separate knobs. The selected view also shows the darker rear housing. Grille detail is visible, but the image alone cannot establish whether every apparent perforation is geometry. Readable dial text is not a completion requirement.
- Buttons and dials should read as separate parts, not melted into the body.
- Check the grille in Solid view as well as with materials. A perforation pattern may be surface detail rather than open holes.
- Check both handle attachment points and the back panel.
Next variation. Try a new body color while retaining the large grille and two-knob layout. Recheck the shapes after regeneration.
4. A Camping Lantern Prop
Deliverable. A static lantern appearance model with a base, body, handle, and top cap. Lighting, electrical behavior, and transparent materials are outside this project.
Best for. A single-photo environment prop.
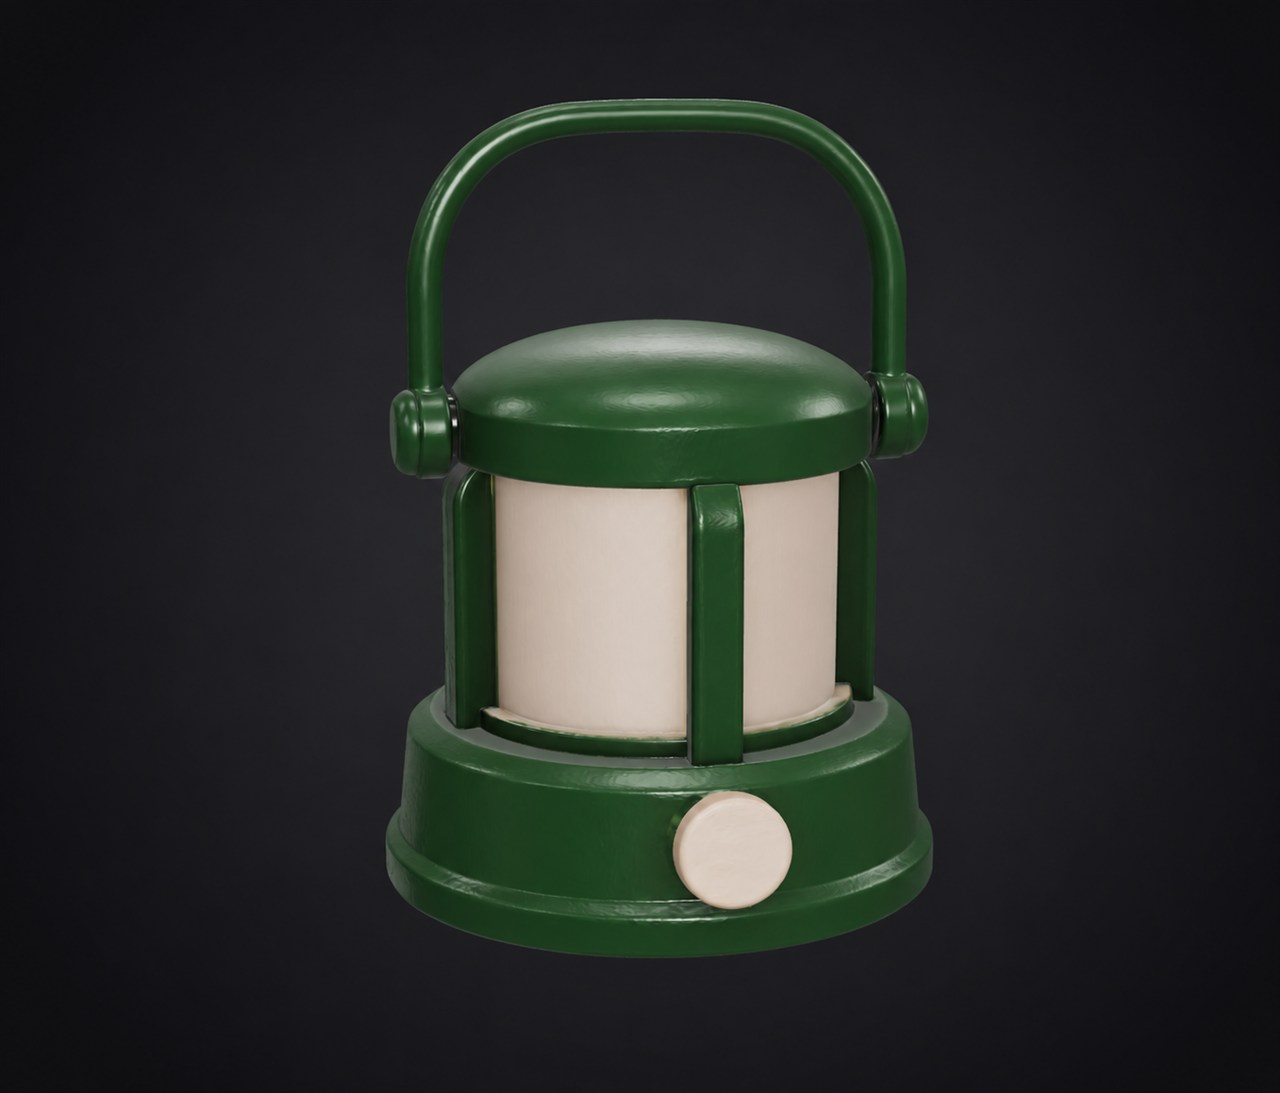
References. Use one clear image with the full handle, protective ribs, cap, and base visible. This case uses a green-and-ivory AI-generated lantern reference.
N4D step. Generate the exterior with Image to 3D, then inspect the handle, guard spacing, and material appearance.
Case result. The green result shows a raised handle, protective ribs, and a separate front knob. The central diffuser appears opaque and unlit. That fits the static-prop goal; this example does not demonstrate transparency, light emission, or an electrical assembly.
- Check handle thickness and both attachment points for unintended narrowing or fused gaps.
- Inspect the central diffuser separately. The opaque appearance in this example is not evidence of a transparent or emissive material.
- Check the base footprint. A narrow base makes the prop look unstable.
Next variation. Try a wider base or a different enamel color in a new reference. Keep the lantern unlit while comparing its shape.
5. A Stylized Fish
Deliverable. A static stylized fish with a readable outline. It is not rigged or animated.
Best for. An organic silhouette study.
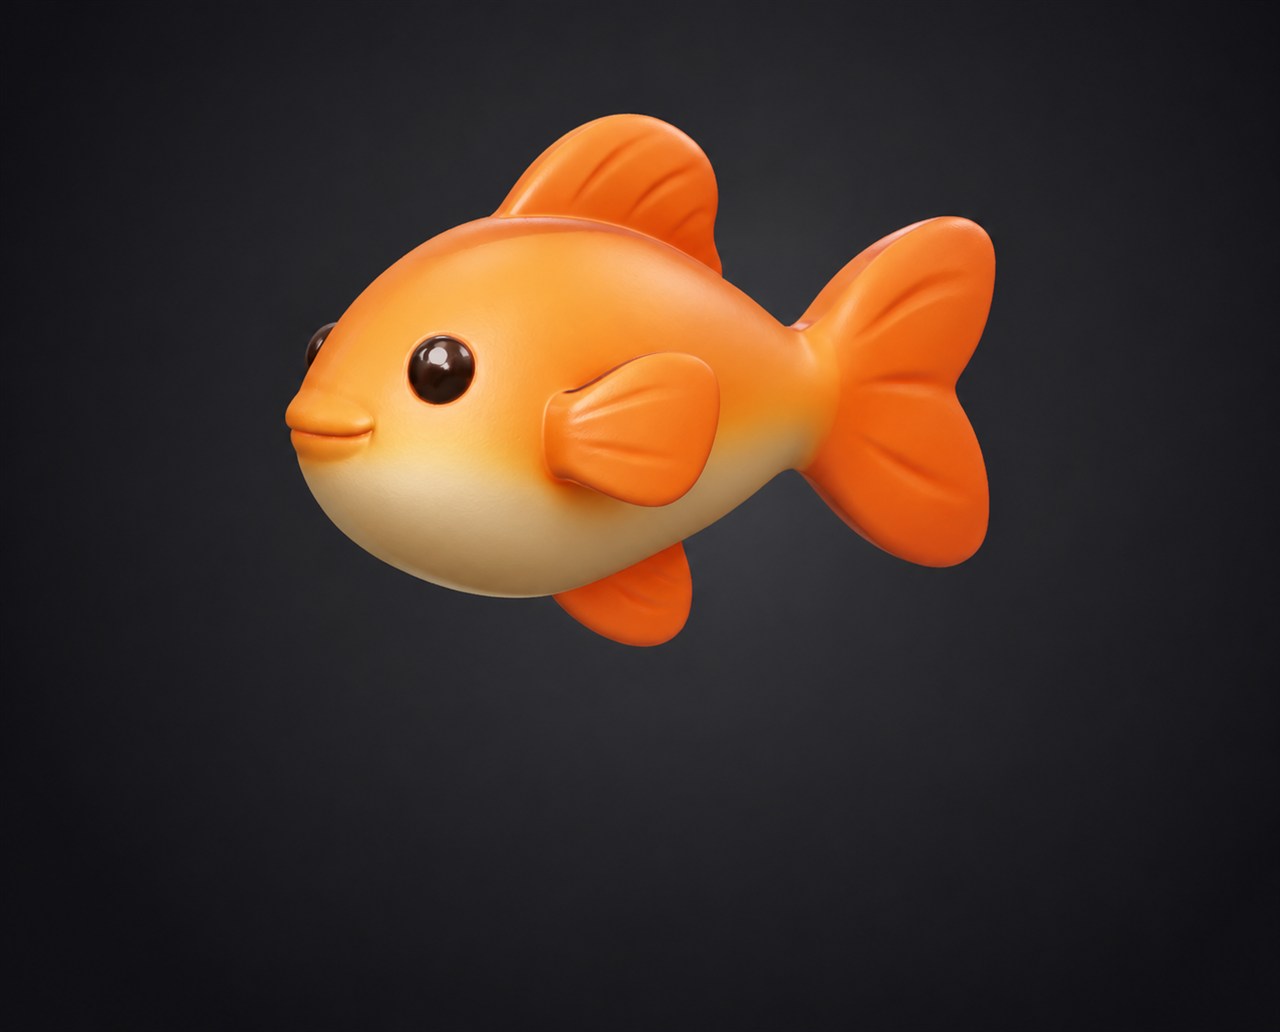
References. Use one image that separates the tail and fins from the body outline. The AI-generated reference for this case uses an orange body, cream belly, large eyes, and broad fins.
N4D step. Generate the static fish with Image to 3D, then compare its body proportions, eye placement, and fin connections.
Case result. The result preserves the orange-and-cream color direction, rounded body, broad tail, and visible fins. The near eye remains distinct from the face. It provides a recognizable static character study, without demonstrating a rig or animation.
- Check each fin connection for fused edges, gaps, or an unexpectedly thin attachment.
- Check the eye position and size. Eyes can sink or drift too high on the head.
- Rotate to the far side and compare the silhouette with the reference.
Next variation. Exaggerate the tail or shorten the body in a new reference. Change one feature first so the comparison stays useful.
6. A Tiny Cabin Exterior
Deliverable. A single exterior massing model of a small cabin. It is a shape and material concept, not a building with a usable interior layout.
Best for. A small building exterior with a manageable number of features.
References. Use one clear exterior image showing the roof, two visible walls, windows, and door. The AI-generated reference here combines timber siding, a green gable roof, and a stone-colored foundation.
N4D step. Generate one cabin exterior with Image to 3D. Compare roof shape and opening placement before judging wood or roof surface detail.
Case result. The cabin result includes framed windows, a brown door surround, a round knob, and an entrance step. Visible window and door panels do not establish usable openings or an interior layout.
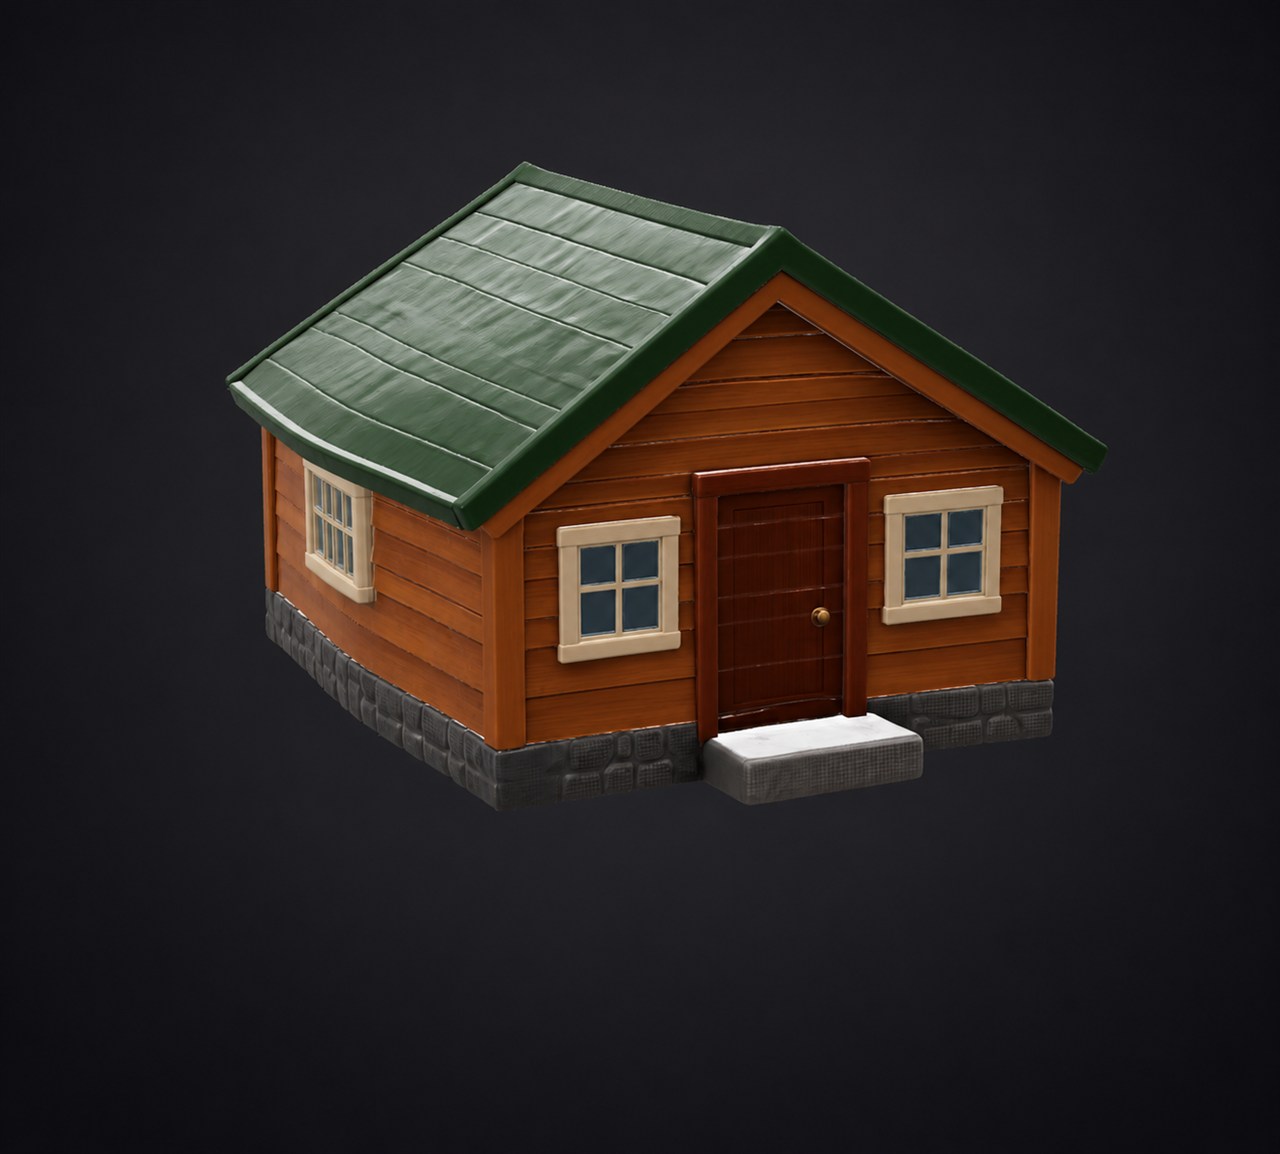
- Check the roof-to-wall junction and the overhang.
- Check doors and windows. They may be recessed panels rather than real openings.
- Look at the back and both sides, which the photo may not show.
Next variation. Try a different roof pitch or siding color. Treat porches and interior layouts as additional scope, not automatic extensions.
7. A Sculpted Decorative Mask
Deliverable. An original decorative display mask with a coherent face, rim, and relief pattern. Wearable fit, safety, and printability are outside this project.
Best for. A symmetry and surface study.
References. Prepare one original front-view image with two eye openings and broad, readable relief. This case uses an AI-generated ivory mask reference.
N4D step. Use Image to 3D from the mask reference, then compare the eyes, brow, nose, cheek relief, and rim.
Case result. Both eye openings, the broad facial relief, and the surrounding rim are visible in the result. The mouth appears as a darker slit than the shallow groove in the reference. This is a useful feature to compare; the image does not establish the depth of that slit.
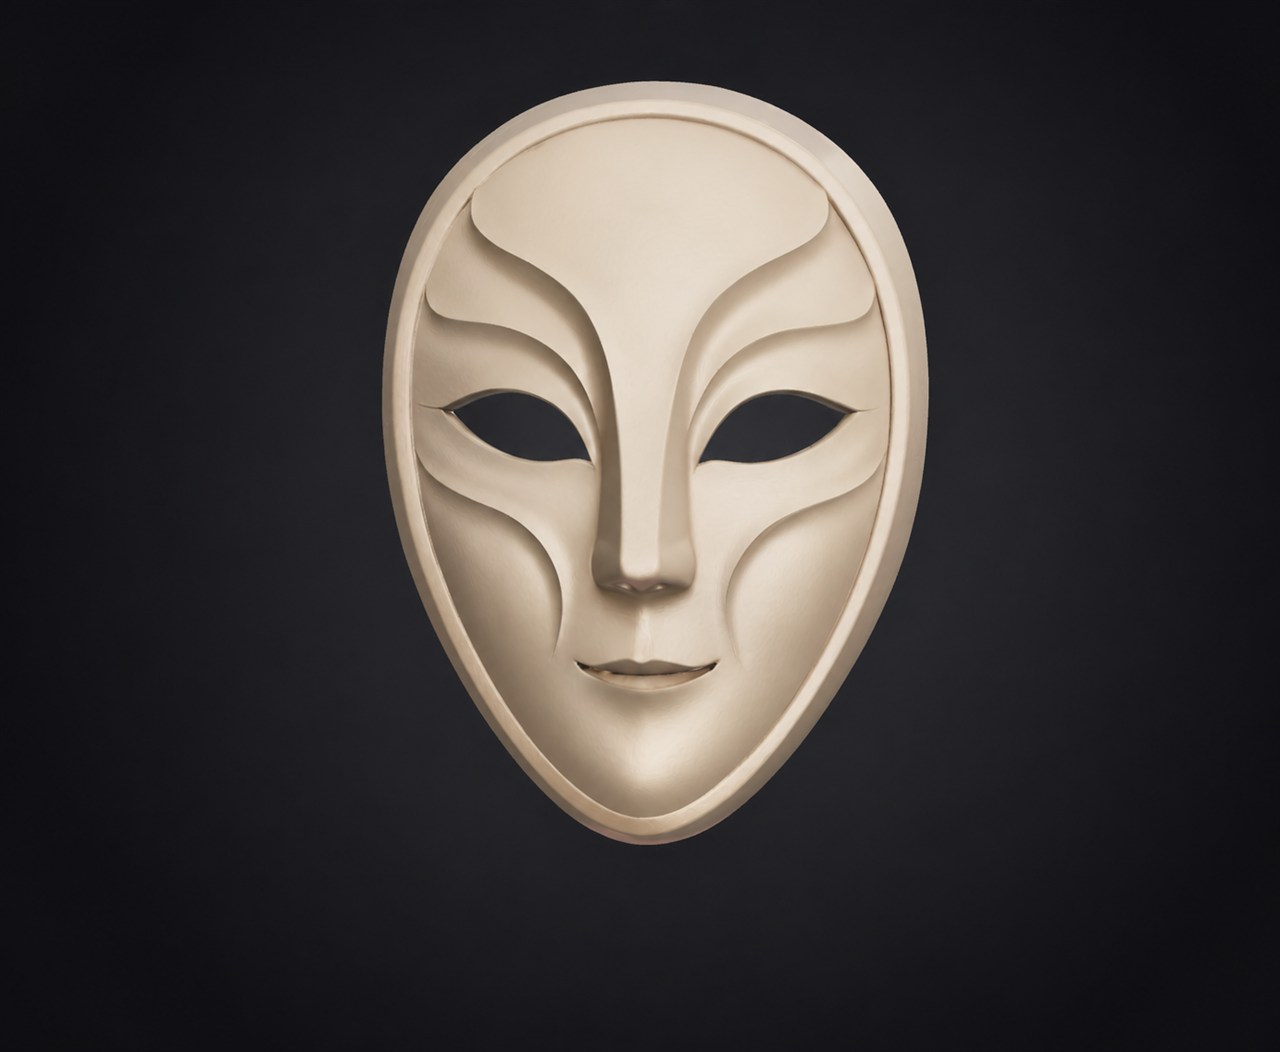
- Compare both sides of the face from the front, then inspect the depth of the side profile.
- Check the eye area. Openings may be shallow or closed.
- Check the rim. Thin edges are the first part to look fragile.
Next variation. Try shallower cheek relief or a different material direction in a new reference. Check whether the facial expression changes.
8. A Coordinated Three-Object Collection
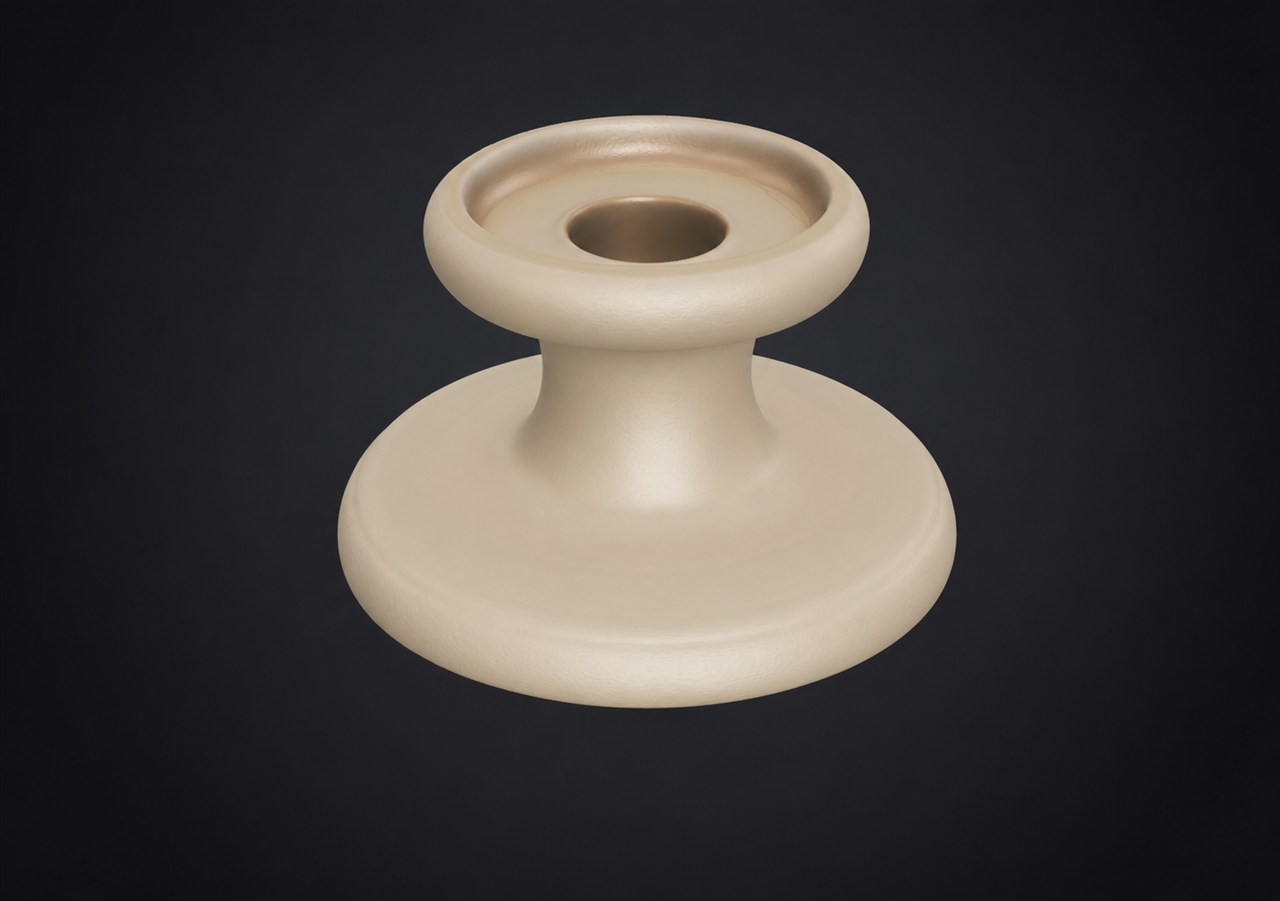
Deliverable. A vase, shallow bowl, and candleholder as three separate digital models. Aim for related shapes and materials, not an automatically assembled scene.
Best for. A small portfolio set.
References. Prepare a separate image for each object. This set uses warm ivory tones, rounded edges, and simple ceramic surfaces as shared rules.
N4D step. Generate each object separately with Image to 3D. Review all three together for color, surface finish, and detail density; matching is not guaranteed.
Case result. The vase has an open mouth, the bowl a visible concave interior, and the candleholder a recessed socket. All share a warm ivory direction, although tone and surface finish differ. The row below uses editorial display sizes, not a verified physical scale. These are appearance studies, not food-use or heat-safety tests.
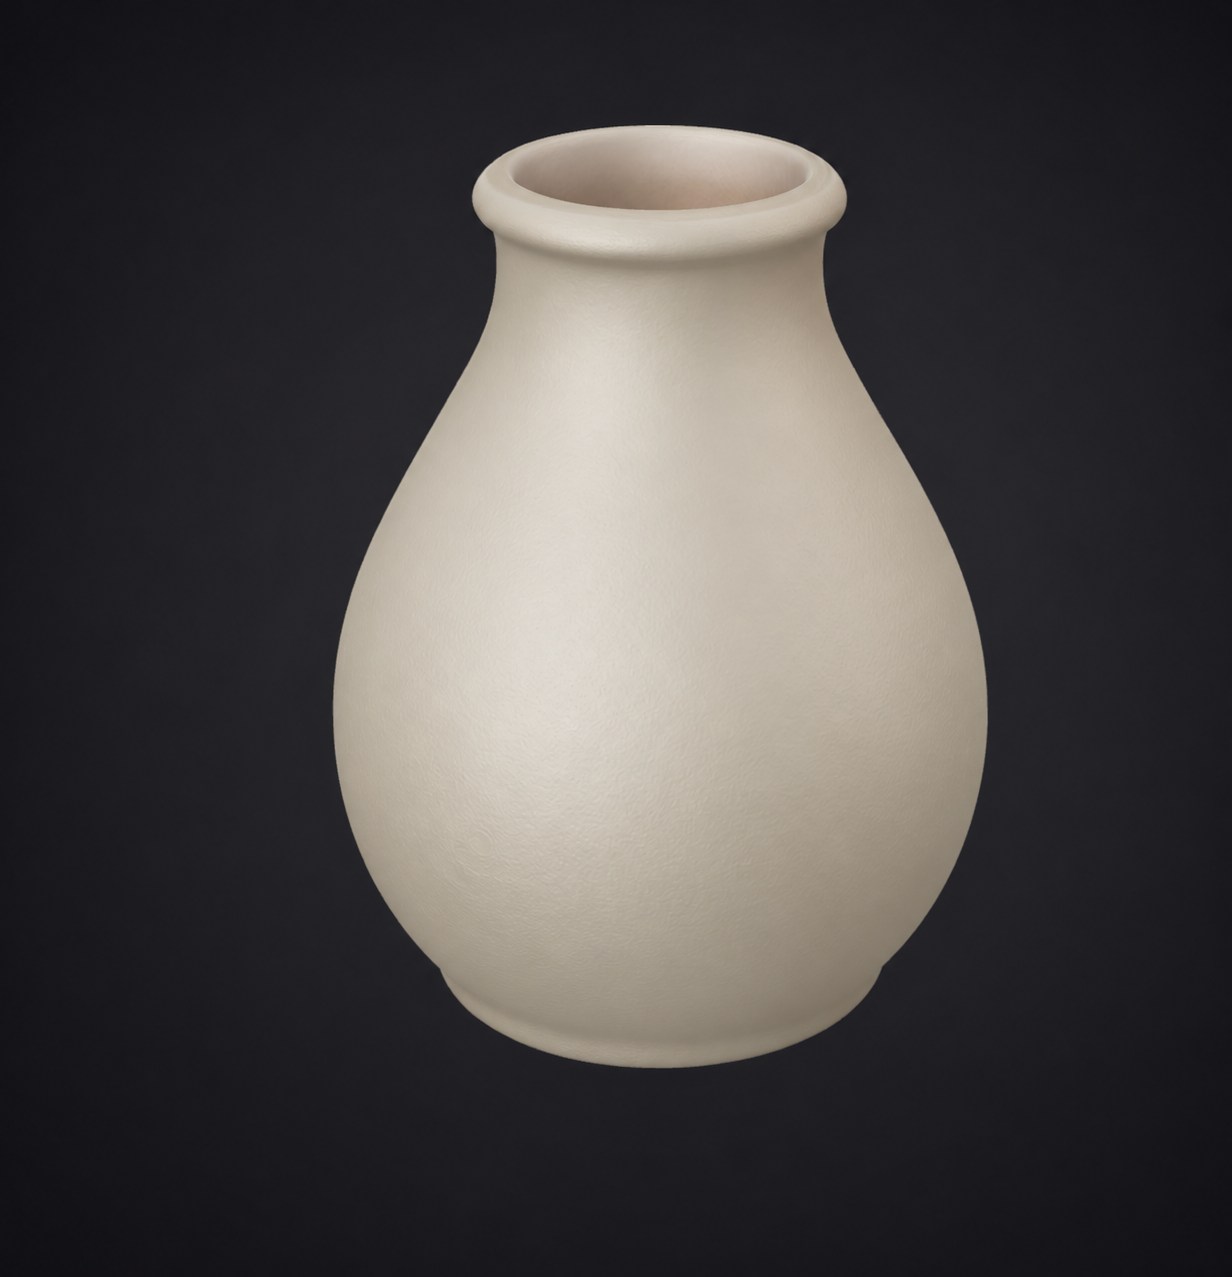
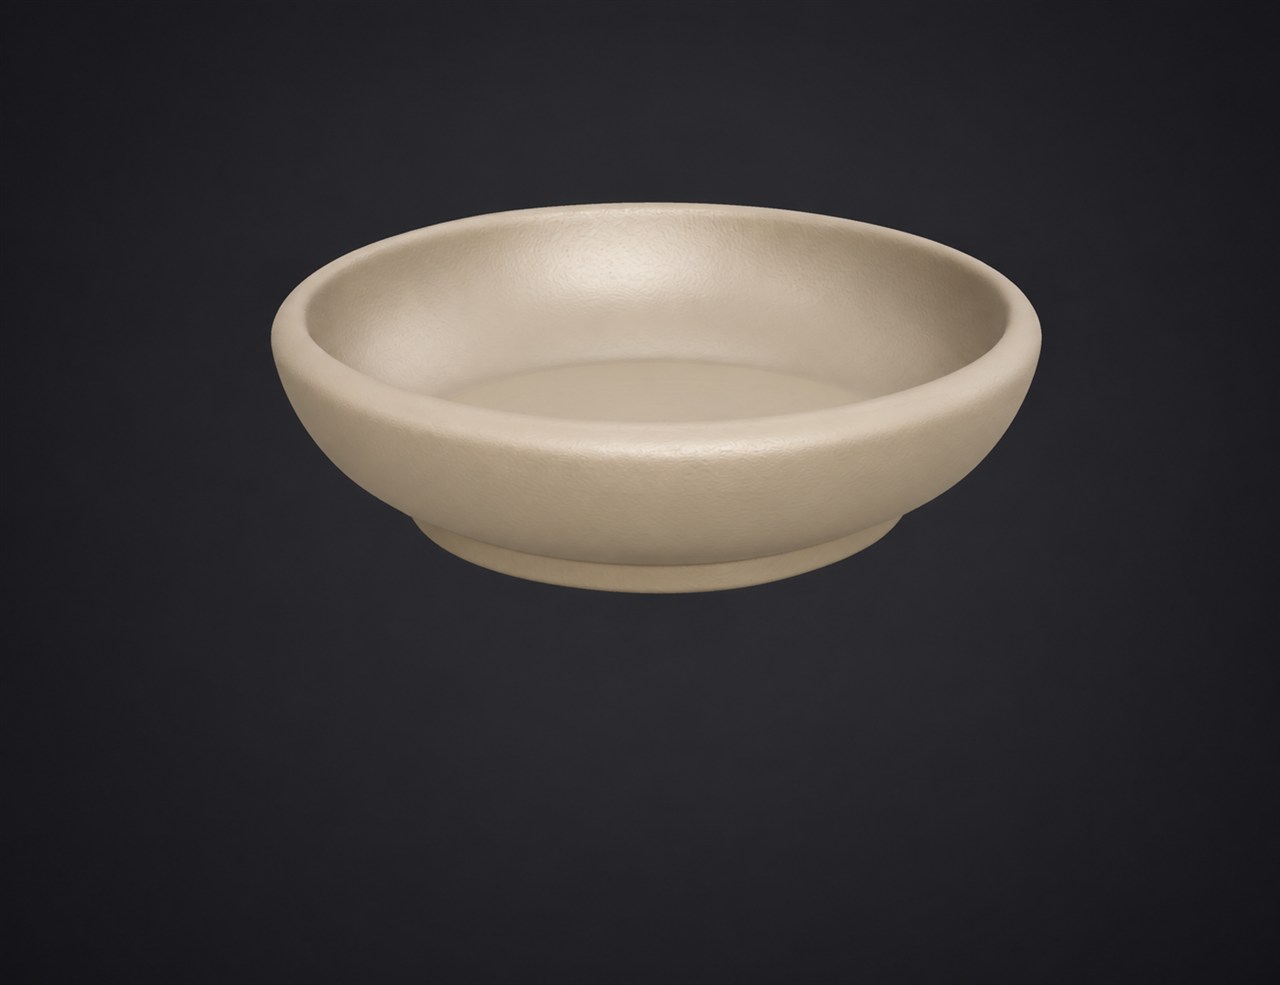
- Compare the palette under the same lighting. Colors can drift when placed side by side.
- Check the scale relationship and the detail density across all three.
- Put the silhouettes in one row. The set should look related.
Next variation. Revise the reference for the object that differs most in finish. Establish real dimensions in a downstream editor before comparing physical size.
Turn One Idea Into a Finished First Version
Six steps take one idea to a first version. The steps stay the same; only the references and checks change.
Step 1: Write the delivered result in one sentence
Name the object, its use, style, and output format. A useful sentence is specific enough to judge: “A matte ceramic teapot with a round body and a side handle, for a display model exported as GLB.” Split a two-object sentence into two projects.
Step 2: Name the shape and material direction
Name the main shape and a material direction, such as rounded ivory ceramic or a boxy green radio with cream trim. For an image reference, make those choices visible before generation. Keep the description focused enough that you can identify what changed between versions.
Step 3: Choose Text to 3D or Image to 3D
Use Text to 3D when you only have a description. Use Image to 3D with one clear reference image. A single image leaves the hidden geometry to the model, so inspect the sides the photo did not show.
This 64-second official N4D guide illustrates the image-input route. Video length is not a measurement of generation time.
Step 4: Generate and inspect from four angles
Rotate the result and inspect the front, both sides, back, and bottom. Use Solid view to focus on shape and PBR view to judge the material appearance. If the silhouette misses the project goal, change the reference or shape description and generate again.
Step 5: Record the one problem that matters most
Record the issue that most affects the goal: an obscured handle opening, a missing fin, or a silhouette that no longer matches the reference. Adjust one part of the input and regenerate, then check the whole model again. A better-looking material is not proof that a shape problem has been resolved.
Step 6: Export for the next step, not for the shelf
Choose an available export format accepted by the next tool, such as STL for a slicer or GLB for a compatible viewer. Open the exported file in that tool and check its scale, orientation, and materials rather than assuming the handoff is complete. If the destination is a print, the guide to designing your own 3D prints covers the checks that come next.
Check These Details Before Calling the Project Finished
Generation success is not a finished project. Run these checks before export.
- Can you identify the object from every angle? If the back or underside reads as another object, the model is not finished.
- Are there extra, fused, or missing parts? Check handles, fins, buttons, and thin rims first.
- Does the texture hide a geometry problem? A busy pattern can make a lump or hole less visible without fixing it.
- Does the result match the original deliverable? A display model, a print, and a game asset are judged by different standards.
- What does the next tool still need? A model can be complete in the viewer and still fail in a slicer, engine, or AR preview.
| Destination | Check next | Why it matters |
|---|---|---|
| Desk or portfolio display | Silhouette, material, and a consistent light direction | The model is judged as an image, so outline and surface carry the result. |
| 3D printing | Wall thickness, supports, orientation, and slicer estimate | A model that looks solid can be too thin or unsupported to print. |
| Game or real-time | Polycount, topology, UV layout, scale, and pivot | The asset has to fit the engine and scene, not only the viewer. |
| AR or client preview | File format, scale, and material response | The model has to open on the target device at a believable size. |
The creator reported no issues in the back and underside completeness checks for these examples. That visual check does not establish wall thickness, manifold geometry, physical stability, or production readiness. Use the destination tool to complete the checks for your intended use.
Conclusion: Pick One Idea, Then One Deliverable
Pick one project, write one sentence, and generate one version. Judge it from four angles, fix the one problem that matters, and export what the next step needs. A finished first version is not production-ready, but it is a model you can describe, check, and improve.
If you have a reference, start with Image to 3D. If you only have an idea, start with Text to 3D. The useful result is not the most detailed model, but the one that matches your deliverable.
Choose one idea and create your first version in N4D.