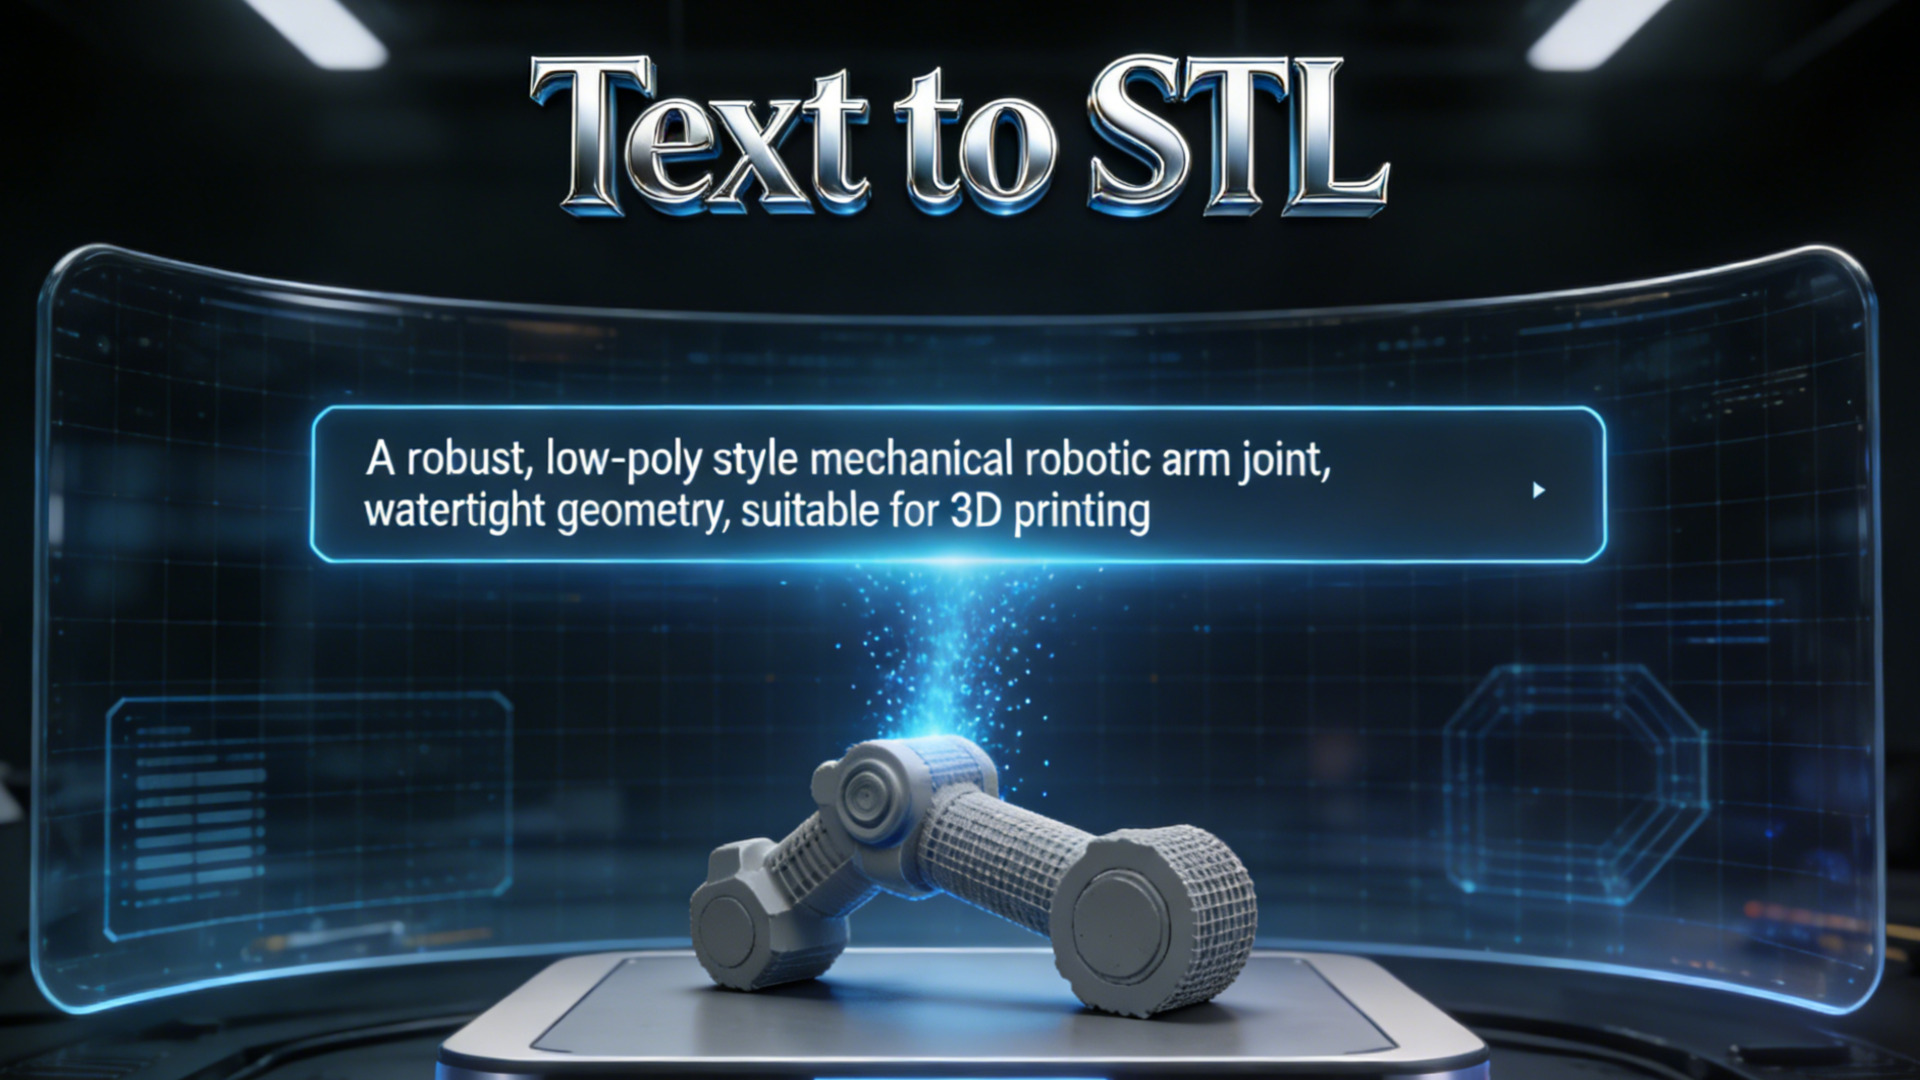
From Text to STL in 90 Seconds (Without Mesh Errors): 2026 Guide
Quick Summary: A failed 3D print is a massive waste of time and filament. Most generative tools output broken geometry that slicers cannot read. By using the Neural4D Direct3D-S2 engine, makers can generate watertight, mathematically closed 3D base meshes in roughly 90 seconds. This guide shows you how to bypass non-manifold errors and use a reliable Text to STL workflow to export files ready for immediate manufacturing.
A failed 3D print doesn’t just waste time: it can cost 10+ hours of machine runtime and hundreds of grams of material. Most early AI tools generate models that look correct on a screen but collapse the moment they hit a slicer.
This guide shows how to go from a simple text prompt to a fully printable Text to STL file in about 90 seconds. You will learn how to bypass repair tools, eliminate mesh errors, and remove the guesswork from your 3D printing pipeline.
- · Part 1: The Evolution of STL Generation
- · Part 2: Why Most AI 3D Models Fail in Your Slicer
- · Part 3: Step-by-Step: Using Neural4D for Printing
- · Part 4: Direct3D-S2 vs. Legacy AI: The Watertight Difference
- · Part 5: Best Practices for Prompting Printable Objects
- · FAQ: Troubleshooting Your Print Files
- · Part 6: Conclusion – Print Your Imagination
Part 1: The Evolution of STL Generation
The STL (Standard Tessellation Language) file format has driven the 3D printing industry for decades. It describes only the surface geometry of a three-dimensional object without any representation of color or texture. Your slicing software uses this raw surface data to calculate physical toolpaths for your printer.
Early generative tools were built for screens, not for the real world. They created visual approximations of 3D space. When you tried to export these early outputs to a slicer like Cura or PrusaSlicer, the software would freeze or report thousands of critical mesh errors.
A true AI STL generator must understand volume. It has to know the difference between a flat digital plane and a physical wall that requires plastic extrusion. Reading a reliable text to 3D model AI guide is the first step, but applying manufacturing logic is what actually gets your printer moving.
Part 2: Why Most AI 3D Models Fail in Your Slicer
Most users don’t realize their model is broken until hour 6 of a print. There is nothing more frustrating than waking up to a plate full of plastic spaghetti because of a hidden hole in the digital mesh. Many free online repositories and legacy AI tools output geometry that is fundamentally broken for physical manufacturing.
The core issue is non-manifold geometry. A manifold mesh is a continuous, closed surface. If an edge is shared by more than two faces, or if a vertex connects faces in a physically impossible way, the slicer cannot determine what is “inside” and what is “outside”. This mathematical confusion leads directly to missing layers and structural collapse.
- ❌ Paper-Thin Walls: Geometry generated without actual thickness cannot be printed by FDM nozzles or SLA lasers.
- ❌ Internal Intersections: Overlapping internal shapes confuse slicers and create weak points in your infill structure.
- ❌ Floating Artifacts: Tiny disconnected pieces of geometry require unnecessary support material and ruin your surface finish.
Creators often discover the hidden costs of free 3D models when they spend more hours repairing the mesh in Blender than it took to generate it in the first place.
- – Non-manifold geometry
- – Requires hours of manual repair
- – High print failure rate
- – Watertight mesh structure
- – Ready for immediate slicing
- – Print with high success rates
No CAD. No repair tools. No failed prints.
Used by 100,000+ makers and hardware teams.
Part 3: Step-by-Step: Using Neural4D for Printing
You do not need a degree in 3D topology to create physical objects. By utilizing a streamlined text to STL free tier workflow, you can move directly from an idea to your slicer software. Here is the pragmatic workflow for modern makers.
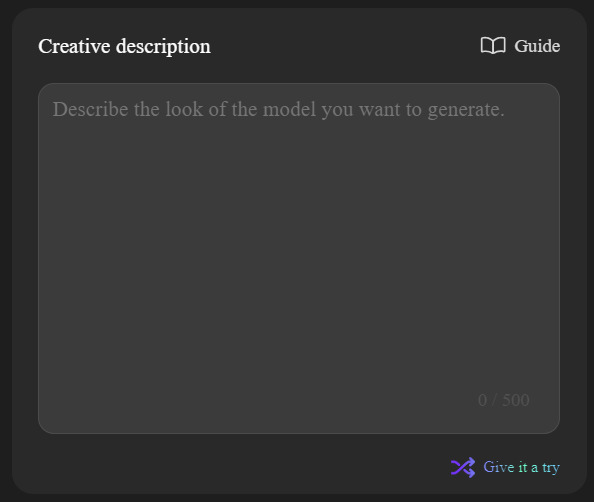
Step 1: Input Your Text Prompt
Navigate to the Text to 3D studio and locate the “Creative description” box. Be specific about the physical shape you want. Describe the object focusing on its structural elements rather than just its color. A prompt like “a sturdy, geometric desk organizer with thick walls and a flat base” works exceptionally well for FDM printing.
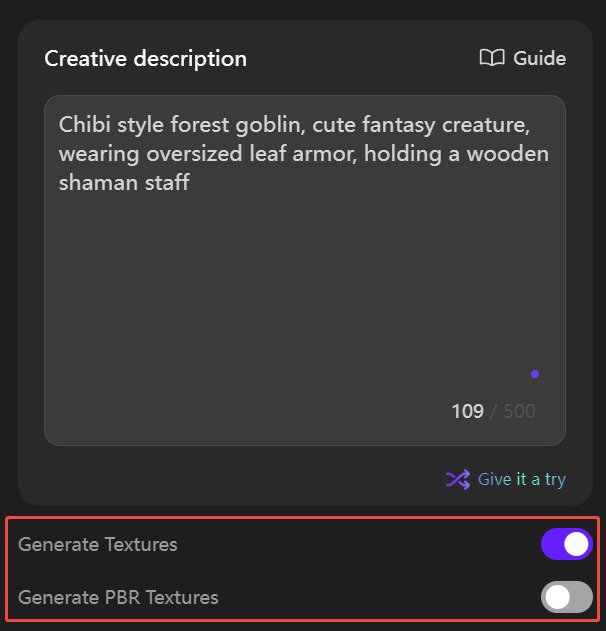
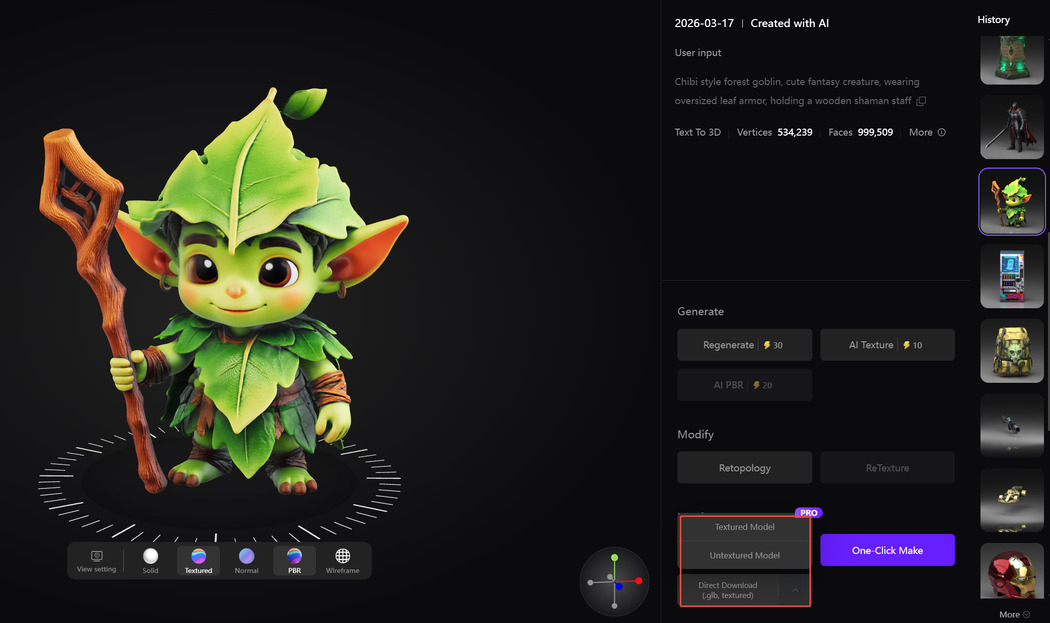
Step 2: Select Texture Preferences
Below the text input, you will see toggle switches for “Generate Textures” and “Generate PBR Textures”. Because the STL format only carries surface geometry and ignores color data, makers can choose to leave these toggles off. This directs the engine to focus entirely on calculating the physical mesh structure.
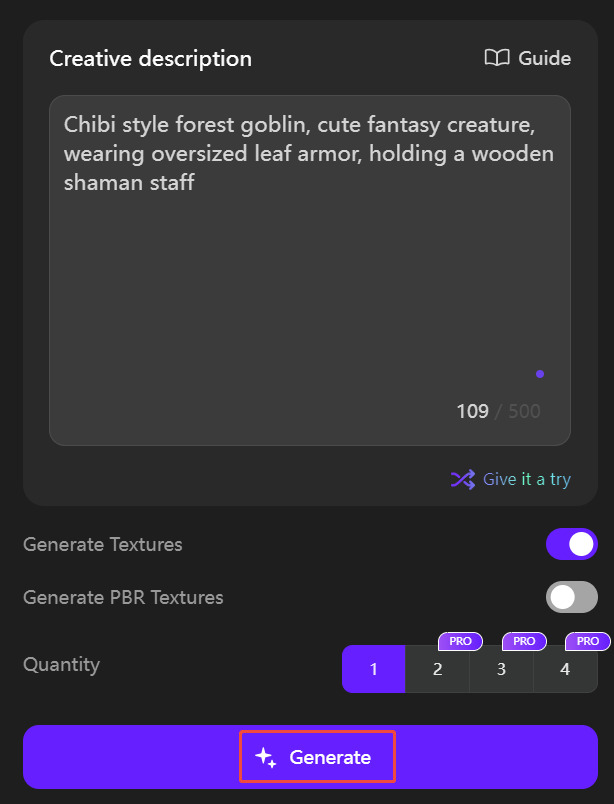
Step 3: Generate
Select your desired quantity and click the “Generate” button. The Direct3D-S2 engine uses its Spatial Sparse Attention mechanism to calculate the entire volume of your requested object. In roughly 90 seconds, the system outputs a solid, high-fidelity base mesh.
Step 4: Preview and Download
Once the processing is complete, preview the generated model directly in the interactive 3D viewer. You can rotate the asset to verify its center of gravity and ensure the base is completely flat. If the geometry meets your standards, select the STL format from the export options and download. Your file is mathematically closed and ready to drop straight into Cura or PrusaSlicer.
Part 4: Direct3D-S2 vs. Legacy AI: The Watertight Difference
Neural4D is not a visual 3D generator: it is a manufacturing-first geometry engine. When you look at top AI alternatives for 3D asset creation, you must evaluate their underlying architecture. Neural4D was developed in collaboration with top academic labs to solve the specific physics problems of 3D generation.
Makers report saving 10 to 30 hours per model by eliminating mesh repair workflows. Instead of manually patching holes in Windows 3D Builder or Meshmixer, the generation phase itself guarantees structural integrity.
- ✅ Watertight Guarantee: The Direct3D-S2 engine naturally prevents non-manifold edges, ensuring continuous outer shells that your slicer can easily interpret.
- ✅ Actual Thickness: Our volumetric logic prevents the generation of zero-thickness planes that cause FDM nozzles to extrude empty space.
- ✅ Optimized Geometry: The SSA mechanism drastically reduces compute overhead, delivering high-resolution geometry that slices cleanly without crashing your software.
This commitment to structural integrity makes it the ideal production-ready 3D AI for hardware startups and hobbyists alike.
Part 5: Best Practices for Prompting Printable Objects
Your text input dictates the physical reality of your print. Writing prompts for a printable 3D AI requires a different mindset than writing prompts for digital art.
Always consider gravity. If you generate a character with tiny ankles and a massive upper body, it will snap during printing or fall over immediately. Add phrases like “standing on a solid circular base” or “thick, robust support structures” to your prompt to give the algorithm context about physical stability.
Focus on avoiding extreme overhangs. While you can always use support material in your slicer, asking the engine for “sloping designs” or “pyramid-like stability” will result in a much cleaner final print. Think like an engineer when you type your description, and the AI will output parts that actually survive the print bed.
FAQ: Troubleshooting Your Print Files
Do I need to run the STL through a repair tool first?
In most cases, no. Neural4D is designed to output mathematically closed, watertight geometry. You can typically drop the exported STL directly into Cura, PrusaSlicer, or Lychee without running it through Meshmixer or Windows 3D Builder.
How long does it take to generate a printable file?
The Direct3D-S2 engine produces a high-fidelity base mesh in roughly 90 seconds. You can download the STL file immediately after this step and begin slicing your project.
Can I print these models to sell commercially?
Assets generated under a paid Neural4D subscription include full commercial usage rights. You can 3D print these models and sell the physical items, or sell the STL files directly, without any legal restrictions.
Part 6: Conclusion – Print Your Imagination
The barrier to entry for 3D printing is no longer hardware. It is the ability to create usable 3D geometry quickly. By leveraging a dedicated Text to STL workflow, makers and engineers can drastically reduce the time spent in CAD software and increase the time their printers are actually running. Stop fighting with broken geometry and start manufacturing your ideas today with the power of native volumetric generation.
Go from Text Prompt to Print Bed.
Join the next generation of makers using Neural4D. Engine-ready geometry. Zero mesh errors.
Get Started with 50 Free Power
No credit card required for trial. Weekly refills included.