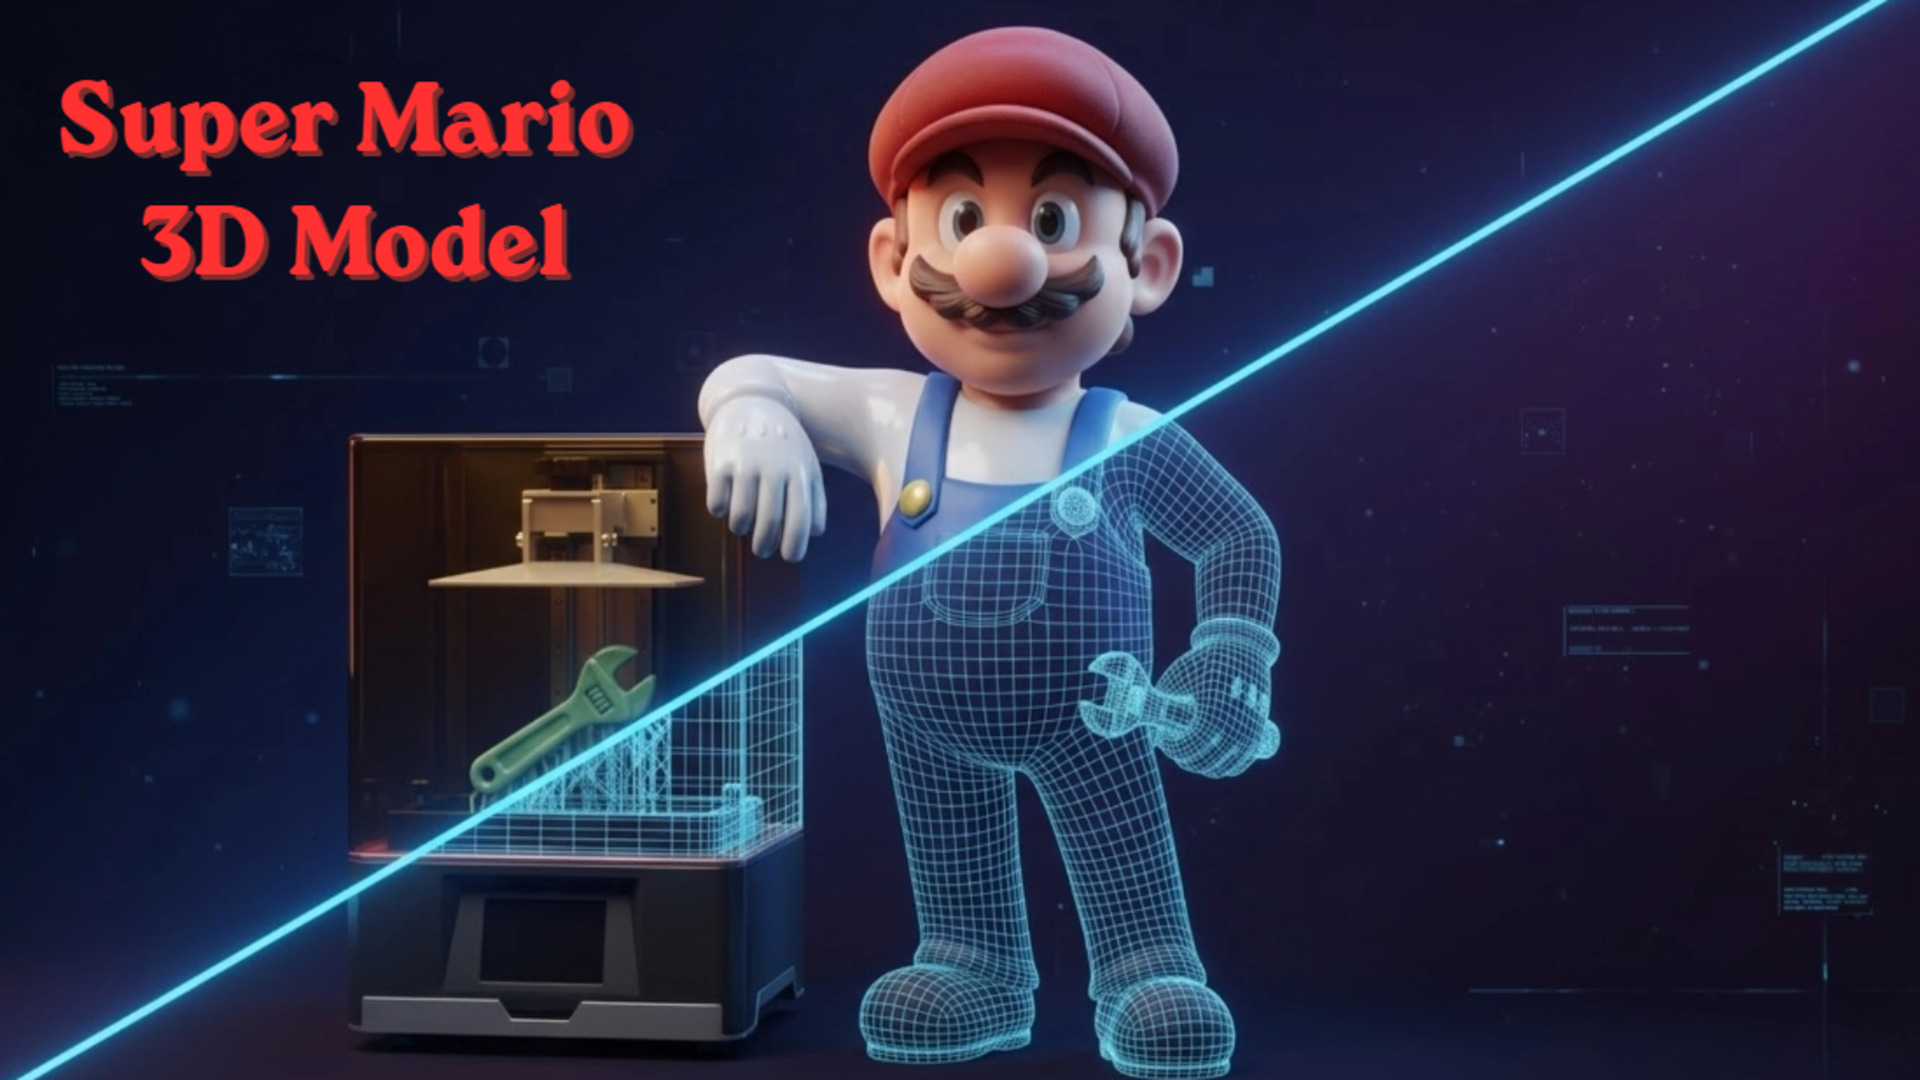
How to Generate a Watertight Super Mario 3D Model (Without Slicer Failures)
If you have ever fired up your resin printer hoping to create a physical version of a classic platformer hero, you likely understand the immediate frustration. You download a free Super Mario 3D model from a community repository, import it into your slicing software, and watch the entire structure fail. Red warning lines highlight intersecting faces. The software attempts to generate supports for a cape that has absolute zero thickness. The files you find online are almost always ripped directly from older game engines. They were built to trick a digital camera, not to exist in physical reality. Instead of fighting with manual retopology tools and spending your weekend patching invisible holes, a better workflow is to generate a custom, print-ready base mesh directly from a reference image using specialized volumetric algorithms.
- Part 1: The Trap of Ripped Console Assets in 3D Printing
- Part 2: Generating a Clean Base Mesh in 90 Seconds
- Part 3: Spatial Sparse Attention for Stylized Proportions
- Part 4: Pipeline Integration from STL to Slicer
- Part 5: FAQ – Troubleshooting Your Print Workflow
- Part 6: Conclusion – Print Your Custom Character
Part 1: The Trap of Ripped Console Assets in 3D Printing
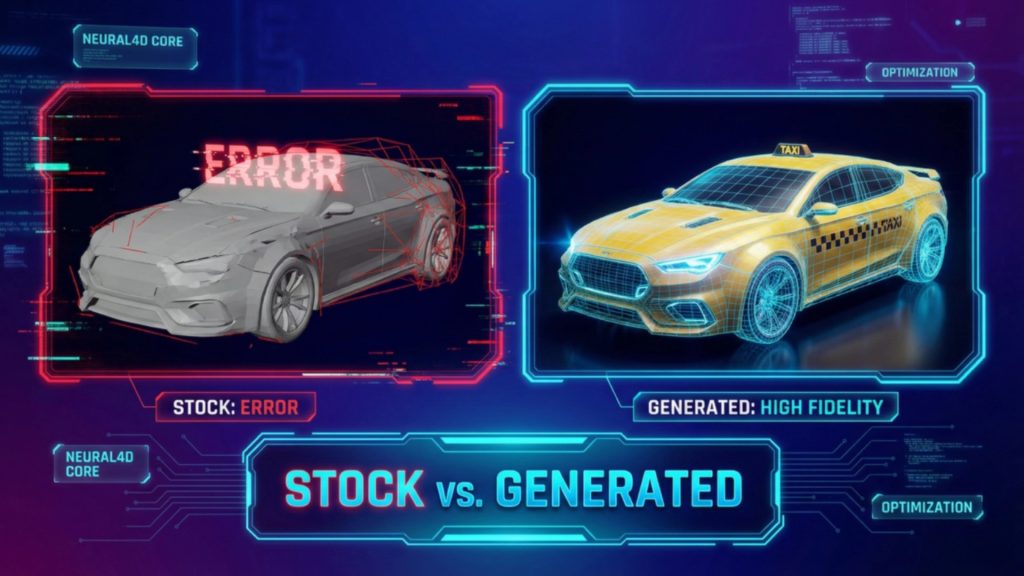
There is nothing more frustrating than a print failing at hour seven because of a hidden hole in the mesh. Free online models pulled directly from game files are notorious for non-manifold edges. When game developers create assets for legacy consoles, they optimize heavily for rendering performance. If the player never sees the inside of a character’s hat, the back of their shoes, or the underside of a mustache, that geometry is simply left open. The polygons do not enclose a defined space.
This optimization technique is called backface culling. It saves processing power in a game engine, but it destroys physical printability. When you try to print a ripped Super Mario 3D model, you load these optimized files into slicing software like Chitubox or Lychee, and the program gets entirely confused about what constitutes the “inside” and the “outside” of the volume. The slicer calculates the laser path or extruder movement based on solid geometry. If it hits an open edge, it stops calculating. The result is a hollow shell that either refuses to slice or collapses entirely mid-print.
Furthermore, ripped assets often suffer from flipped normals. A normal is a directional vector that tells the software which way a polygon is facing. In ripped game files, these normals frequently point inward instead of outward. To the slicer, this looks like a negative void rather than solid matter. Fixing this requires importing the file into complex 3D software, recalculating the exterior, closing all geometric holes, and manually bridging gaps. For makers looking at generating character 3D models for physical production, relying on broken mesh data is a massive operational bottleneck. You are creating work instead of saving it. Want to see how the alternative works? Click here to start generating your watertight model directly from an image.
- 🧩 No non-manifold geometry
- ⚡ Generate a base mesh in ~90 seconds
- 🖨️ STL ready for resin printing
- 🎮 Export to FBX or GLB for game engines
- 🔁 Iterate designs instantly
Stop Patching Holes in Broken Meshes
Upload your concept art and generate a mathematically watertight STL.
Generate Your Mario 3D Model Easily
“Saved me a weekend of manual retopology. The generated STL dropped right into Lychee without a single non-manifold error.”
— Lead Prototyper, Indie Tabletop Studio
Part 2: Generating a Clean Base Mesh in 90 Seconds
Traditional 3D modeling takes days. You push vertices manually. You repair edge loops. You recalculate intersecting faces. When you are prototyping a platformer character or generating a custom Mario 3D model, you need a tool that works efficiently without demanding a degree in digital sculpture. Neural4D is built on the Direct3D-S2 architecture, designed specifically to output mathematically watertight geometry from the very first step.
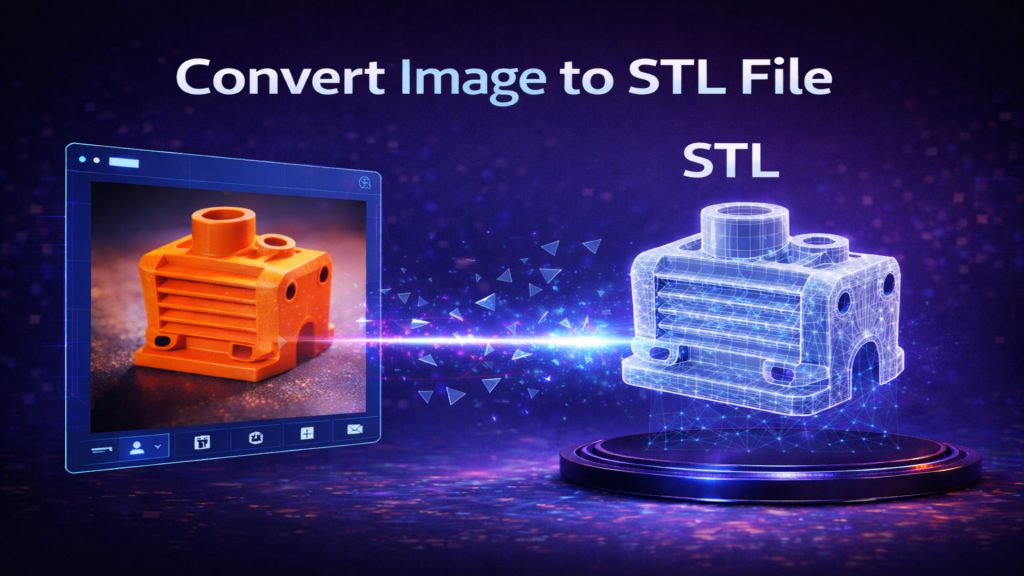
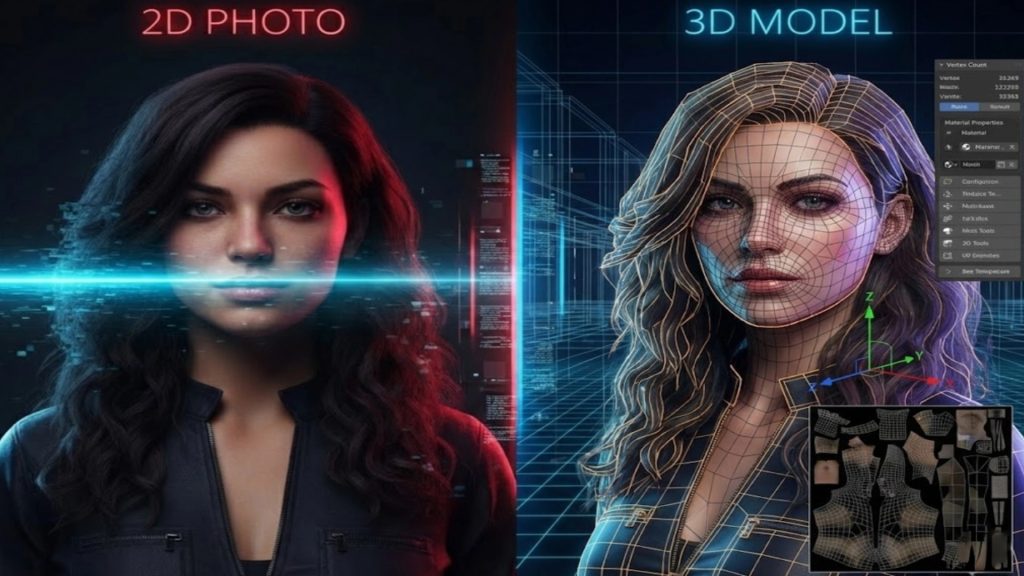
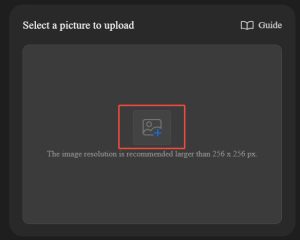
If you have a 2D reference sketch, a piece of fan art, or even a basic concept drawing, you bypass the entire manual modeling phase. Enter the Image to 3D studio, upload your reference photo, and let the engine construct the structure. Because it relies on native volumetric logic rather than surface-level estimation, the engine understands that every object must have a solid, enclosed interior. The base mesh generation process takes exactly 90 seconds. You stop fighting a blank canvas and start refining a solid, printable foundation.
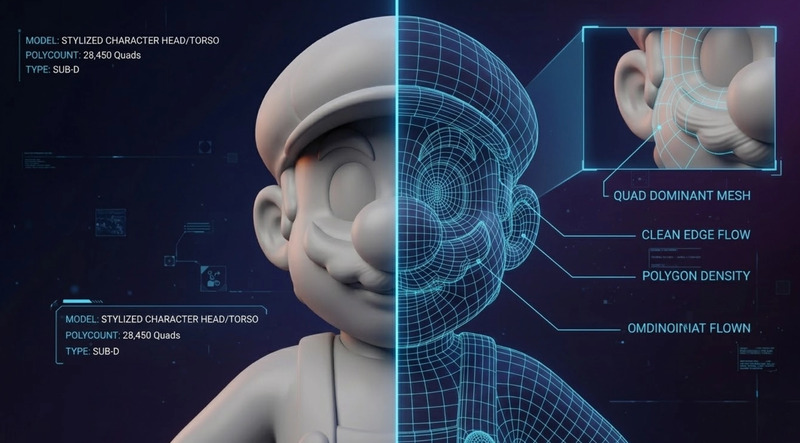
For makers looking into how to convert an image to an STL file cleanly, the difference is immediate. The output is not a chaotic collection of floating polygons. It is a unified, quad-dominant mesh. It acts as one of the best Blender alternatives for 3D modeling when you are trying to prototype rapidly without sacrificing mesh integrity. You skip the repair phase entirely. If the proportions are slightly off, you simply adjust your input prompt or image, hit regenerate, and wait another 90 seconds for a completely new, clean topology.
Part 3: Spatial Sparse Attention for Stylized Proportions
A major technical hurdle with early AI generation tools is the “slot-machine problem.” They operate on generic probability models that struggle heavily with stylized proportions. A character featuring a massive head, an oversized round nose, and exaggerated boots deeply confuses standard anatomical algorithms. These older systems attempt to force realistic human proportions onto cartoon designs, leading to high hallucination rates where extra limbs, melted features, or severely distorted faces appear in the final output.
Finding the best image to 3D model AI comes down to observing how it handles these non-standard anatomies under pressure. Neural4D utilizes a specialized Spatial Sparse Attention (SSA) mechanism. This computational approach lowers the hallucination rate by forcing the algorithm to strictly adhere to the input reference image rather than relying on generalized training data. It does not guess the depth based on human anatomy averages; it calculates the exact spatial volume required to recreate your specific stylized character in 360 degrees.
The result is a mesh that respects the edge flow of a cartoon aesthetic, which is essential when designing a recognizable Super Mario 3D model. The mustache sits flush against the face with proper volume. The hat maintains structural integrity without bleeding into the forehead. The overalls have distinct, sharp geometric boundaries separating them from the shirt. This deterministic output ensures that the character retains its stylized charm while maintaining the strict geometric rules required for physical production.
Part 4: Pipeline Integration from STL to Slicer
A generated 3D asset holds zero value if it traps you in a closed web ecosystem. The utility of a generated asset depends entirely on how fast it enters your physical production or digital pipeline. Once the Direct3D-S2 engine completes the 90-second generation, you are not forced into proprietary viewing software. Neural4D constructs the geometry, but more importantly, it allows you to extract it in the exact format your pipeline demands.
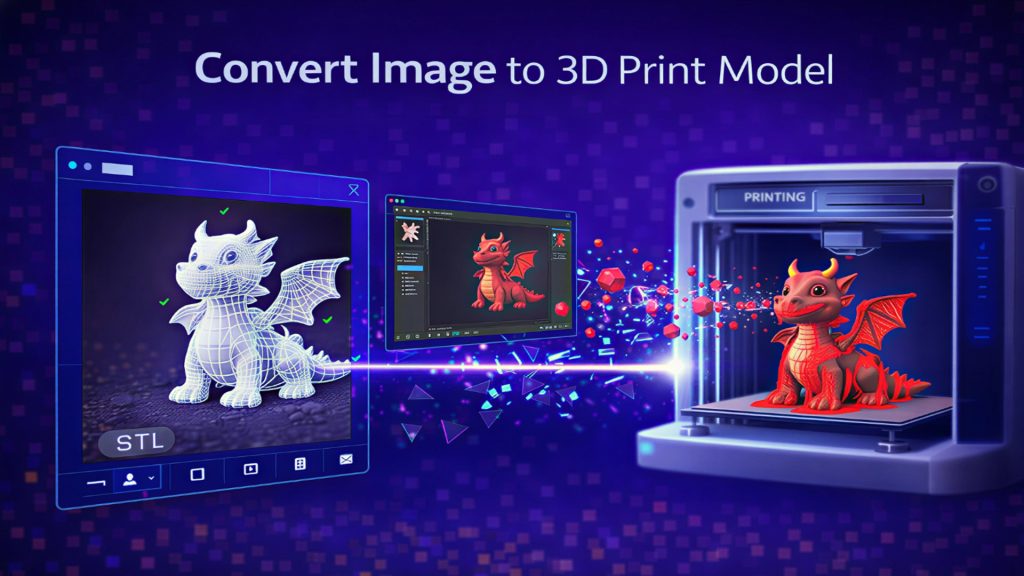
If you are a 3D printing enthusiast focused on resin or FDM output, you export an .stl file directly. Because the geometry is guaranteed to be watertight by the underlying algorithm, you drop your Super Mario model straight into your slicer. The walls have actual thickness. You orient the model, add your necessary supports, and hit print. There is no intermediate conversion step and no need to run the file through a secondary mesh repair utility like Netfabb or 3D Builder.
If you are building an interactive project and need to know how to make 3D characters for games, you bypass the STL format and export directly to .fbx or .glb. The mesh drops immediately into Unity or Unreal Engine with proper scaling. For developers who require production-ready visuals, the system also calculates and outputs the necessary Normal, Roughness, and Metallic PBR maps alongside your geometry. It is a highly pragmatic workflow addition that ensures your stylized assets look correct under complex lighting setups, right out of the box.
Part 5: FAQ – Troubleshooting Your Print Workflow
Why do ripped game models fail in my slicer?
Models ripped from games are optimized exclusively for visual rendering and camera trickery, not physical construction. They frequently feature non-manifold edges, paper-thin walls, and inverted normals due to backface culling. Slicing software requires a fully enclosed, “watertight” volume to calculate the physical toolpath, which is why these ripped files crash the software or print with severe, unfixable gaps.
Does the generated mesh require manual retopology?
For standard 3D printing applications, no manual retopology is needed. The Direct3D-S2 engine outputs a mathematically closed, watertight mesh that is immediately ready for slicing. If you intend to use the model for highly complex, customized rigging in a game engine, you may choose to optimize the edge flow further, but the base geometry provides a solid, artifact-free foundation to start from.
How fast is the complete generation process?
The core algorithm generates the initial, untextured base mesh in exactly 90 seconds. This rapid output allows for fast iterations. If you require high-resolution PBR texture generation for game engine integration, that stage requires additional processing time, but the underlying printable geometry is established almost instantly.
Part 6: Conclusion – Print Your Custom Character
Creating a printable character should not require hours of manual mesh repair. Instead of relying on broken, hollow game-ripped assets, you can generate a clean base mesh designed specifically for real-world production workflows. Whether you are prepping a custom Super Mario 3D model for your high-resolution resin printer or establishing a solid foundation for an indie platformer, prioritizing watertight geometry eliminates technical roadblocks.
Upload a reference image, output your watertight character model, and move straight into printing, painting, or game development. Let the computational engine handle the topology so you can focus on the final product. Start generating your character today.
Drop Your Mesh Straight Into Your Slicer
Avoid non-manifold errors with natively watertight 3D generation.
Generate Your Mario-Style Character Online Free
Trusted by over 80,000 independent developers, tabletop creators, and 3D printing makers globally.